10 LED Strip Light Ideas for Bedrooms
10 LED strip light ideas for bedrooms, from led strip lights ideas for bedroom headboards to under-bed glow, shelves, and coves, with color temperatures, remotes, and renter-safe mounting.
In This Guide
LED strips are the easiest way to make a bedroom feel designed rather than just furnished, and they are also the easiest way to make it look like a college dorm. The difference is placement, color temperature, and diffusion: hidden strips glowing softly off a wall look expensive, while exposed strips glaring in your eyes look cheap. This post is strips only, a placement guide for bedrooms, not a general bedroom lighting roundup.
That distinction matters because our existing bedroom lighting post, small bedroom lighting ideas, already covers sconces, pendants, and clip-on lights in brief. Here you get the full strip playbook: where to put strips, which color temperature for sleep, how controllers and apps work, how much power a bedroom strip actually draws, and how to mount and remove strips without losing your deposit. For the wider dark-bedroom plan, see renter-friendly lighting for dark apartments.
1. Behind the Headboard: The Classic Bedroom Glow
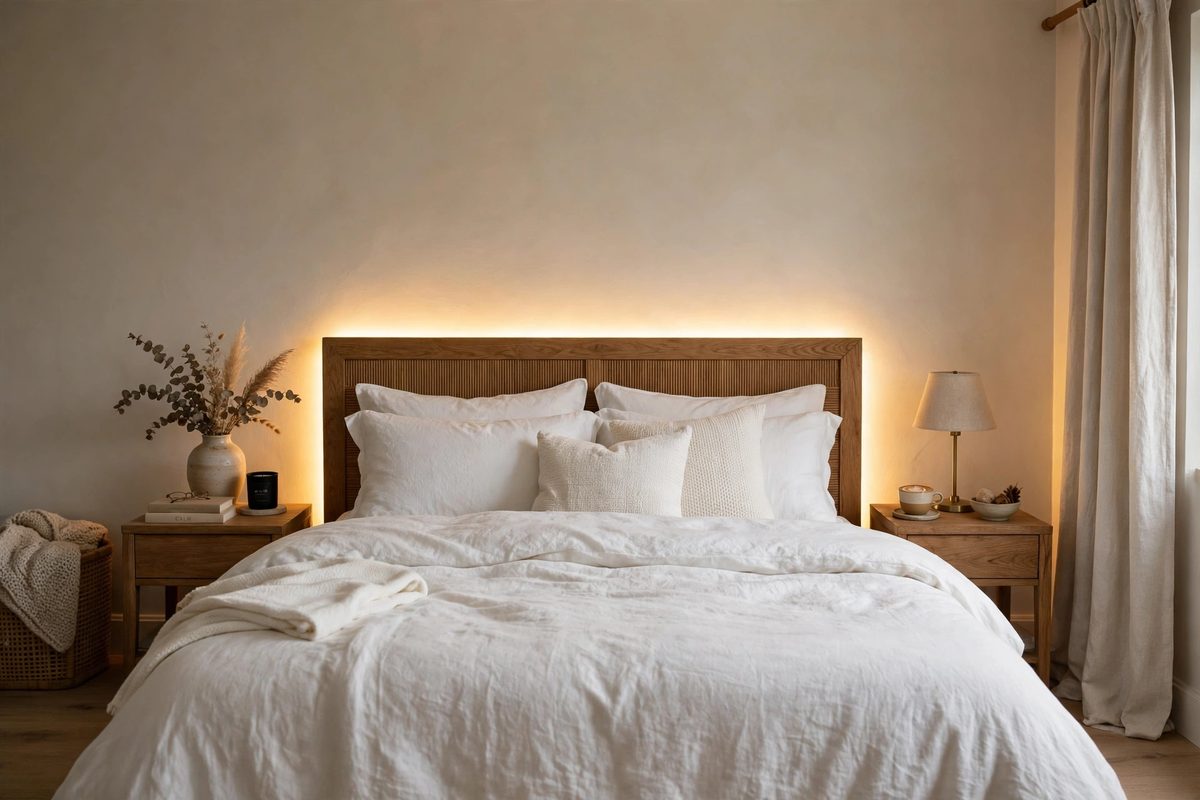
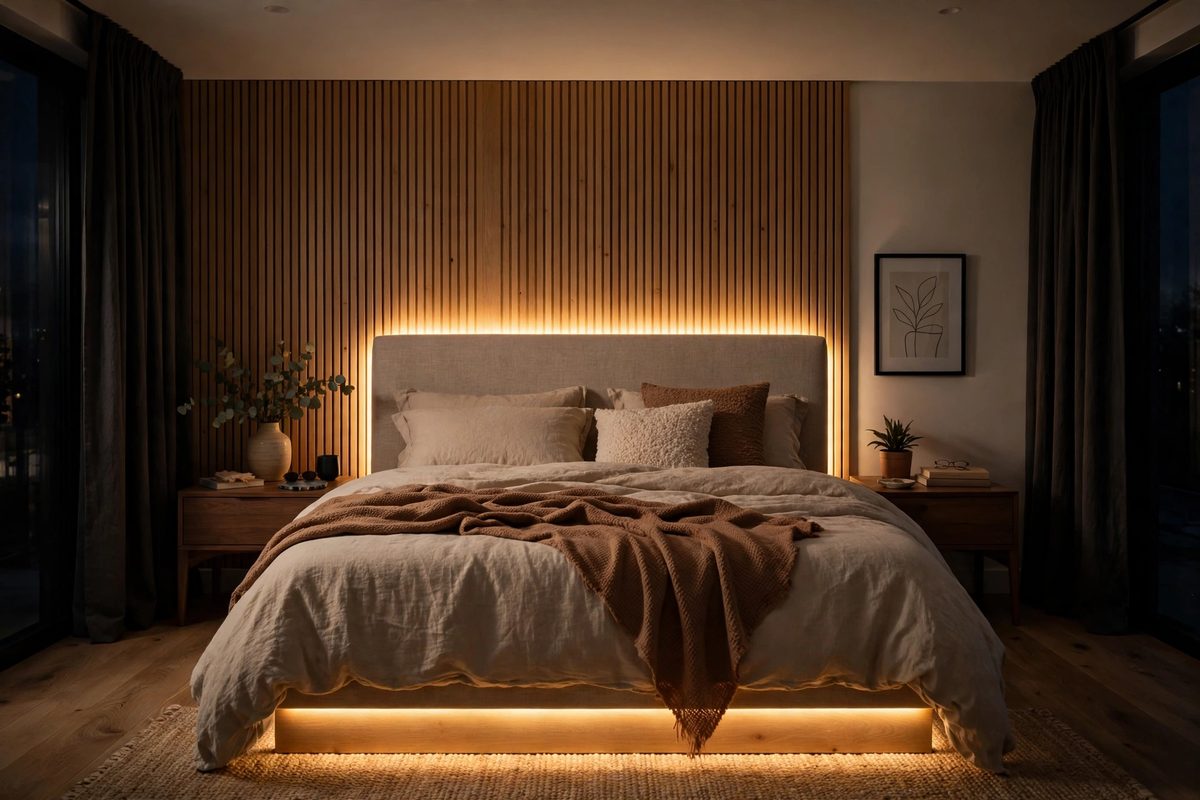
The headboard strip is the most pinned bedroom LED idea for a reason: it frames the bed, replaces a harsh bedside lamp for evening wind-down, and makes even a plain rental bedroom look intentional. Stick the strip to the back of the headboard, facing the wall, so the light washes the wall behind the bed rather than shining at your eyes.
Use a warm 2700K strip for this spot, dimmed to about 60 percent for evening use. A 6 foot strip, 15 to 25 dollars, covers a queen headboard; a king needs 10 feet. If you have no headboard, stick the strip to the back of a leaning headboard panel, a large piece of plywood wrapped in fabric, or directly to the wall behind the bed using a slim aluminum channel, which also hides the strip itself. For headboard and bed styling around the glow, see small bedroom nightstand ideas.
How to make it work
Measure the headboard width and buy a strip 4 inches shorter so the ends do not peek around the sides. Run the power cord down behind the bed to the nearest outlet, and hide the controller in the nightstand drawer or behind the headboard. Test the glow at night before fixing the strip permanently: sit on the bed and check that no bare LEDs are visible from either pillow.
2. Under the Bed: The Floating Bed Effect
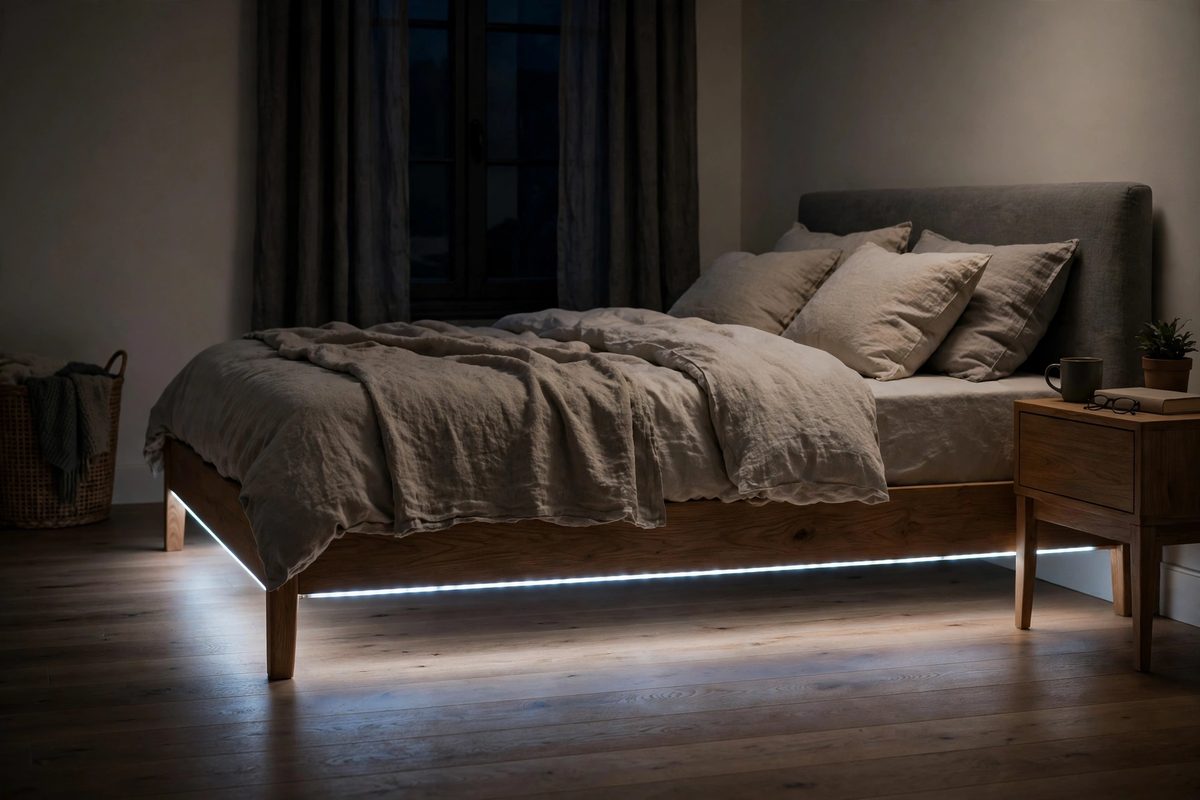
An under-bed strip makes the bed look like it floats, and it doubles as the best night-light a bedroom can have: soft floor glow for midnight trips to the bathroom, no bright lamp, no stubbed toes. Stick the strip to the underside of the bed frame, set back 2 inches from the edge, so the light pools on the floor rather than glaring outward.
Warm 2700K is the right temperature here, dimmed low, about 30 to 40 percent, since this strip runs at night. A motion-sensor controller, about 10 dollars extra, switches the strip on when your feet hit the floor and off after a minute, which is genuinely useful and saves the strip from running all night. A 10 foot strip covers most bed frames; measure the perimeter and buy for three sides, leaving the headboard side dark.
How to make it work
Clean the bed frame underside with rubbing alcohol before sticking, since dust is the main reason under-bed strips fall after a month. If the frame is fabric-covered, use mounting clips screwed into the frame’s wooden edge, or stick the strip to a thin aluminum channel first and mount the channel with clips. Keep the strip clear of bedding that hangs to the floor, since fabric over LEDs traps heat.
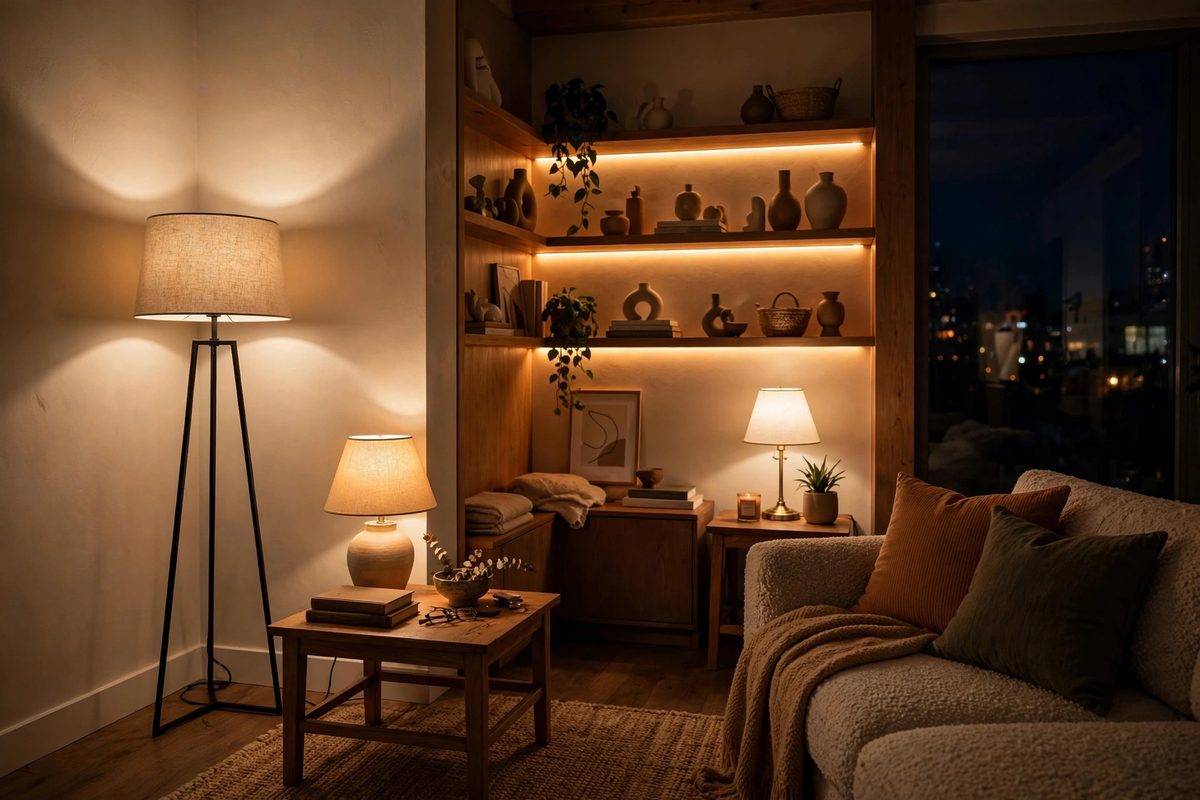
3. Under Floating Shelves and Wall Ledges
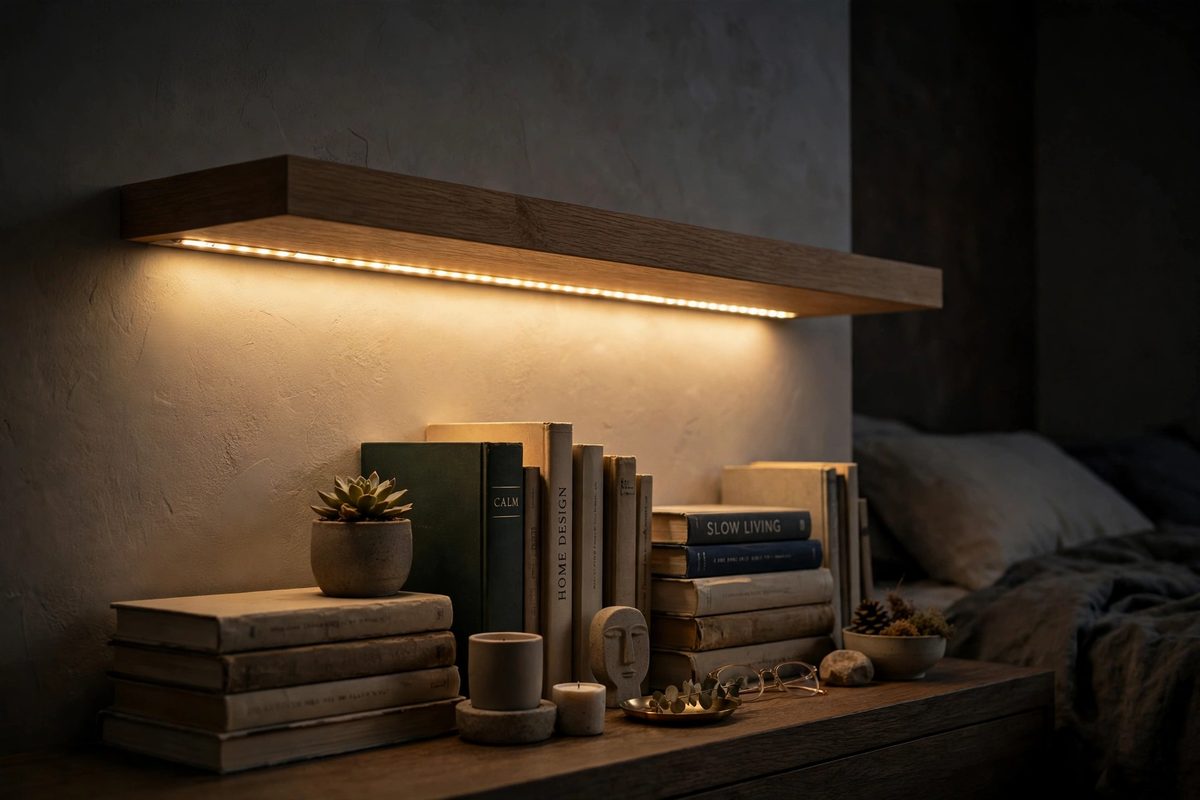
A strip under a floating shelf turns the shelf into a light fixture and the objects on it into a display. In a bedroom, this works above a desk, above a dresser, or along a picture ledge, where the strip lights books, plants, and framed photos from below and adds a warm accent layer the room otherwise lacks.
Stick the strip to the front underside edge of the shelf, not the back, so light falls forward onto the shelf contents and the wall below, rather than pooling behind the shelf. Warm 2700K to 3000K suits shelves with wood and books; a daylight strip suits a desk shelf used for work. A 3 foot strip, 10 to 18 dollars, covers a standard shelf, and a dimmer remote lets you drop it to accent level in the evening. Shelf styling ideas are in small bedroom wall shelf ideas.
How to make it work
If the shelf holds plants, keep the strip at least 4 inches from leaves, since even LED strips warm slightly over hours. Run the cord along the shelf bracket or inside a small cord cover painted to match the wall. For a shelf without an outlet nearby, a USB strip powered by a phone charger brick works fine, since shelf strips draw only 5 to 10 watts.
4. Inside the Wardrobe and Closet
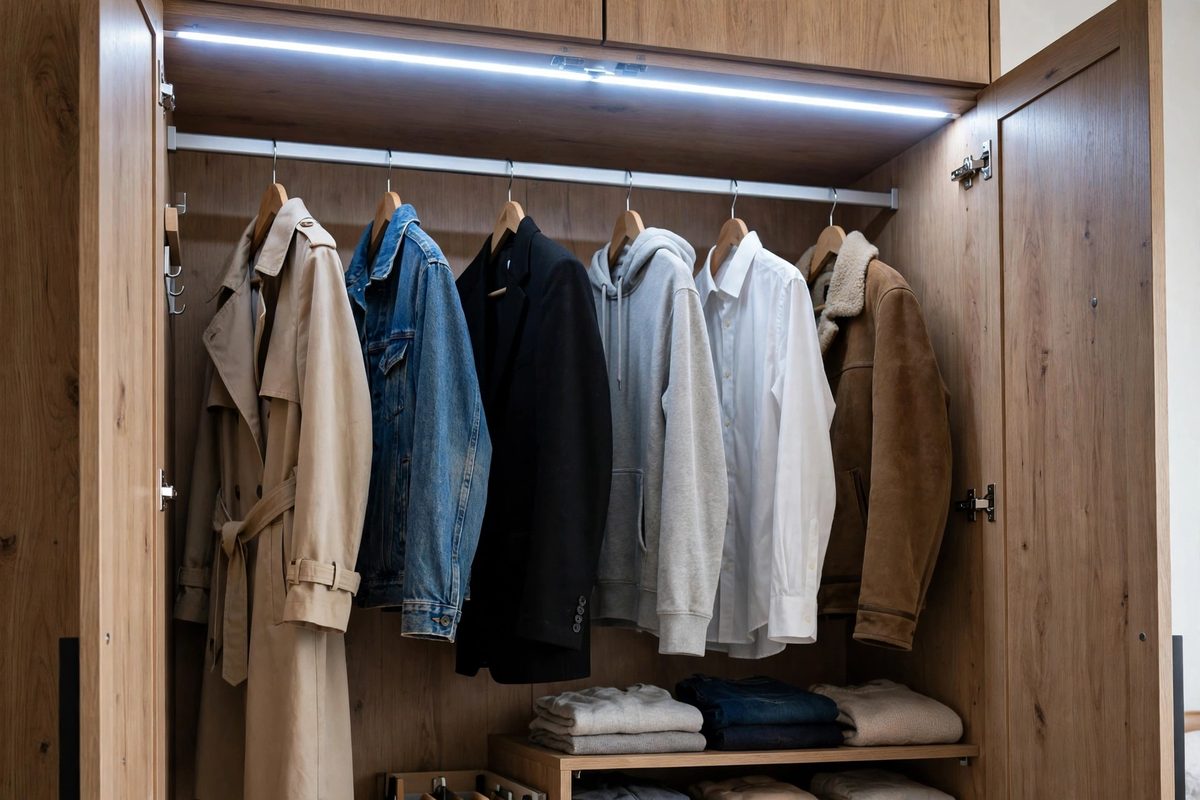
Bedroom closets are dark even in bright apartments, and a strip inside the wardrobe fixes that without a lamp or an electrician. Stick a strip along the top inside edge of the wardrobe, facing down, so it lights every hanger and shelf below. A motion-sensor strip switches on when the door opens, which feels almost luxurious in a rental closet.
Use a daylight 4000K strip here, since you need to see true clothing colors in the morning; warm light makes navy look black and white look cream. A battery-powered motion strip, 15 to 25 dollars, avoids outlet hunting inside a closet, but check battery life: a strip used twice daily lasts about two months on good batteries, while a USB rechargeable strip lasts longer between charges. For the wider closet plan, see apartment closet organization.
How to make it work
Measure the wardrobe width and buy a strip 2 inches shorter. If the wardrobe has sliding doors, mount the strip on the fixed top panel, not the door, so it never moves. Keep the strip clear of hanging clothes by at least 2 inches, since fabric brushing LEDs dims the light unevenly and wears the strip’s coating.
5. The Cove Glow Along the Top of the Wall
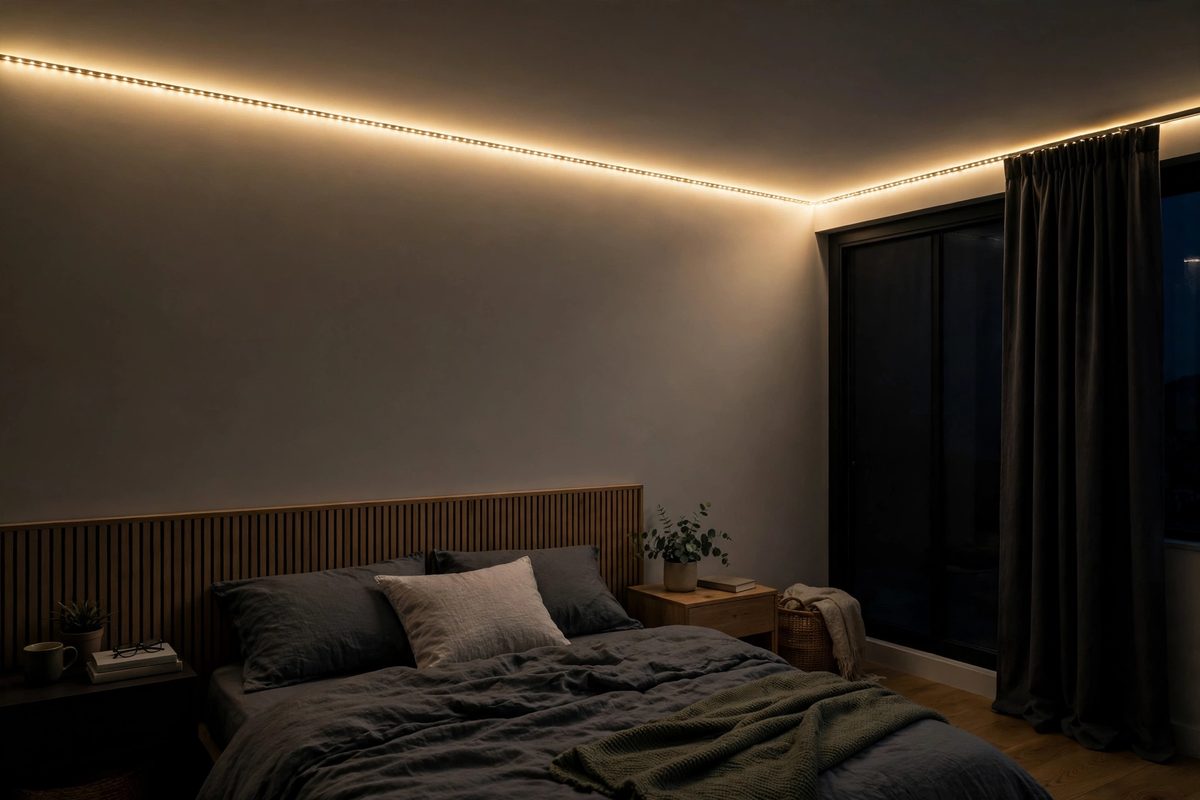
A cove strip runs along the top of a wall, hidden behind a slim ledge or just above a picture rail, and washes the ceiling with light. It is the closest thing to a ceiling light a renter can install without wiring, and it makes a low bedroom ceiling feel higher because the ceiling itself glows. This is the most ambitious strip placement in this post, and the most rewarding.
You need a ledge to hide the strip: a 2 inch picture ledge, a length of crown-style trim stuck with adhesive, or even a row of books on top of a tall wardrobe. Without a hiding ledge, the bare strip shows from below and the effect collapses. Warm 2700K at full brightness works for a cove, since the ceiling diffuses it, and a dimmer lets you drop it to a night glow. Budget 25 to 40 dollars for a 16 foot strip plus a ledge.
How to make it work
Test the cove with the strip temporarily taped in place for one night before fixing the ledge. Check from the bed and from the doorway that no bare LEDs are visible; if they are, raise the ledge by half an inch or add a diffuser channel. Run the power cord down a corner inside a cord cover, since a cove cord dangling down the middle of a wall ruins the whole effect.
6. Desk and Vanity Strips for Work and Getting Ready
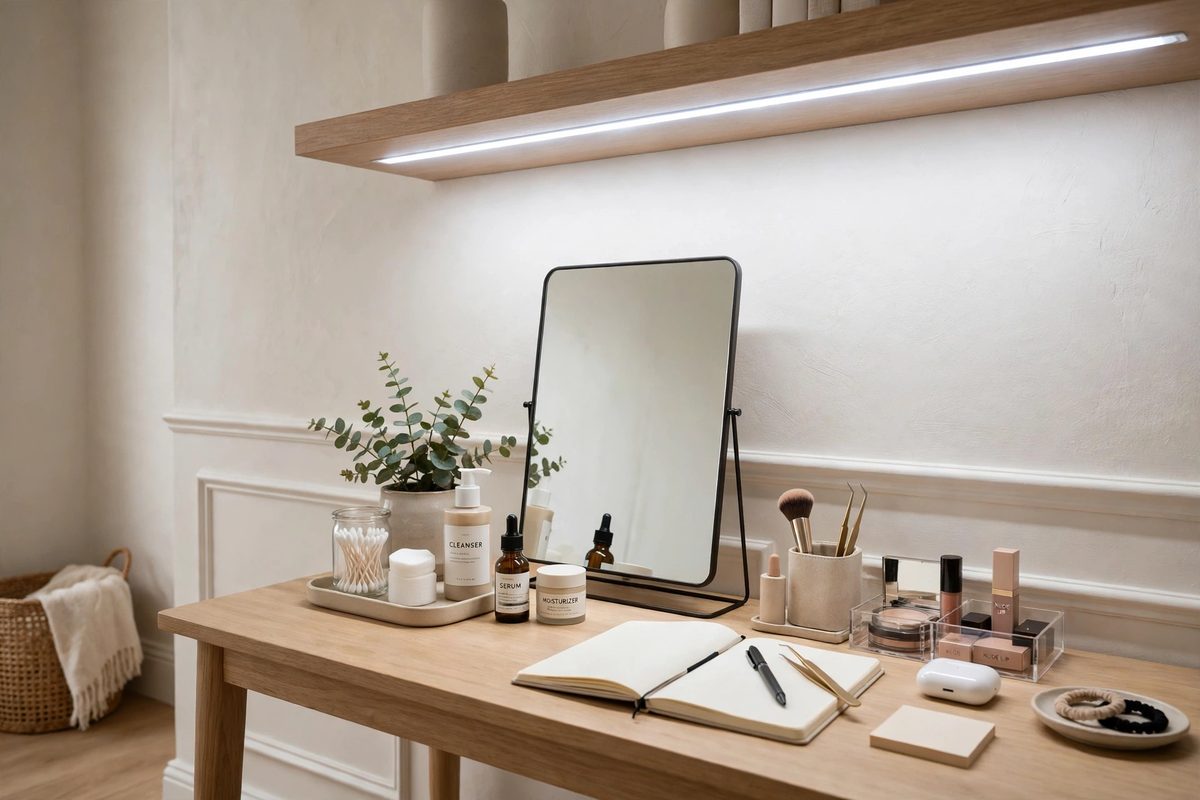
A bedroom desk or vanity needs focused, true-color light, and a strip under the desk shelf or around the vanity mirror delivers it without a lamp eating desk space. For a vanity, a daylight 4000K to 5000K strip around the mirror shows makeup colors accurately; for a desk, a 4000K strip under the shelf lights the keyboard and papers evenly.
A mirror strip needs a diffuser channel, about 8 dollars for 3 feet, or the individual LEDs reflect in the mirror as dots, which is distracting for makeup and grooming. A desk strip does not strictly need a diffuser, since you look at the desk, not the strip, but a channel still gives a cleaner light. Budget 20 to 35 dollars for a vanity strip with a channel and a dimmer. For vanity styling, see small bedroom vanity ideas.
How to make it work
For a vanity mirror, run the strip around all four sides if the mirror is wall-mounted, or along the top and both sides if it sits on a dresser. Keep the strip 1 inch in from the mirror edge so the glow frames the mirror rather than glaring at your face. For a desk, mount the strip to the shelf underside front edge and test it with actual work: type a paragraph and check for shadows from your hands.
7. Color Temperature and Scenes: Warm, Daylight, and Color
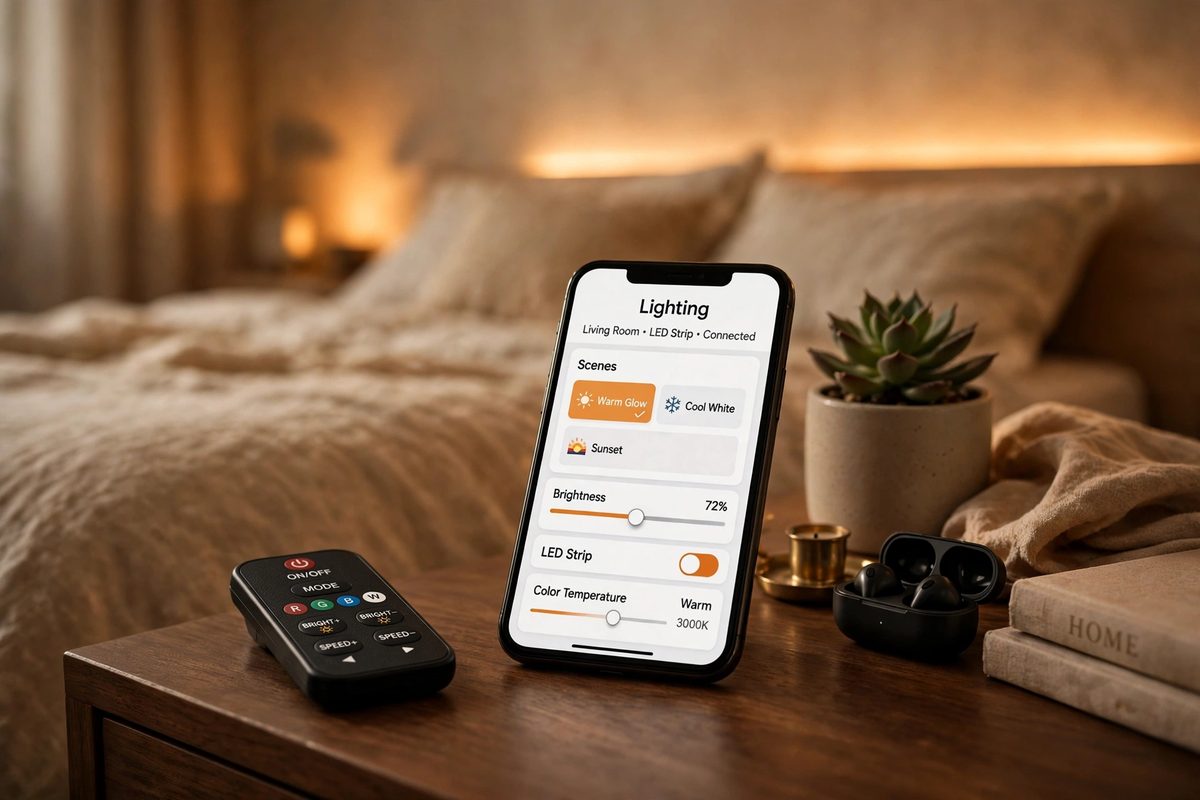
Strip color choice decides whether the bedroom feels cozy or chaotic. Warm white 2700K is the default for sleep and wind-down. Daylight 4000K is for closets, desks, and vanities. Full RGB color, the rainbow mode, is fun for about a week and then mostly lives on one soft color, usually warm amber or soft pink, if it gets used at all.
Buy a strip with a remote that includes warm white and dimming, not just RGB colors, since a strip that cannot do a good warm white is useless as bedroom lighting. App-controlled strips add schedules: warm dim at 9 p.m., off at midnight, gentle warm on at 7 a.m. as a wake-up light. A decent app strip costs 25 to 40 dollars, versus 15 to 25 for a remote-only strip, and the schedule feature is worth the difference if you use strips daily.
How to make it work
Set one default scene and leave it: warm 2700K at 60 percent for evening, for every strip in the room. Color scenes are for parties and photos, not nightly use, and a bedroom that changes color every night feels restless rather than relaxing. If the remote gets lost, most strips remember the last setting when powered off and on at the wall, so a smart plug can act as the on-off switch.
8. Diffuser Channels: The Trick That Separates Cozy From Cheap
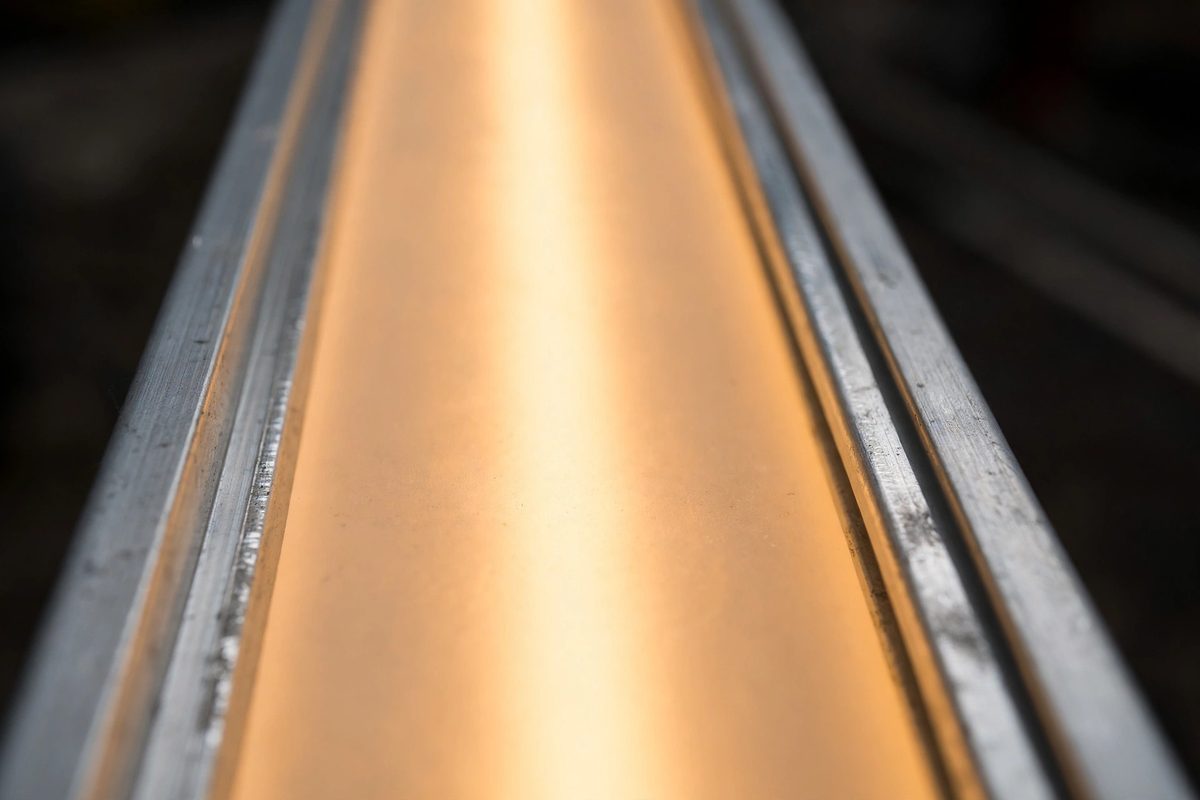
A diffuser channel is a slim aluminum or plastic track with a frosted cover that turns a row of individual LED dots into one smooth line of light. It is the single upgrade that makes bedroom strips look expensive, and it costs 8 to 15 dollars for a 3 foot length. Every strip that is even slightly visible, headboard edges, shelf fronts, vanity mirrors, should sit in a diffuser channel.
Channels also protect the strip from dust and accidental bumps, and aluminum channels act as a heat sink, which extends strip life. Cut channels with a hacksaw to length, stick the strip inside, snap the frosted cover on, and mount the channel with clips or adhesive. The frosted cover cuts brightness by about 20 percent, so buy a strip one brightness step higher if you plan to diffuse it.
How to make it work
Buy channels and strips together so the strip width matches the channel: most bedroom strips are 10 millimeters wide, and most channels fit 10 to 12 millimeter strips. Test one channel section at night before committing to the whole room; the diffused line should look continuous from the bed, with no bright dots. If dots still show, the cover is too clear; switch to an opal or milky cover.
9. Power Math: One Strip, One Outlet, No Drama
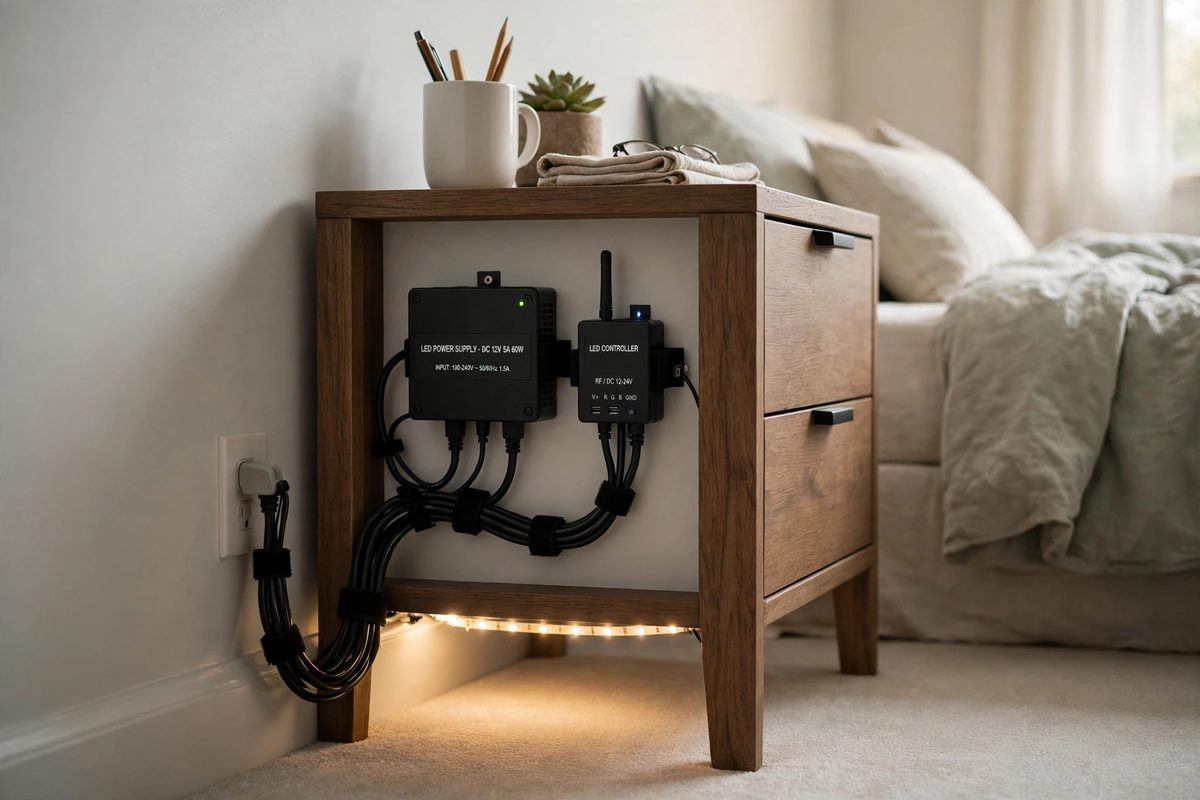
Bedroom LED strips draw very little power, but the power supply still needs a plan. A typical 16 foot strip draws 24 to 36 watts at full brightness, roughly the same as one old incandescent bulb, and most strips run on a 12 volt or 24 volt adapter that plugs into a standard outlet. Check the adapter’s wattage rating against the strip length: a 36 watt adapter handles a 16 foot strip, but a longer run needs a bigger adapter or a second strip with its own adapter.
Never chain three strips end to end on one small adapter; the far end dims and the adapter overheats. One adapter per strip, or per 16 feet, is the safe rule. Keep adapters ventilated, not buried under bedding or behind a mattress, and plug them into a surge-protected strip rather than directly into a wall outlet shared with a phone charger and a lamp. For the wider no-ceiling-light power plan, see how to light an apartment without ceiling lights.
How to make it work
Add up the wattage of every strip in the room before you buy adapters: two 16 foot strips at 36 watts each need 72 watts of adapter capacity, so two 36 watt adapters, not one. Label each adapter with masking tape naming its strip, since identical black adapters become a tangle behind a bed within a month. If an adapter feels hot to the touch after an hour, it is undersized; replace it before it fails.
10. Renter-Safe Mounting and Clean Removal
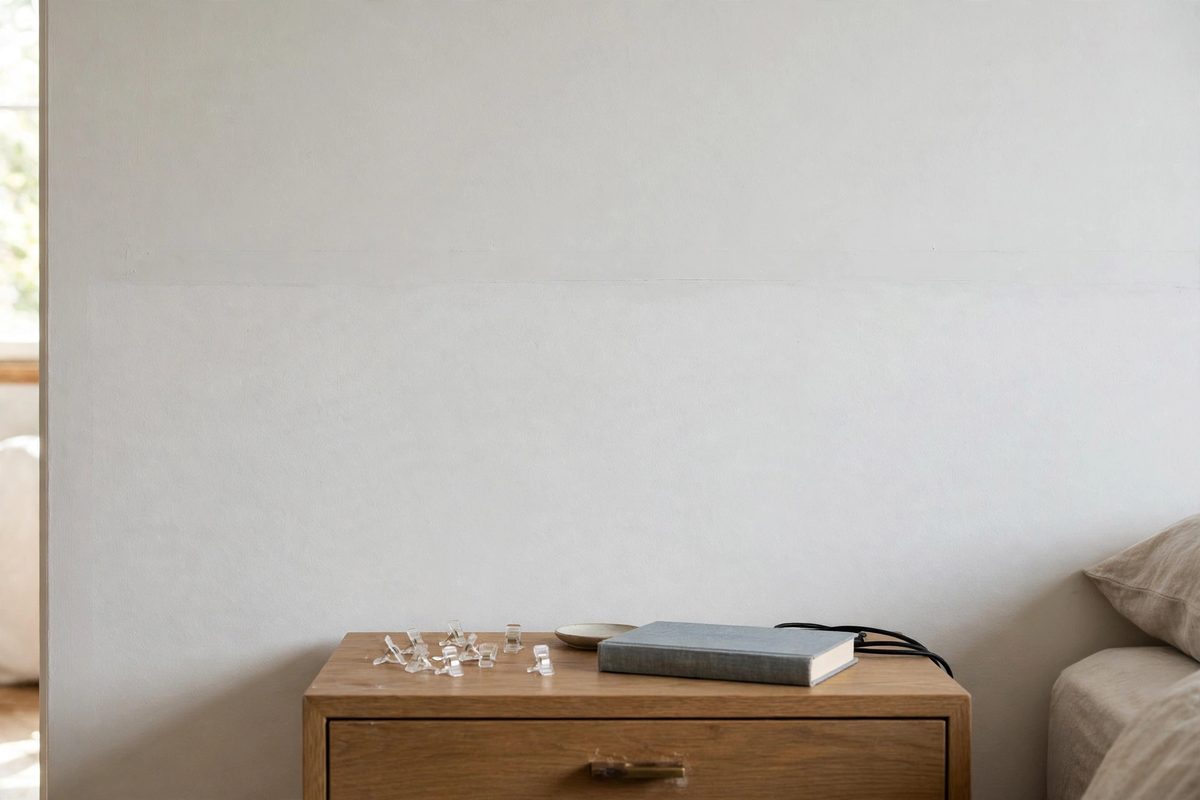
Strip adhesive is strong, which is great for holding and risky for paint. The renter-safe method is mounting clips or aluminum channels held by clips, not bare adhesive on painted walls. Clips screw or stick to the surface in small spots, and the strip sits inside the channel, so removal means removing a few clips, not peeling 16 feet of adhesive off paint.
If you do stick a strip directly to a surface, stick it to furniture, a headboard, a shelf underside, or a bed frame, not to painted drywall. Furniture adhesive peels cleanly with a hair dryer on low heat; wall paint often does not. At move-out, warm the strip with a hair dryer for 30 seconds per foot, peel slowly at a low angle, and wipe residue with warm water and dish soap. Photograph walls before mounting, so pre-existing marks are documented. For the bedroom upgrades that pair with strips, see renter-friendly bedroom upgrades.
How to make it work
Buy a pack of strip mounting clips, about 8 dollars for 20, with every strip, even if you plan to use adhesive. Clips in a channel are the removal-friendly setup, and they also make the strip look straighter, since adhesive strips sag over months on textured surfaces. Remove strips a week before move-out, not on the last day, so any paint touch-up has time to dry and be checked in daylight.
LED strips work in bedrooms when they stay hidden, warm, and diffused: behind the headboard, under the bed, under shelves, inside the wardrobe, and along a cove, each with the right color temperature and a clean power plan. Start with the headboard strip, add the under-bed glow, and only then expand to shelves and coves. The bedroom will look designed, not decorated with lights.