10 DIY Room Decor Ideas for Small Apartments
10 diy room decor ideas for small apartments that renters can actually build: fabric wall panels, freestanding shelves, washi tape art, and no-drill upgrades that come down clean at move-out.
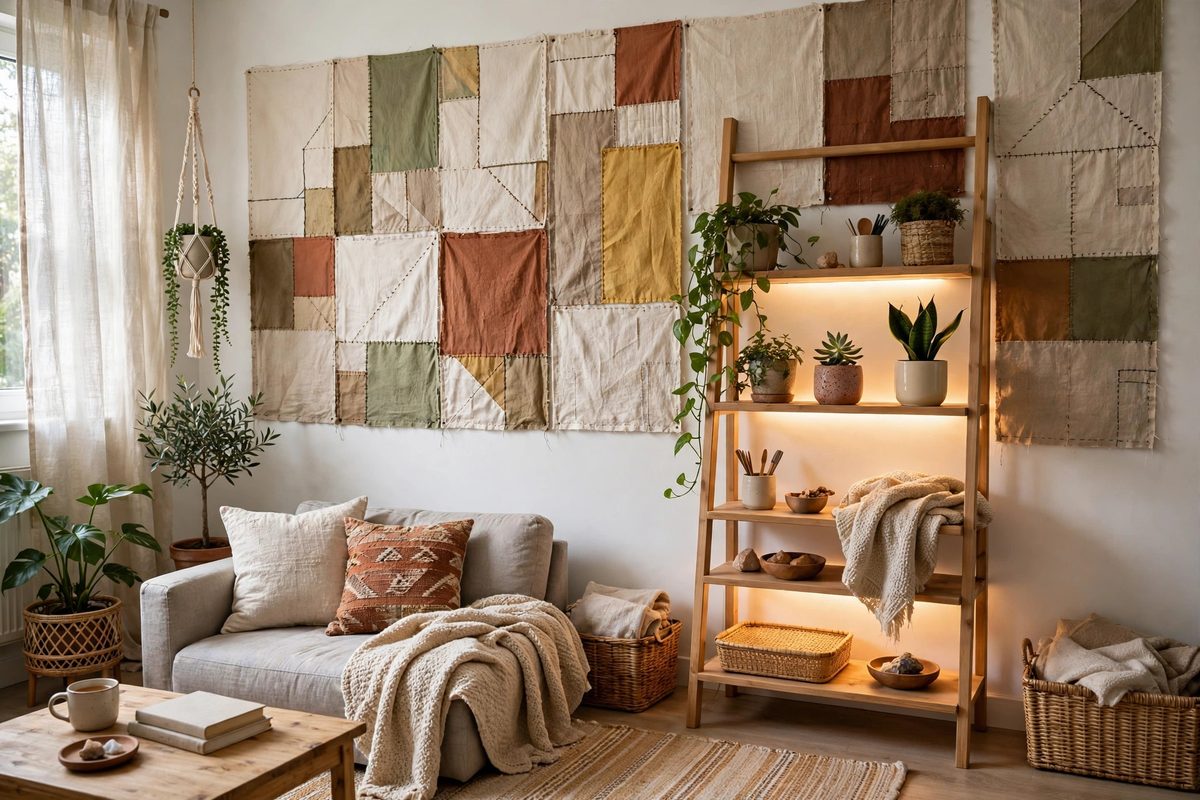
Small apartment living room with handmade fabric wall panels, a freestanding ladder shelf, and warm adhesive strip lighting
In This Guide
Small apartments reward projects that do two jobs at once. A wall panel that adds color should also soften echoes. A shelf should hold books and hide clutter. A lighting trick should make the room feel bigger, not just brighter. The ten projects below were picked for that reason: each one changes how a small room looks and works, and each one comes down without a repair bill.
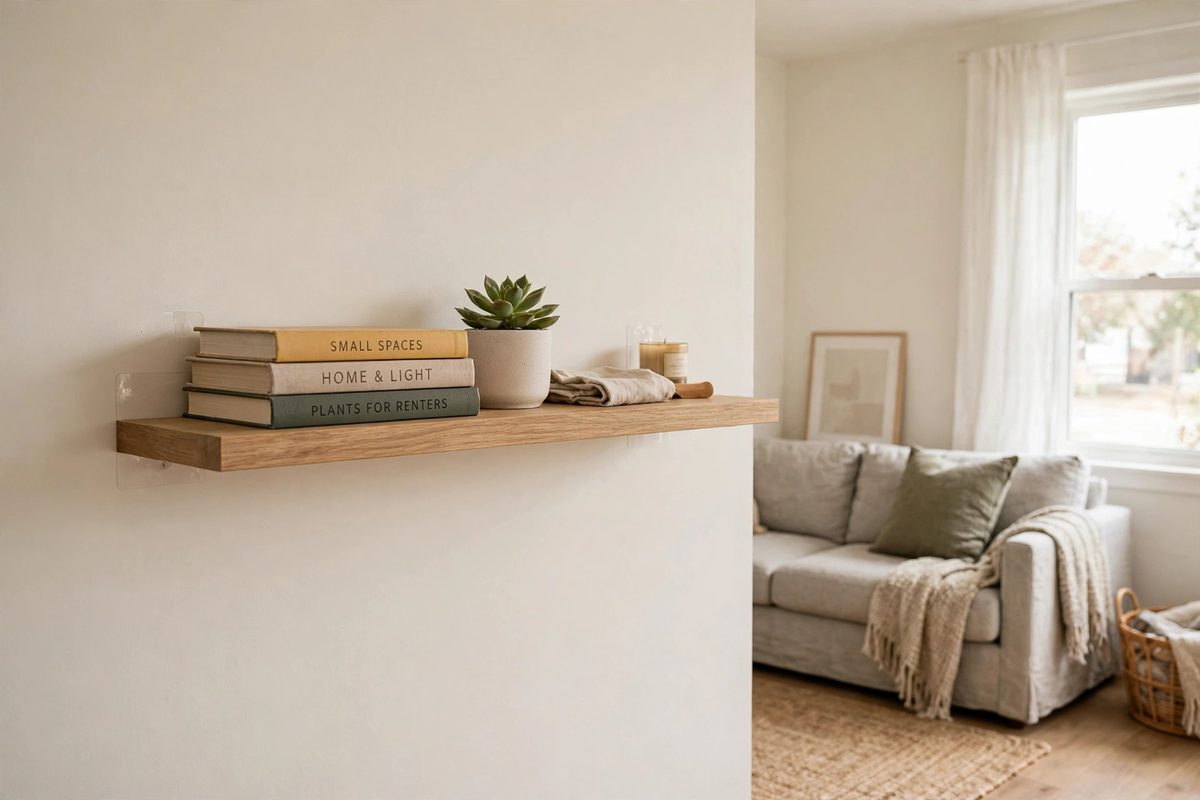
Every project here is renter friendly diy in the strict sense. No drilling, no anchors, no screws into the wall. You will use adhesive strips, tension rods, freestanding frames, and glue on boards you own, not on the landlord’s drywall. That matters because the average small apartment wall is painted drywall over studs, and a single badly placed anchor can cost more in patching than the whole project cost to build.
Before you start, weigh what you plan to hang and check your wall. Smooth painted drywall holds adhesive strips best. Textured plaster, brick, and wallpaper hold them worst, and bathroom humidity weakens most adhesives over time. A bathroom scale, a tape measure, and a quick test strip left on the wall for 24 hours will save you from a project that falls at 2 a.m. For window projects that pair with these ideas, see no-drill curtain ideas for rental apartments, and for floors that need the same no-damage logic, see renter-friendly temporary flooring ideas.
1. Fabric-Covered Foam Board Wall Panels
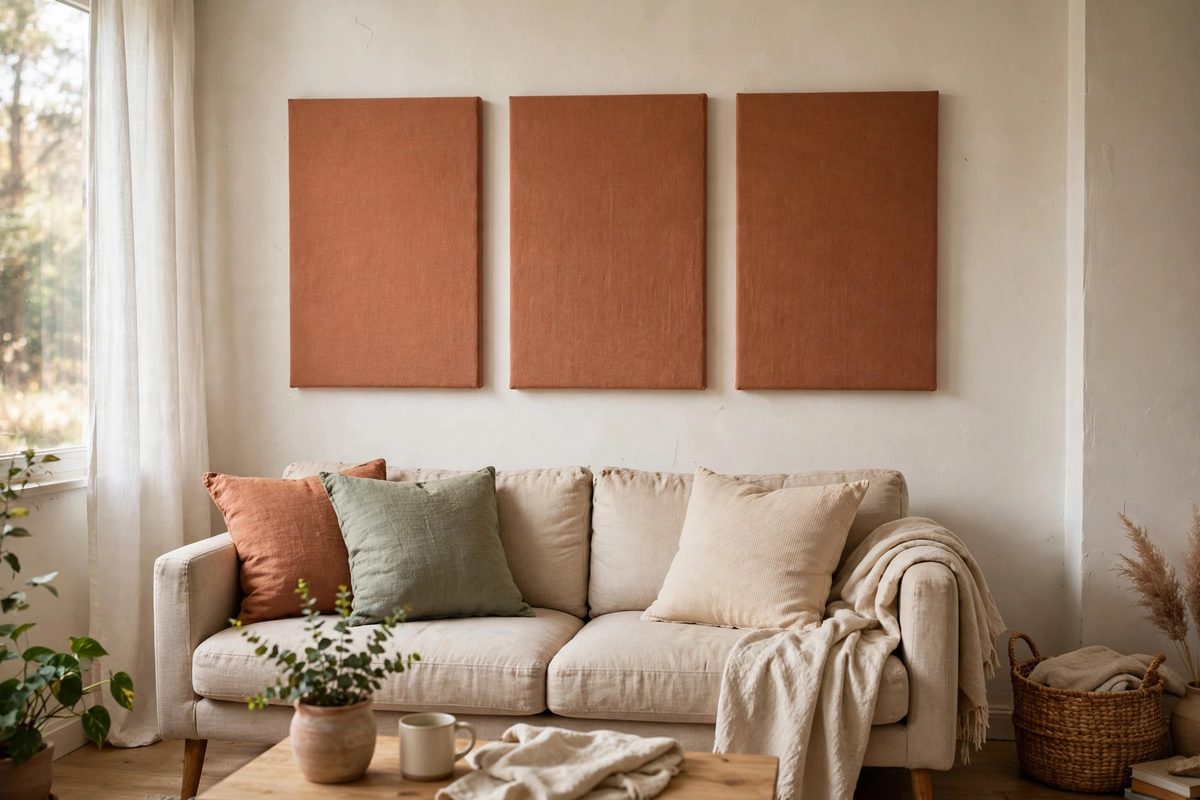
A foam board panel wrapped in fabric is the closest thing to upholstered wall art without touching the wall itself. You glue fabric to a light board, then hang the board with adhesive strips rated for its weight. A set of three 20 by 30 inch panels costs about 25 to 40 dollars in foam board, fabric, and spray adhesive, and the whole project takes under an hour.
Fabric panels solve two small apartment problems at once. They add a large block of color or pattern that a framed print cannot match at this price, and the foam and fabric layer softens sound in echoey rooms with hard floors. Pick a medium weight cotton or linen. Very thin fabric shows every glue ridge, and very heavy upholstery fabric makes the panel too heavy for strips.
How to make it work
Cut foam board to size with a sharp craft knife and a metal ruler, then spray the board lightly, lay the fabric face down, and wrap the edges to the back like a gift, taping or gluing the folds flat. Let each panel dry for 2 hours before hanging. A finished 20 by 30 inch panel weighs about 1 to 2 pounds, so use two large adhesive strips per panel, each rated for at least 4 pounds, and press each strip for 30 seconds. Wait 1 hour before hanging the panel, and pull the removal tab straight down slowly at move-out to avoid peeling paint.
2. Washi Tape Geometric Wall Art
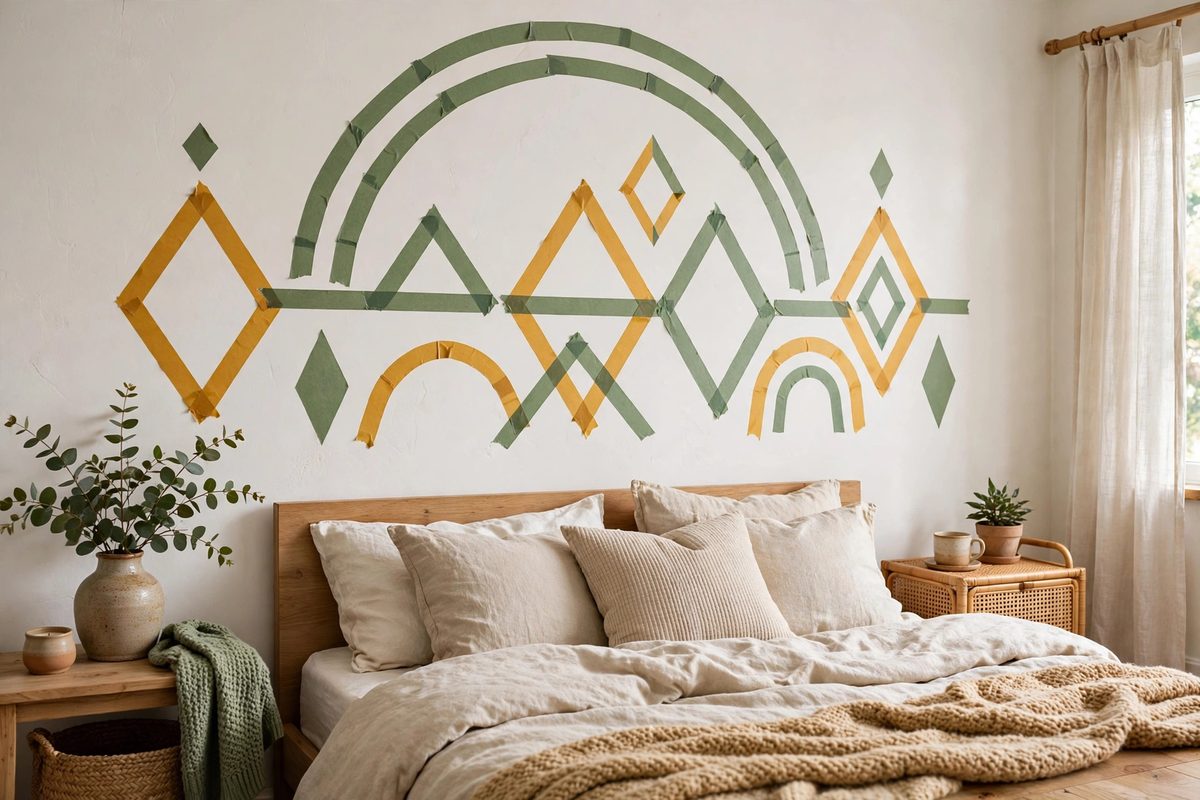
Washi tape is thin Japanese paper tape with a light adhesive, and it is made for this exact job: bold shapes on a wall that peel off clean. A geometric design, arches, diamonds, or a big grid behind a bed, costs 10 to 20 dollars in tape and takes an evening to lay out. Nothing here weighs anything, so there is no weight limit to worry about.
The trick is planning the layout before any tape touches the wall. Sketch the design on paper first, mark key points on the wall with small pieces of painter’s tape, and step back often. A design that looks good from two feet away can look crooked from the sofa, and washi tape is forgiving only if you lift it within a few days. After months on a hot wall, it can leave a faint line, so plan to refresh or remove it within a year.
How to make it work
Clean the wall with a dry cloth first, since dust stops washi tape from sticking evenly. Use a level or a phone level app for every long line, and press tape down with a credit card edge to remove bubbles. Overlap tape ends by a quarter inch at corners so gaps do not open as the room warms up. To remove it, peel slowly at a low angle, and warm stubborn pieces with a hair dryer on low for 20 seconds.
3. Tension-Rod Hanging Plant Shelf
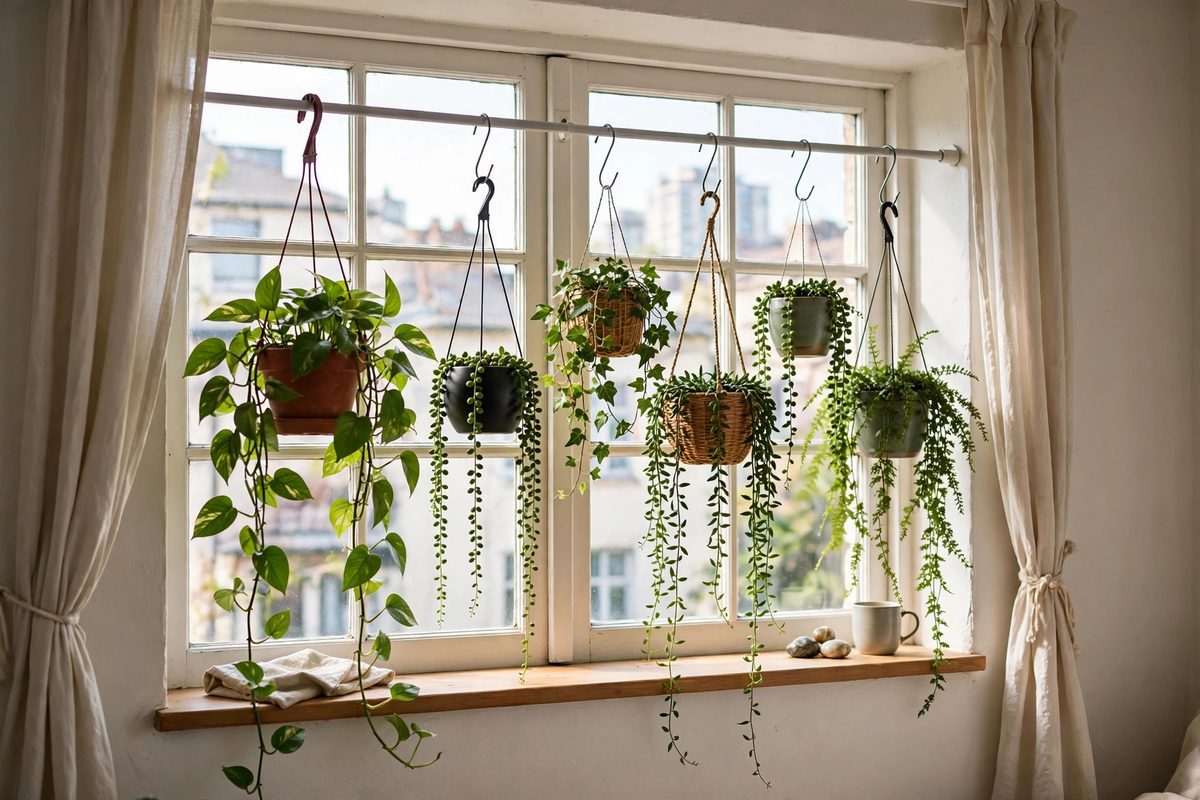
A tension rod across a window frame, plus S-hooks and hanging pots, turns dead window space into a plant shelf without a single hole. Two rods and four small hanging planters cost 30 to 50 dollars, and the plants get the best light in the apartment while the floor stays clear, which matters in a studio where every square foot counts.
Weight is the limit here. Most tension rods hold 5 to 10 pounds total, and a watered 6 inch pot weighs 3 to 4 pounds on its own. That means two small pots per rod, not four, and light plastic or coco fiber pots instead of ceramic. A rod that holds dry pots can still slip after watering, so test with fully watered pots before you trust it over a sofa or a laptop.
How to make it work
Measure the inside window frame at three points and buy a rod rated for at least double your planned load. Twist it tight until it does not rotate when you tug down, then hang pots with S-hooks so the weight pulls straight down, not outward. Water plants over the sink, let them drain for 10 minutes, and only then rehang them. Check rod tension once a month, since temperature changes loosen the spring.
4. No-Sew Cushion Covers From Flat Sheets
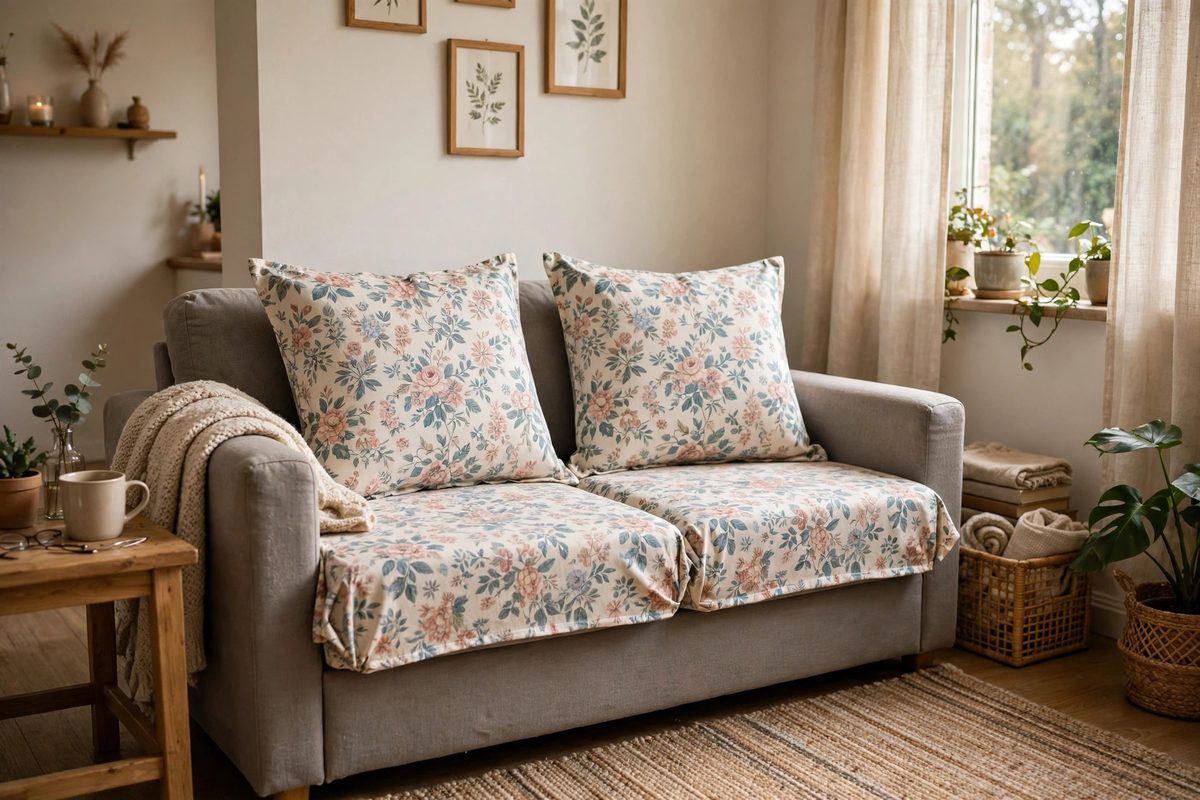
A flat sheet is the cheapest source of good cushion fabric you will find. One queen flat sheet, usually 12 to 20 dollars, makes four to six cushion covers with no sewing at all, using fabric glue or iron-on hem tape to close the seams. The result looks like a deliberate set, not a craft project, because the print repeats across every cushion.
This project works because small sofas look cluttered with mismatched cushions but polished with a matching set. Pick a sheet in a medium weight cotton, not a slippery satin, which slides off cushions and shows glue lines. Wash the sheet first so it does not shrink after you have glued the seams.
How to make it work
Cut fabric to the cushion size plus 2 inches on each side, fold it around the cushion like an envelope, and seal the open edge with fabric glue or iron-on hem tape pressed for 10 seconds per section. Let glue dry for a full 24 hours before use, and keep the cushion out of the washing machine: spot clean only, since glued seams do not survive hot washes. Make one test cover first and sit on it for a day before cutting the rest of the sheet.
5. Freestanding Leaning Ladder Shelf
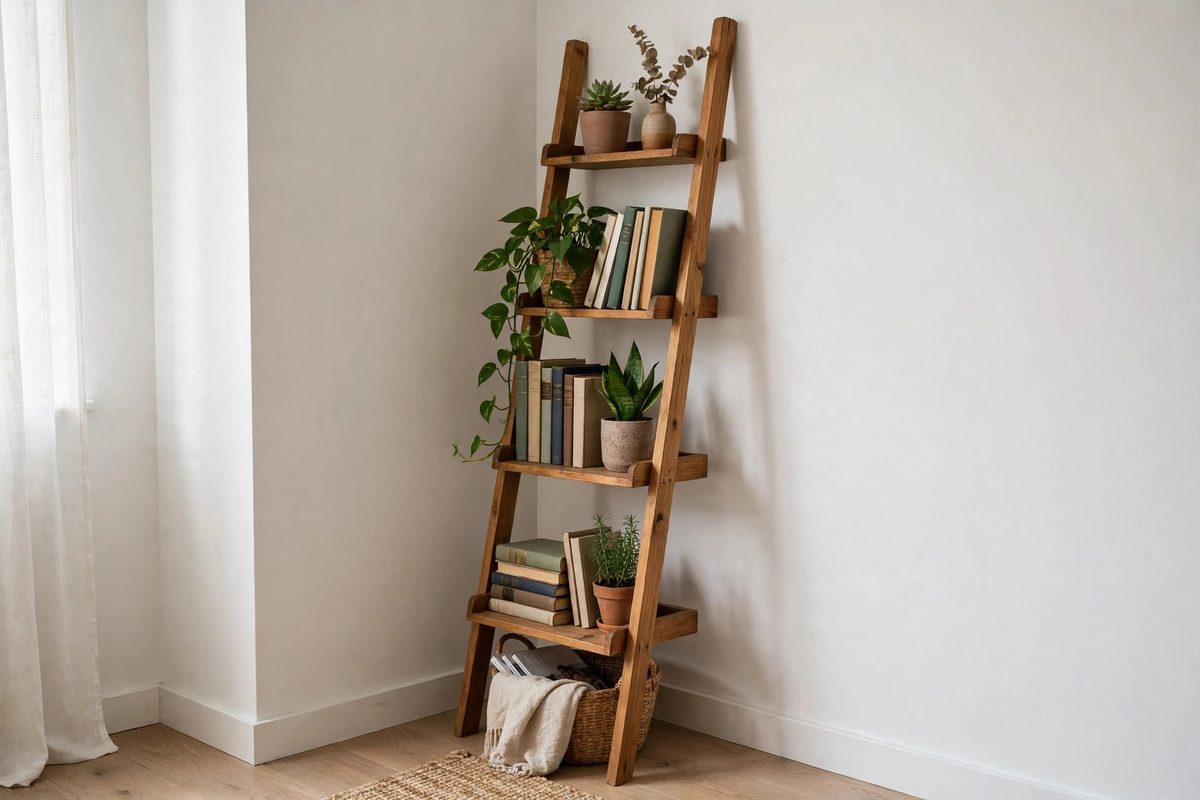
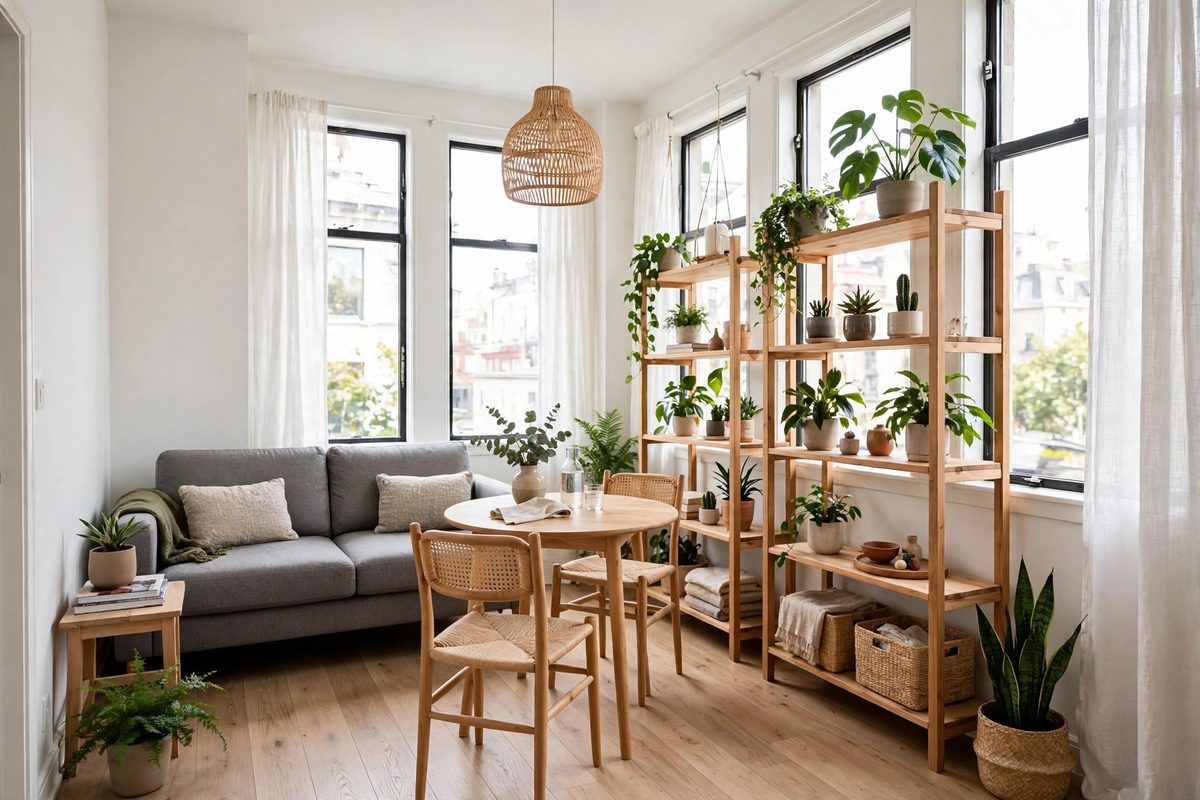
A leaning ladder shelf is a frame that rests against the wall at a slight angle, held up by its own weight and rubber feet, with no fixing at all. A ready-made one costs 60 to 120 dollars, and a simple DIY version from two side boards and five shelf boards costs 40 to 70 dollars in pine and screws (screws go into your own boards, never the wall). It holds 10 to 15 pounds per shelf if the feet grip the floor.
Leaning shelves fail in two ways: they slide on smooth floors, and they tip forward when a child or pet pulls the top shelf. Both are fixable. Rubber furniture pads under the feet stop sliding on wood or tile, and keeping heavy books on the lowest shelves and light decor up top keeps the center of gravity low and the shelf stable.
How to make it work
Set the shelf at about a 10 degree lean, with the feet 12 to 14 inches out from the wall for a 6 foot shelf. Put adhesive rubber pads under both feet and check that the shelf does not rock when you press the top rail. Load the bottom shelf first, then work upward, and never exceed the maker’s rating per shelf. On carpet, use wider feet or a thin board under the feet so the shelf does not sink unevenly.
6. Adhesive LED Strip Cove Glow
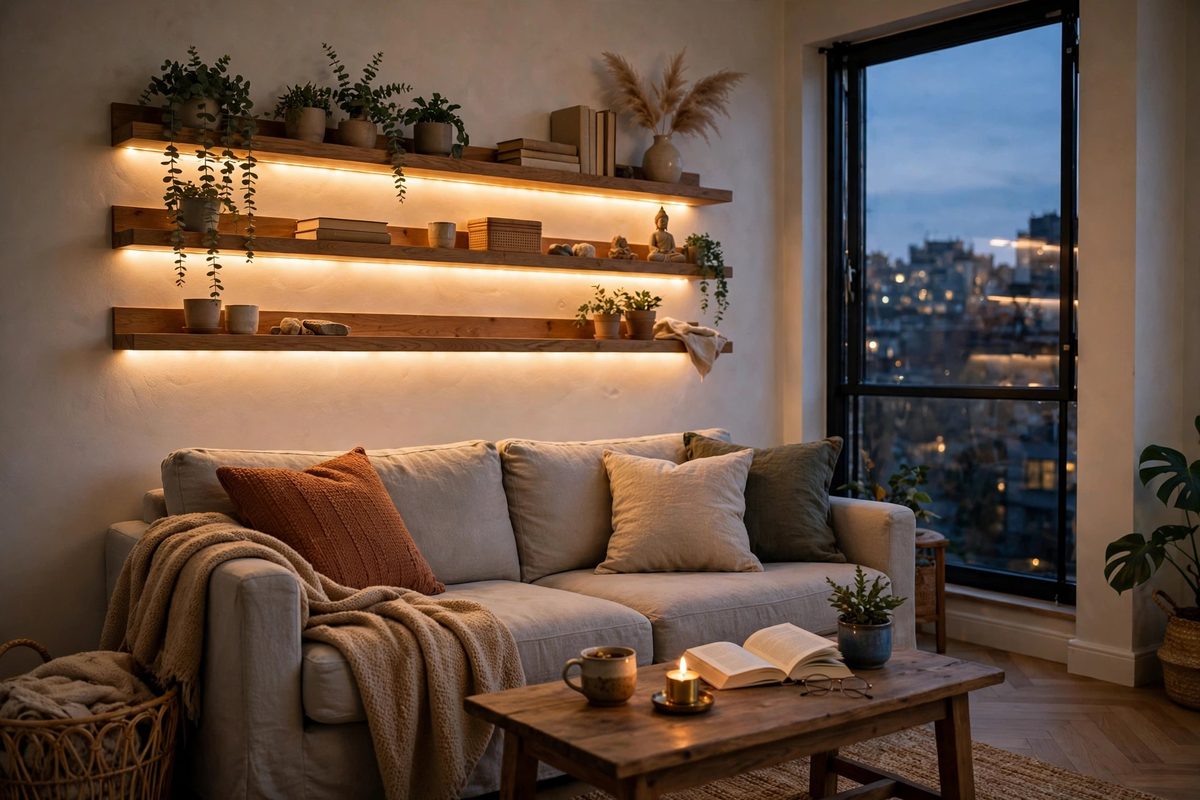
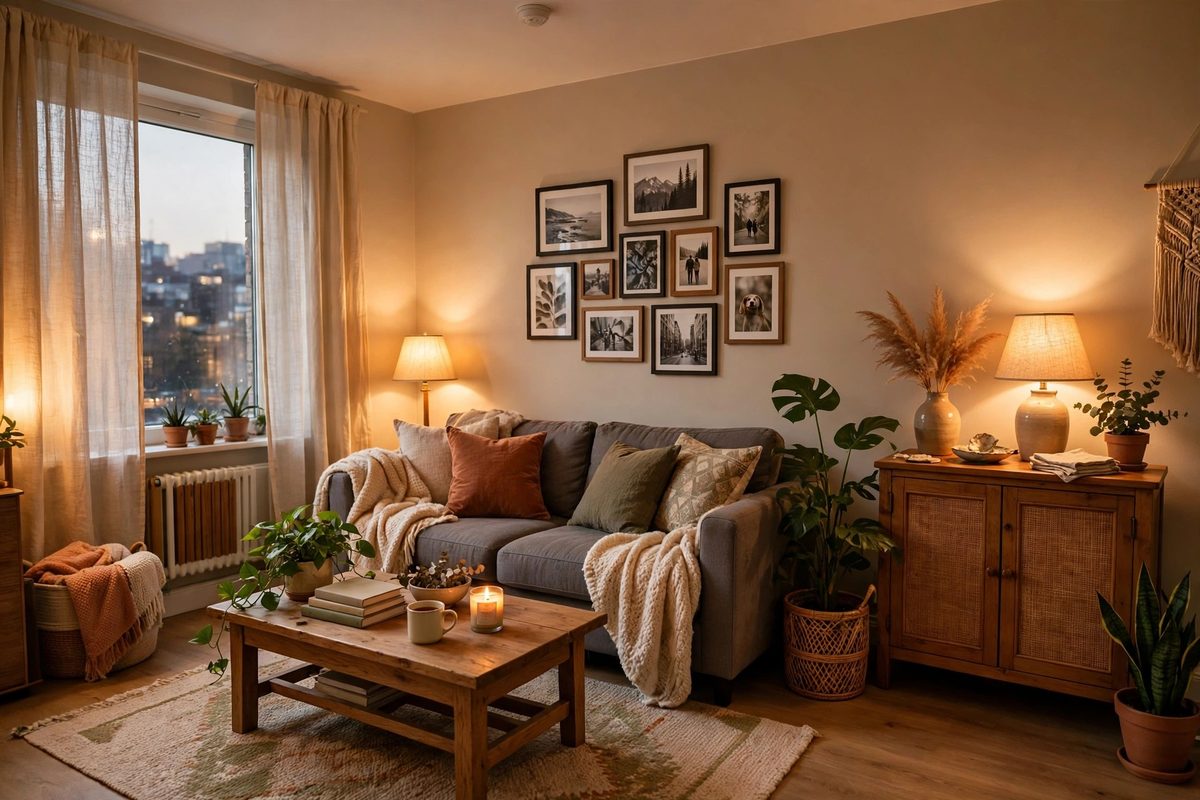
A strip of adhesive LED tape under a shelf, along the top of a wardrobe, or behind a headboard adds a layer of warm light that makes a small room feel taller and calmer. A 16 foot strip with a remote costs 15 to 25 dollars, draws very little power, and peels off at move-out with far less risk than any wired light.
Color temperature matters more than brightness here. A warm white strip at 2700K looks like lamplight and flatters a bedroom or living room. A cool white strip at 5000K looks like office light and makes a small room feel clinical. Pick a dimmable strip so you can run it low in the evening, which is when the glow effect actually works.
How to make it work
Clean the surface with rubbing alcohol and let it dry before sticking the strip, since dust is the main reason strips fall. Press the strip in 12 inch sections, holding each for 10 seconds, and do not bend it sharply around corners: cut at the marked cut lines and use a connector instead. In kitchens, where grease coats surfaces, wipe the strip’s mounting surface with a degreaser first, and expect to replace the adhesive with small clear clips after a year. For more no-drill lighting ideas, see renter-friendly lighting ideas.
7. Contact-Paper Furniture Refresh
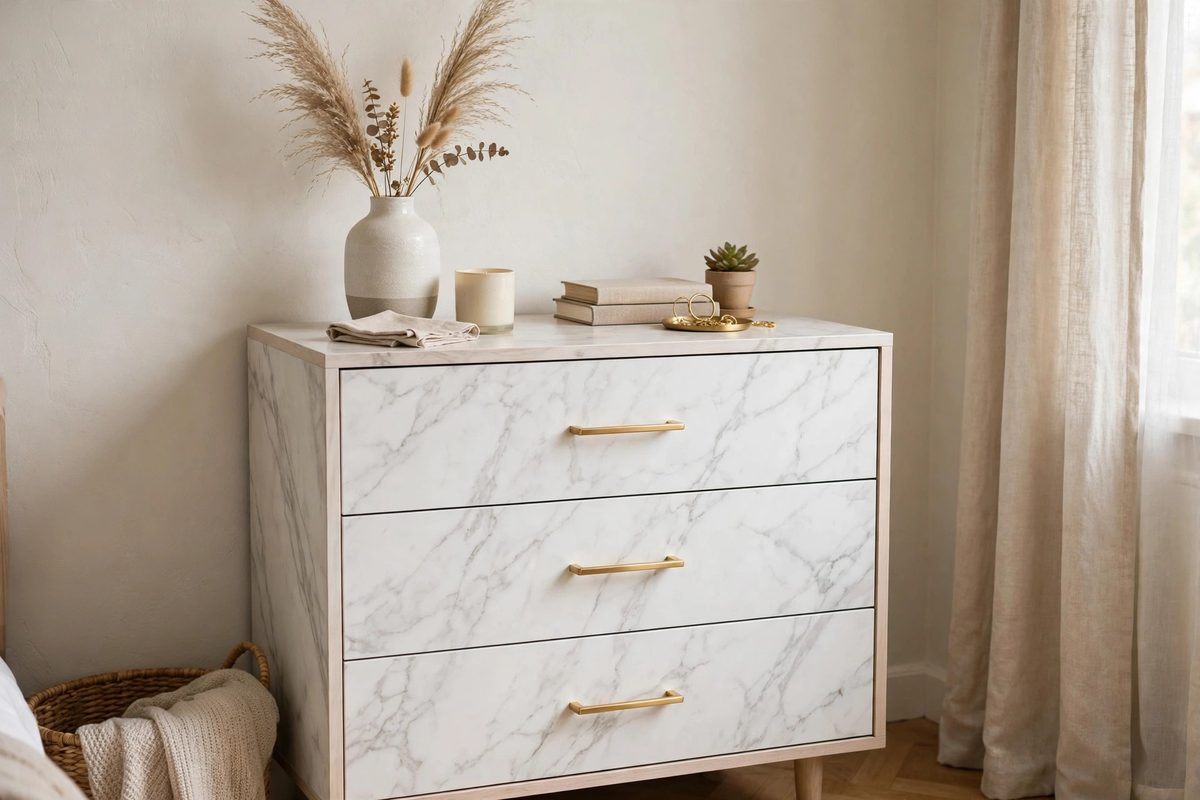
Contact paper, self-adhesive vinyl film, turns a tired dresser, a scratched tabletop, or a dated shelf into a piece that looks intentional. A roll costs 8 to 15 dollars and covers a standard six-drawer dresser front set with room to spare. Because you are covering furniture you own, not the apartment, there is no deposit risk at all.
The difference between a good contact paper job and a bubbly one is surface prep and patience. A drawer front with dust, grease, or peeling old finish will show every flaw through the film. Sand rough spots lightly, wipe with a damp cloth, and let the piece dry completely before you start.
How to make it work
Cut the film 1 inch larger than the surface on all sides, peel back 3 inches of backing, and align the exposed edge before smoothing outward with a credit card. Peel the backing gradually as you smooth, working from the center outward, and prick any trapped bubbles with a pin and press flat. Wrap the extra inch around edges for a finished look, and trim with a craft knife. In a kitchen, pick a waterproof vinyl and seal edges with clear nail polish to stop grease and steam from lifting corners.
8. Magnetic Spice Rack on the Fridge Side
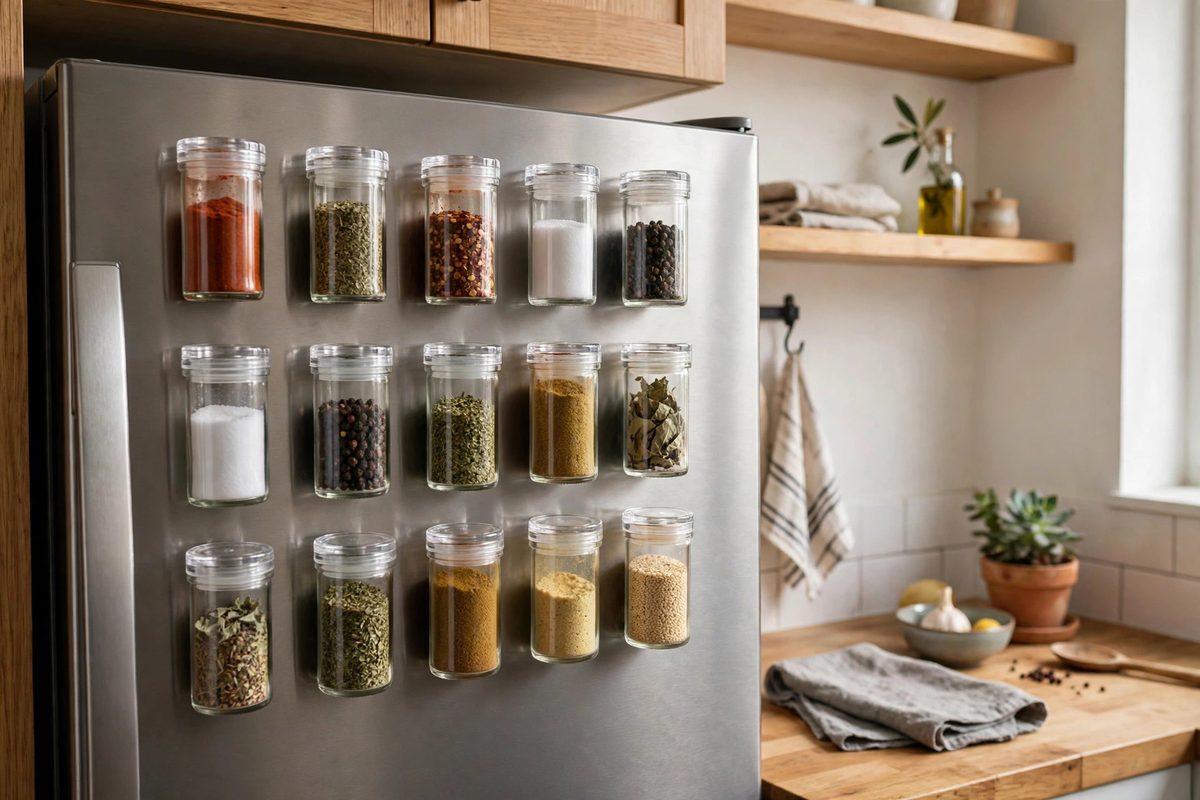
The side of a fridge is wasted wall space in most small kitchens, and it is magnetic. Small magnetic spice jars, 12 jars for 20 to 30 dollars, stick straight to it, freeing an entire cabinet shelf and putting spices at eye level where you actually cook. Each filled jar weighs about 4 to 6 ounces, so a full set of 12 weighs under 5 pounds spread across the fridge panel.
Test your fridge first with a fridge magnet, since some stainless steel finishes are only weakly magnetic. If magnets slide, switch to a magnetic board hung on the fridge with adhesive strips, or use adhesive metal strips on the inside of a cabinet door instead. Keep jars away from the stove side of the fridge, where heat dries spices out faster.
How to make it work
Fill jars only three quarters full so lids close tight and jars stay light. Label lids, not jars, so you can read spices from above when jars sit low. Wipe the fridge side clean before placing jars, since a greasy film weakens magnetic grip, and re-seat jars after cleaning the kitchen. For more kitchen projects that leave no marks, see renter-friendly peel-and-stick backsplash ideas.
9. Fabric Room Divider on a Freestanding Frame
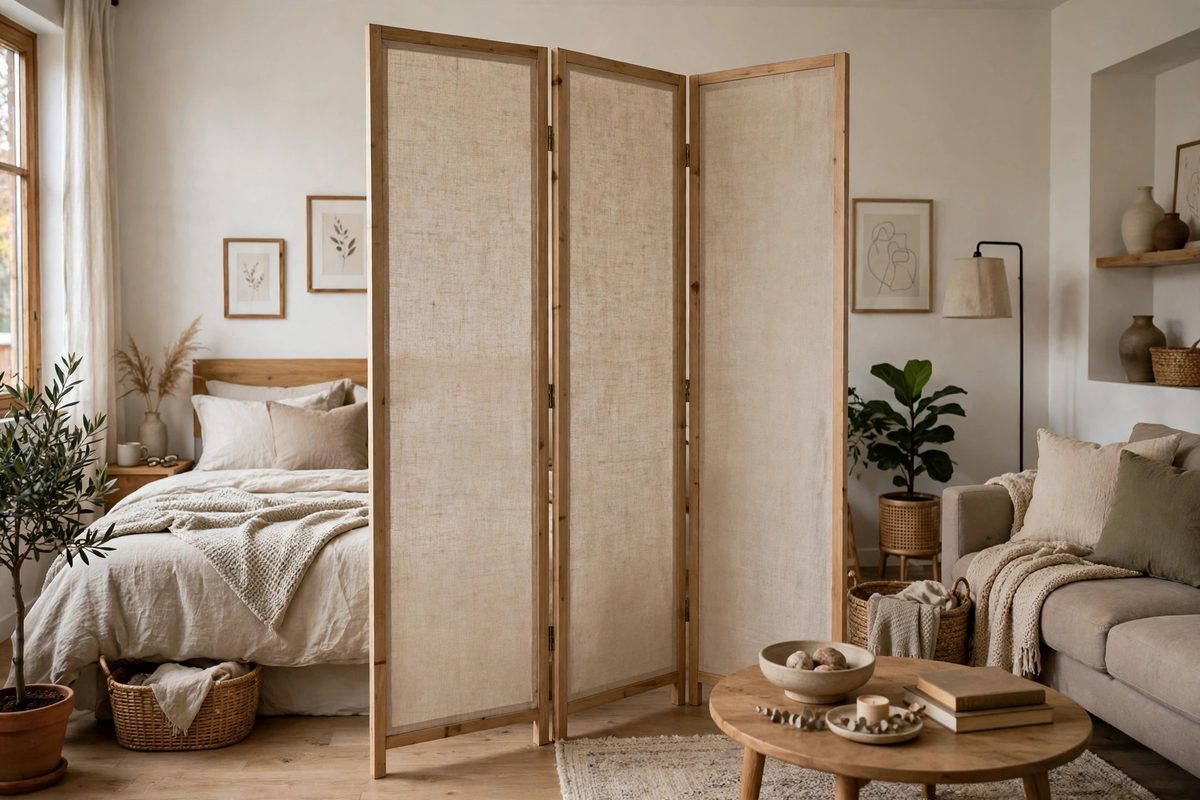
A freestanding divider frame, three hinged panels or a simple garment rack frame, with fabric clipped or sewn over it, splits a studio into sleeping and living zones without touching a wall or ceiling. A ready-made three-panel frame costs 50 to 90 dollars, and fabric to cover it costs another 20 to 30 dollars. The divider weighs 10 to 20 pounds total and folds flat at move-out.
Fabric choice decides whether the divider feels like a room boundary or a shower curtain. A medium weight linen or canvas blocks sight lines and muffles sound slightly, while a sheer fabric only suggests a boundary and lets light through. In a studio under 400 square feet, a semi-sheer fabric often works better, since a solid divider can make the sleeping side feel like a closet.
How to make it work
Attach fabric with curtain clips spaced 4 to 6 inches apart along the top rail, so you can swap fabrics by season without tools. Weight the bottom of the fabric with a sewn hem or clip-on drapery weights so it hangs straight and does not blow around. Place the divider at least 6 inches from any heater or radiator, and anchor it against tipping by keeping the outer panels angled slightly forward, which widens its footprint.
10. Upcycled Crate Storage Bench
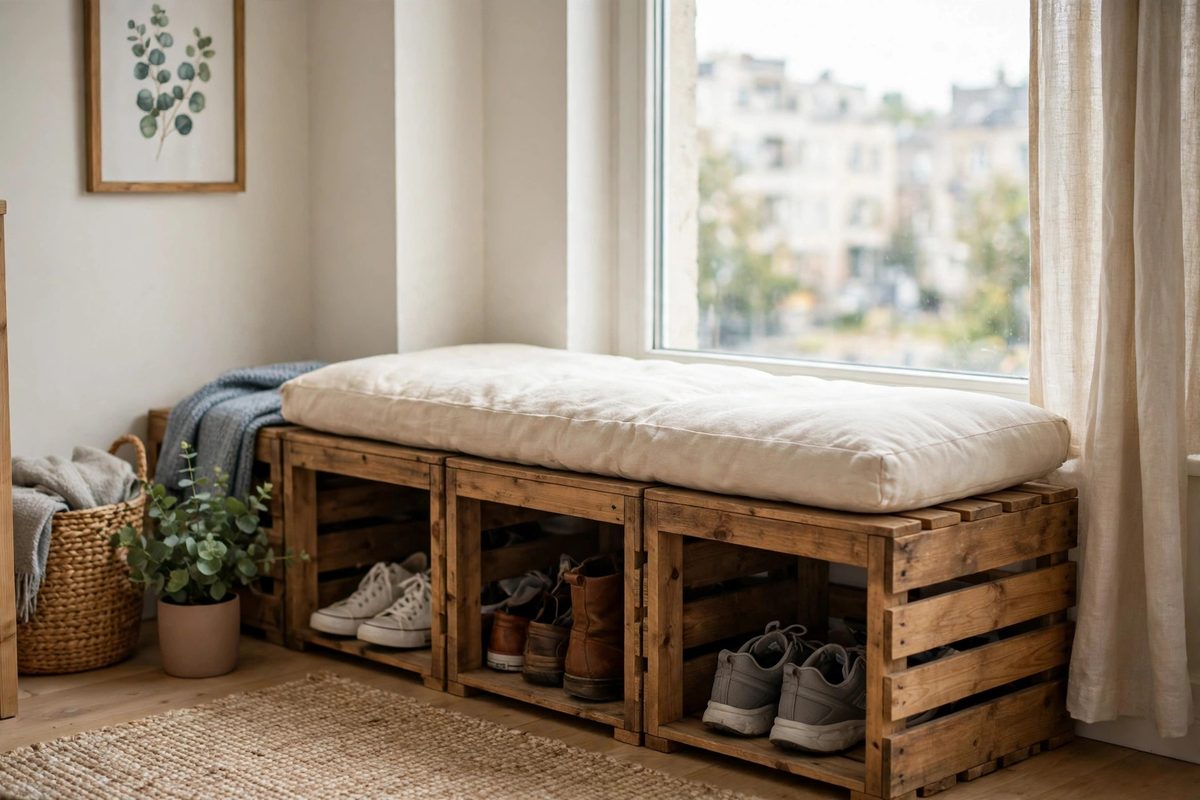
Wooden crates screwed together into a bench, with a cushion on top, give a small apartment a window seat, a shoe bench, and hidden storage in one build. Four crates cost 30 to 50 dollars, a foam cushion cut to size costs 20 to 35 dollars, and the bench holds about 40 to 60 pounds of storage inside plus a seated adult on top if the crates are braced with a plywood top board.
Crates vary in strength, so inspect each one before building. Thin decorative crates crack under weight, while solid pine crates with corner blocks hold up well. A plywood top, at least half an inch thick, spread across all four crates is what turns separate boxes into a bench you can sit on safely.
How to make it work
Screw crates together from the inside with short wood screws, 1 inch or shorter, so no screw pokes through the outer face, and add a half inch plywood top cut to the bench footprint. Sand all outer surfaces with 120 grit paper to avoid splinters, and add felt pads under the feet to protect floors. Finish with paint or wood stain and let it dry for 24 hours before adding the cushion. For more no-drill storage builds, see no-drill storage ideas.
Small apartment diy works best when every project earns its floor space and leaves the walls alone. Start with one project from this list, live with it for a week, and check that it holds, that it still looks good at night under your normal lights, and that you would be happy to take it down in ten minutes. If it passes those three tests, it belongs in your apartment. If it does not, you have lost an evening and a few dollars, not a deposit.