How to Hang Shelves Without Drilling or Studs
A step by step guide to hanging shelves without drilling or studs, covering wall types, adhesive weight limits, safe load testing, and damage free removal for renters.
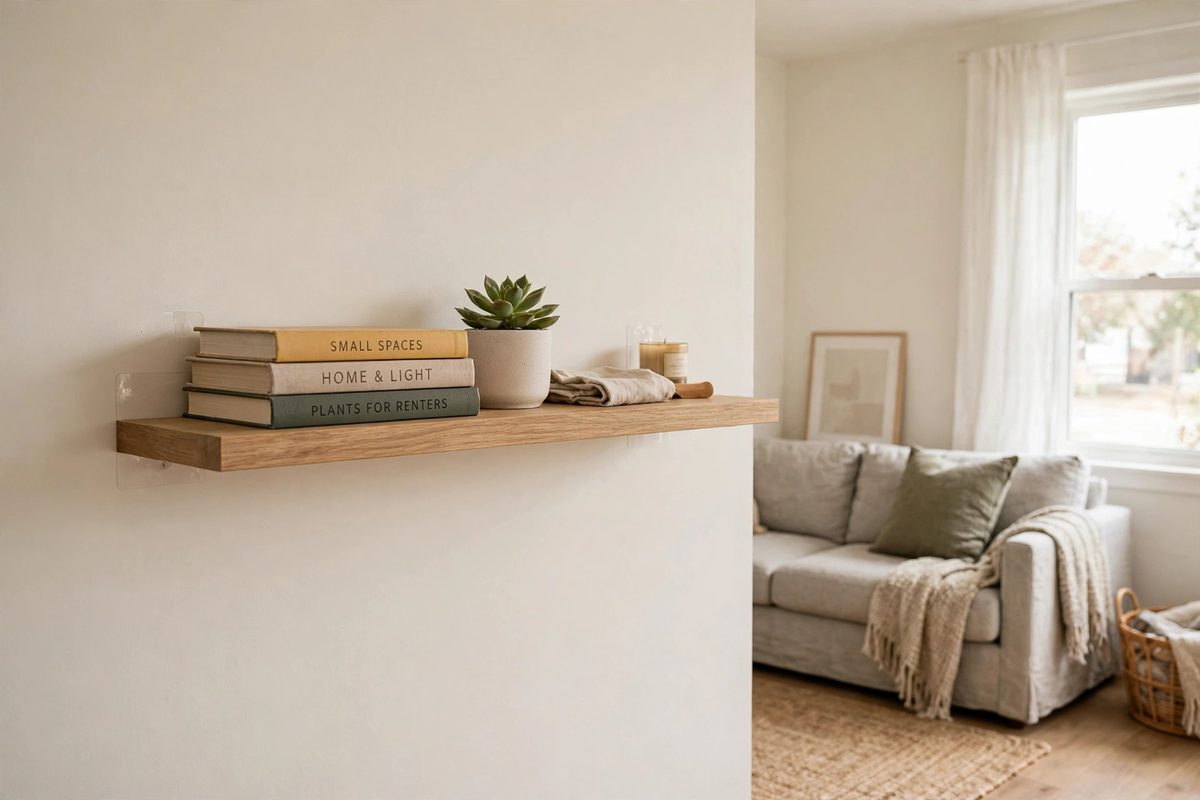
Wooden wall shelf mounted without drilling in a bright rental living room, holding books and a small plant
In This Guide
You can hang a shelf without drilling and without finding a stud, but only if you match the method to your wall and to the real weight of what the shelf will hold. Renters lose deposits when adhesive strips peel paint, when a shelf overloaded with books falls in the night, or when a suction mount slides off a textured wall. This guide walks through the whole job in order, so you avoid all three problems.
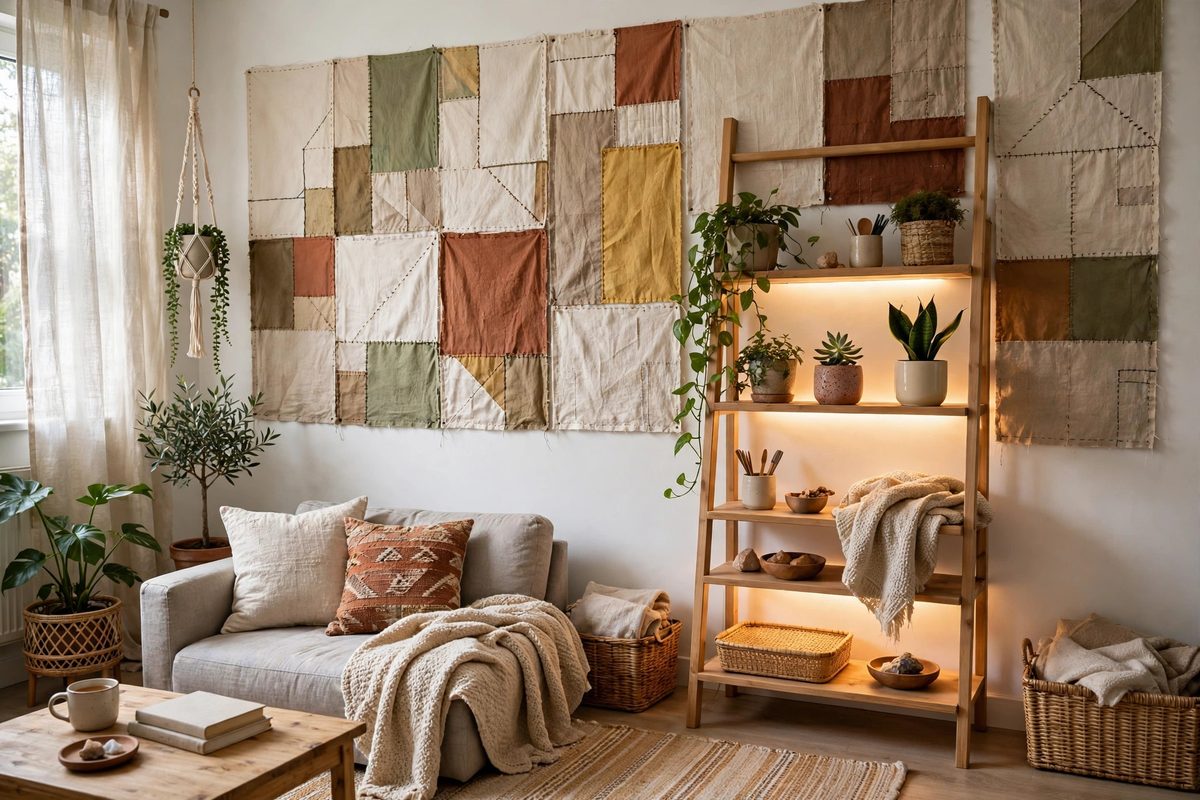
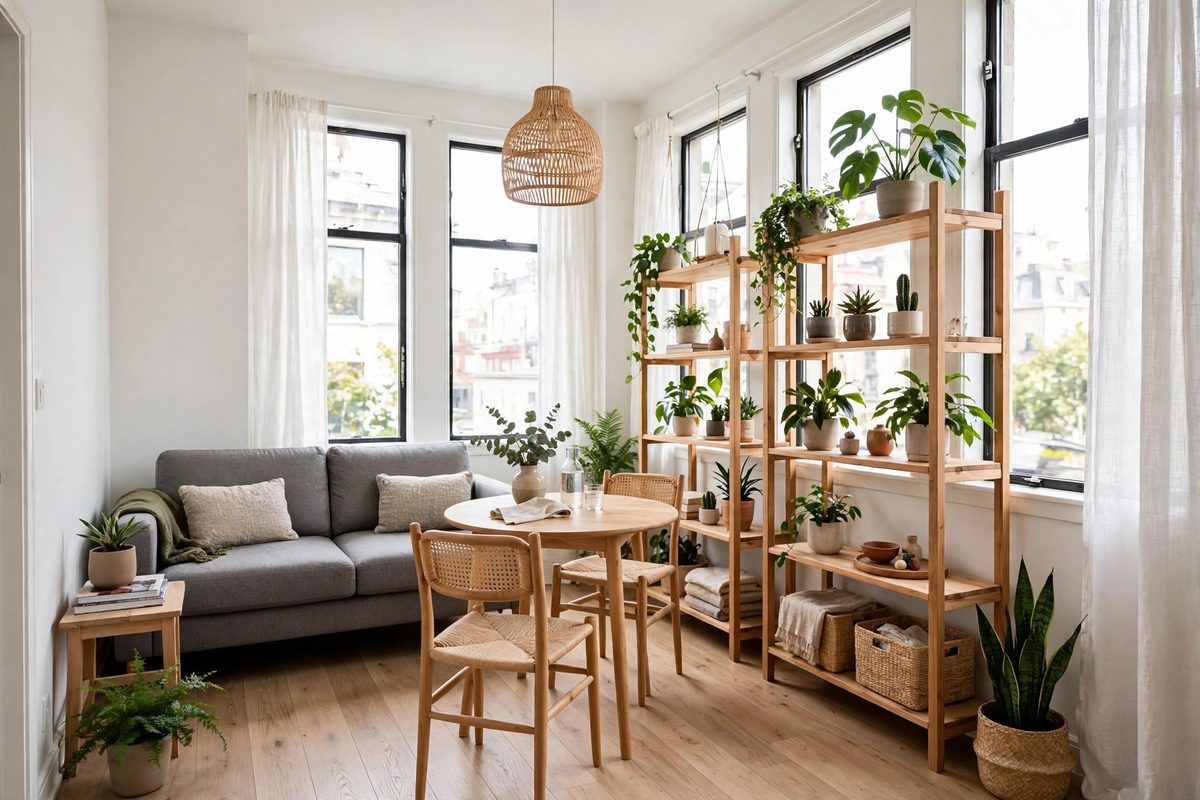
This method is for renters, dorm residents, and anyone who cannot or does not want to drill. It covers light to medium shelves: plants, framed photos, small books, bathroom toiletries, and kitchen spices. It does not cover a full wall of hardcover books or a heavy solid wood shelf loaded with ceramics. For those loads, a freestanding bookcase or a leaning shelf unit is the safer no-drill answer, and this guide shows you how to choose that instead of forcing adhesive to do a job it cannot do.
Tools and Materials You Will Need
You need less than you think, but skipping the prep supplies is the most common reason shelves fail. Gather a level, a tape measure, painter’s tape, a pencil, rubbing alcohol and a clean cloth, a bathroom scale, and the mounting kit rated for your shelf. For adhesive mounts, that means adhesive strips or adhesive brackets rated for at least 1.5 times your total load. For suction mounts, you need a smooth, nonporous surface such as glass or glazed tile. For a freestanding option, you need furniture pads and, if the unit is tall, an adhesive anti-tip pad or a tension pole that braces it to the ceiling.
Weigh the empty shelf board first, then weigh a typical load of books or jars on a bathroom scale and add the two numbers. A small pine board of 24 inches often weighs 3 to 5 pounds on its own, and six paperback books add another 6 to 9 pounds. That total, not the weight you guess, decides your mounting method. If you want more shelf inspiration once the mounting is sorted, see no-drill shelf ideas for renters, and for other wall storage that avoids holes, see no-drill storage ideas for renters.
Step 1. Assess Your Wall and Find What Is Behind It
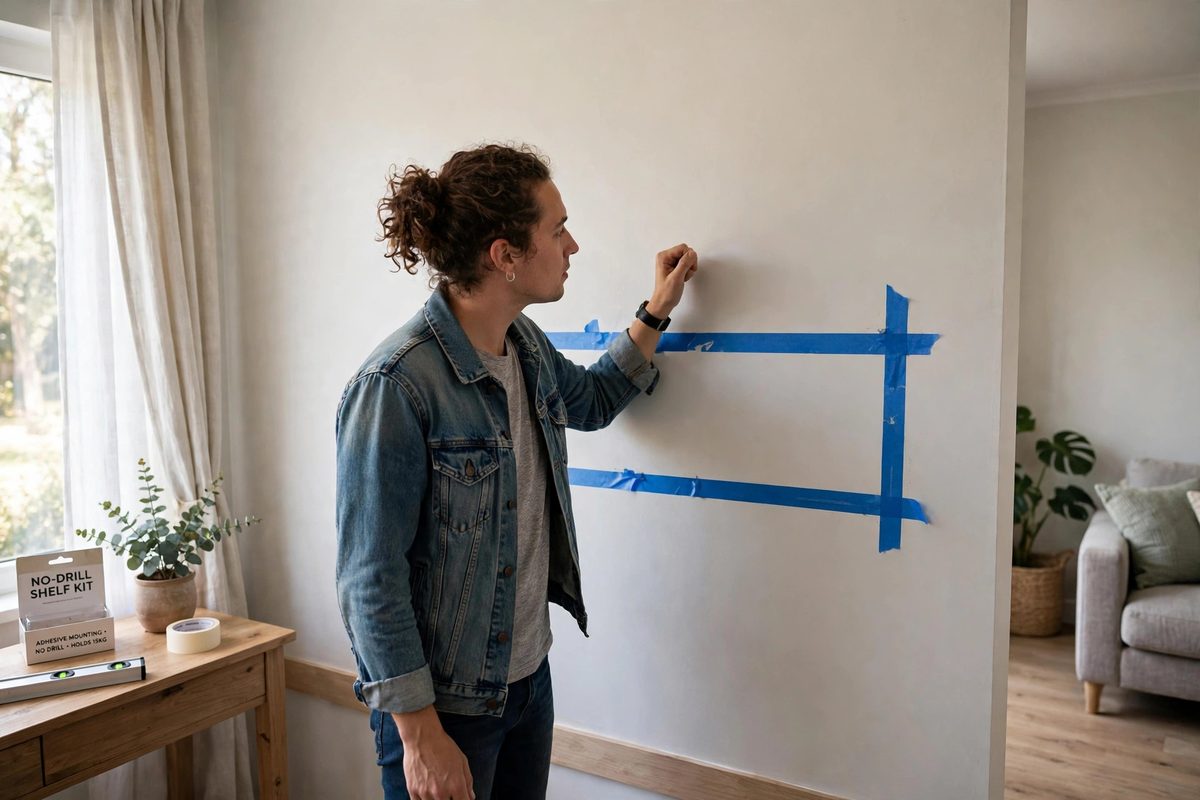
Start by identifying your wall type, because every no-drill method depends on it. Smooth painted drywall is the best surface for adhesive strips. Plaster can work if the paint is smooth and firmly bonded, but old or flaking plaster will pull away with the strip. Glazed tile and glass suit suction mounts and some adhesives. Concrete and brick are strong, but they are usually rough or dusty, so adhesive bonds poorly unless the surface is smooth and sealed. Textured walls, wallpaper, and fresh paint less than 30 days old are the worst candidates for adhesive of any kind.
Knock gently along the wall and press with your palm to check for hollow spots, loose paint, or crumbling plaster. Look for signs of moisture near windows and in bathrooms, since damp paint weakens adhesive over time. If the wall is textured, skip adhesive entirely and move to a tension or freestanding option in Step 3. That one decision prevents most paint damage and most falls.
Step 2. Weigh Everything and Set a Weight Budget
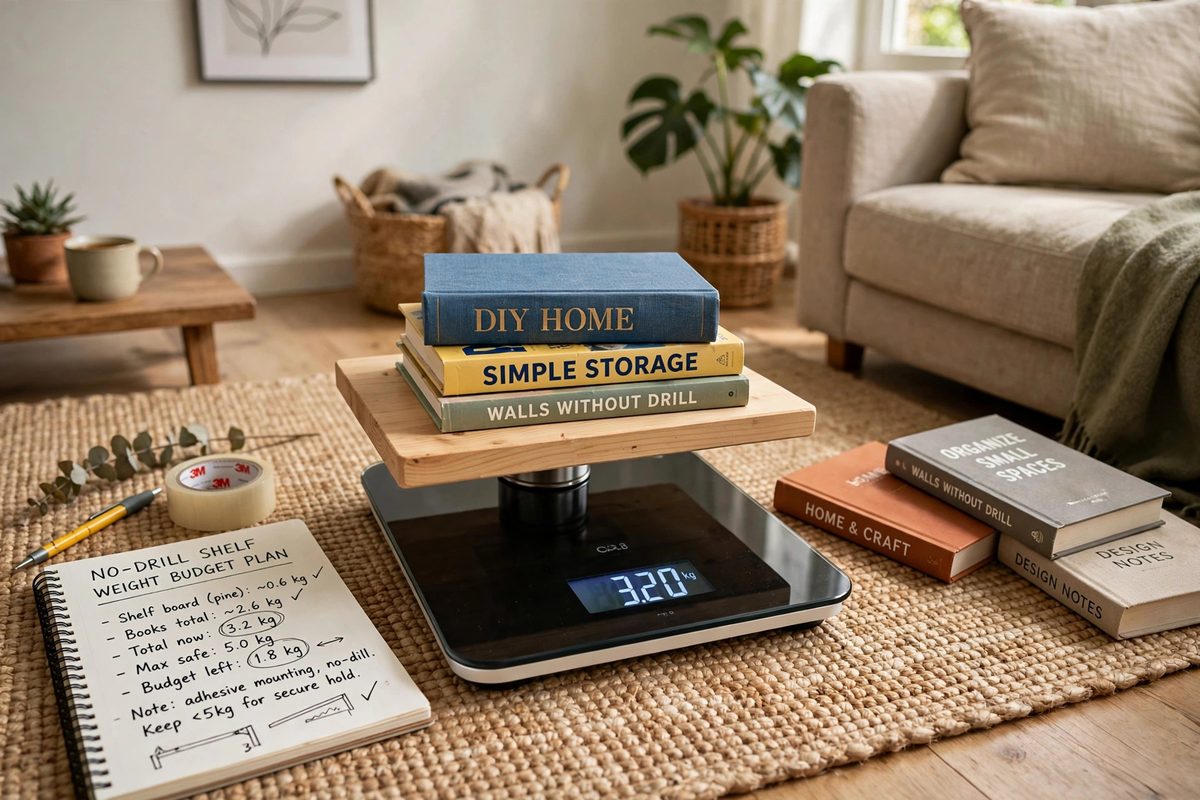
Weigh the shelf board, the brackets or mounts, and a realistic load, then write the total down. A shelf rated for 15 pounds that carries 18 pounds of books will not fail on day one. It will creep, slowly peeling from the top edge, and fall weeks later, usually at night. Set your budget at two thirds of the rated limit. If your strips are rated for 15 pounds total, plan for no more than 10 pounds on the shelf. That margin covers humidity, temperature changes, and the extra jar you add later without thinking.
Heavy items belong low and close to the wall. Hardcover books, cast iron, and large ceramic planters should go on a freestanding bookcase, not on an adhesive shelf. Light items belong up high: small plants in plastic pots, framed photos, paperbacks, spice jars, and folded towels. If your total passes 20 pounds, stop and choose a leaning ladder shelf or a tension-pole shelf unit instead. Those options are covered in renter-friendly wall decor ideas, which also helps with styling a shelf once it is safely up.
Step 3. Choose Your No-Drill Method
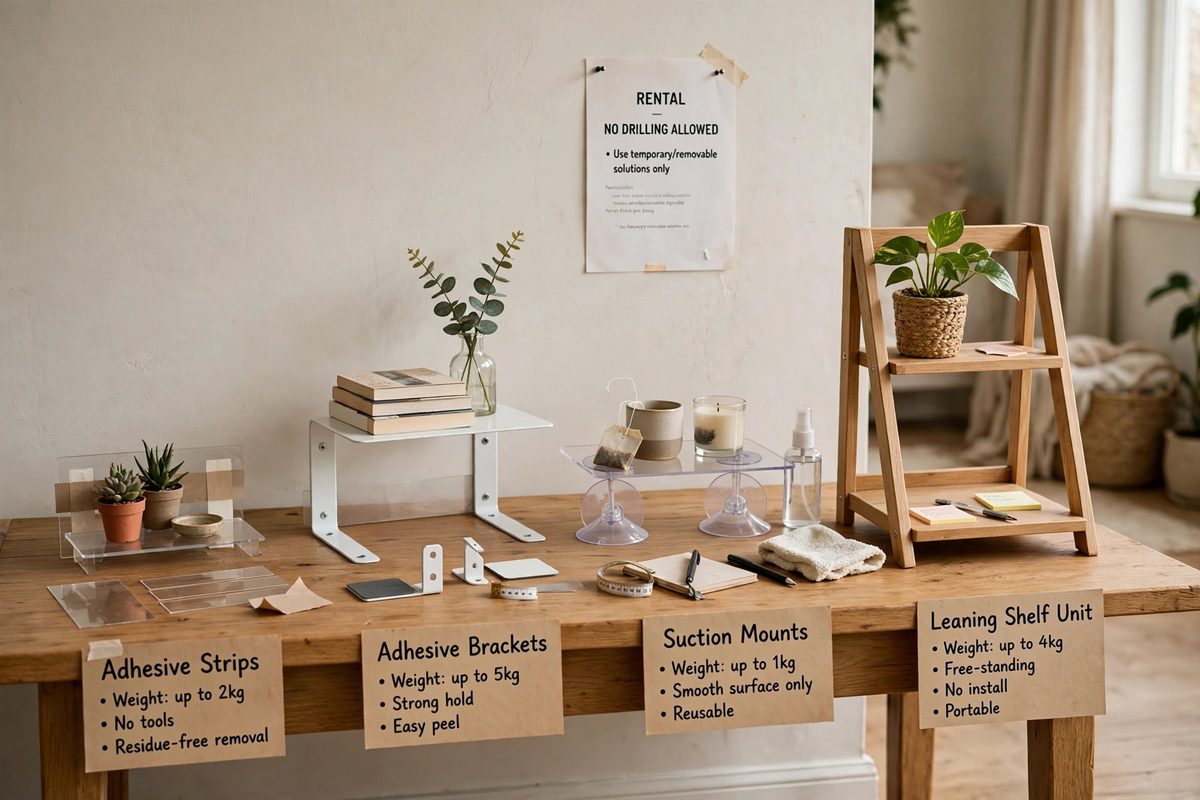
Choose one method and commit to it, rather than mixing systems on the same shelf. Adhesive strips and adhesive brackets work best on smooth painted drywall and hold 3 to 15 pounds per pair, depending on the strip size and the number of strips used. Use four strips, two per bracket, for anything over 8 pounds, and never rely on a single strip for a shelf. Suction mounts work only on smooth glass or glazed tile and hold 5 to 10 pounds per cup on a clean surface, but they lose grip in heat and humidity and need regular re-pressing.
Tension shelf units press between floor and ceiling or between two walls, and they suit narrow alcoves and bathroom corners. They hold 10 to 20 pounds per shelf if the pole is truly vertical and the ceiling is solid. Freestanding and leaning shelves need no wall fixing at all, and they are the only honest no-drill answer for heavy books. A leaning ladder shelf holds 30 pounds or more per shelf when its feet are level and its top rests flat against the wall. Pick the method that fits your wall type from Step 1 and your weight budget from Step 2, not the method that looks nicest in a product photo.
Step 4. Prep the Surface Properly
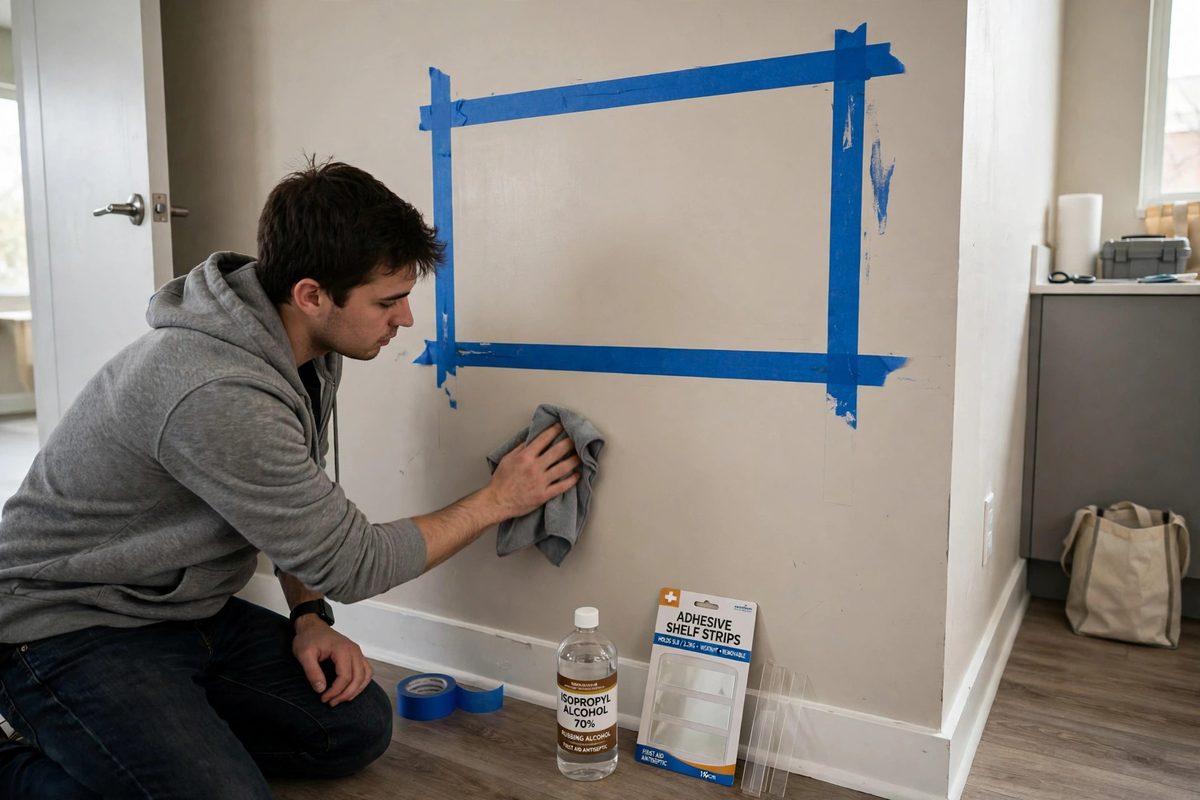
Surface prep decides whether adhesive holds for a year or a week. Wipe the exact area where strips will sit with rubbing alcohol on a clean cloth, then let it dry completely for at least 10 minutes. Do not use household cleaners that leave residue, and do not stick strips over dust, grease, or cleaning spray film. In kitchens, wipe twice, since cooking grease is invisible but fatal to adhesive bonds. In bathrooms, run the fan and wait until the wall is fully dry, since humidity trapped under a strip weakens the bond from day one.
Mark your strip positions with painter’s tape while the wall dries. Do not press strips onto the wall, peel them off to reposition, and press them again. Most adhesive strips lose a large share of their holding power after one reposition. If you misplace a strip, use a fresh strip. This is also the moment to check the temperature: adhesive bonds best between 60 and 85 degrees Fahrenheit, so avoid installing on a freezing exterior wall in winter or a sun-baked wall in summer.
Step 5. Mark Level Placement and Bracket Positions
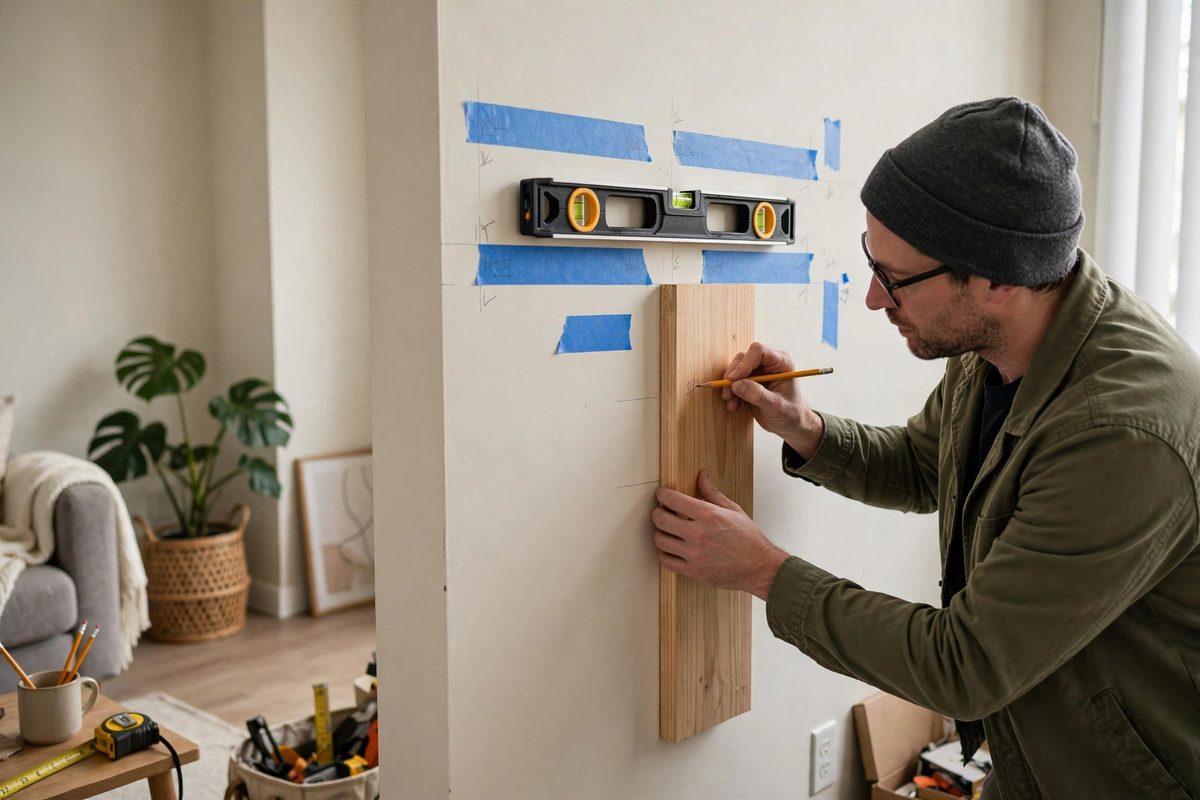
Hold the shelf board against the wall at your planned height and mark the top edge lightly in pencil at both ends. Place a level on the board and adjust until the bubble is centered, then mark the bracket positions through the bracket holes or at the strip locations. For a 24 inch shelf, place brackets 4 to 6 inches in from each end. For a 36 inch shelf, use three brackets or two wide adhesive brackets, since a long span sags in the middle under books.
Check what sits below and around the shelf before you commit. A shelf above a sofa needs at least 12 inches of clearance so nobody bumps their head. A shelf above a desk should sit 18 to 20 inches above the work surface so a monitor or lamp fits beneath it. A bathroom shelf must clear the faucet and any mirror door swing. Step back and look from across the room, since a shelf that looks level up close can look crooked against a sloped ceiling line. Adjust now, while the marks are still pencil.
Step 6. Mount the Brackets or Strips
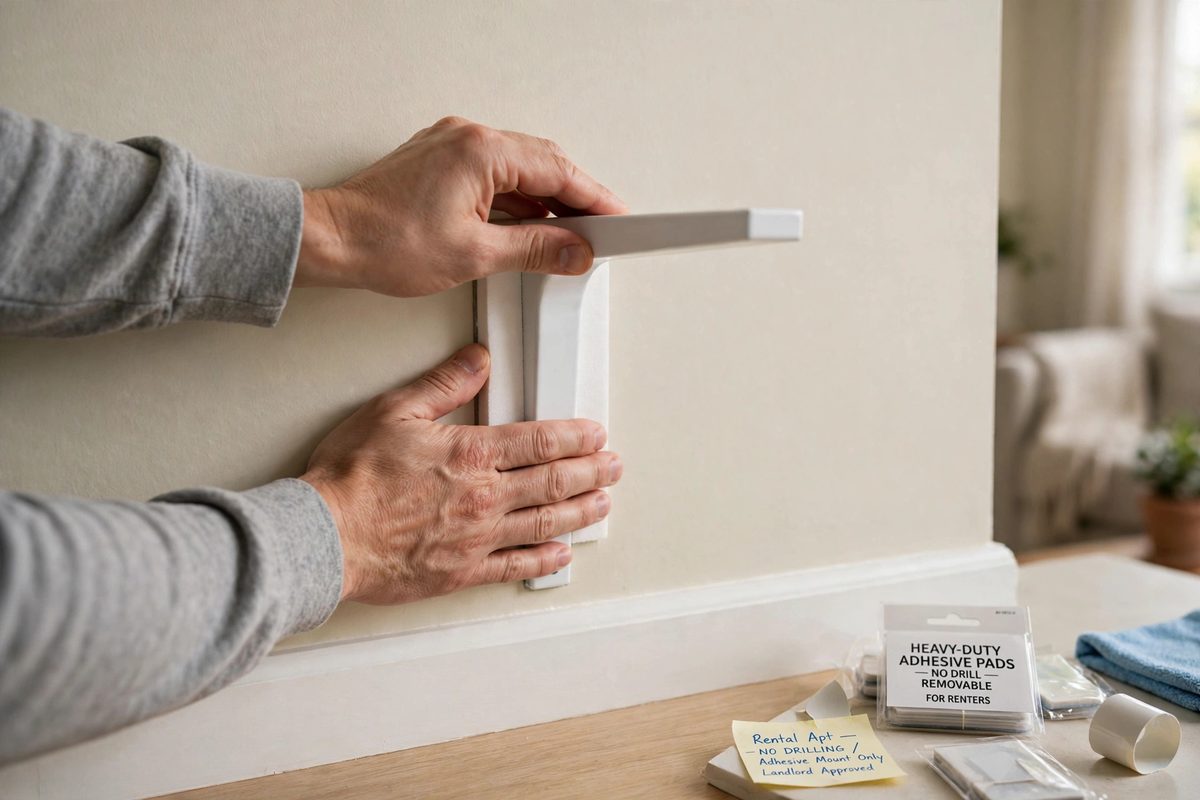
Press each adhesive strip firmly for 30 seconds, using your full palm rather than fingertips, so the whole strip contacts the wall. Attach the bracket to the strip, press again for 30 seconds, and then stop touching it. The hardest part of this step is waiting. Most adhesive systems need a cure time of 1 hour before any load, and some heavy-duty strips need 24 hours for full strength. Read your package and follow the longer time if two numbers are printed. Hanging the shelf early is the second most common cause of failure, after skipping surface prep.
For suction mounts, wet the cup lightly, press it flat against clean tile or glass, and flip the locking lever if your model has one. For tension units, extend the pole until it is snug, check it is vertical with a level, and tighten in small turns rather than forcing it. For a freestanding unit, level the feet first and add furniture pads so it does not slide on hard floors. Do not load anything yet, even to test the look. The cure and settling time in Step 8 is part of the install, not an optional extra.
Step 7. Set the Shelf Board and Check It Is Level
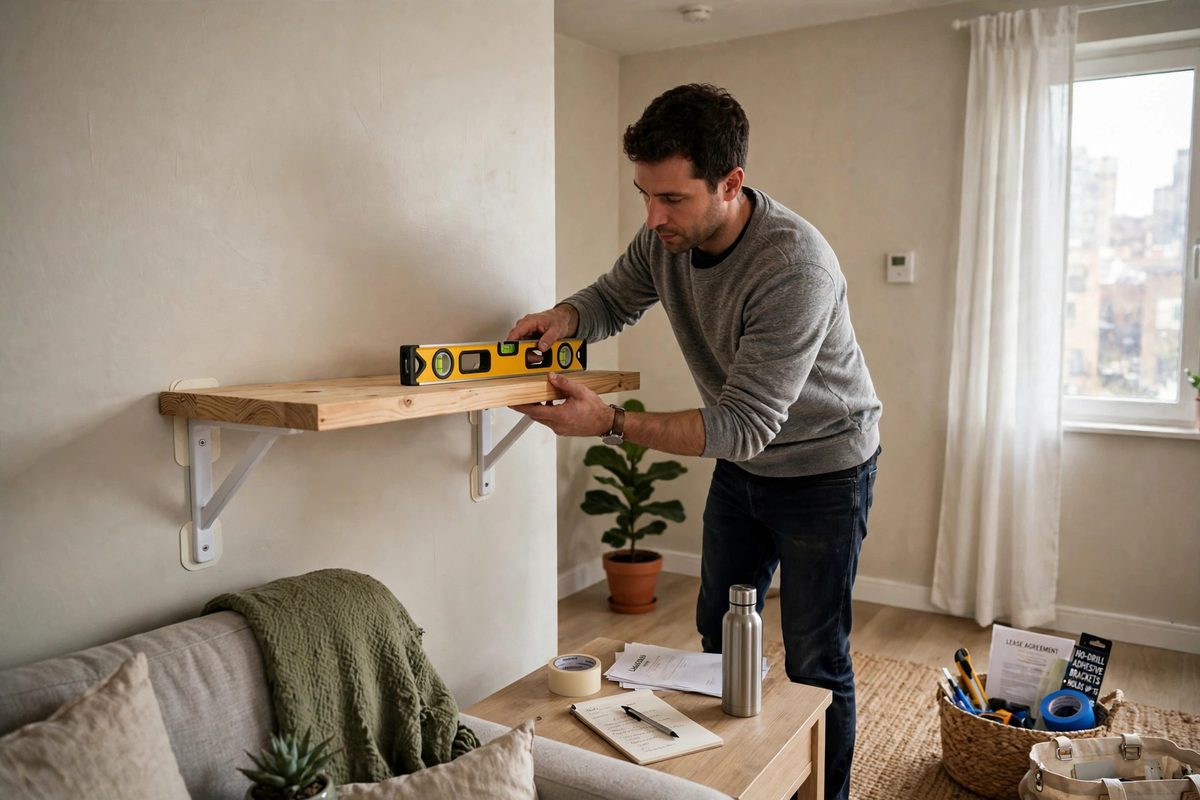
Once the cure time has passed, set the board onto the brackets and check it is level again. Adhesive brackets can shift a fraction of an inch during curing, and that small shift shows up as a visible slope once books are on the board. If the board rocks, remove it, check that both brackets sit at the same height, and reseat it. Do not shim a rocking board with folded cardboard under one bracket, since that concentrates load on the other bracket and invites a peel failure.
For a shelf with a lip or raised edge at the back, face the lip toward the wall so items cannot slide off the back. For an open board, place a small adhesive bumper or a strip of museum putty under items near the front edge in homes with children or pets. Confirm the board overhang past each bracket is even, about 2 to 4 inches per side on a standard shelf. Uneven overhang looks unfinished and puts more leverage on the outer bracket when weight sits at the far end.
Step 8. Cure, Test the Load, and Add Weight Gradually
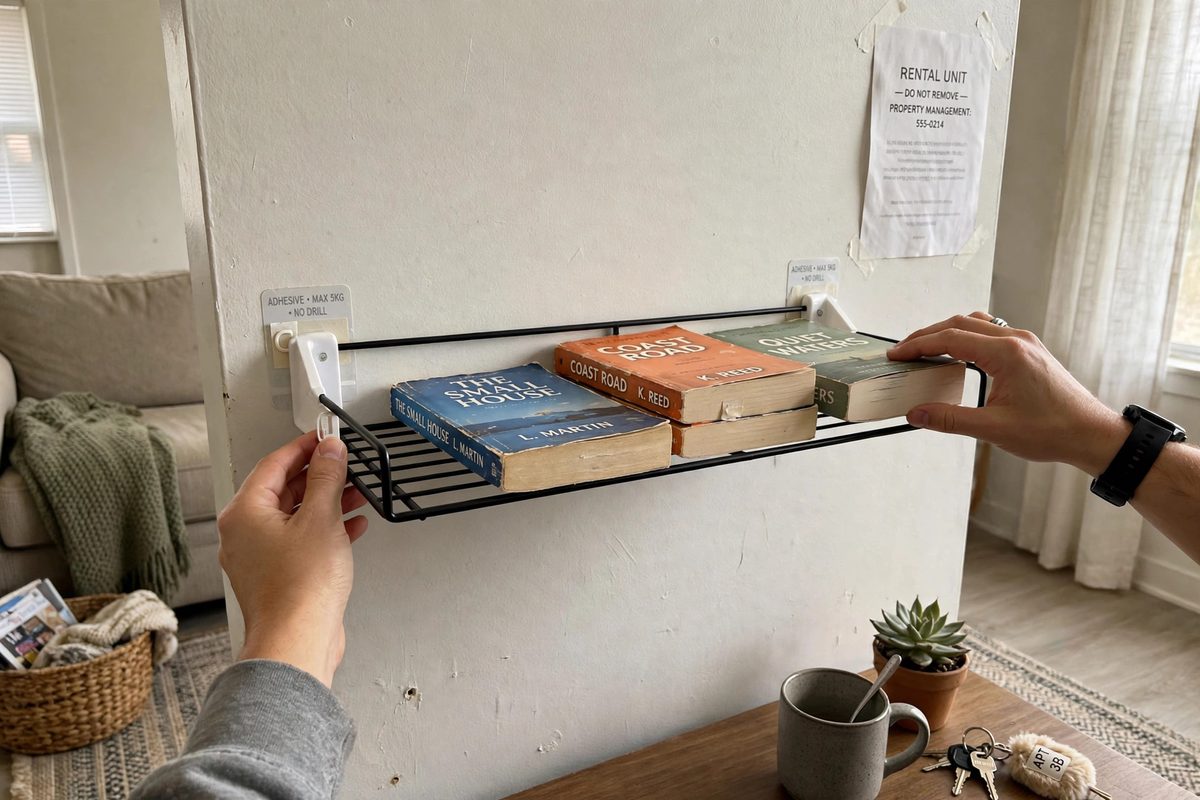
Testing a shelf means loading it in stages, not piling everything on at once. Start with half your planned weight, leave it for 24 hours, and check the top edge of each strip for peeling or gaps. Then add the rest of the load and check again after another 24 hours. Pull gently downward on the front edge of the shelf, with about the force of opening a stiff drawer. A solid mount will not move. A mount that flexes, creaks, or shows a gap at the top edge is telling you the load is too high or the surface prep failed. Remove weight immediately and reassess.
This test answers the question every renter asks: will it hold heavy items? The honest answer is that adhesive shelves hold light to medium items reliably and heavy items only on freestanding units. If your test shelf holds paperbacks and plants but sags under hardcovers, believe the test and move the hardcovers to a bookcase. For styling ideas that keep loads light, no-drill curtain ideas for rental apartments show the same weight-first thinking applied to windows.
Step 9. Style the Shelf So It Stays Safe
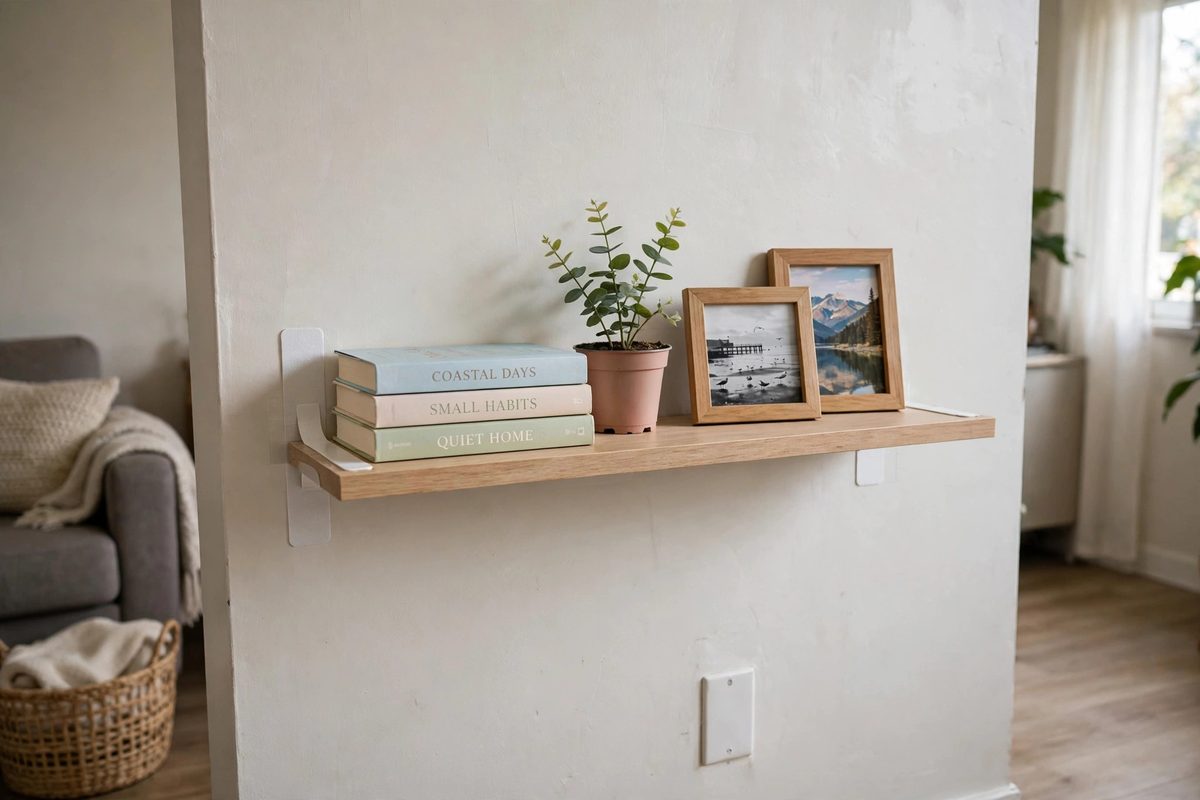
Style from the wall outward and from heavy to light. Put the heaviest allowed items closest to the wall and nearest the brackets, where leverage is lowest. Put light, stable items at the front edge. Keep tall items away from the shelf edge in earthquake-prone areas and in homes with cats, and use museum putty under vases and framed photos. A plant in a plastic pot weighs far less than the same plant in ceramic, and that single swap can bring an overloaded shelf back inside its budget.
In bathrooms, choose plastic or sealed containers, since humidity rusts metal brackets and swells raw wood boards. In kitchens, keep shelves away from direct stove heat and steam, which soften adhesive over time. Leave a small gap between the shelf above and the items below it, so you can lift a book out without dragging the whole row and tugging the shelf forward. A shelf that is easy to use is a shelf that stays up, because nobody yanks at it.
Step 10. Remove the Shelf Without Losing Your Deposit
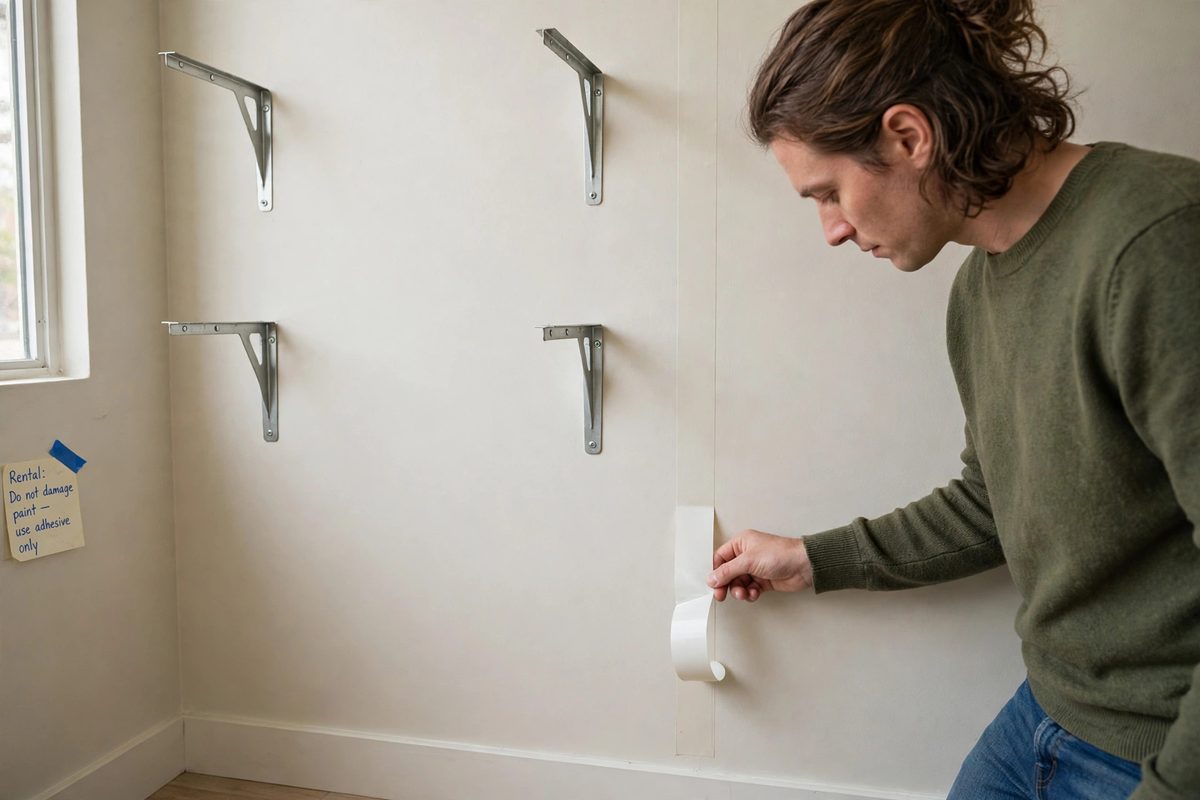
Removal is where deposits are won or lost, so follow the strip instructions exactly. For most adhesive strips, pull the tab slowly straight down along the wall, keeping the pull parallel to the surface, never outward. Pulling outward peels paint. If a tab breaks, use dental floss or fishing line slid behind the strip to cut the foam, then roll the remaining adhesive off with your thumb. Warm the area gently with a hair dryer on low for 30 seconds if residue resists, then wipe with rubbing alcohol.
Inspect the wall in daylight after removal. Small marks often wipe away, and a dab of matching touch-up paint, if your lease allows it, fixes most scuffs. Photograph the wall after removal and keep the photo with your move-out records. For suction mounts, release the lever and peel from one edge rather than yanking the cup. For tension units, shorten the pole before moving it, so it does not spring against the ceiling. Done correctly, a no-drill shelf leaves no holes, no torn paint, and no reason for a deduction.
Mistakes That Cause Falls or Wall Damage
The same five mistakes appear in almost every failed install. First, sticking adhesive to textured walls, wallpaper, or fresh paint. Second, skipping the alcohol wipe or loading before the cure time ends. Third, guessing the weight instead of weighing it. Fourth, using one strip where two are needed, or centering a single bracket under a long board. Fifth, hanging a shelf in a bathroom or above a stove without accounting for humidity and heat. Avoid those five and most no-drill shelves hold for the full length of a lease.
Weight limits in plain numbers help. A pair of small adhesive strips typically holds 3 to 5 pounds. A pair of large strips or adhesive brackets holds 10 to 15 pounds. A suction cup on clean glazed tile holds 5 to 10 pounds. A tension pole shelf holds 10 to 20 pounds per shelf. A freestanding bookcase holds 30 pounds or more per shelf. If your plan needs more than the method offers, change the method, not the math.
Will It Damage Paint, and Does It Work on Tile or Textured Walls?
Adhesive strips on smooth, well-bonded paint usually remove cleanly if you pull the tab correctly and the paint is more than 30 days old. They can damage paint that is old, flaking, or applied over wallpaper paste, and they can pull fresh paint outright. On glazed tile, adhesive and suction both work well, and removal is easier than on drywall, since tile does not tear. On textured walls, neither adhesive nor suction grips reliably, so use a tension unit or a freestanding shelf. On concrete and brick, use a freestanding unit unless the surface is smooth and sealed, in which case test one strip with a light load for a week before committing to a full shelf.
No-drill shelving works when the method, the wall, and the weight agree. Assess the wall, weigh the load, prep the surface, wait out the cure time, test in stages, and remove by the tab, not by force. Follow those steps and you get storage, display space, and a full deposit back at move-out.