9 Renter-Friendly Temporary Flooring Ideas That Don't Require Renovation
9 renter-friendly temporary flooring ideas that need no renovation: vinyl planks, loose-lay sheets, carpet tiles, rugs, and deposit-safe removal tips.
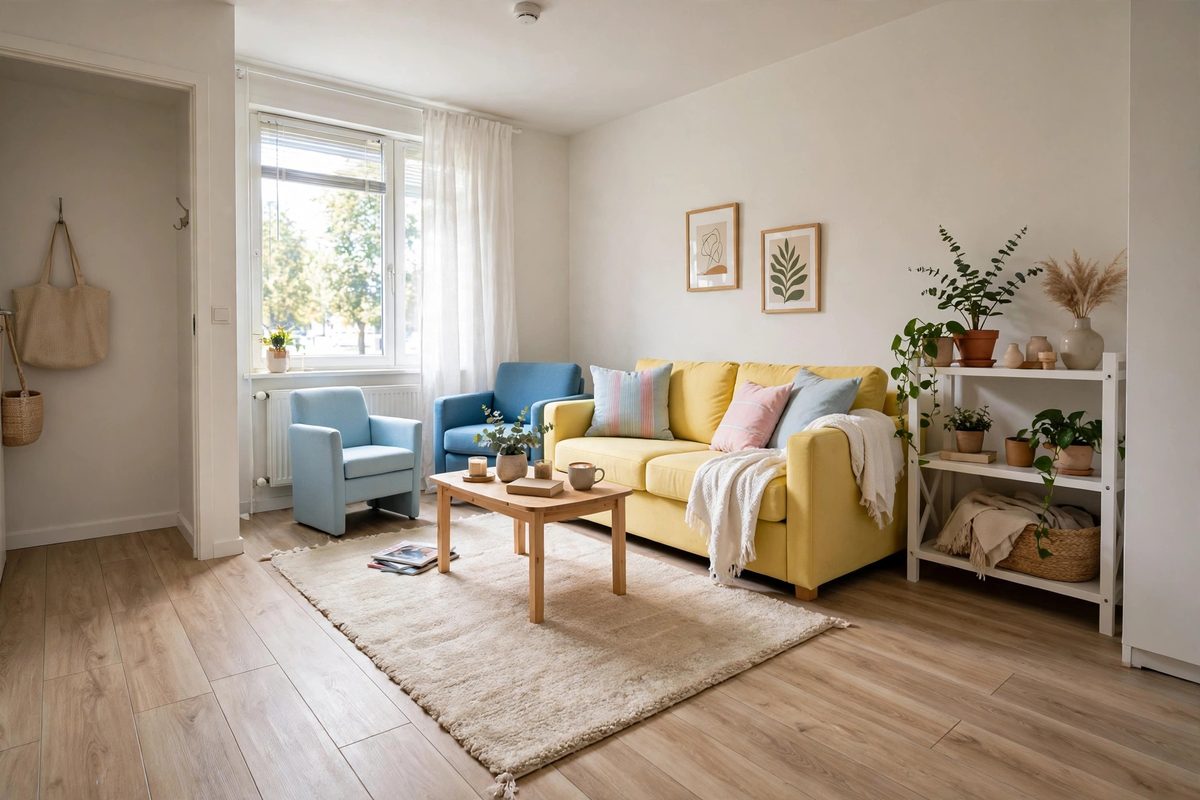
Small rental living room with light wood-look peel-and-stick vinyl plank flooring, a soft rug, and bright furniture
In This Guide
Rental floors are often the hardest thing to live with: scratched laminate, stained carpet, or cold tile that no amount of cleaning fixes. Replacing a floor feels like a renovation, but temporary flooring changes that. These options install without glue, nails, or landlord-level work, and most remove cleanly at move-out.
The right choice depends on the room, the existing floor, and how long you plan to stay. A kitchen needs water resistance. A bedroom needs softness. A living room needs durability under furniture. Match the product to the room, and temporary flooring can look surprisingly permanent.
These ideas pair with other no-damage upgrades like no-drill curtain ideas and the fresh start in small apartment January reset ideas. For existing kitchen floors that just need styling, see small kitchen flooring ideas.
1. Peel-and-Stick Vinyl Planks
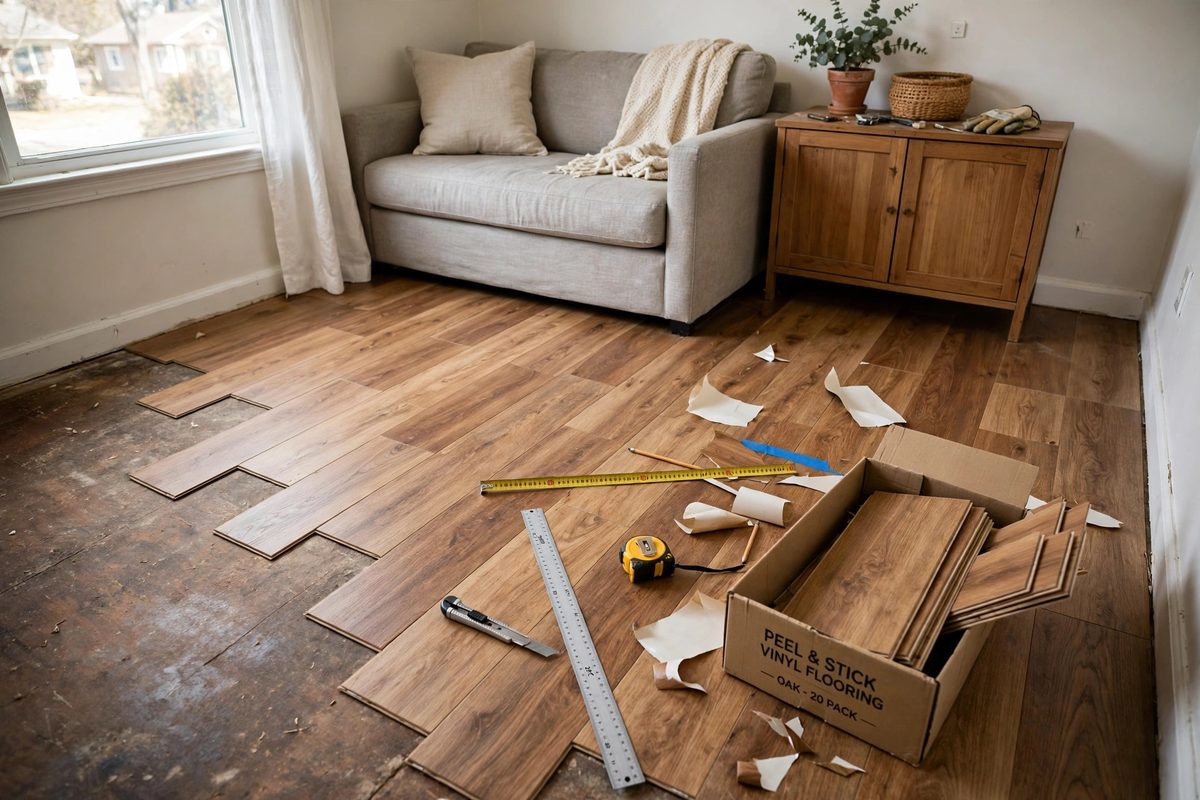
Peel-and-stick vinyl planks are the most popular temporary flooring for a reason: they look like wood, cost 1 to 3 dollars per square foot, install with a utility knife and a straightedge, and handle kitchens and entryways well. A 200 square foot living room typically costs 200 to 600 dollars in materials.
Choose planks at least 2 millimeters thick with a wear layer of 12 mil or more for living areas. Thinner planks show subfloor imperfections and wear faster under furniture.
How to make it work
Clean and dry the existing floor, then lay planks from the center of the room outward or from the longest straight wall, depending on the room shape. Stagger joints by at least 6 inches between rows, like real wood flooring. Roll the finished floor with a floor roller or a heavy rolling pin to ensure full adhesion, and keep spare planks for replacements.
2. Loose-Lay Vinyl Sheets
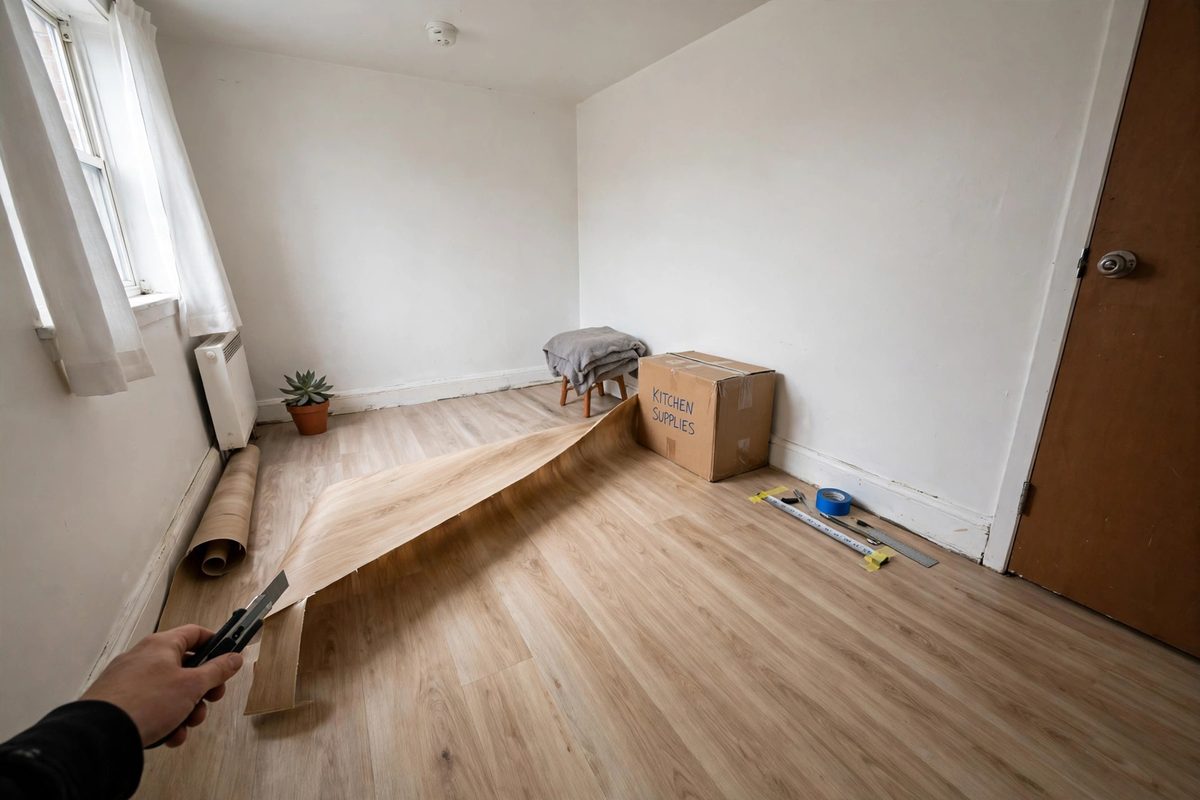
Loose-lay vinyl sheets are large, heavy vinyl pieces that stay in place by weight and friction, with no adhesive at all. That makes them the most deposit-safe hard flooring option: at move-out, you roll them up and the original floor is untouched.
Loose-lay sheets suit small rooms best, up to about 150 square feet per sheet, since very large sheets are heavy and hard to maneuver in tight spaces. They come in wood, stone, and tile looks, typically 2 to 4 dollars per square foot.
How to make it work
Measure the room precisely and order a sheet slightly larger than needed, then trim in place with a sharp knife. Use double-sided carpet tape only at doorways and edges if the sheet shifts, and remove tape residue with adhesive remover at move-out. Keep the sheet flat during storage; folding it creates creases that are hard to remove.
3. Interlocking Click Tiles
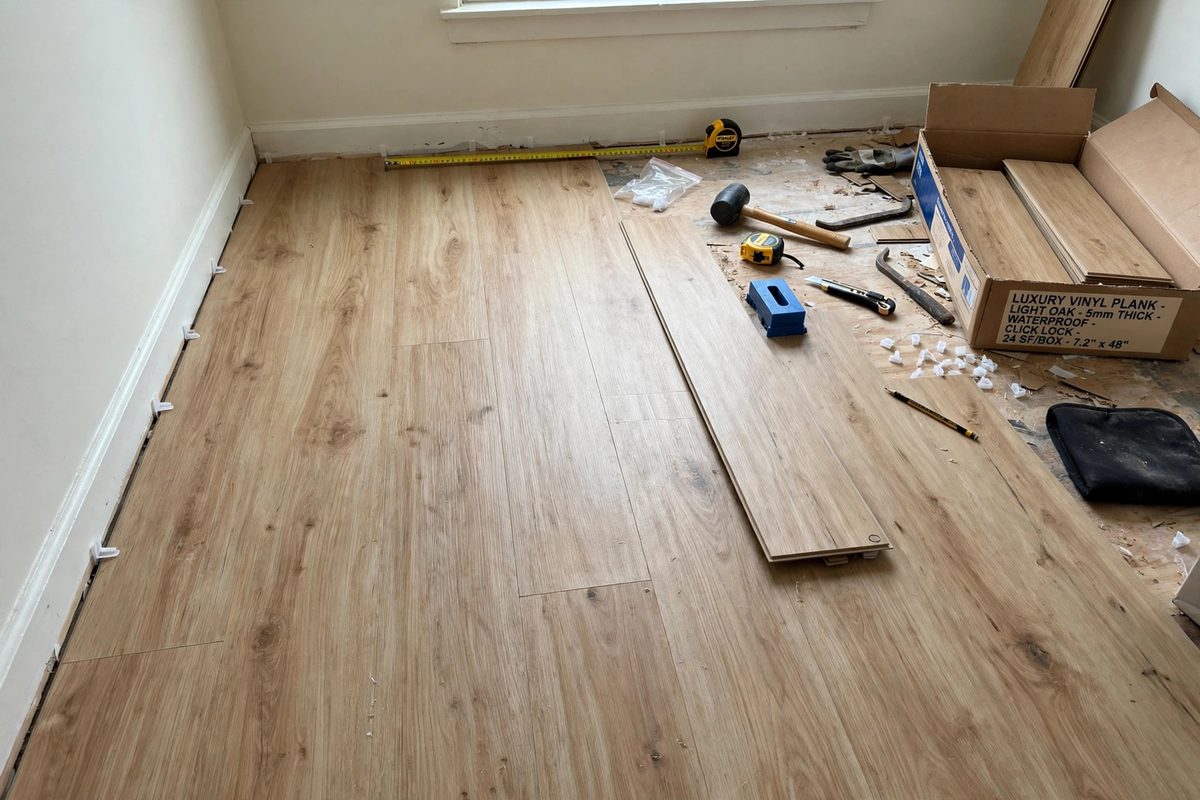
Interlocking click tiles, usually vinyl or laminate with a click-lock edge, float over the existing floor without glue or nails. They are thicker and more durable than peel-and-stick planks, and they remove by unlocking, plank by plank, which makes them reusable in your next apartment.
Click tiles cost 2 to 5 dollars per square foot, more than peel-and-stick, but the reusability offsets the price if you move within a few years. They need a flat subfloor; uneven floors cause clicking sounds and gaps.
How to make it work
Lay an underlayment pad if the product recommends one; it reduces noise and protects the original floor. Leave a quarter-inch expansion gap at walls, hidden by baseboards or quarter-round trim. Work row by row, clicking the short edge first, then the long edge, and use a tapping block, not a hammer directly on the tile edge.
4. Large Area Rugs as Floor Cover
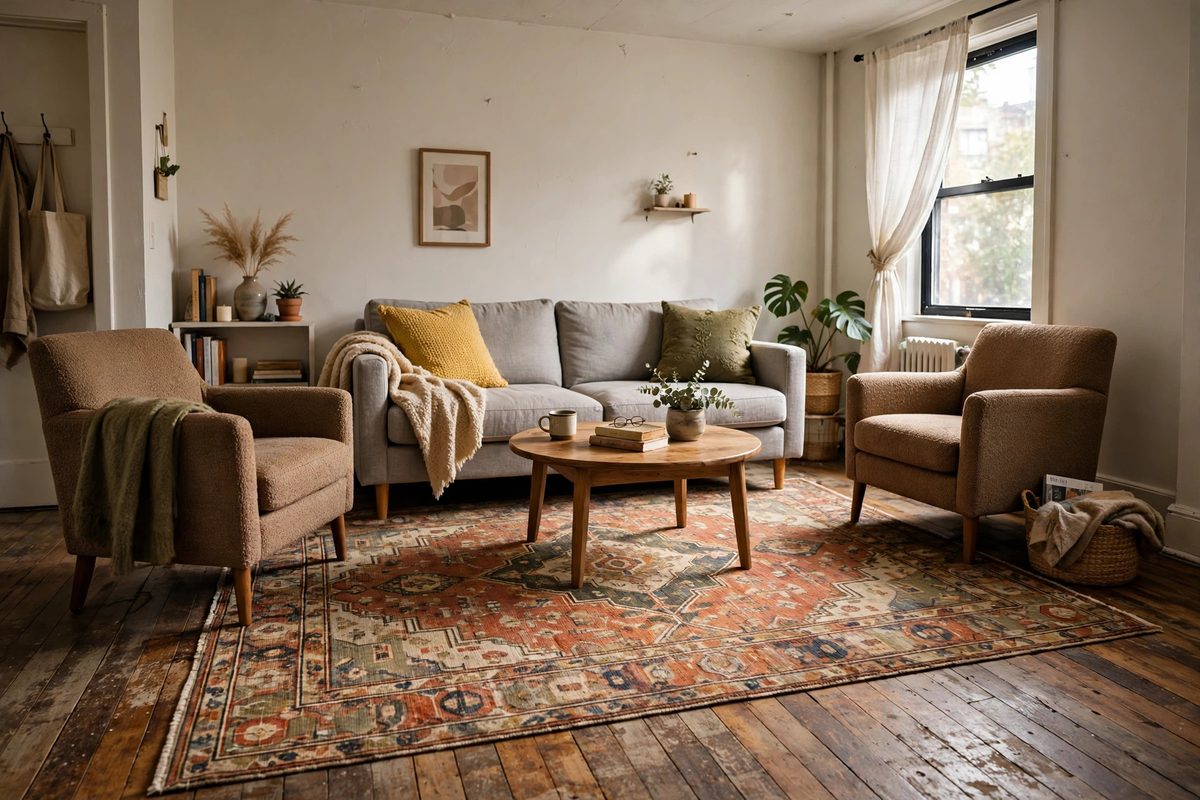
Sometimes the simplest temporary flooring is not flooring at all, but a large area rug. An 8 by 10 foot rug covers most of a small living room floor, hides stains and scratches, adds warmth and sound absorption, and moves with you. Washable rugs, now widely available for 100 to 300 dollars, make this option practical even with pets.
Rug size matters more than pattern. A rug that is too small floats awkwardly in the room. A rug that fits under front furniture legs anchors the whole seating group.
How to make it work
Choose a rug large enough that front legs of the sofa and chairs sit on it, at least 6 inches in. Use a non-slip rug pad underneath, especially on hard floors, to prevent bunching and tripping. Vacuum weekly and wash or spot-clean according to the rug’s care label; washable rugs should go in the machine every few months in high-traffic rooms.
5. Carpet Tiles You Can Lift and Replace
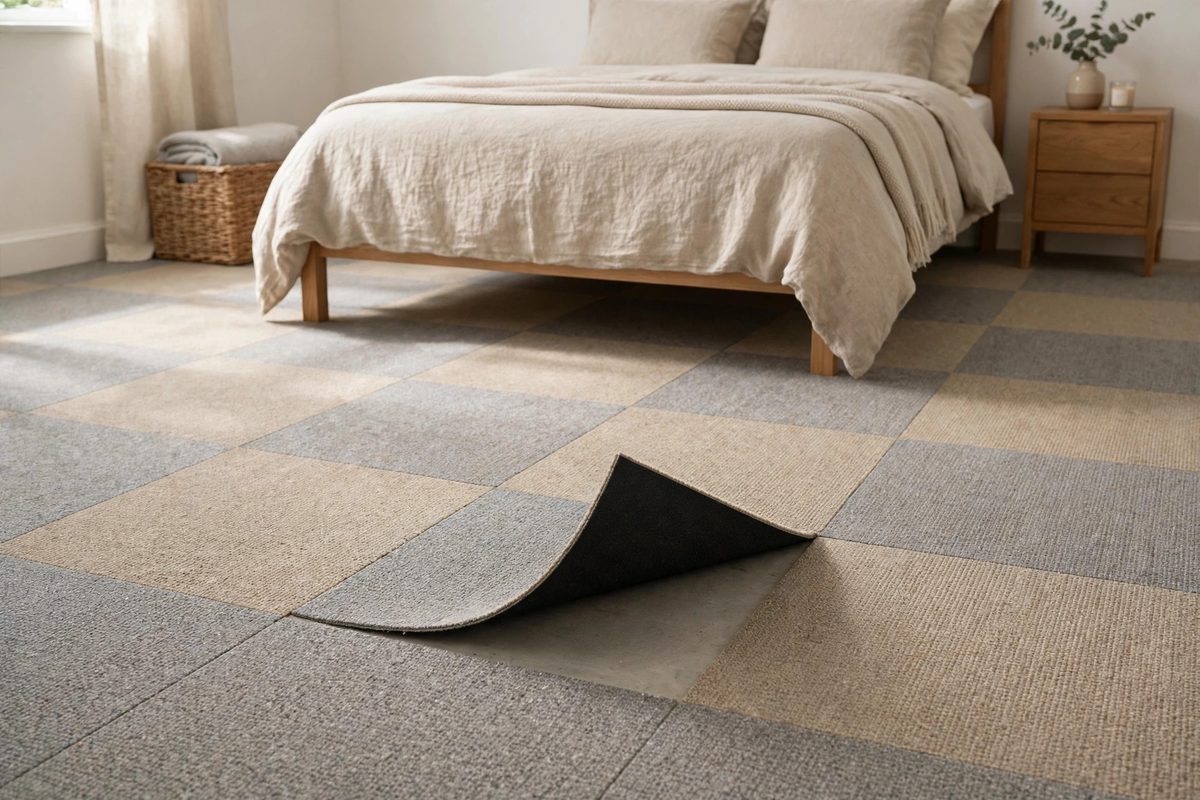
Carpet tiles, usually 18 or 24 inches square, install with a light adhesive dot or simply by friction, and individual tiles lift for cleaning or replacement. That modularity is their superpower: a stained tile in a bedroom or office can be swapped in minutes, without replacing the whole floor.
Carpet tiles cost 1 to 4 dollars per square foot, and many brands sell them in boxes of 10 to 20 tiles. They suit bedrooms, offices, and play areas better than kitchens, where moisture and food spills are harder to clean from carpet.
How to make it work
Start from the center of the room and work outward so cut tiles land at the edges. Alternate tile direction, a quarter turn, for a subtle checkerboard texture that hides seams. Keep five to ten spare tiles from the same dye lot; carpet color varies slightly between batches, and a replacement from a different lot will show.
6. Cork Tiles That Float
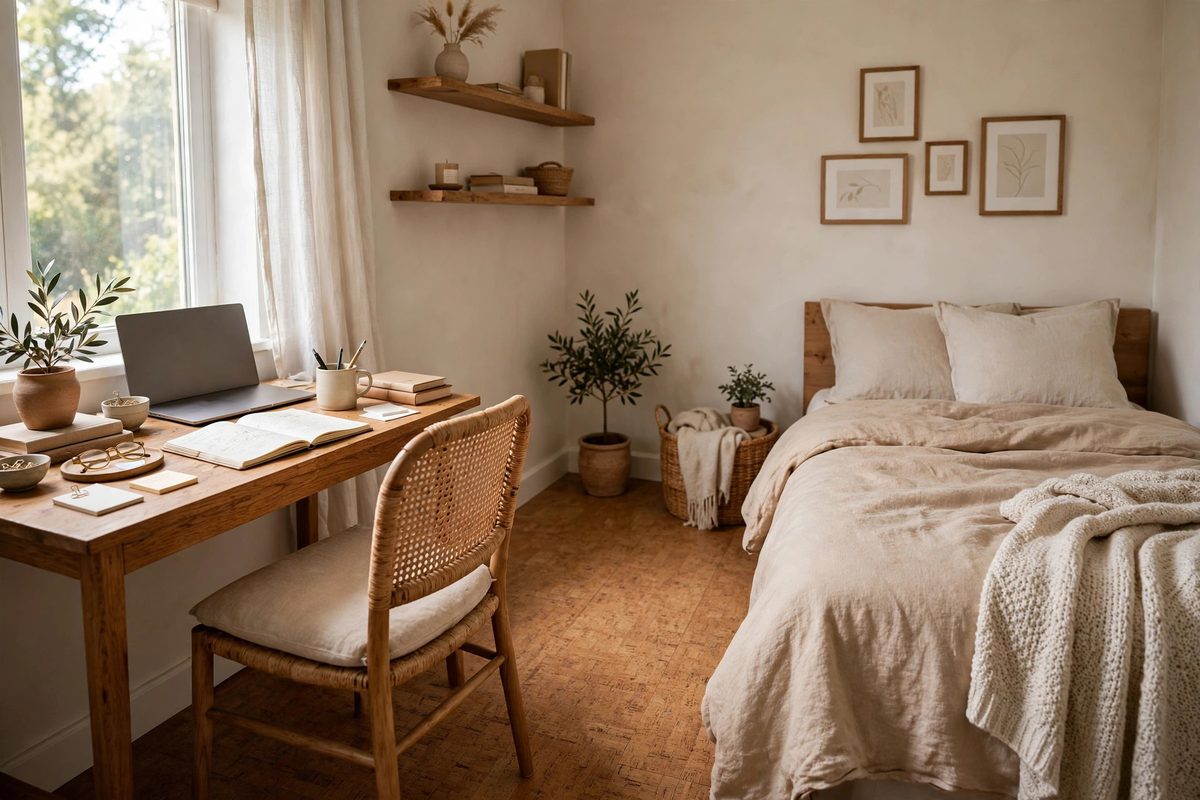
Floating cork tiles click together like laminate but feel warmer and softer underfoot, and they absorb sound, which neighbors appreciate in apartments. Cork is naturally antimicrobial and comfortable for standing, which makes it a good choice for home offices and bedrooms.
Cork tiles cost 3 to 6 dollars per square foot, more than vinyl, but they add insulation and comfort that vinyl does not. Seal cork in kitchens or entryways, since unsealed cork absorbs water.
How to make it work
Acclimate cork tiles in the room for 48 hours before installation, since cork expands and contracts with humidity. Install over a flat, dry subfloor with a moisture barrier in ground-floor rooms. Seal the finished floor with a polyurethane or hardwax finish rated for cork, and re-seal high-traffic areas annually.
7. Washable Rug Layers in Kitchens
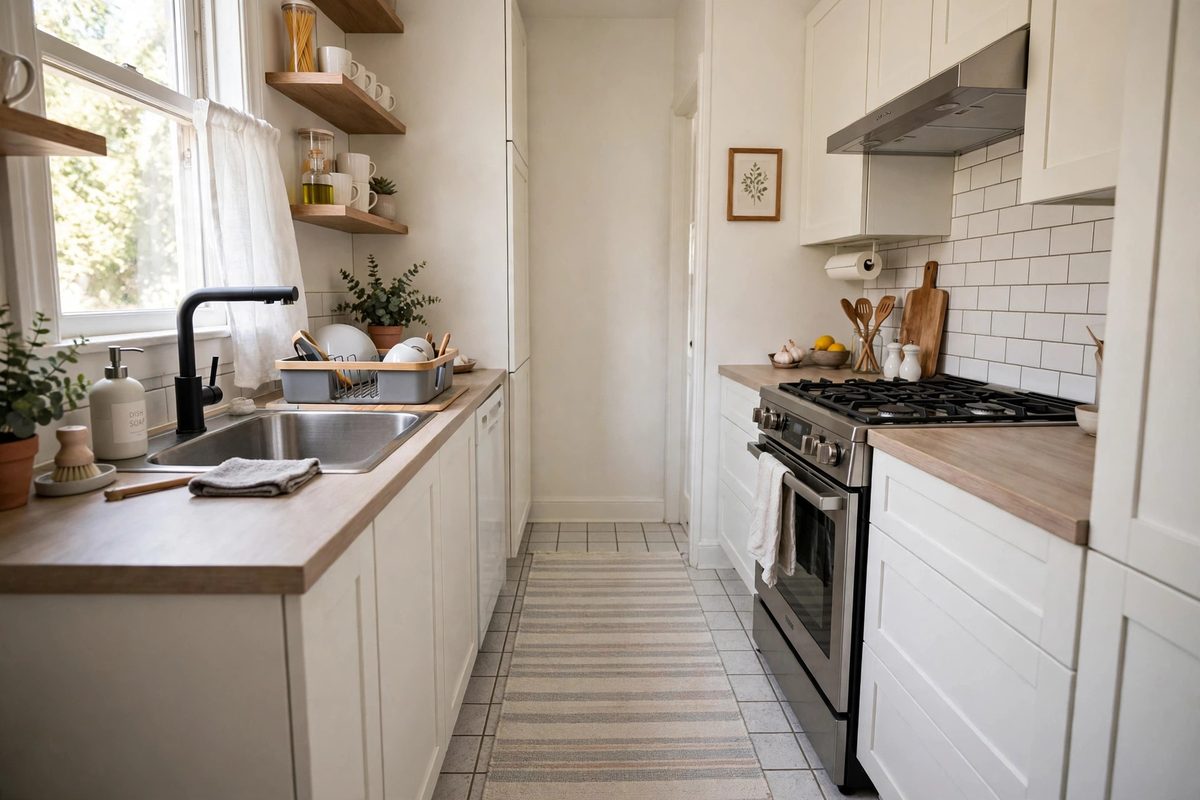
Kitchens need floors that handle water, grease, and dropped food, which rules out most soft flooring. Washable rug layers solve this: a flatweave or low-pile washable runner in front of the sink and stove adds warmth and cushioning, and it goes in the washing machine when it gets dirty.
Choose runners 2 to 3 feet wide and long enough to cover the main work zone, usually 4 to 6 feet in a small kitchen. Non-slip backing is essential on tile or vinyl kitchen floors.
How to make it work
Place runners where you stand longest: in front of the sink and stove. Avoid runners that extend under the fridge or oven, where heat and weight damage them. Wash on a gentle cycle and air dry, since high dryer heat can warp rug backing. Keep a second runner to swap in on wash day so the kitchen is never bare.
8. Adhesive Floor Decals for Small Zones
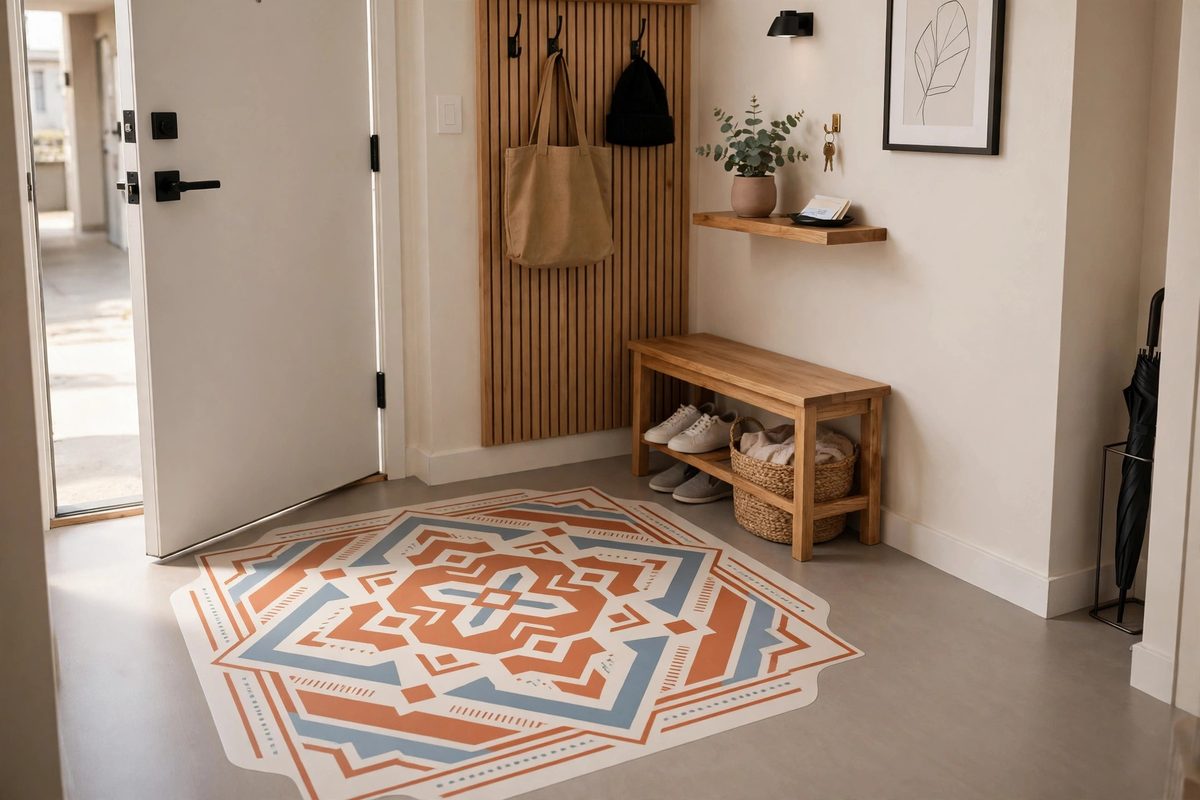
Adhesive floor decals, large vinyl designs that stick to smooth floors, are a fun, low-cost way to define a small zone: an entry mat area, a reading corner, or a kids play spot. They cost 20 to 60 dollars per decal, install in minutes, and peel off without residue on smooth floors.
Decals work best on smooth vinyl, laminate, or tile. They do not adhere well to rough wood or textured stone, and they wear faster in high-traffic doorways than in low-traffic corners.
How to make it work
Clean the floor area thoroughly and let it dry before applying. Position the decal with a friend’s help for large designs, smoothing from the center outward to avoid bubbles. Seal edges with a clear vinyl sealant in kitchens or entryways where water reaches the floor, and replace decals when edges start lifting, since lifted edges become tripping hazards.
9. Planning Removal and Deposit Safety
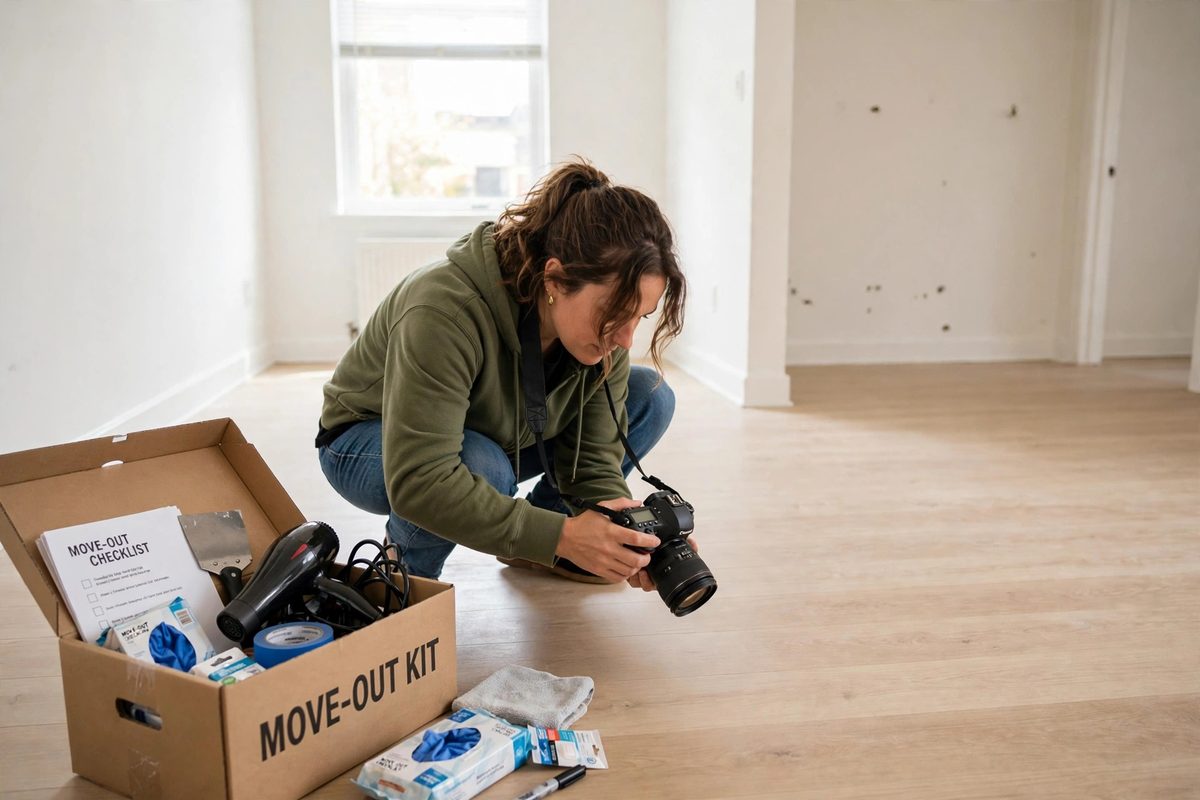
The best temporary flooring plan starts with move-out in mind. Photograph the original floor at move-in, keep product boxes and spare tiles, and check your lease for flooring rules before installing anything adhesive. Some leases allow peel-and-stick products; others require written approval for any floor covering beyond rugs.
At move-out, remove flooring slowly, warm adhesive products with a hair dryer, clean residue with a product safe for your original floor type, and photograph the restored floor. That documentation is your deposit protection.
How to make it work
Keep a move-out kit: a hair dryer, plastic scraper, adhesive remover, and a clean cloth. Remove flooring room by room, cleaning as you go, rather than ripping everything out at once. If any original floor damage predates your stay, your move-in photos prove it; store those photos in cloud backup, not just on a phone you might replace.
Temporary flooring lets renters live with floors they actually like, without renovation or deposit risk. Match the product to the room, measure with waste included, keep spares, and document the original floor, and your upgrade will look intentional from move-in to move-out.