10 Peel-and-Stick Countertop Ideas for Renters That Actually Last
10 peel and stick countertop ideas for renters, from marble-look and butcher-block-look vinyl to granite-look wraps, with heat and water limits, seam tricks, costs per counter, and residue-free removal.
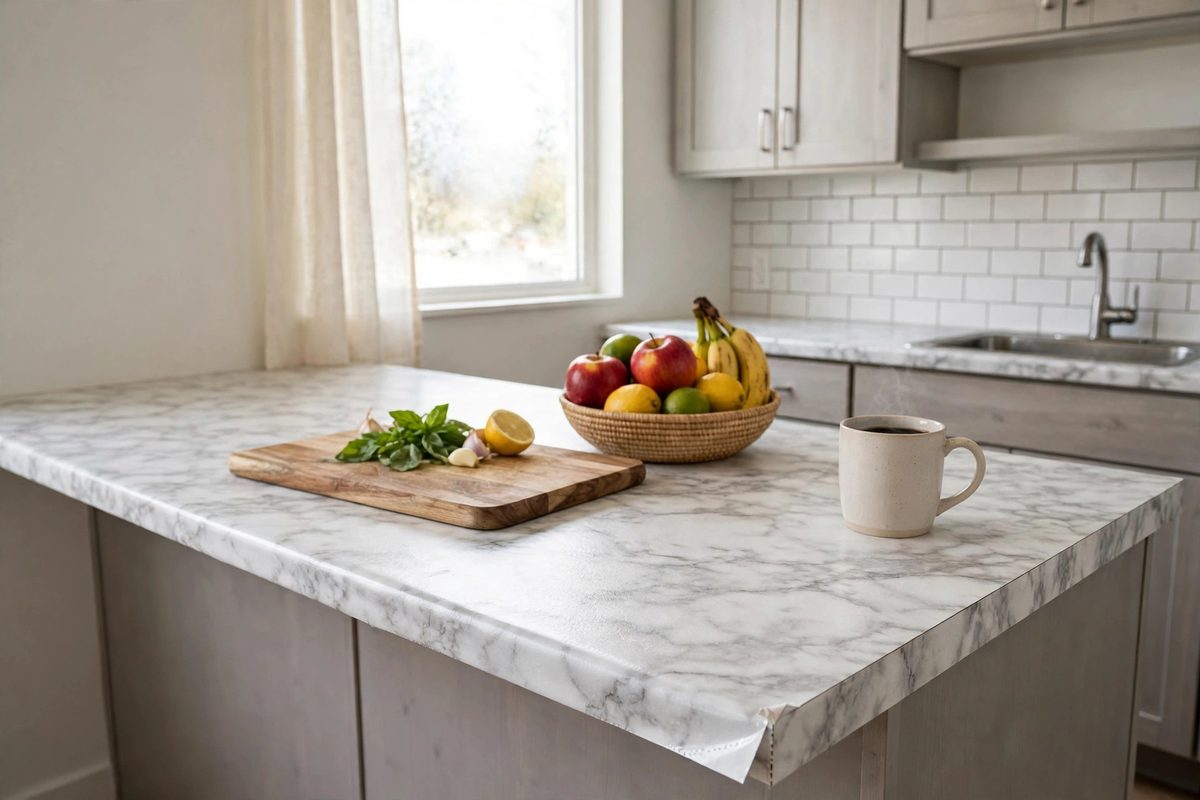
Rental kitchen counter covered in marble-look peel-and-stick vinyl with a cutting board, fruit bowl, and coffee mug on top
In This Guide
A peel and stick countertop is a self-adhesive vinyl film that wraps over an existing rental counter to change its color and pattern without replacing the surface underneath. It is made for renters because it peels off at move-out, costs far less than a new countertop, and needs no tools beyond a utility knife, a smoothing card, and a hair dryer. If your kitchen has a scratched laminate counter or your bathroom vanity is stuck in a dated beige, this is the fastest deposit-safe way to make it look intentional.
The limits matter as much as the look. Vinyl is a surface cover, not stone. A hot pan straight from the stove can bubble or melt it, a knife dragged across it will cut it, and water left sitting on a seam will loosen it over time. This roundup covers peel and stick countertop vinyl in the four looks renters actually buy, marble-look, butcher-block-look, granite-look, and solid or concrete-look, plus the heat, scratch, and water numbers, seam and edge techniques, kitchen versus bathroom differences, real cost per counter, and removal without residue. Pair it with the floor version of the same trick in peel-and-stick floor tile ideas for renters and keep the rest of the kitchen damage-free with no-drill shelves for renters.
1. Marble-Look Vinyl for a Bright Kitchen Counter
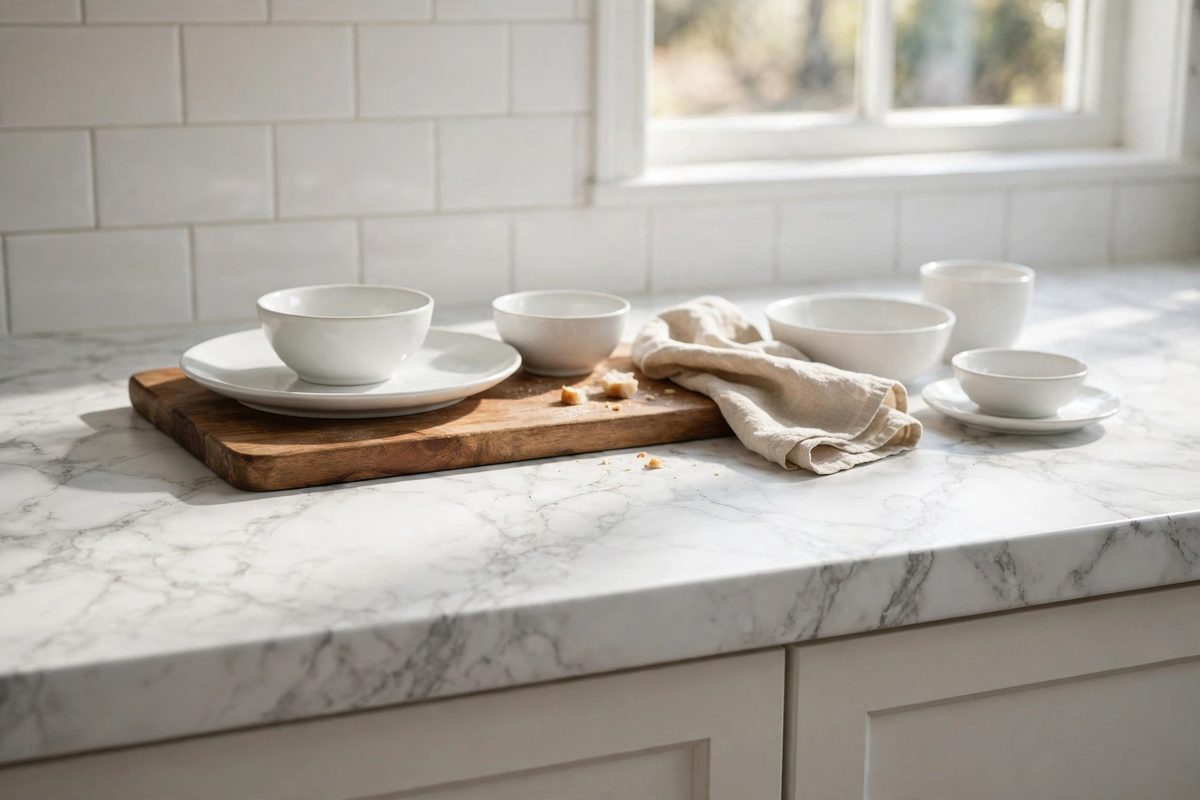
Marble-look vinyl is the most popular peel and stick countertop for a reason: white and gray veining instantly lightens a dark laminate counter and reads as stone from a normal standing distance. Most rolls are 24 inches wide and 78 to 118 inches long, which covers 13 to 20 square feet per roll, and typical prices run 18 to 35 dollars per roll. A standard straight kitchen run of 10 feet by 25 inches deep needs about 21 square feet, so plan on 2 rolls plus one spare for mistakes and pattern matching.
The veining is printed, so look at a full roll sample in daylight before you commit. Cheap prints repeat the same vein pattern every 2 feet, which gives the fake look away on a long counter. Better rolls vary the veining and use a matte or soft satin finish rather than a high gloss shine, which looks closer to honed marble. Keep the roll direction consistent across the whole counter, and line up the veins at seams so the pattern flows instead of stopping abruptly.
Marble-look vinyl suits kitchens and bathroom vanities equally well, but it shows stains more than darker patterns. Coffee, turmeric, and red wine wipe off easily if you catch them the same day, yet they can tint a white film if left overnight. Wipe spills promptly, use a cutting board for all prep work, and keep a trivet by the stove so a hot pan never touches the film directly.
2. Butcher-Block-Look Vinyl for Warmth Without the Upkeep
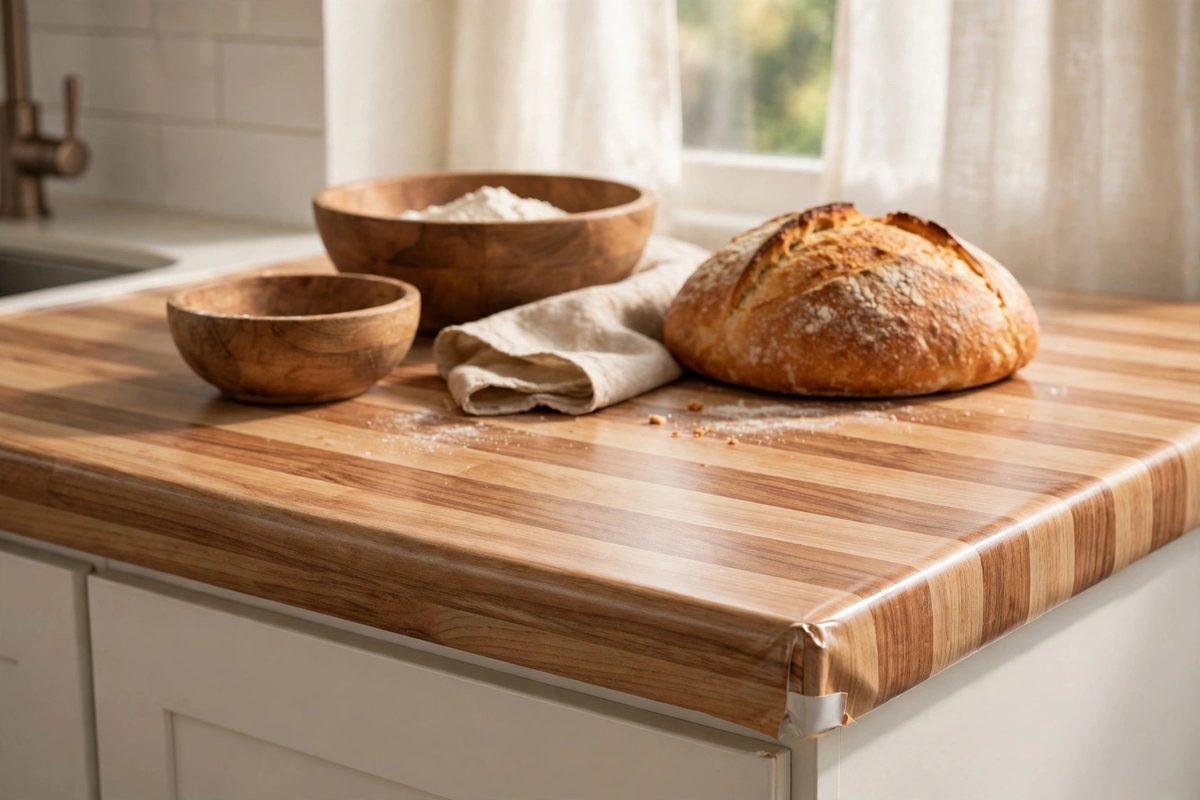
Butcher-block-look vinyl copies the striped grain of maple or oak block, and it warms up a white or gray rental kitchen in a way marble-look film cannot. It hides crumbs, water spots, and small scratches better than white marble-look, which makes it a strong pick for busy family kitchens and for counters that double as homework or work-from-home desks. Prices are similar to marble-look, usually 18 to 32 dollars per roll, and the same 24 inch width covers most standard counters in one width.
The trick with wood-look film is grain direction. Run the grain along the long edge of the counter, never across it in short patches, or the counter will look pieced together. On an L-shaped counter, plan the corner as a mitered joint where the two grain directions meet at 45 degrees, and use a fresh utility blade for that cut so the edge stays crisp. A dull blade drags the film and leaves a ragged line that lifts within weeks.
Real butcher block needs oiling and sanding. This film needs neither, and that is the point for a renter. Do not sand it, do not oil it, and do not treat it as a cutting surface. It is a printed vinyl top layer over a rental laminate counter, and a knife will score straight through the print. Use a thick cutting board for chopping, and wipe the surface with a damp cloth and mild dish soap only.
3. Granite-Look Vinyl for Dark, Speckled Counters
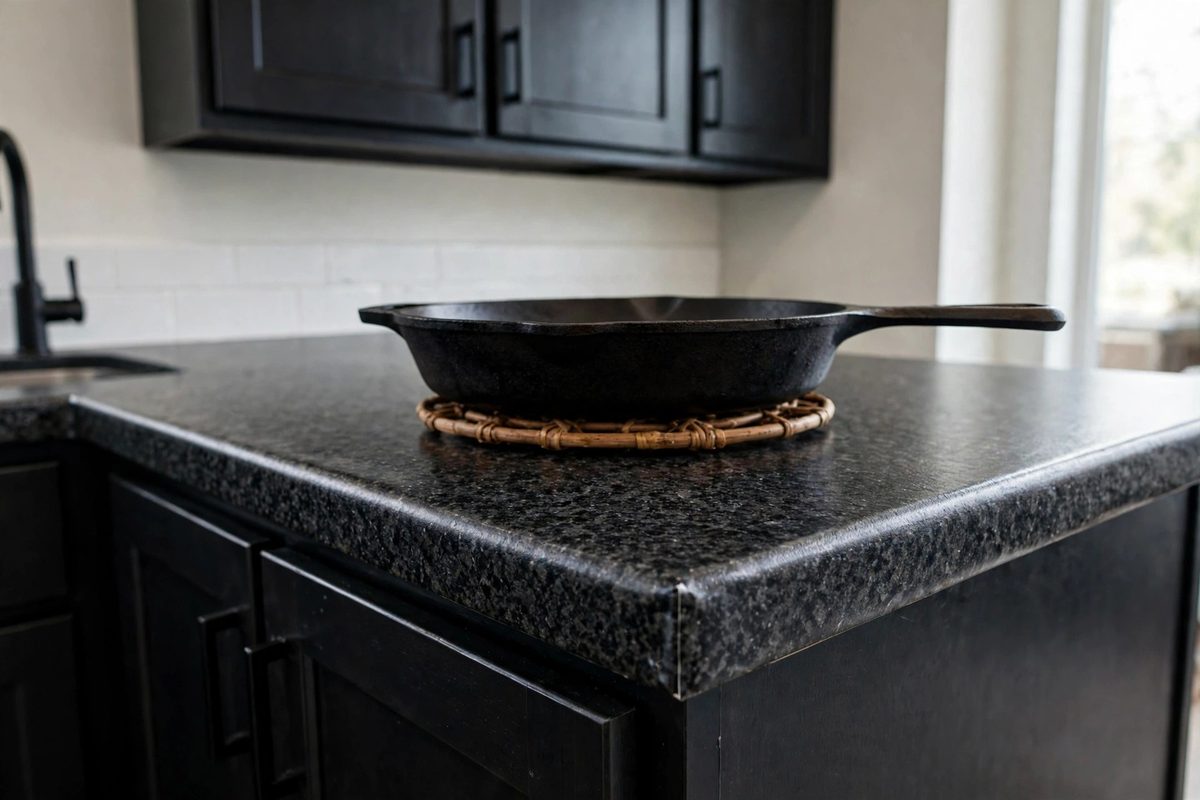
Granite-look vinyl uses a dense speckle pattern in black, gray, brown, or cream, and it is the best choice when you want to hide wear. Scratches, stains, and everyday clutter blend into the speckle far better than they do on a solid or marble-look surface, which is why landlords and flippers use dark granite-look film on heavily used counters. Rolls cost 20 to 38 dollars, and darker patterns are the most forgiving if your first seam is not perfect.
Speckle also hides the seam itself, which is a real advantage on counters longer than one roll. Butt two pieces tightly together, press the joint with a smoothing card, and run a hair dryer over the seam for 20 to 30 seconds to help the adhesive settle. Do not overlap pieces on a countertop. An overlap creates a raised ridge that catches crumbs, traps water, and peels up when a sponge drags across it.
Granite-look film still has the same heat limit as every other vinyl in this roundup. A cast iron pan straight from a 400 degree Fahrenheit burner will soften and bubble the film in seconds, and a baking tray from a 350 degree oven will do the same. Keep trivets at both ends of the stove run, and treat the film like a tablecloth that happens to stick: pretty, practical, and never a hot pad.
4. Solid Colors and Concrete-Look for a Modern Rental
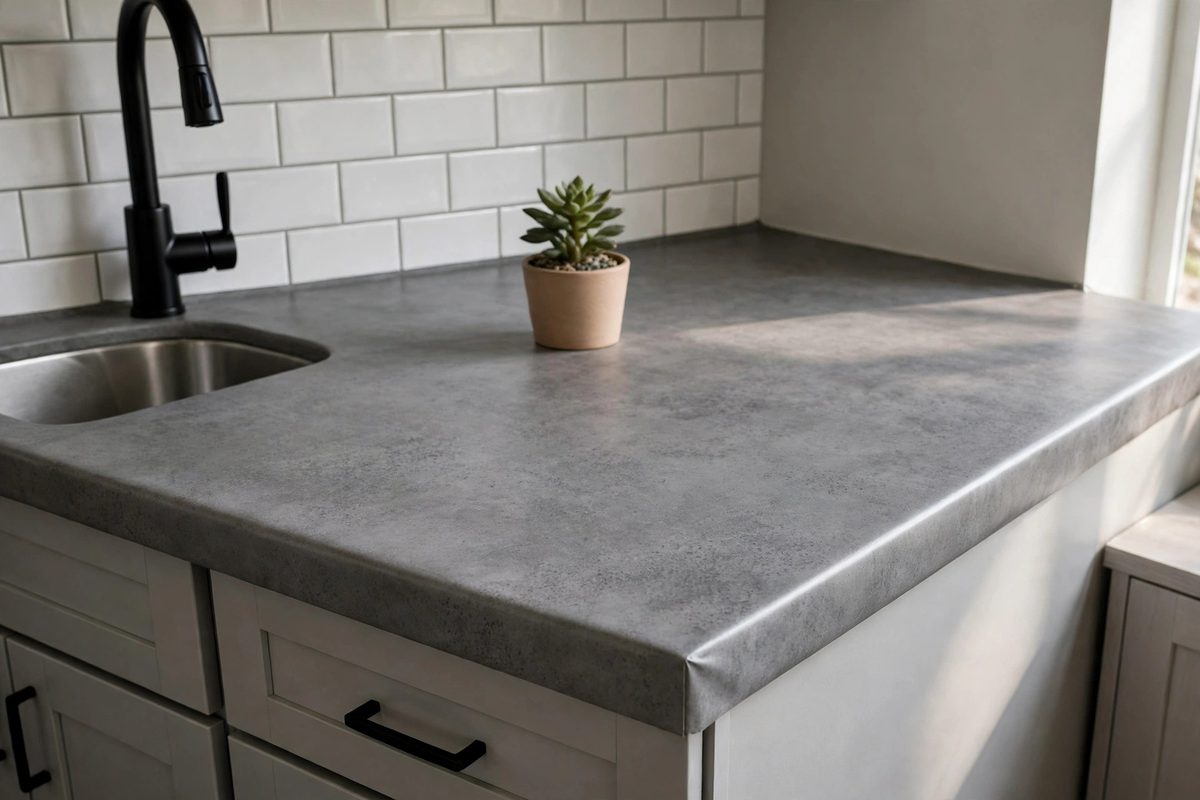
Solid colors and concrete-look vinyl suit renters who want a calm, modern counter without a stone pattern competing with the rest of the room. Matte black, warm gray, sage green, and speckled concrete gray all work, and they pair well with the painted cabinets and open shelving many renters already have. Solid films are also the easiest to patch: a damaged section can be replaced with a matching piece that blends in, since there is no vein or grain pattern to line up.
Concrete-look film has a subtle mottled texture printed into it, but it is still smooth vinyl, not real concrete. It will not add grip, it will not resist knife cuts, and it will not survive a hot pan any better than marble-look film. What it does well is hide dust and water spots between cleanings, which makes it a good pick for a bathroom vanity or a laundry counter that gets wiped down less often than a kitchen.
Choose a finish deliberately. High gloss solid film shows every fingerprint and every smoothing bubble, while matte film hides small application flaws and reads more like a real painted or sealed surface. If your rental kitchen gets strong afternoon sun, matte is also the safer bet, since gloss film can glare and can show fading sooner on a sun-facing counter.
5. Bathroom Vanity Counters, Small Surface, Big Payoff
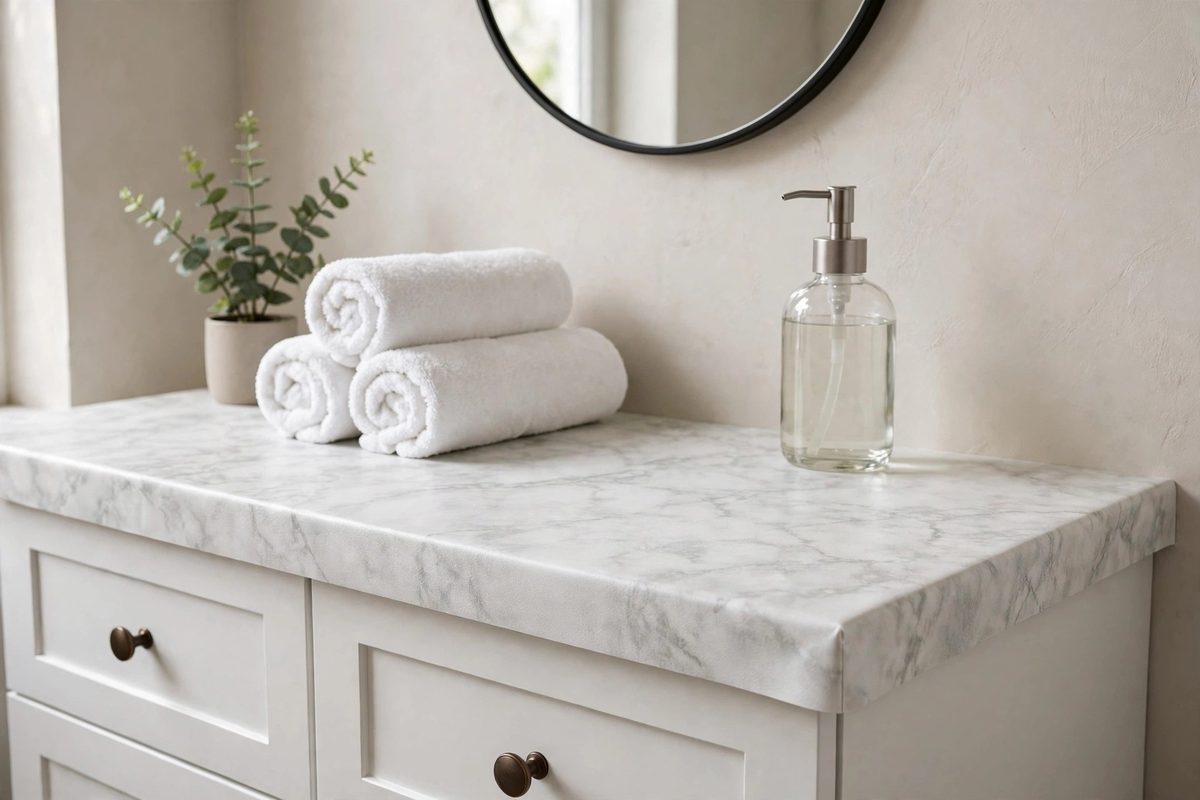
A bathroom vanity is the easiest first peel and stick countertop project, and it is the best place to test a pattern before committing to a full kitchen. Most vanity tops are 18 to 24 inches deep and 24 to 60 inches wide, which is 3 to 10 square feet, so a single roll usually covers the top plus the small backsplash strip with material to spare. Total cost for a typical vanity runs 20 to 40 dollars including a spare blade and smoothing card.
Bathrooms add one enemy kitchens do not: constant humidity. Steam from daily showers softens adhesive over months, especially at edges and around the sink cutout. Seal those vulnerable spots from the start. After wrapping the film around the front edge, run a thin bead of clear waterproof silicone caulk along the sink rim and along the wall joint, and let it cure for 24 hours before heavy water use. That caulk line is the difference between a vanity wrap that lasts a year and one that lifts in six weeks.
Cut the sink opening carefully, and never cut it after the film is stuck down over the basin. Measure the basin, mark the cutout on the back of the film, cut it with a fresh blade before application, and leave a half inch of extra film to fold down into the sink rim. For more bathroom ideas that leave no holes, see renter-friendly tile wall under 150 dollars.
6. Seams and Pattern Matching on Long Counters
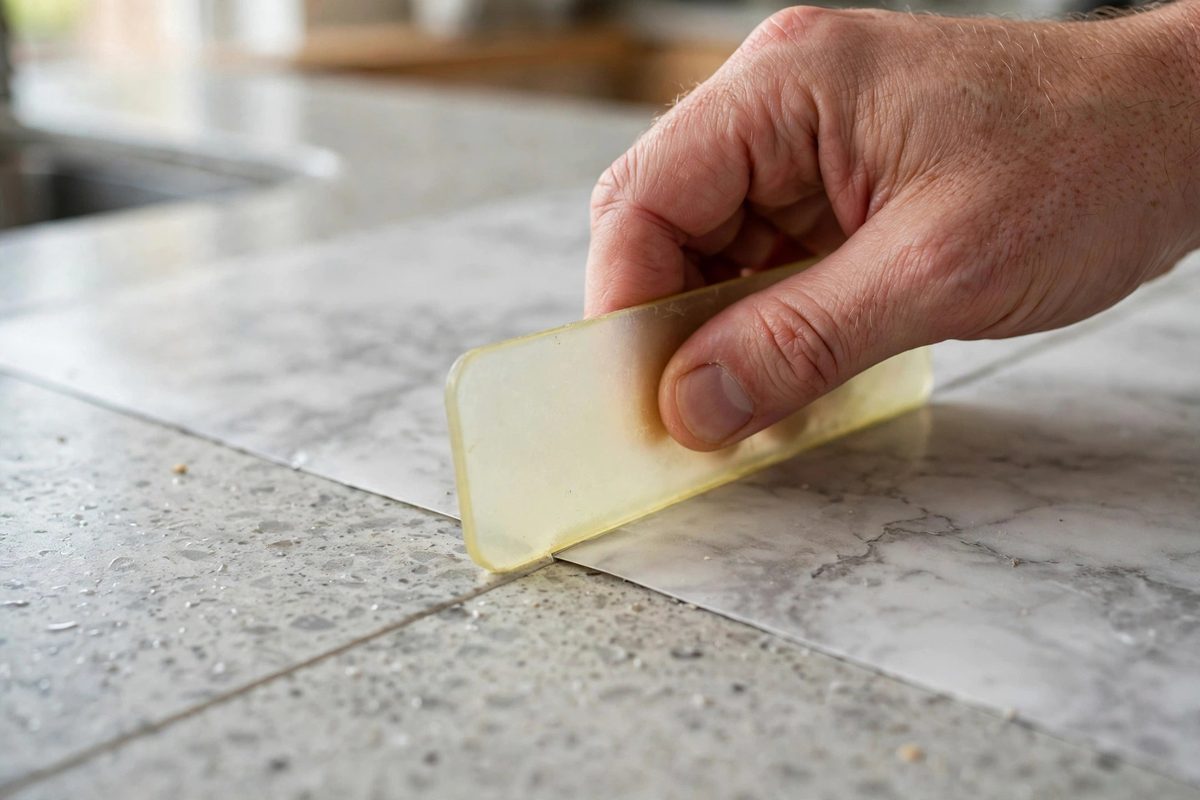
Seams decide whether a peel and stick countertop looks like a renovation or a sticker. Any counter longer than a single roll, which means most kitchens, will have at least one seam, so plan its position before you peel any backing. Put seams where the eye does not land first: beside the sink, behind the coffee maker, or at the far end of a run, never dead center in front of the stove. A seam in a low-traffic, low-splash spot lasts longer and draws less attention.
Pattern matching takes one extra roll and about 30 minutes of patience. Unroll both pieces side by side, slide the second piece until its veins or grain lines continue the first piece, and mark that overlap point with painter’s tape before cutting. Cut both pieces through the same line with a straightedge, remove the waste strips, and butt the two cut edges together. The result is a near-invisible joint on marble-look and wood-look films, and a fully invisible one on granite-look speckle.
Press every seam twice: once with a plastic smoothing card to push out air, and once with a hair dryer on medium heat for 20 to 30 seconds followed by firm pressure. Heat relaxes the vinyl and lets the adhesive bond fully. Check seams again after 48 hours, since a seam that looks flat on day one can lift slightly as the film settles, and a quick re-press at that point locks it down.
7. Edges, Corners, and the Sink Cutout
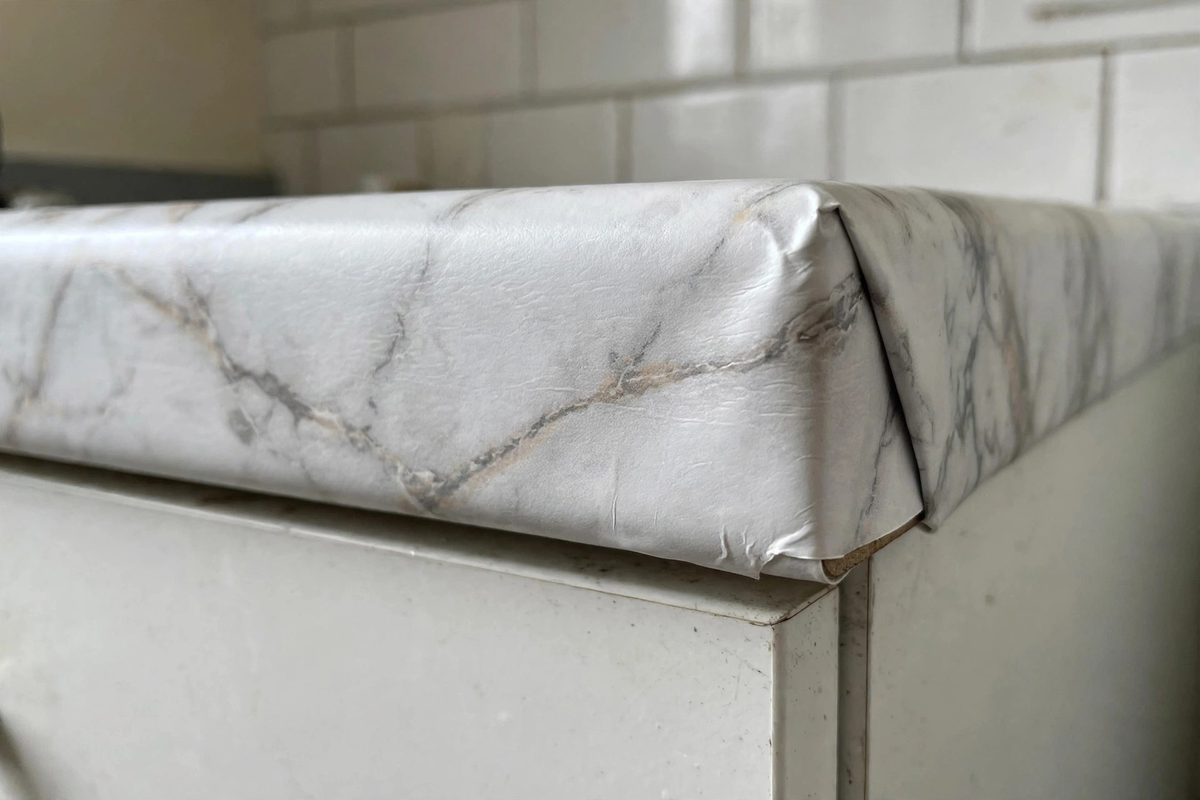
Edges fail before flat surfaces do, because every hand, sponge, and dish towel drags across them. The fix is wrapping, not trimming flush. Leave 1 to 2 inches of extra film past the front edge, fold it under the counter, and press it firmly onto the underside. A wrapped edge cannot catch and peel upward the way a flush-cut edge can, and it also hides the original counter color from below, which matters on a breakfast bar where people see the edge from bar stools.
Corners need a relief cut. At an outside corner, cut a small diagonal slit in the excess film, fold one flap under, then fold the second flap over it, like wrapping a present. At an inside corner on an L-shaped counter, cut the film into the corner with a straight blade and overlap the two pieces by a quarter inch, then seal the joint with the hair dryer method from section 6. Take your time here: corners rushed in five minutes are the corners that lift in five weeks.
The sink cutout is the wettest edge in the kitchen, so treat it like a bathroom vanity. Fold the film down into the sink rim rather than cutting it flush with the rim, and run a thin bead of clear silicone caulk around the rim after the film is fully pressed down. Let the caulk cure 24 hours before running the tap at full pressure over that joint. For the wall above the counter, a matching damage-free update is renter-friendly accent wall with glue, no screws.
8. Heat, Scratches, and Water: The Real Limits in Numbers
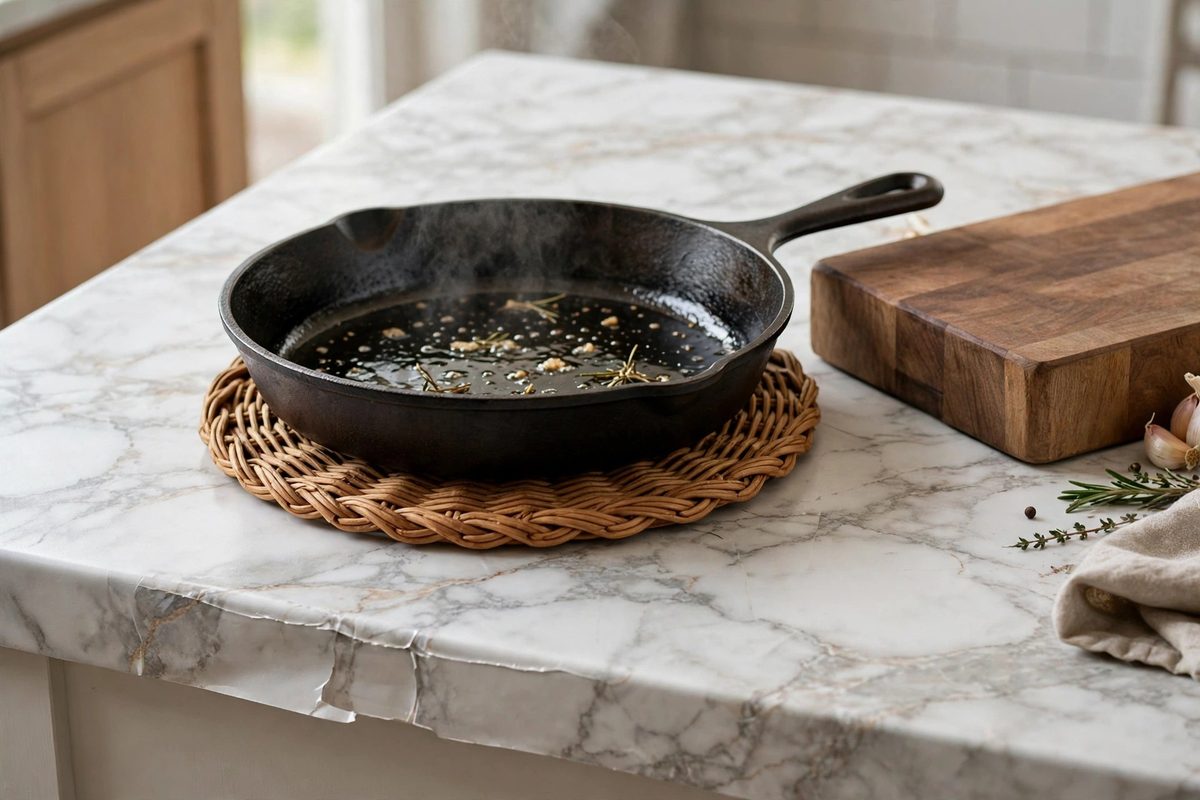
Heat is the hardest limit. Most peel and stick vinyl softens around 176 degrees Fahrenheit (80 degrees Celsius) and will bubble, warp, or melt under direct contact with a pan or tray above 300 degrees. A mug of coffee at 150 degrees is fine, a plate from the microwave is fine, and a slow cooker base that stays under 180 degrees is usually fine on a trivet. A frying pan, cast iron skillet, or sheet pan straight from the oven is never fine directly on vinyl. Keep two trivets permanently on the counter, one by the stove and one by the oven, so the safe habit is easier than the damaging one.
Scratches are the second limit, and they are entirely preventable. Vinyl film is typically 2 to 4 mils thick, about the thickness of a heavy trash bag, and a kitchen knife will cut through it with normal chopping pressure. Always use a cutting board, never slice bread, fruit, or meat directly on the film. Dragging a ceramic plate or a cast iron pan across the surface will also scuff it over time, so lift heavy items instead of sliding them, and put felt pads under a stand mixer or coffee machine that stays in one spot.
Water is the slow limit. A wiped-up spill does no harm, but standing water that sits on a seam or edge for hours will work its way under the film and loosen the adhesive. Dry the counter after washing dishes, wipe up the puddle under the dish rack daily, and never leave a wet sponge sitting on a seam overnight. If a corner does lift, dry it fully, press it back with a hair dryer on medium heat, and seal the edge with clear caulk. A lifted corner caught early re-bonds; one left wet for a week usually needs a patch.
9. Cost Per Counter: Kitchen, Bathroom, and Laundry
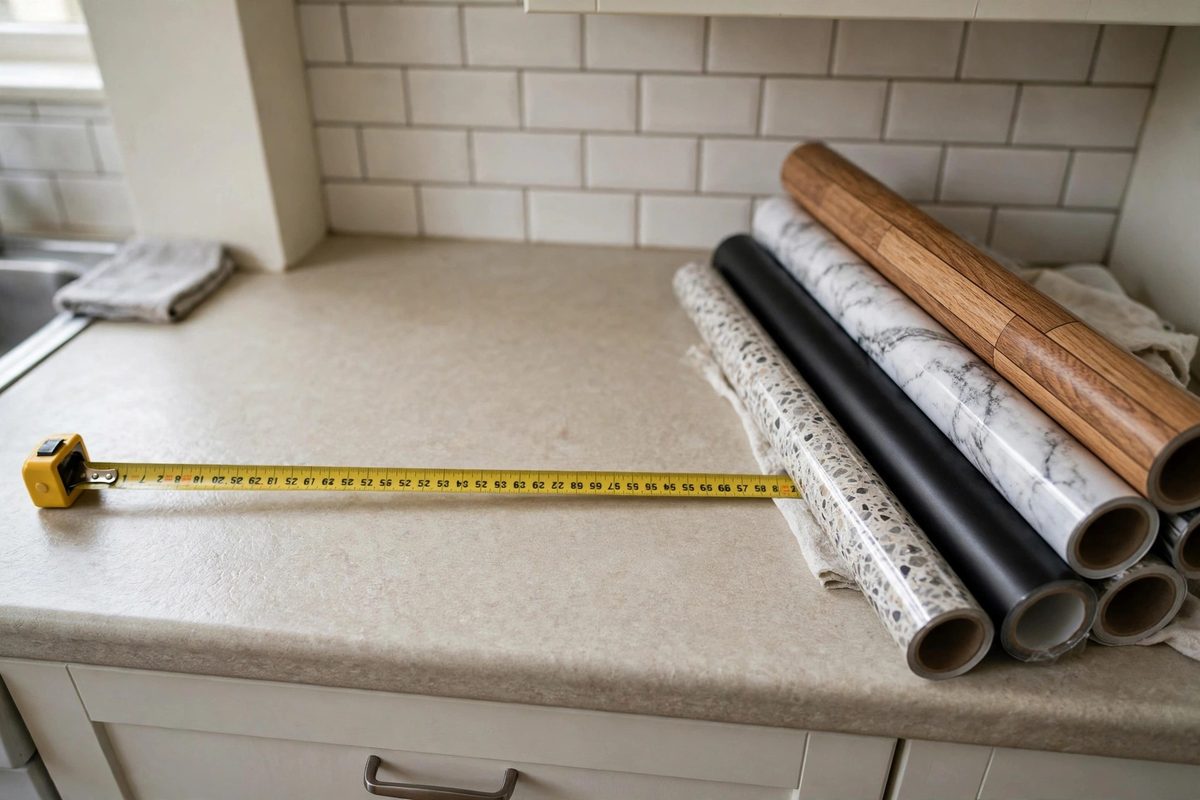
Cost per counter is where peel and stick vinyl beats every other renter upgrade. Measure length times depth in inches, divide by 144 for square feet, and add 15 percent for waste, seams, and mistakes. A single bathroom vanity at 5 to 10 square feet costs 20 to 40 dollars all in. A small galley kitchen at 20 to 30 square feet costs 60 to 110 dollars for 2 to 3 rolls plus tools you likely already own. A larger L-shaped kitchen at 35 to 45 square feet costs 110 to 180 dollars for 4 to 5 rolls.
Compare that with a real countertop replacement, which starts around 1,500 dollars for laminate and climbs past 3,000 dollars for stone, and which no landlord will approve in a rental anyway. The vinyl route also costs nothing in deposit risk when it is removed correctly, which is the next section. Buy one spare roll beyond your calculation, especially for patterned film. A dye lot can shift slightly between orders, and a spare roll from the same batch guarantees a matching patch if a section gets cut or burned later.
Tools add little to the total. A smoothing card costs 5 to 8 dollars, a pack of fresh utility blades costs 4 to 6 dollars, and a basic hair dryer you already own does the heat work. Skip the branded application kits at 25 to 40 dollars unless you want the felt-edged squeegee, which is genuinely useful on long runs. The film itself is the cost, and the labor is an afternoon: about 1 hour for a vanity, 2 to 3 hours for a straight kitchen run, and 3 to 4 hours for an L-shaped kitchen with a sink cutout.
10. Removal Without Residue and the Deposit Checklist
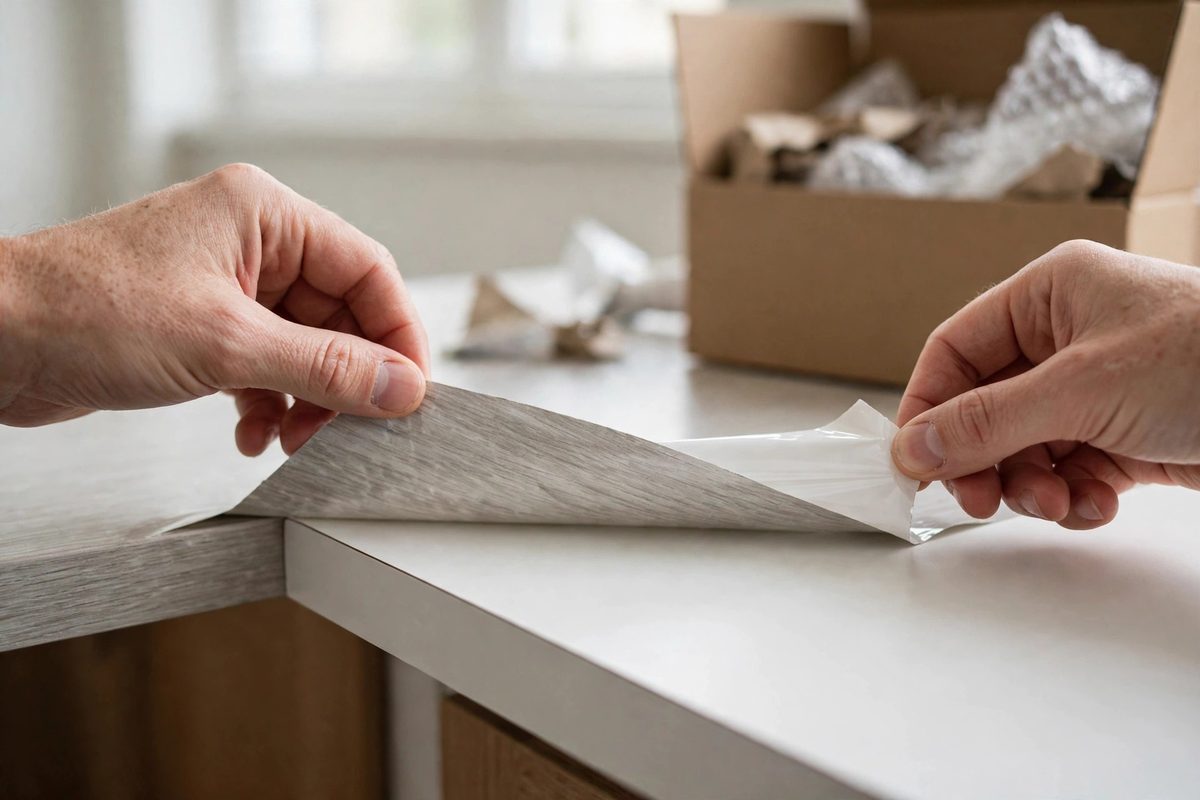
Removal is the reason renters choose this product, and it works if you use heat and patience instead of force. Set a hair dryer to medium heat and warm a corner section for 30 to 60 seconds, then peel the film back slowly at a low angle, close to the surface, while warming the next few inches ahead of your pull. The heat softens the adhesive so it releases with the film instead of staying on the counter. Pulling cold film fast is what leaves residue and, on weak laminate, can lift the original surface layer.
If residue remains, remove it with warm soapy water and a plastic scraper, or with a small amount of cooking oil on a cloth for stubborn spots, then wash the counter with dish soap afterward. Avoid acetone, paint thinner, and abrasive pads, which can damage the original laminate and turn a clean removal into a deposit deduction. Work in sections, and check each section in raking light before moving on, since residue shows up under a bright kitchen light even when it is invisible head-on.
Run this deposit checklist before you hand back the keys. First, confirm every inch of film is off, including the wrapped front edge and the sink rim fold. Second, wipe the whole counter and photograph it in daylight. Third, compare it with your move-in photos, and note any pre-existing scratches you documented on day one. Done correctly, the counter underneath looks exactly as it did when you moved in, which is the whole promise of a peel and stick countertop. For a wider rental refresh that stays deposit-safe, see DIY room decor for small apartments.