10 No-Drill Shelves for Renters That Hold Real Weight
10 no drill shelves for renters, from adhesive shelves and drillless shelves to suction and freestanding options, with weight limits, wall types, and damage-free removal tips.
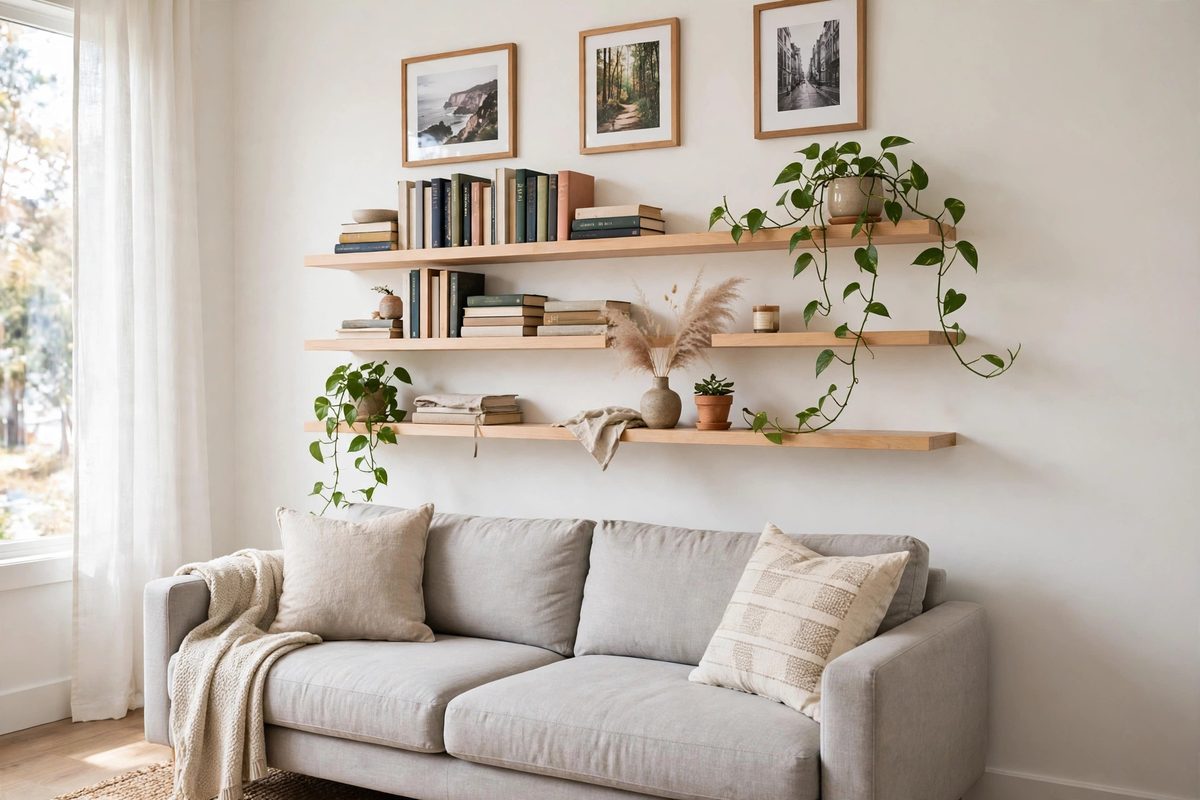
Rental apartment living room wall with adhesive no-drill shelves holding books and plants above a sofa
In This Guide
No drill shelves solve the oldest renter storage problem: you need somewhere to put books, plants, and bathroom bottles, but your lease says no holes, and your deposit depends on walls that look untouched at move-out. Drillless shelves use adhesive strips, suction cups, tension pressure, or freestanding frames instead of screws and wall anchors, so nothing pierces the drywall.
The catch is weight. A shelf that holds a trailing pothos will not necessarily hold a row of hardcover books, and the wrong fixing on the wrong surface is how shelves fall at 2 a.m. This roundup covers shelves without brackets, adhesive shelves, and renter friendly shelves no drilling options that work on real rental walls, with honest weight ratings in pounds, the surfaces each one suits, and how removal actually goes. Pair them with other damage-free storage from no-drill storage ideas and the matching window treatment guide in no-drill curtain ideas for rental apartments. If you want the full hanging method in detail, see how to hang shelves without drilling or studs.
1. Adhesive Strip Floating Shelves
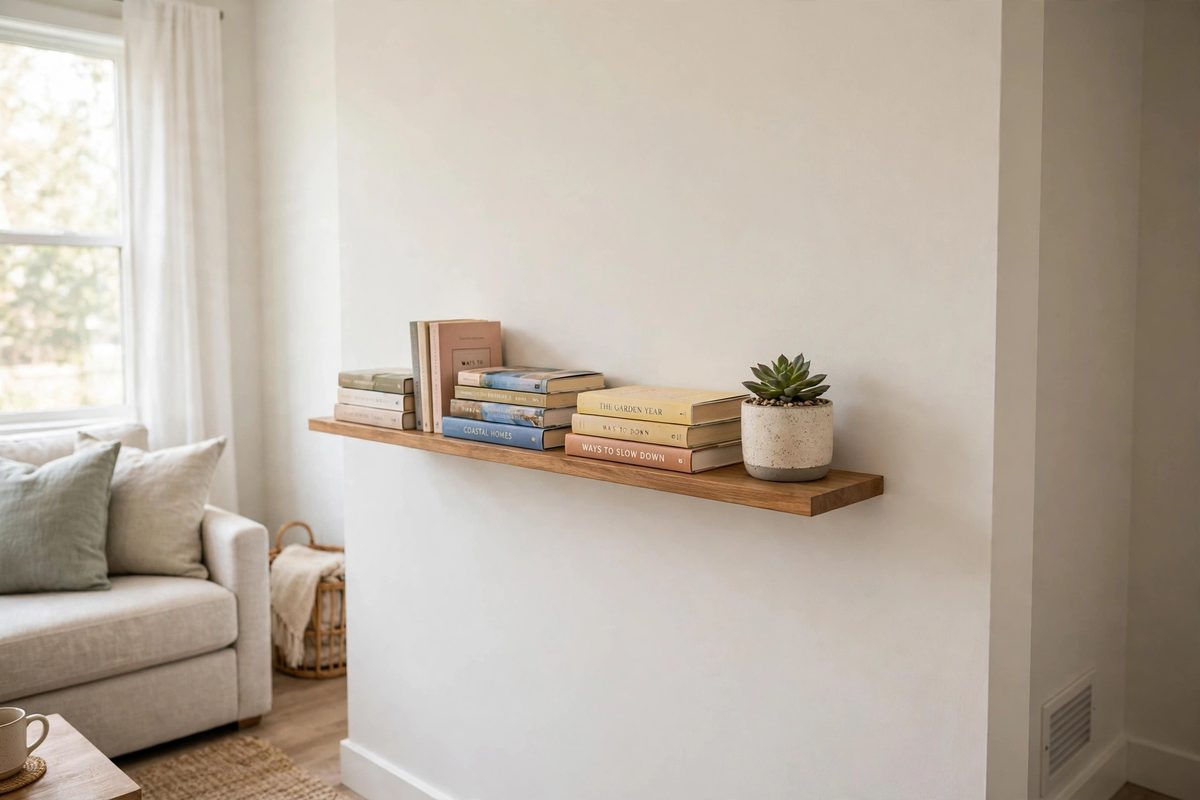
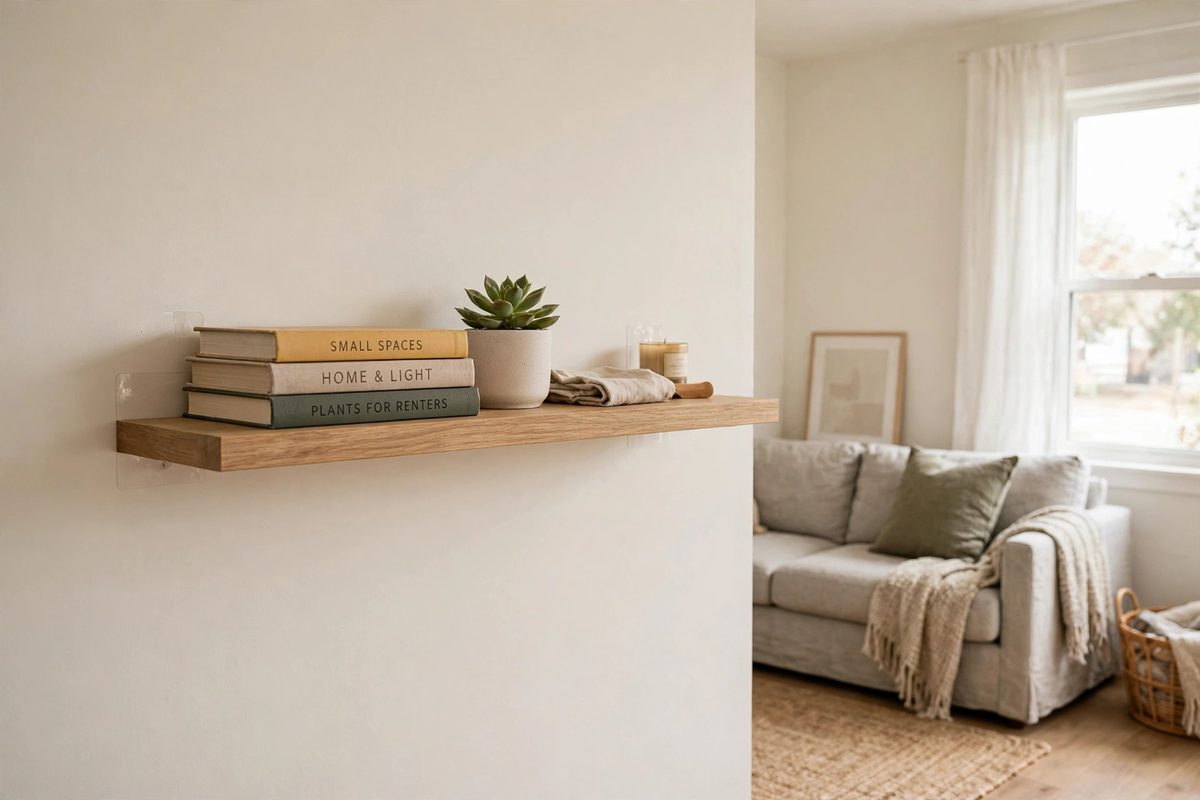
Adhesive strip floating shelves are the closest drillless equivalent to a screwed-in floating shelf. A slim wood or metal shelf mounts on two or more foam adhesive strips rated for a stated load, usually 5 to 15 pounds per shelf, and the shelf itself looks clean and built in rather than stuck on. They suit living rooms and bedrooms where you want a display ledge for framed photos, small plants, and paperbacks.
They work best on smooth painted drywall, glass, and smooth tile. Textured plaster, brick, and wallpaper are the weak spots: adhesive cannot grip evenly across bumps, and wallpaper can tear on removal. Humidity is the other enemy, so keep basic adhesive shelves out of steamy bathrooms unless the product specifically rates itself for wet rooms.
How to make it work
Clean the wall with rubbing alcohol, let it dry fully, and press each strip for 30 seconds. Wait the full cure time on the package, usually 1 hour, before loading anything. Load the shelf gradually, heaviest items closest to the wall, and keep the total under 80 percent of the rated limit for a safety margin. To remove, pull the strip tab slowly straight down along the wall, never outward, which is what pulls paint.
2. Suction Cup Shelves for Tile and Glass
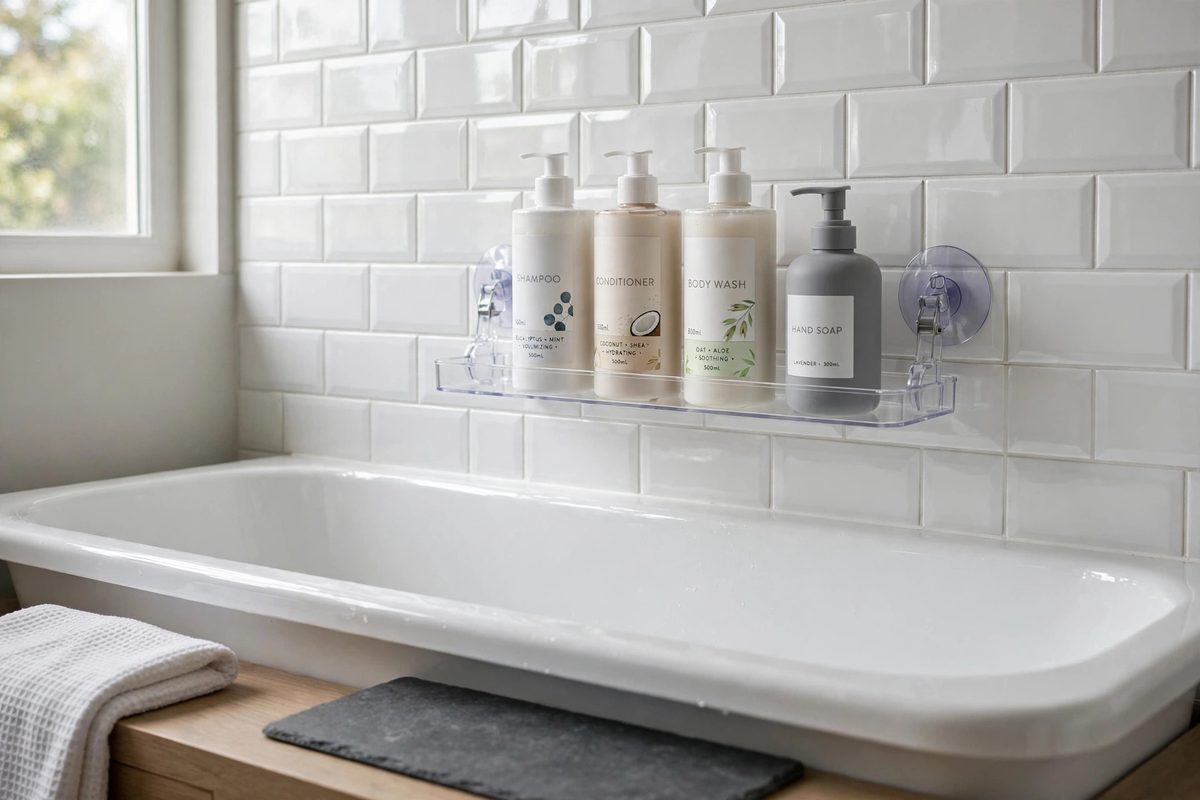
Suction cup shelves grip smooth, nonporous surfaces with vacuum pressure instead of glue, which makes them the best drillless shelf for bathrooms and kitchens. A typical suction shelf holds 5 to 10 pounds, enough for shampoo bottles, a soap dispenser, and a small plant, and it repositions in seconds with no residue at all.
The surface rule is absolute: suction needs smooth tile, glass, or glossy acrylic. It will not hold on matte stone tile, textured plaster, or painted drywall, because air leaks through the pores and breaks the seal. In a bathroom, steam and temperature swings can loosen a weak seal over time, so check the cups weekly and re-press them after hot showers.
How to make it work
Wipe the tile with rubbing alcohol, then press the cup firmly and flip the locking lever if the shelf has one. Test the hold by hanging a full water bottle from it for an hour before trusting it with glass bottles. If a cup keeps slipping, the tile is probably too textured for suction, and an adhesive bathroom shelf rated for wet rooms is the better pick. For more bathroom upgrades that leave no holes, see renter-friendly bathroom upgrades.
3. Tension Pole Shelves for Corners and Bathrooms
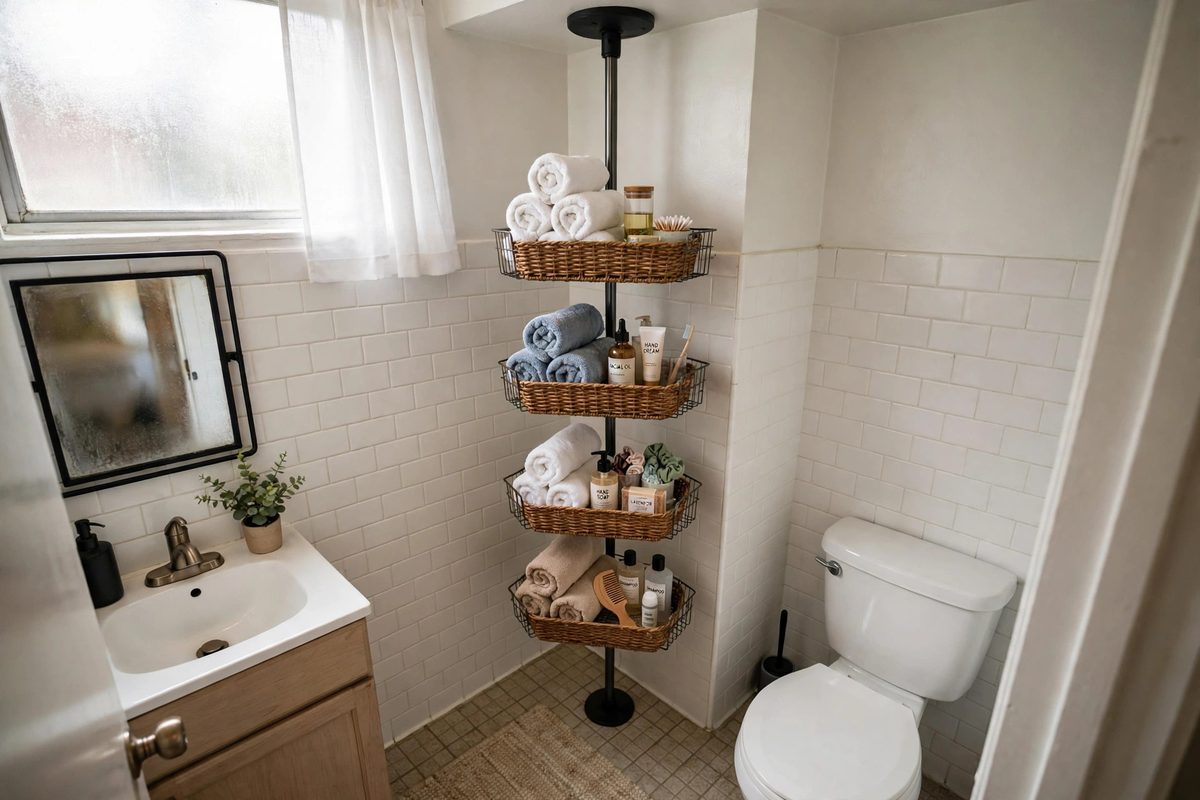
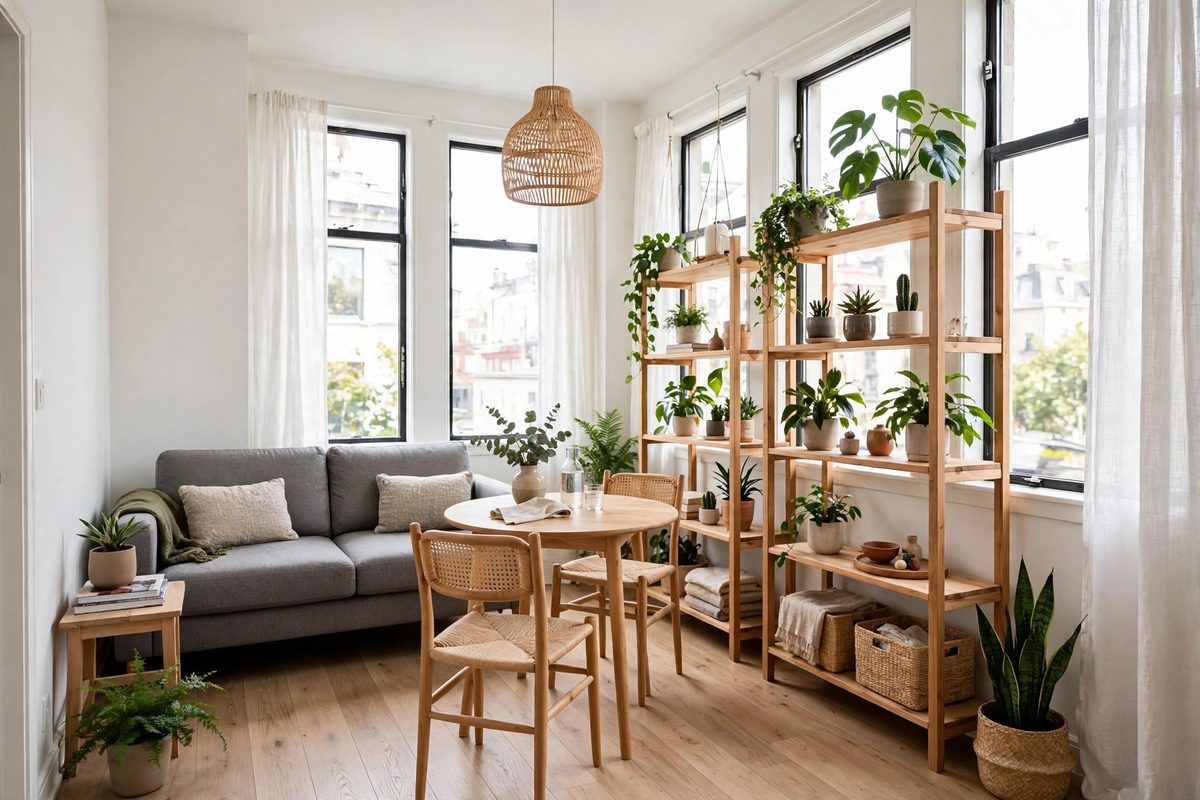
Tension pole shelves use a floor-to-ceiling pole that wedges between two flat surfaces, with baskets or shelves clipped along it. No wall contact means no adhesive and no paint risk, and a good pole system holds 20 to 40 pounds spread across four tiers. They are made for corners, shower caddies, and narrow gaps beside a washer or fridge.
They need a flat ceiling and a flat floor, and they struggle under sloped ceilings or on thick carpet that compresses under the pole foot. Tall poles also need the tiers balanced: a top-heavy pole leans, and a bottom-heavy one is stable. Keep heavy bottles low and light items up high.
How to make it work
Measure floor to ceiling height at the exact spot, not the room average, since ceilings vary by half an inch or more. Extend the pole until snug, then give it a firm sideways push; it should not shift at all. Tighten the locking collar, then load the bottom tier first. Recheck the tension after the first week, because the pole settles slightly into soft flooring.
4. Freestanding Ladder Shelves That Lean, Not Drill
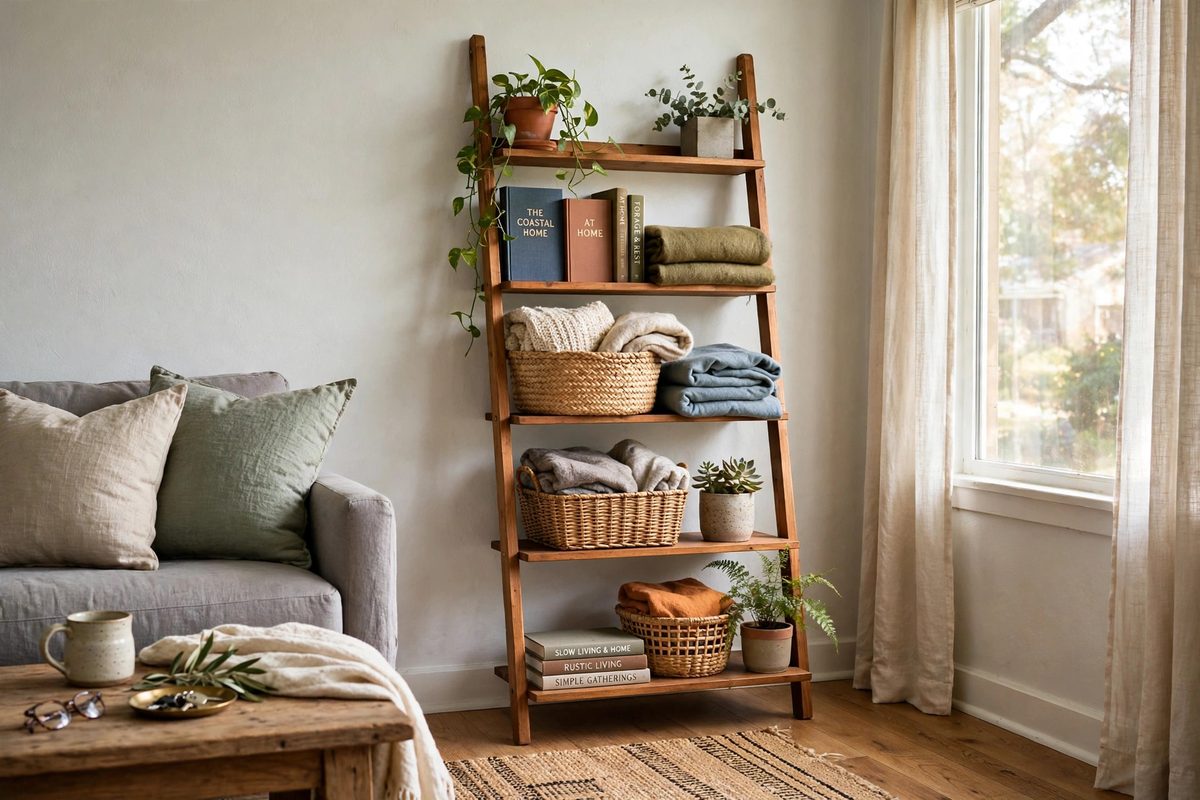
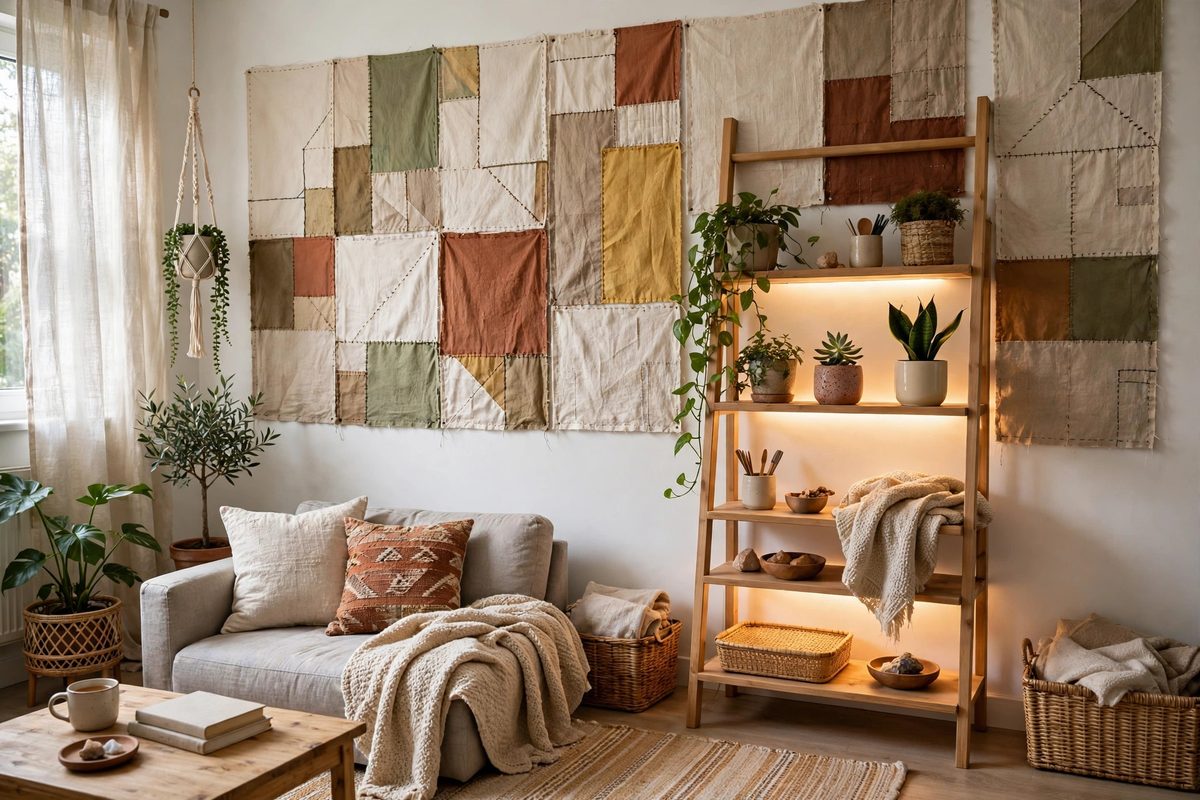
A leaning ladder shelf is the highest capacity no-drill option on this list. Because the frame stands on the floor and only leans on the wall, it can hold 40 to 60 pounds across its tiers: books, baskets, folded blankets, and plants. The wall contact is a padded foot, not a screw, so removal means lifting the shelf away and wiping a dust mark.
Ladder shelves suit renters with smooth floors and a free stretch of wall, and they double as room styling, not just storage. The trade-off is footprint: they need 12 to 16 inches of floor depth, so they are wrong for hallways narrower than about 30 inches. On thick rugs they can wobble, so place the feet on hard floor or use felt pads for grip.
How to make it work
Anchor the top rail against the wall with a furniture strap only if your lease allows a single small screw, otherwise place a nonslip pad behind the top feet to stop sliding. Load the deepest, lowest tier with the heaviest items and keep the top tier for light decor. If you have small children or large pets, choose a ladder shelf with a wide base and avoid tall, narrow versions that tip easily.
5. Adhesive Shelves With a Lip for Kitchens
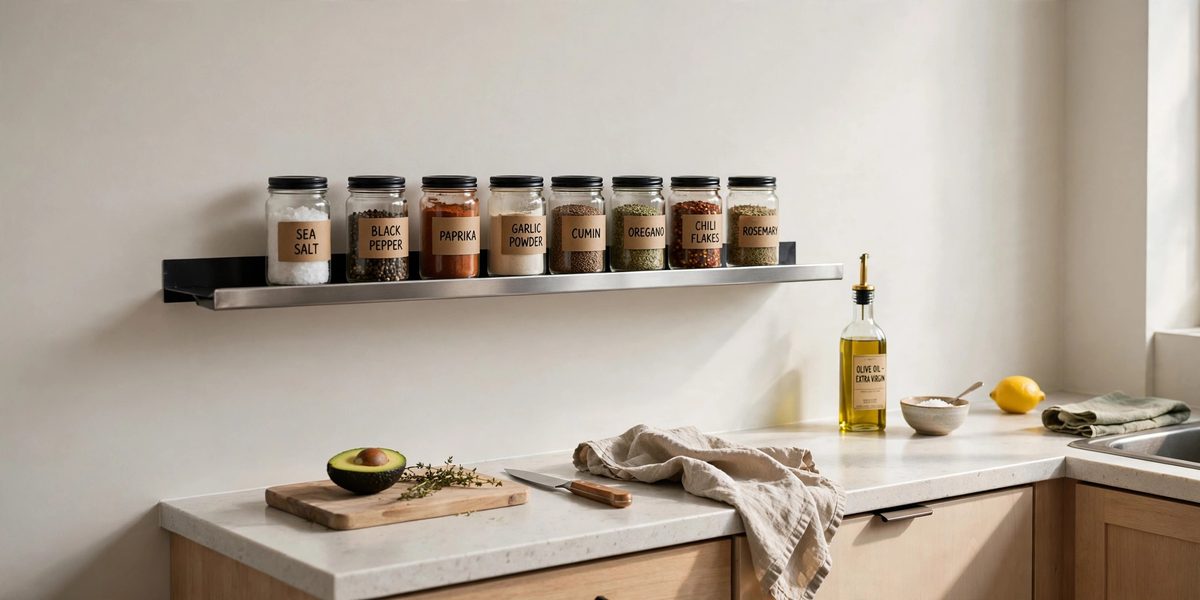
Kitchen shelves take more abuse than any other shelf: grease film, steam, and daily grabbing. An adhesive shelf with a raised front lip keeps spice jars and oil bottles from sliding off when you reach past them, and a stainless or powder-coated metal version wipes clean and resists rust. Most kitchen adhesive shelves rate 8 to 15 pounds each, enough for a row of spice jars or two rows of mugs.
Grease is the failure point. Adhesive sticks to a clean wall, not a greasy one, so a shelf that holds fine in a bedroom can peel in a kitchen if the wall was not degreased first. Smooth painted drywall and smooth backsplash tile both work; rough brick and textured plaster do not. For broader kitchen upgrades that keep your deposit safe, see renter-friendly kitchen upgrades.
How to make it work
Degrease the wall with dish soap and water, rinse, dry, then wipe with rubbing alcohol. Press the shelf for a full 30 seconds per strip and wait 24 hours before loading in a kitchen, since grease-prone rooms benefit from the longest cure. Store oils and heavy bottles on the counter instead, and keep the shelf for spices, small jars, and lightweight tins under 1 pound each.
6. Over-the-Door Shelves and Racks
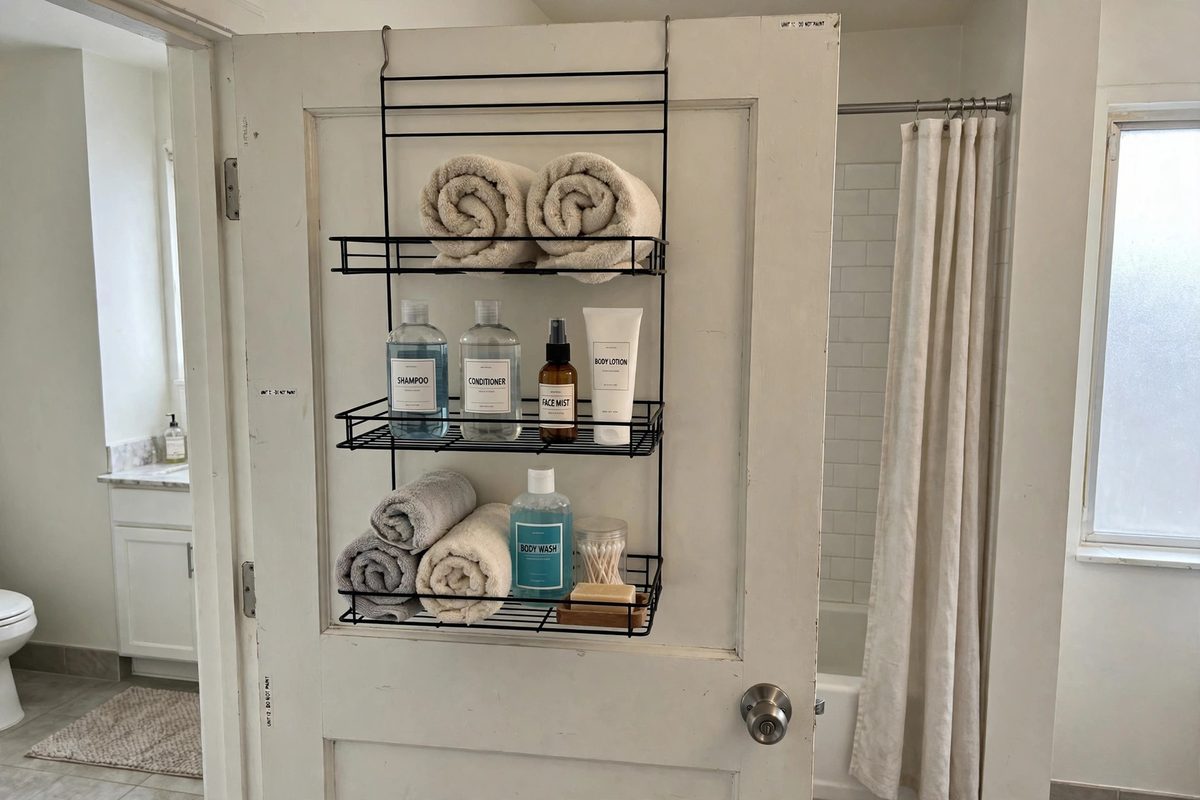
Over-the-door shelves hang from hooks over the top of a door, so they need no wall at all. A typical rack holds 10 to 20 pounds across three or four wire or bamboo shelves, and it works on bedroom doors for accessories, bathroom doors for towels and toiletries, and pantry doors for canned goods and cleaning supplies.
Door fit is the constraint. The hooks need a gap between door and frame of at least 1/8 inch, and thick doors or tight frames can stop the door closing or scrape the paint. Hollow-core interior doors, the standard in most rentals, are fine for light to medium loads, but avoid hanging a full pantry load on a single hollow door, since the weight stresses the hinges over time.
How to make it work
Measure your door thickness, usually 1 3/8 inches for interior doors, and buy hooks sized to it. Add felt pads where hooks touch the door to prevent rub marks. Distribute weight evenly across the tiers and keep the heaviest shelf at the bottom. If the door starts to stick, reduce the load before the hinges bend, since hinge damage is a deposit deduction too.
7. Heavy-Duty Adhesive Shelves for Books
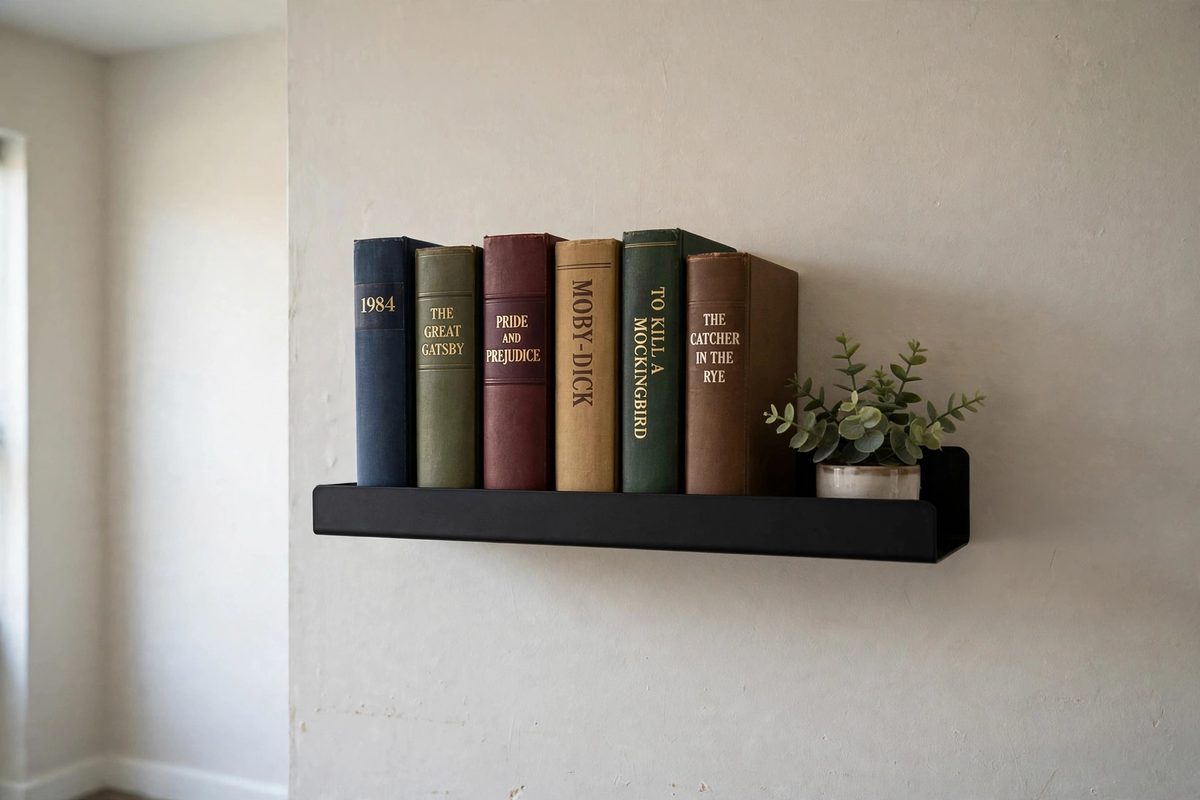
This is the shelf most renters get wrong, because book weight adds up fast. A single hardcover weighs 1 to 2 pounds, so a 24 inch row of books can pass 20 pounds before you notice. Heavy-duty adhesive shelves use wider mounting plates and more strips to reach 20 to 33 pounds per shelf, and they are the only adhesive option worth trusting with books.
Even heavy-duty adhesive has limits. One shelf of paperbacks is realistic; a full wall of hardcovers is not, and that is where a freestanding bookcase wins. Smooth painted drywall is required, and freshly painted walls need 28 days to cure before any adhesive goes on, or the paint will peel with the strip. For styling ideas once the shelf is up, see small bedroom wall shelf ideas.
How to make it work
Weigh a sample stack of your books on a bathroom scale before buying, then choose a shelf rated for at least 1.5 times that weight. Mount the shelf with all strips the product includes, never fewer, and press each strip for 30 seconds. Load books upright with a bookend, keep the row short, 12 to 18 inches, and recheck the shelf after the first 48 hours for any edge lifting.
8. No-Drill Shower Caddy Shelves
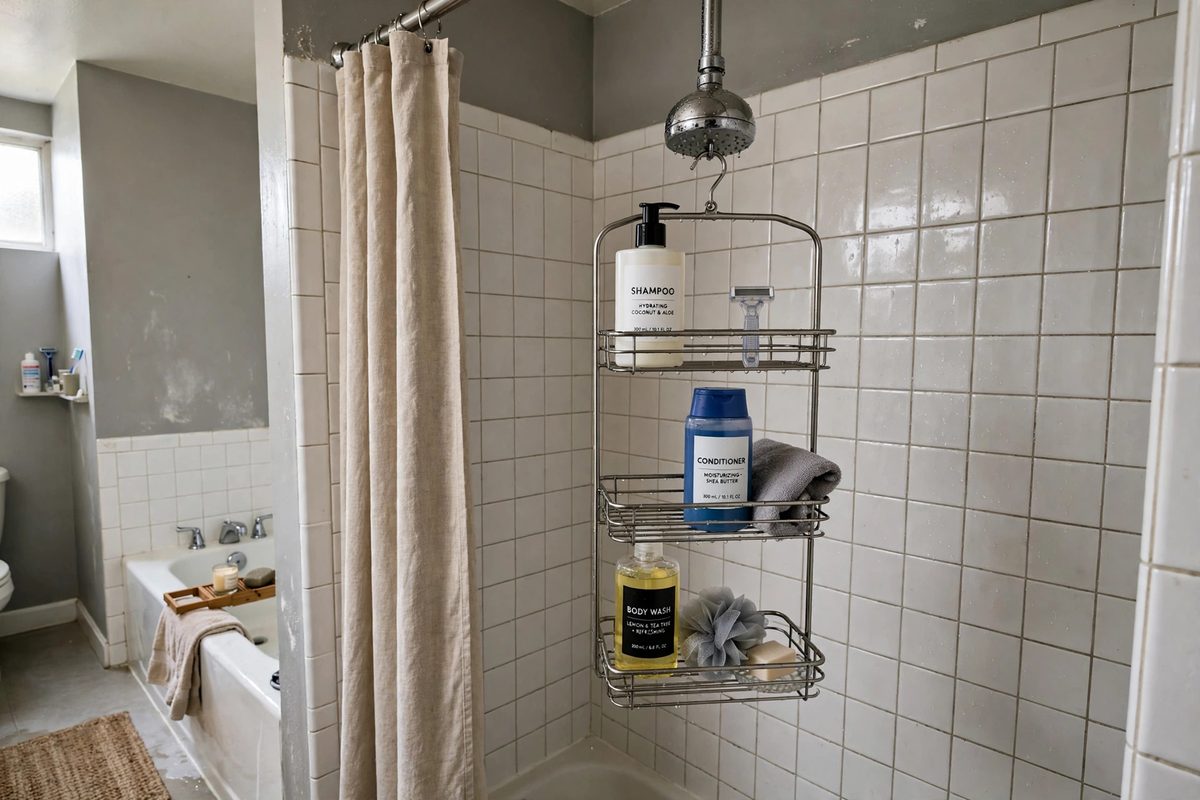
Shower caddy shelves hang from the showerhead pipe or a tension pole inside the shower, so they need no wall fixing in the wettest room in the apartment. A hanging caddy holds 10 to 15 pounds of bottles, and a tension pole version holds more across four tiers. Stainless steel and coated wire resist rust far longer than chrome-plated versions in hard water areas.
The failure mode here is water, not weight. Suction cups inside a shower lose grip as soap film builds up, and adhesive strips fail fast under constant spray. Hanging and tension designs avoid both problems because they grip the pipe or the ceiling, not the tile. Rinse the caddy weekly to stop soap scum from clogging the drainage holes.
How to make it work
Check your showerhead pipe diameter, usually 1/2 inch, and buy a caddy with a rubber-lined hook so it does not scratch the pipe finish. Hang the caddy so bottles sit below the showerhead, not in the direct spray, to keep labels readable and reduce soap buildup. Keep total load under 12 pounds for a hanging caddy, and move oversized salon bottles to a tension pole shelf instead.
9. Small Adhesive Shelves for Phones, Remotes, and Plants
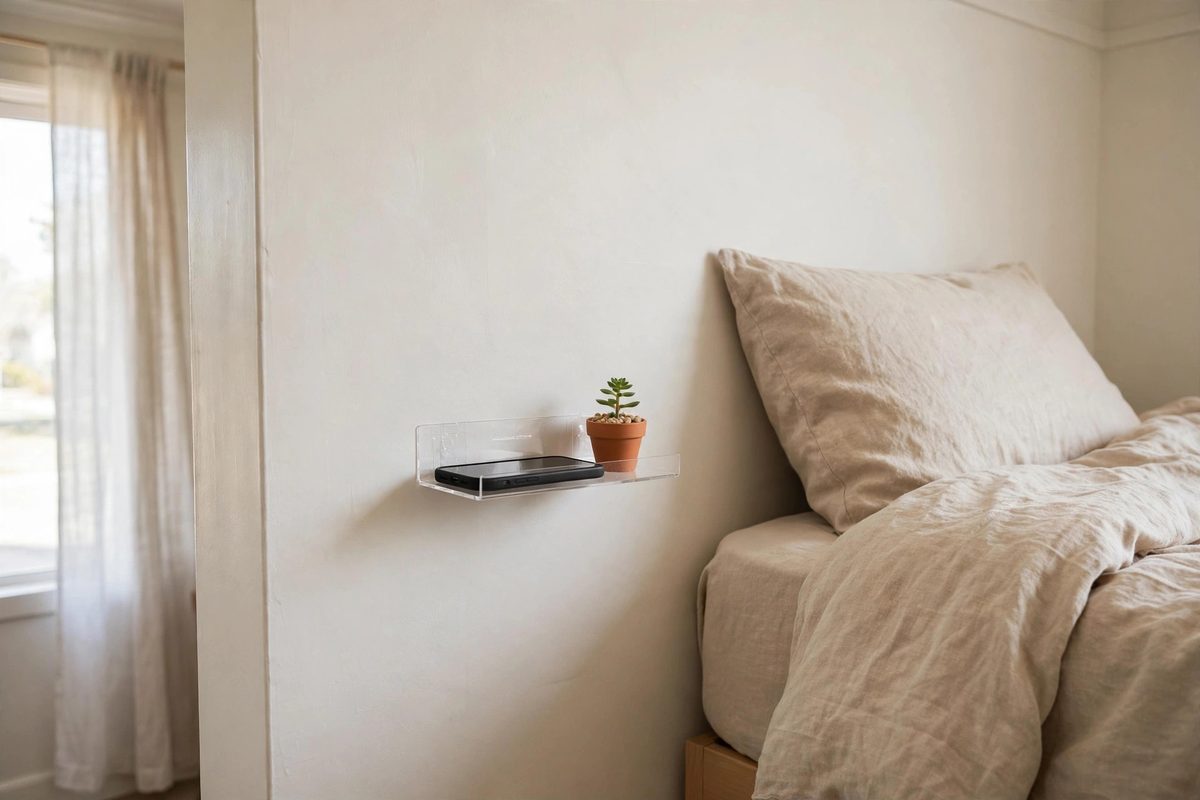
Small adhesive shelves, 6 to 10 inches wide, solve the bedside and entryway problem: nowhere to put a phone, keys, or a tiny plant without a nightstand. They hold 3 to 5 pounds each, which is plenty for a phone, a remote, and a 4 inch potted plant, and they cost 10 to 20 dollars for a set of two or three.
Their small size is also their risk. Renters overload them with a book and a lamp, and a 5 pound shelf carrying 8 pounds will fail. Keep them for light items only, and treat the weight rating as a ceiling, not a target. Smooth surfaces only, and never mount one above a bed with anything breakable, since a fall at night is worse than a fall in daylight.
How to make it work
Mount the shelf at hand height, about 30 inches from the floor beside a bed or 48 inches by an entryway door, so you are not reaching up for your phone. Clean and cure exactly like a full-size adhesive shelf, and wait the full cure time even though the shelf looks small. If you want a plant on it, use a lightweight plastic pot, not ceramic, and keep the total under 3 pounds for a real safety margin.
10. Renter-Safe Removal and Deposit Checklist
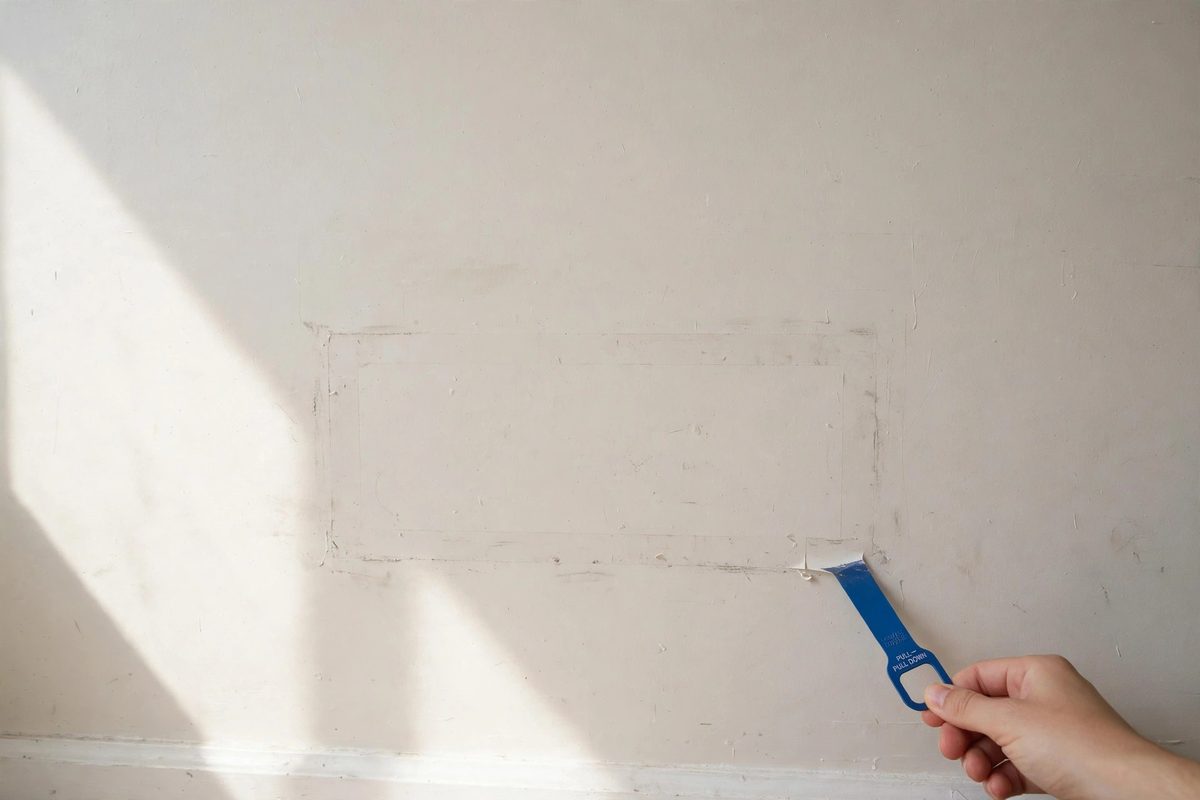
Removal is where no-drill shelves earn their name or lose your deposit. Adhesive strips come off cleanly when pulled correctly, suction leaves nothing at all, and freestanding and tension shelves leave at most a dust mark. The damage renters actually see comes from rushing removal on move-out day: yanking strips outward, peeling wallpaper, or leaving adhesive residue that collects dust and looks like a stain.
Plan removal the same way you planned installation. Photograph each wall before you mount anything, so you can prove pre-existing marks. Keep the product packaging or a photo of the removal instructions, since each brand pulls differently. Budget 10 minutes per adhesive shelf, not 10 seconds, and clean the wall after removal with a damp cloth.
How to make it work
For adhesive strips, pull the tab slowly straight down along the wall for at least 15 seconds per strip, stretching it until it releases. If a tab snaps, roll the remaining foam off gently with your thumb, never scrape with a blade on painted drywall. For suction cups, lift one edge to break the seal rather than ripping the cup off tile. For tension poles, release the tension slowly so the pole does not spring against the ceiling. Wipe every contact point, check the wall in daylight, and touch up only if you see a genuine scuff, since a bad touch-up looks worse than a faint mark. For the wall decor that goes around your shelves, see renter-friendly wall decor ideas.
No-drill shelves work when the fixing matches the surface, the weight stays honest, and removal is planned from day one. Start with one shelf, test it for a week, and only then fill the wall.