10 Renter-Friendly Tile Walls Under $150
10 renter-friendly tile wall projects under $150, with real costs per wall, peel-and-stick tile coverage math, and damage free removal for rentals.
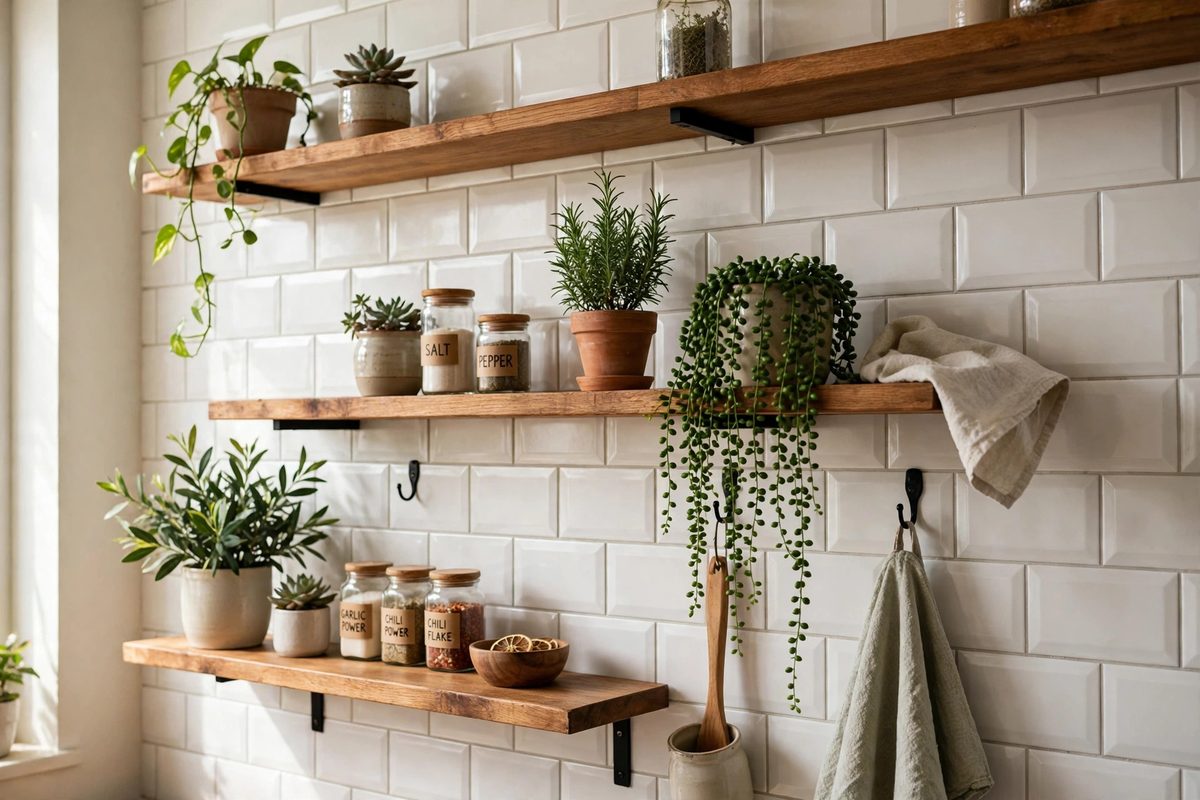
Rental kitchen wall covered in white peel-and-stick subway tiles under $150, with open shelving and plants
In This Guide
A tile wall changes a rental faster than paint, and peel-and-stick tile makes it possible without grout, without a trowel, and without losing a deposit. The trick is budgeting by the wall, not by the box. A box that looks cheap can still blow past $150 once you cover a full wall, and a premium-looking tile can stay under budget if you cover a small accent wall instead of a whole room.
Every project below is a WALL project, costed for materials, with coverage in square feet and a total under $150. Prices are typical retail ranges for peel-and-stick sheets and tile decals, so check your store before buying, but the math shows how each wall stays inside the budget. All ten remove without drilling, and most peel off cleanly if you follow the removal steps at the end. For the classic kitchen version of this idea, see renter-friendly peel-and-stick backsplash ideas, which this budget guide builds on with costed wall projects rather than repeating.
1. Classic White Subway Tile Kitchen Wall
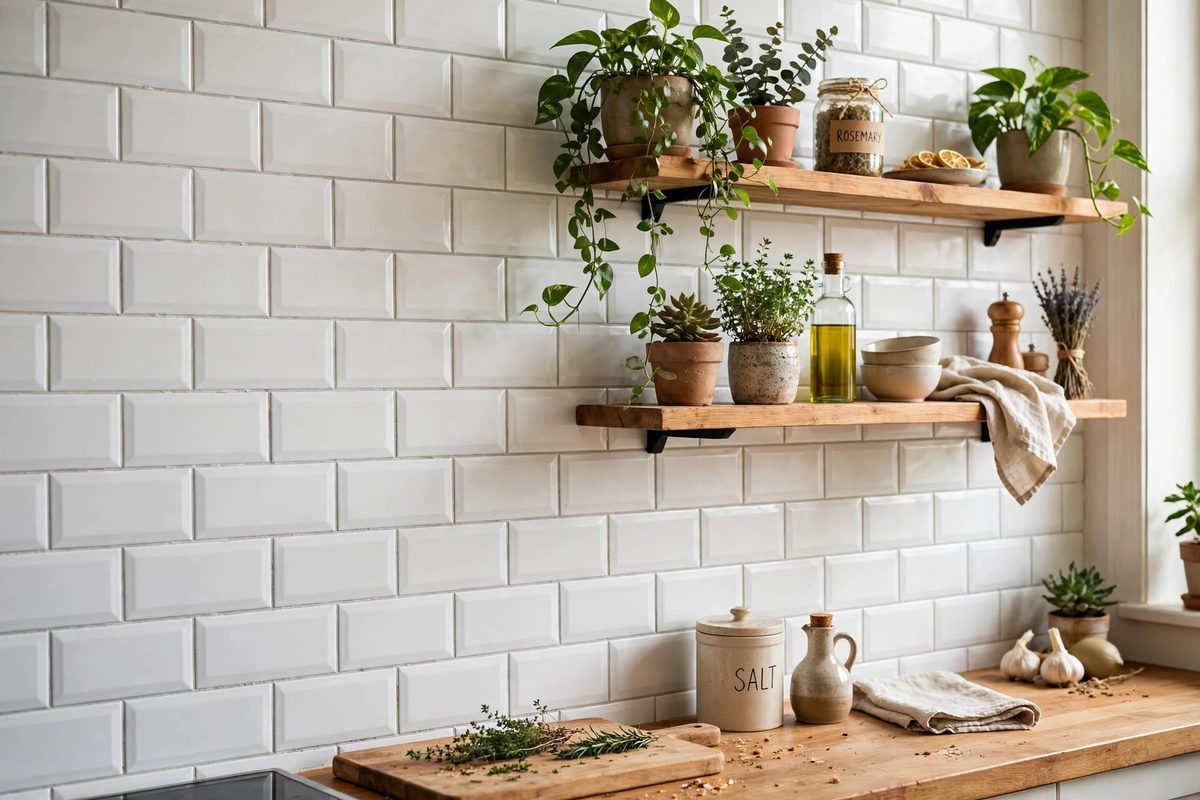
White subway tile is the safest budget tile wall, because it suits almost any kitchen and resells visually when you move out, meaning it photographs well and never fights with your furniture. Peel-and-stick subway sheets usually cost $8 to $12 per sheet, with each sheet covering about 2 square feet. A 24 square foot wall, roughly 8 feet wide by 3 feet tall above a counter, needs 12 sheets, so materials run $96 to $144, plus $8 for a utility knife and smoothing tool if you do not own them. Total: about $104 to $150 for the wall, right at the budget ceiling, so measure tightly and buy one spare sheet, not five.
This wall works best on smooth painted drywall or over existing smooth tile. It does not stick well to textured plaster or greasy surfaces, so wipe the wall with rubbing alcohol and let it dry before starting. Subway tile also forgives beginner mistakes, since the brick pattern hides a slightly crooked cut better than a large-format tile does.
How to make it work
Start at the center of the wall and work outward, so cut pieces land evenly at both ends rather than leaving one thin sliver on one side. Overlap grout lines by eye rather than trusting the sheet edge, and press each sheet from the center outward to push air bubbles to the edges. In kitchens, keep tile at least 6 inches from direct stove heat, since heat softens adhesive over time. Remove by warming a corner with a hair dryer on low and peeling slowly downward, then wiping residue with rubbing alcohol.
2. Marble Look Accent Wall in the Living Room
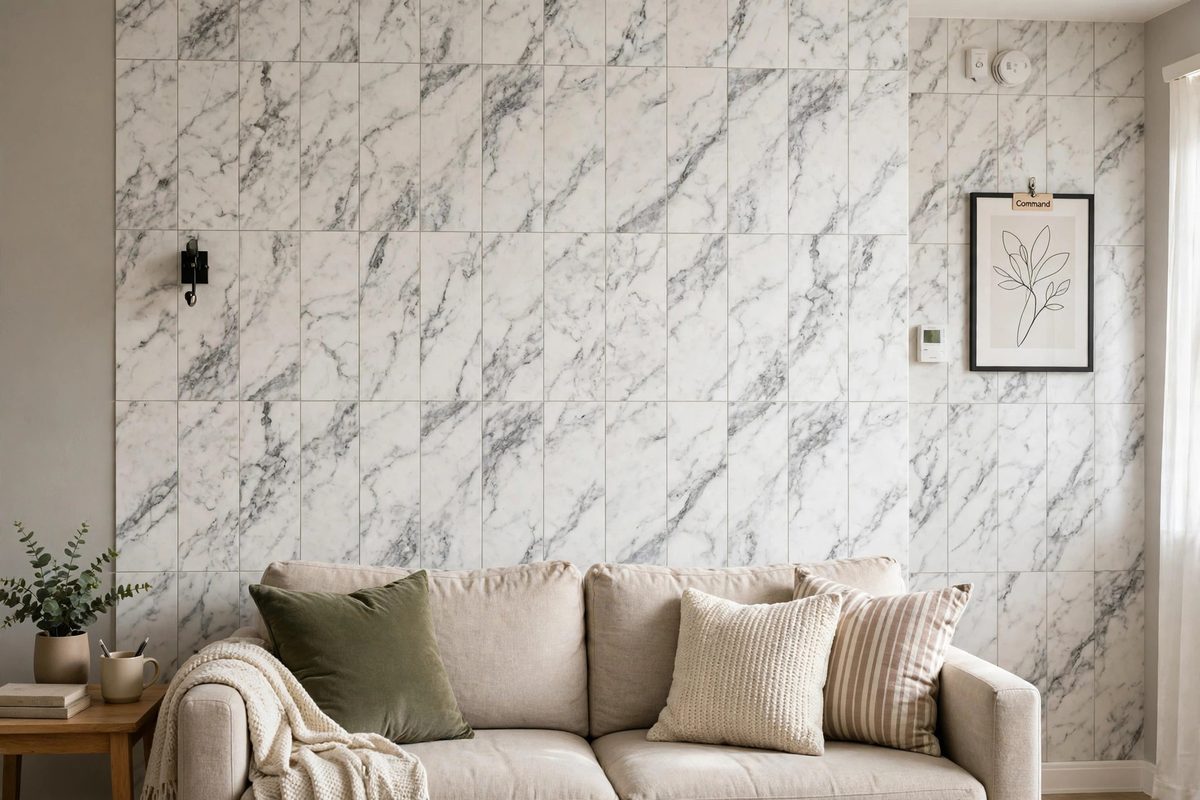
Marble-look peel-and-stick tiles give a living room accent wall a high-end read for a fraction of real stone, and the trick is covering a narrow wall, not a wide one. Marble sheets cost $10 to $15 per sheet at about 2 square feet per sheet. A 16 square foot accent wall, about 4 feet wide by 4 feet tall behind a sofa or console, needs 8 sheets, so materials cost $80 to $120, plus $10 for cutting tools and trim. Total: about $90 to $130, comfortably under $150.
Choose a soft white marble with grey veining rather than a loud, high-contrast print, since large veining patterns repeat visibly across sheets and look fake at close range. A matte finish reads more like real stone than a glossy finish, and it hides fingerprints and dust better in a living room. Pair the wall with warm wood and plain linen so the marble stays the star, a styling approach that also works in renter-friendly wall decor ideas.
How to make it work
Lay sheets on the floor first and match veining across seams before sticking anything, since two sheets with clashing veins ruin the effect. Stagger seams like brickwork so no vertical line runs the full height of the wall. Press firmly for 30 seconds per sheet and roll seams with a small roller or a tennis ball wrapped in cloth. At move-out, peel from a top corner in slow strips, warming stubborn sheets with a hair dryer, and expect to touch up paint only if the wall paint was already weak.
3. Terrazzo Tile Wall for a Small Entryway
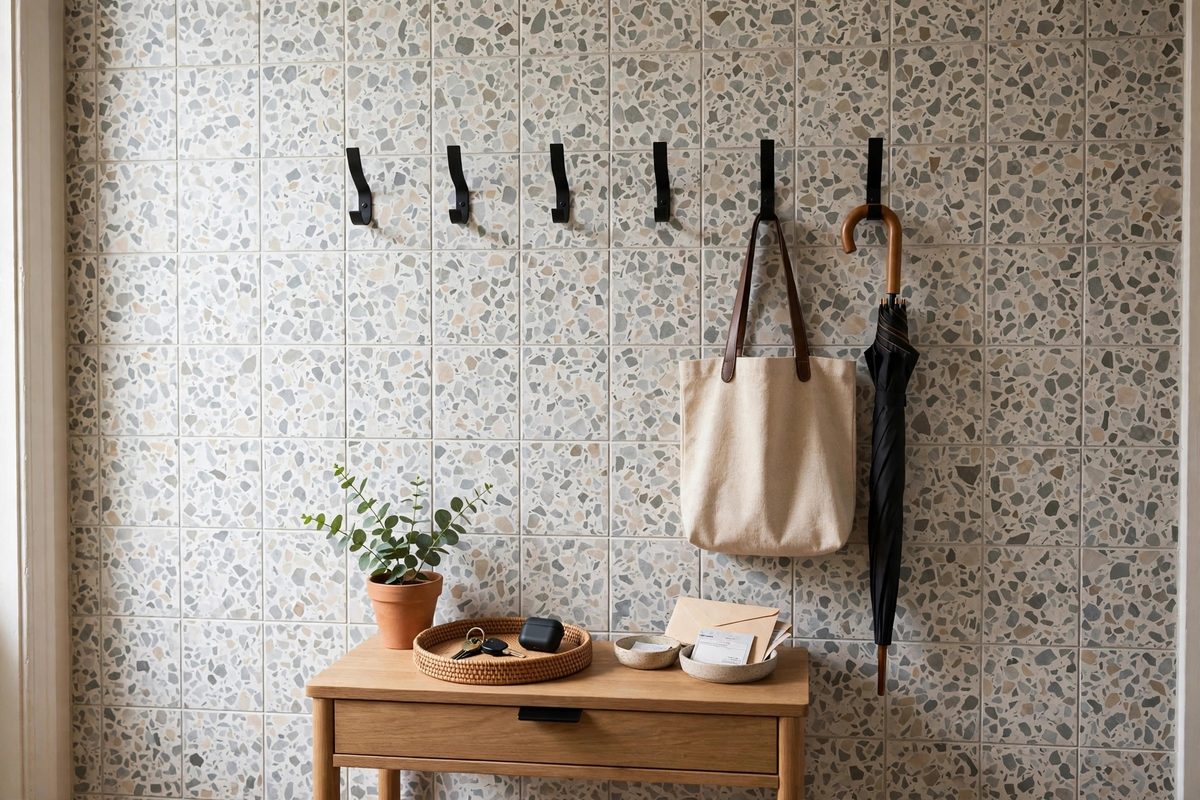
Terrazzo, with its speckled chips of color on a neutral base, hides scuffs better than any plain tile, which makes it ideal for an entryway wall that bags, keys, and coats brush against daily. Terrazzo peel-and-stick sheets cost $9 to $13 per sheet at about 2 square feet each. A 12 square foot entry wall, about 3 feet wide by 4 feet tall, needs 6 sheets, so materials run $54 to $78, plus $8 for tools. Total: about $62 to $86, one of the cheapest walls on this list.
Pick a terrazzo with a warm beige or pale grey base and small chips, not giant confetti pieces, since small chips read as real terrazzo from a normal viewing distance. This wall also suits a hallway nook or the wall behind a console table, where a full tile wall would feel too busy. Keep the rest of the entry simple, with one hook rail and a small bench, so the speckled wall does not compete with clutter.
How to make it work
Cover only the lower half or a defined panel of the entry wall, framed with a thin adhesive trim strip, rather than tiling floor to ceiling. A panel reads as intentional design, while a full wall of busy terrazzo can overwhelm a small space. Cut sheets with a sharp utility knife and a straight edge, replacing the blade after every few cuts so edges stay clean. Seal edges near the door frame with clear caulk tape if the wall gets bumped often, and peel panels off slowly at move-out, checking for paint lift in one corner first.
4. Fish Scale Tile Wall for a Renter Bathroom
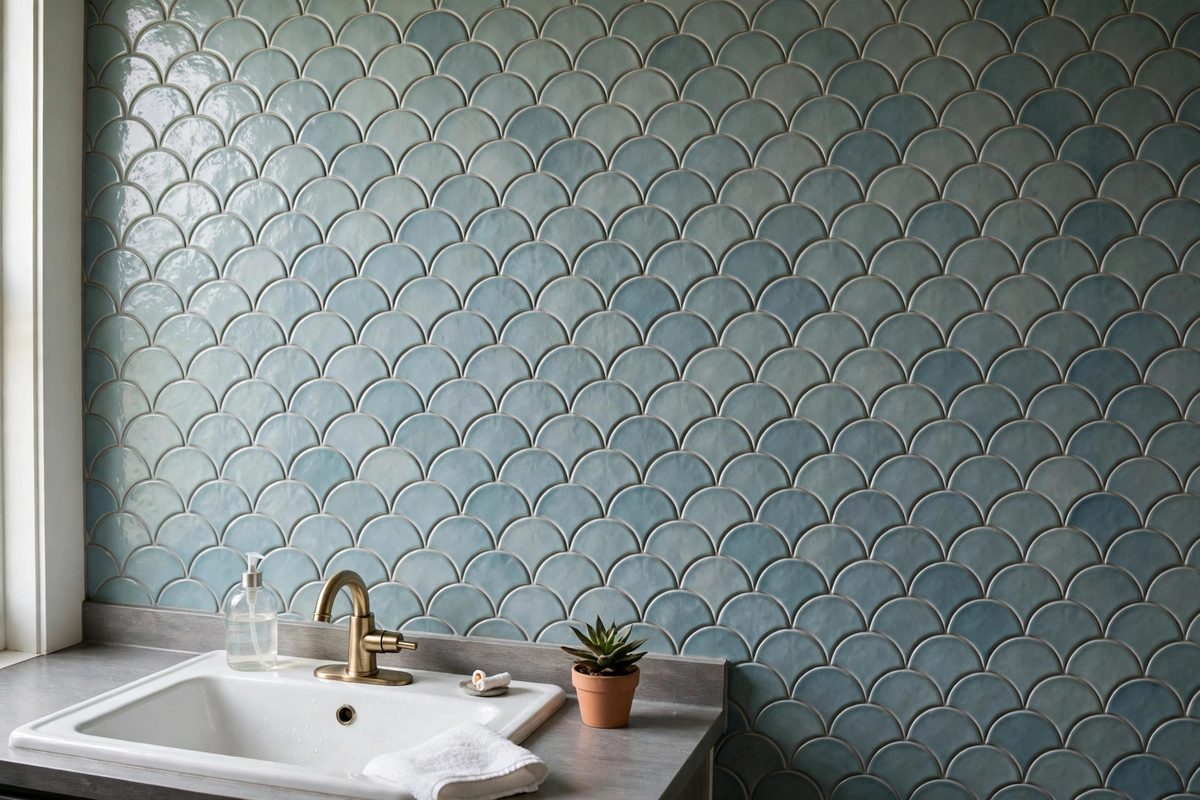
Fish scale tiles, also called scallop tiles, turn a plain bathroom wall into a focal point, and they work in rentals because peel-and-stick versions avoid grout and drilling entirely. Fish scale sheets cost $11 to $16 per sheet at about 1.8 square feet each. A 14 square foot bathroom wall, about 4 feet wide by 3.5 feet tall above a sink or tub surround edge, needs 8 sheets, so materials run $88 to $128, plus $7 for a smoothing tool. Total: about $95 to $135, under budget if you keep the wall modest.
Bathroom humidity is the main risk, so choose sheets labeled water-resistant or bathroom-safe, and avoid placing tile inside a direct shower spray zone unless the product specifically allows it. A wall above a sink or on the dry side of a tub gets steam but not direct spray, and that distinction matters for how long the adhesive holds. Ventilate with the fan during and after showers, and wipe splashes dry rather than letting water sit on seams.
How to make it work
Clean the wall with rubbing alcohol, let it dry fully, and start at the top row so cut pieces land at the bottom, where a sink or tub hides them. Overlap scallop edges slightly so no wall shows through the curves. Press each scale firmly, especially at the curved tips, which lift first in humidity. For more bathroom-safe renter ideas, see renter-friendly bathroom upgrades. At removal, warm each sheet and peel downward, since pulling upward in a humid bathroom can lift softened paint.
5. Brick Look Tile Wall for a Cozy Nook
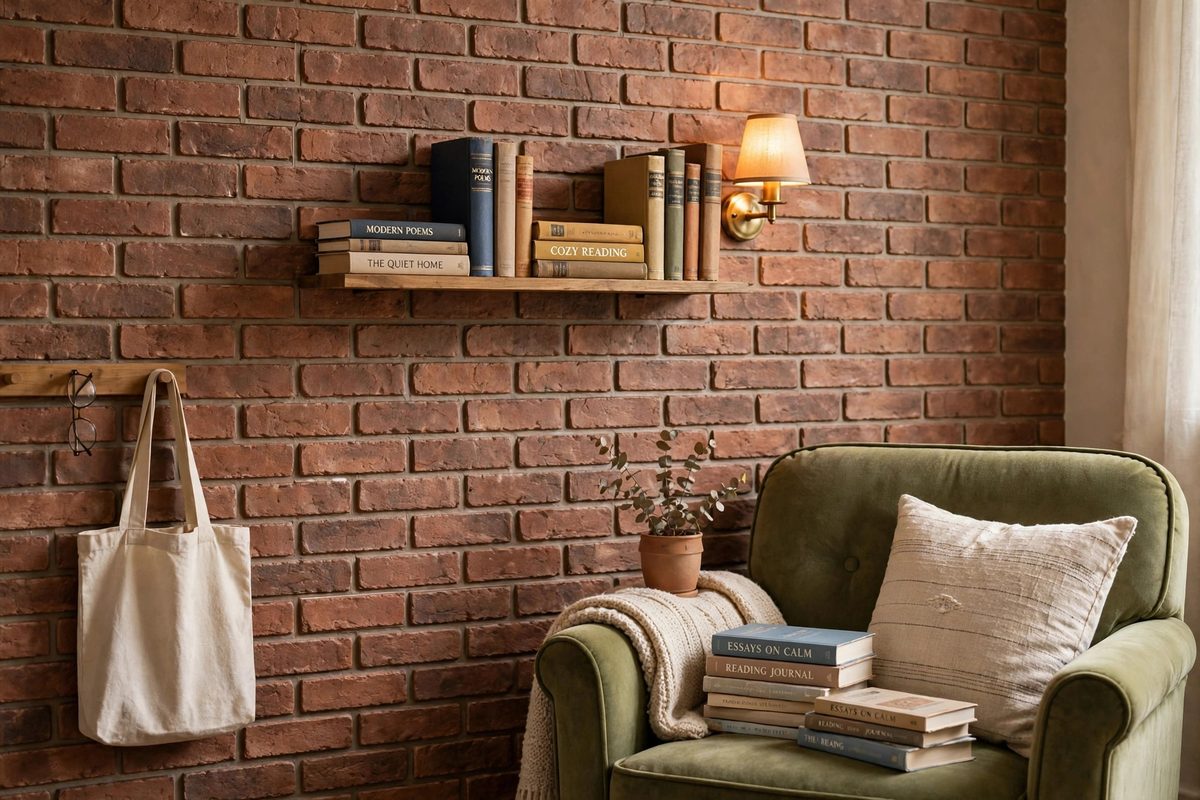
Brick-look tile sheets give a reading nook or bedroom corner instant warmth without the weight, dust, or permanence of real brick veneer. Brick sheets cost $7 to $11 per sheet at about 2 square feet each. A 20 square foot nook wall, about 5 feet wide by 4 feet tall, needs 10 sheets, so materials run $70 to $110, plus $8 for tools. Total: about $78 to $118, with room to add a small shelf or picture ledge on top of the finished wall.
Choose a warm red-brown or whitewashed brick print, not a grey industrial print, if the room is small, since warm tones make a nook feel cozy rather than cold. Brick patterns also hide imperfect cuts well, because the mortar lines break up the eye. This wall suits renters who want texture without committing to wallpaper, since tile sheets remove more cleanly than pasted wallpaper on smooth paint.
How to make it work
Stagger brick courses so vertical joints never align, and start each row with a half sheet on alternate rows. That staggering is what makes the wall read as brick rather than as printed sheets. Use a level on the first row, since every row above it follows that line, and a sloped first row ruins the whole wall. Keep furniture 1 inch off the wall so chairs and shelves do not scuff the tile edges. Remove by peeling from a bottom corner upward in slow strips, warming the adhesive as you go.
6. Hexagon Tile Wall for a Home Office
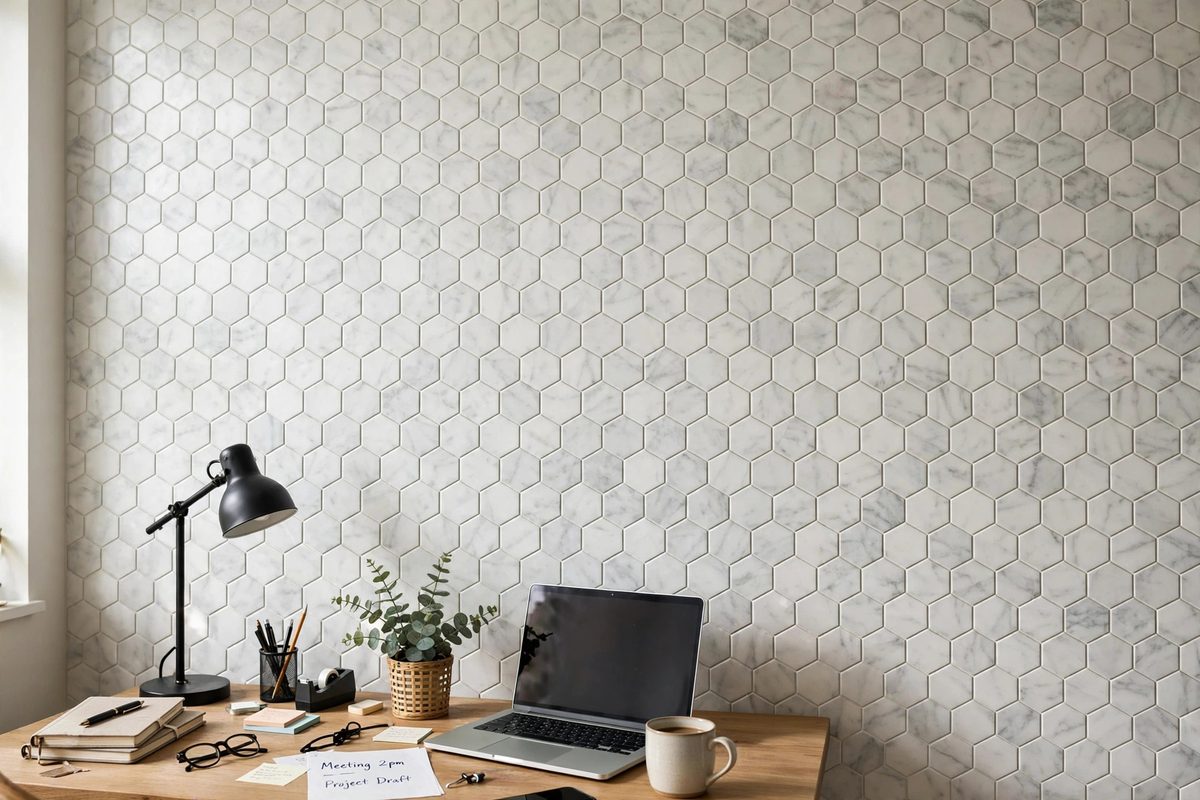
Hexagon tiles suit a home office because the geometric pattern adds energy without the visual noise of a busy print, and a small wall behind a desk is enough to change the whole room on camera. Hexagon sheets cost $10 to $14 per sheet at about 2 square feet each. A 12 square foot desk wall, about 4 feet wide by 3 feet tall, needs 6 sheets, so materials run $60 to $84, plus $8 for tools. Total: about $68 to $92, leaving budget for a desk organizer or a monitor riser.
Pick a two-tone hexagon, such as white with a soft sage or navy accent, rather than a rainbow mix, so video calls look calm and professional. A matte hexagon also reduces glare from desk lamps, which matters when the wall sits directly behind your screen. If your office doubles as a guest room, keep the tile wall to the desk zone only, so the room still feels restful from the bed.
How to make it work
Center the hexagon pattern on the desk, not on the wall, so the pattern looks intentional from your chair and on camera. Cut edge pieces with a template made from paper first, since hexagon edges are harder to cut freehand than square tiles. Press each sheet from the center outward and check alignment after every sheet, because hexagon patterns drift visibly if one sheet sits a quarter inch off. Peel slowly at move-out, since hexagon sheets have more edges that can catch paint if yanked.
7. Wood Look Tile Plank Wall in the Bedroom
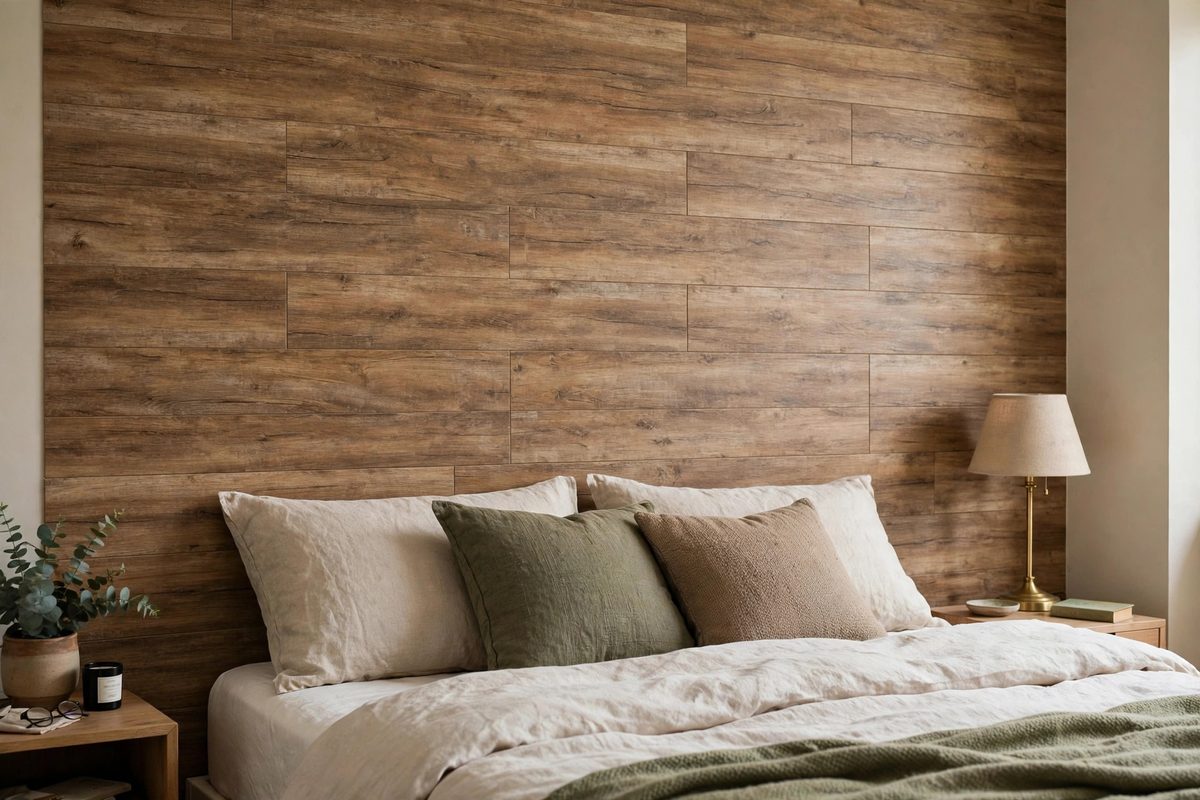
Wood-look tile planks on a bedroom WALL, not the floor, give a headboard wall warmth and texture without drilling a single plank. Wood-look peel-and-stick planks cost $1.50 to $2.50 per square foot in sheet or plank form. A 32 square foot headboard wall, about 8 feet wide by 4 feet tall, needs 32 square feet, so materials run $48 to $80, plus $10 for a cutting tool and level. Total: about $58 to $90, one of the best value walls on this list because planks cover large areas cheaply.
This is a wall project only: the same planks also exist for floors, but floor planks need different adhesive and wear layers, so buy wall-rated planks and keep this project vertical. Choose a mid-tone oak or walnut print with visible grain variation, since a single flat wood tone reads as plastic at close range. Run planks horizontally for a wider feel in a narrow bedroom, or vertically for a taller feel in a room with low ceilings.
How to make it work
Start with a level baseline row at the bottom of the headboard zone, since every plank above follows it. Stagger plank joints by at least 6 inches between rows, like staggered wood planks on a wall, and mix planks from different boxes so grain patterns do not repeat in a block. Press each plank firmly and roll seams. Keep the bed headboard 1 inch off the wall to avoid rubbing the plank edges, and peel planks off one at a time at move-out, warming stubborn ones with a hair dryer.
8. Bold Color Block Tile Wall for a Kitchen Nook
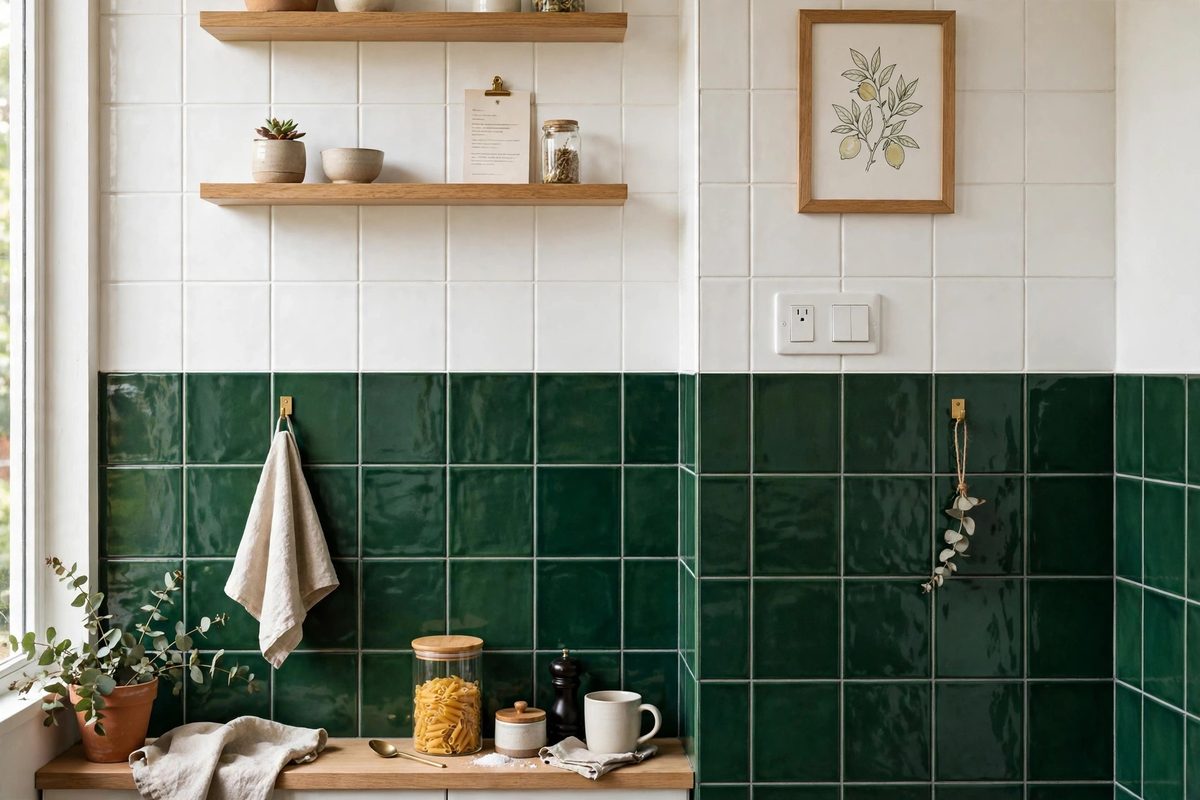
A color block tile wall, two solid tile colors stacked in a clean horizontal band, gives a kitchen nook personality without the cost of a full designer tile job. Solid-color peel-and-stick tiles cost $8 to $12 per sheet at about 2 square feet each. A 16 square foot nook wall, about 4 feet wide by 4 feet tall, needs 8 sheets, four in each color, so materials run $64 to $96, plus $8 for tools. Total: about $72 to $104, with the color choice doing the design work for free.
Pick one deep color, such as forest green or navy, for the lower band and white or pale cream for the upper band, with the split at counter height or at two thirds of the wall height. That split hides cooking splashes on the lower band and keeps the upper wall light. For more kitchen renter upgrades that pair with this wall, see renter-friendly kitchen upgrades. Avoid more than two colors, since three or more solid colors on a small wall quickly look chaotic rather than bold.
How to make it work
Mark the color split line with painter’s tape and a level before sticking anything, since a wavy split line ruins the whole effect. Tile the lower band first, then the upper band, and run a thin adhesive trim strip along the split for a finished edge. Keep tile away from direct heat and wipe grease promptly, since solid colors show grease smears more than patterned tiles do. At removal, peel the upper band first so falling pieces do not damage the lower band you still need to remove.
9. Mosaic Tile Wall for a Laundry Corner
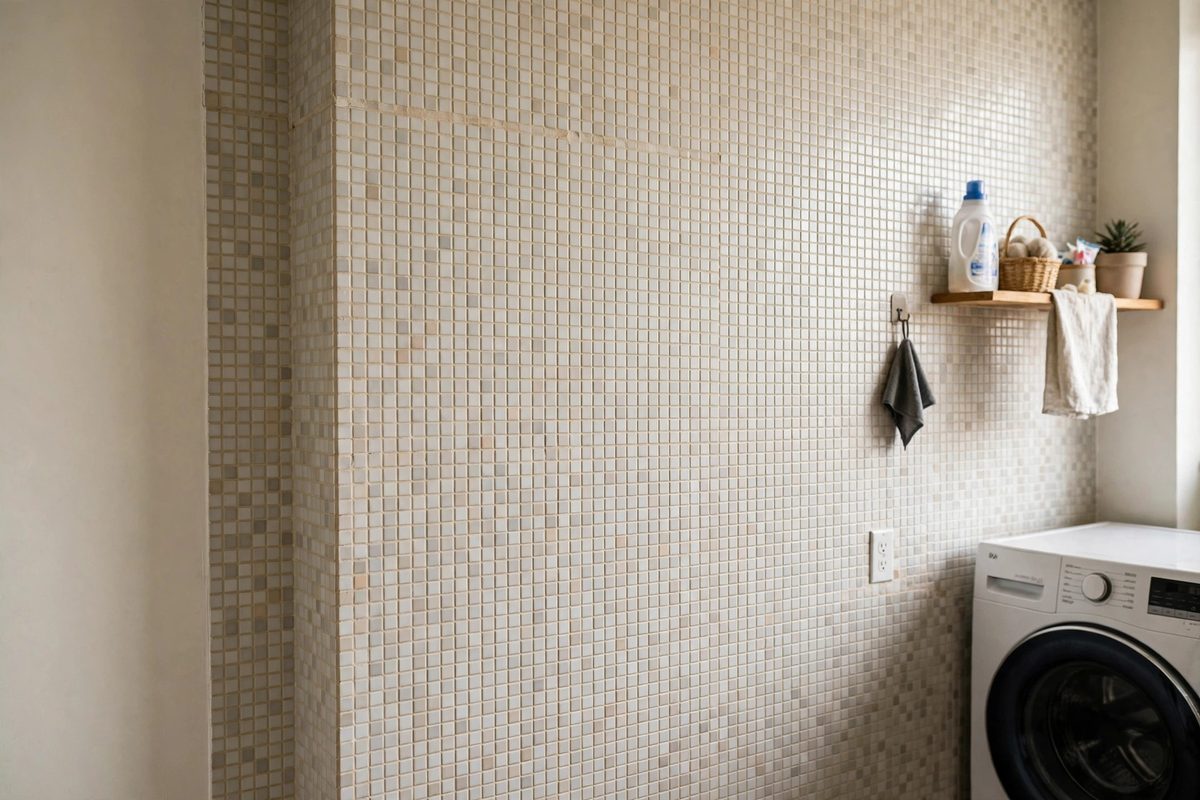
Mosaic tiles, small squares or rectangles on a mesh-backed sheet, make a laundry corner feel finished, and they are forgiving for beginners because the small pieces hide uneven walls better than large tiles. Mosaic sheets cost $9 to $14 per sheet at about 1.5 square feet each. A 12 square foot laundry wall, about 3 feet wide by 4 feet tall, needs 8 sheets, so materials run $72 to $112, plus $8 for tools. Total: about $80 to $120, under budget for a wall that otherwise gets ignored.
Choose a light mosaic with a mix of white and soft grey, since laundry rooms are often windowless and dark tiles make them feel smaller. Mosaic also suits the wall behind a washer and dryer, where a large tile would need many cuts around pipes and outlets. Cut mesh sheets with scissors along the mesh, not through tile pieces, and plan outlet cuts on paper before cutting a sheet.
How to make it work
Turn off power at the breaker before cutting around outlets, and use outlet covers that sit over the tile rather than under it, so the tile edge stays clean. Press mosaic sheets firmly, since small pieces lift at corners if not fully bonded, and run a finger along every grout line to check for loose edges. Wipe detergent splashes promptly, since dried detergent dulls mosaic finishes. Remove by warming and peeling one sheet at a time, checking paint in a hidden corner first.
10. Tile Decal Wall for a Dorm or First Apartment
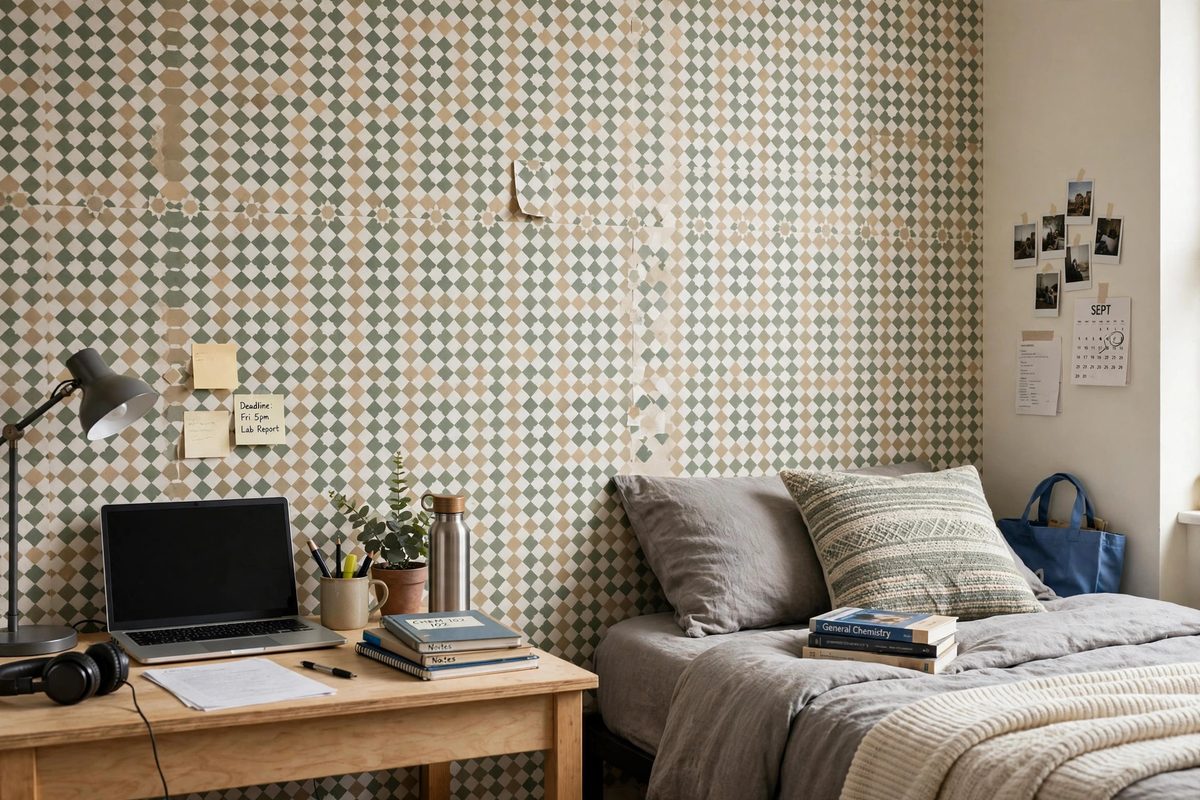
Tile decals, individual removable tile stickers rather than full sheets, are the cheapest and most forgiving tile wall for a dorm or first apartment, because you can buy exactly as many as you need and reposition them while learning. Decal packs cost $12 to $20 for 24 to 48 tiles, with each tile covering about 0.25 square feet. A 12 square foot accent wall needs about 48 tiles, so two packs run $24 to $40, plus $5 for a smoothing card. Total: about $29 to $45, the lowest cost on this list by a wide margin.
Decals suit smooth painted walls, mirrors, and existing smooth tile, and they are the best choice if your lease is strict, since most decals are marketed as fully removable and leave less residue than full adhesive sheets. They also let you test a pattern: stick a small panel first, live with it for a week, then expand if you love it. For other low-commitment wall ideas, see no-drill curtain ideas for rental apartments, which use the same test-small-first logic.
How to make it work
Plan the layout on the floor in a grid before sticking anything, since decals look best with even spacing and consistent grout gaps. Use a credit card wrapped in cloth to smooth each decal from the center outward, eliminating air bubbles. Space decals with a small coin as a spacer so gaps stay even. To remove, peel a corner slowly and roll the decal off, rather than pulling straight out, and wipe any residue with warm soapy water. If a decal loses stickiness after repositioning, replace it rather than adding glue, since glue defeats the renter-friendly point.
How to Budget Any Tile Wall Under $150
The formula is simple: measure the wall in square feet, divide by the coverage per sheet, round up, and multiply by the price per sheet, then add $8 to $10 for tools. A 20 square foot wall at $10 per 2 square foot sheet needs 10 sheets and costs $100 plus tools, safely under budget. A 40 square foot wall at the same price needs 20 sheets and costs $200, over budget, so shrink the wall to an accent panel or choose a cheaper tile. That one calculation is the difference between a budget project and a surprise overspend.
Wall type matters as much as price. Smooth painted drywall, glass, and glazed tile hold peel-and-stick tile best. Textured walls, wallpaper, and fresh paint under 30 days old hold it poorly, and tile on those surfaces may peel within weeks or pull paint on removal. Kitchens need grease-free prep and distance from stove heat. Bathrooms need water-resistant sheets and fan ventilation. Always test one sheet in a hidden corner for a week before covering a full wall, especially in a rental where paint quality is unknown.
Removal Without Losing Your Deposit
Remove tile walls slowly, with warmth, not force. Warm a corner with a hair dryer on low for 30 seconds, peel downward in a slow, steady motion, and keep the peel angle low, close to the wall, rather than pulling outward. Pulling outward peels paint. Wipe residue with rubbing alcohol on a cloth, and photograph the wall in daylight after removal for your move-out records. If a patch of paint does lift, a small touch-up with matching paint, where your lease allows it, usually resolves it, and catching it early gives you time to fix it before inspection.
Every wall above stays under $150 because it is sized honestly: a small accent wall in a premium tile, or a larger wall in a budget tile, never a large wall in a premium tile. Pick the wall size first, price the sheets second, and test one sheet before you commit. That order keeps the project renter-friendly in both senses: no drilling while you live there, and no damage bill when you leave.