10 Small Kitchen Open Shelf Ideas That Look Organized, Not Cluttered
Ten small kitchen open shelf ideas that look organized, not cluttered, with styling rules for dishes, glassware, and everyday cooking gear.
In This Guide
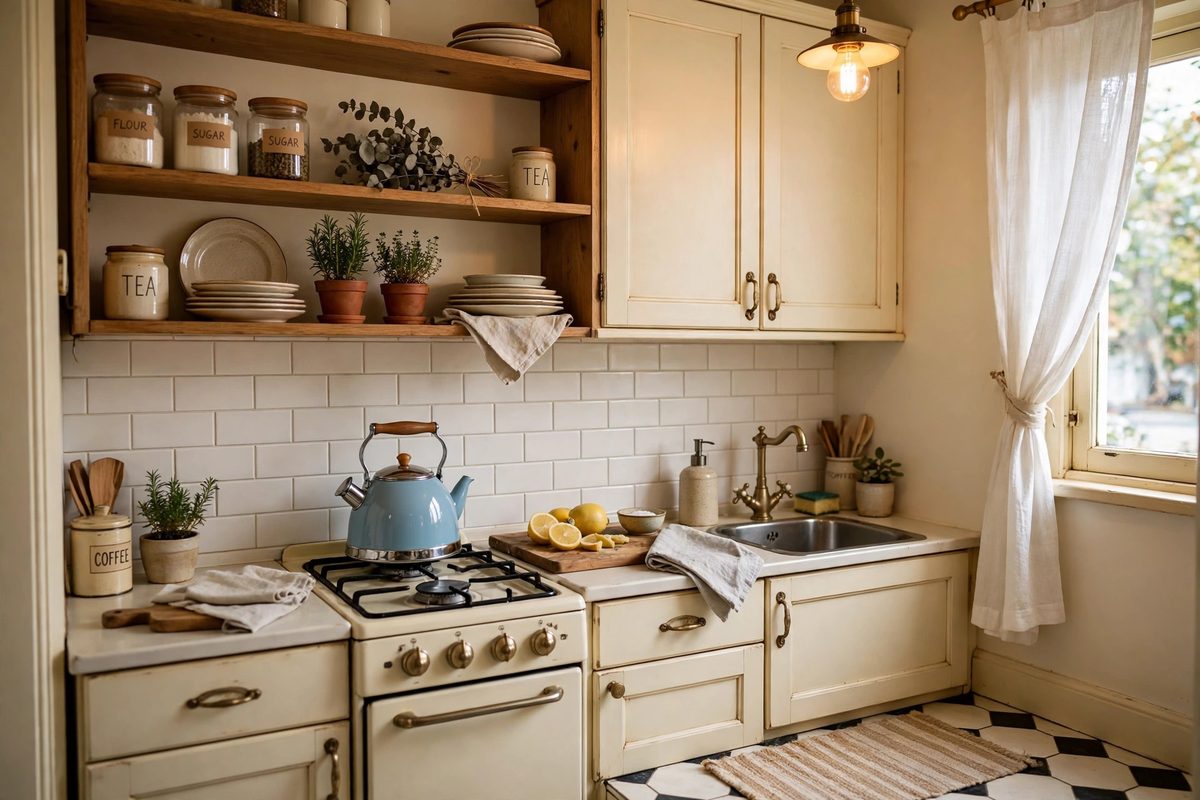
Open shelves in a small kitchen are a gamble. Done well, they make the room feel larger, brighter, and easier to cook in, since everything is visible and within reach. Done badly, they become a crowded display of mismatched mugs, dusty spices, and things you forgot you owned.
The difference is almost never the shelves themselves. It is what goes on them and how much empty space is left around it. Open shelves work best for items you use every day, in a limited color palette, with breathing room between groups. Everything else belongs behind a cabinet door.
Before you install anything, audit what you would actually display. Count your everyday dishes, glasses, and mugs, and be honest about whether they look good together. If your dish collection is five different sets, open shelves will highlight that, not hide it. For related small space thinking, see small bedroom rug ideas and Christmas gift wrapping station ideas for small apartments, plus small kitchen decor ideas for the rest of the room.
These 10 ideas show how to style open shelves so they look organized on an ordinary Tuesday, not just on photo day.
1. One Shelf Over the Sink
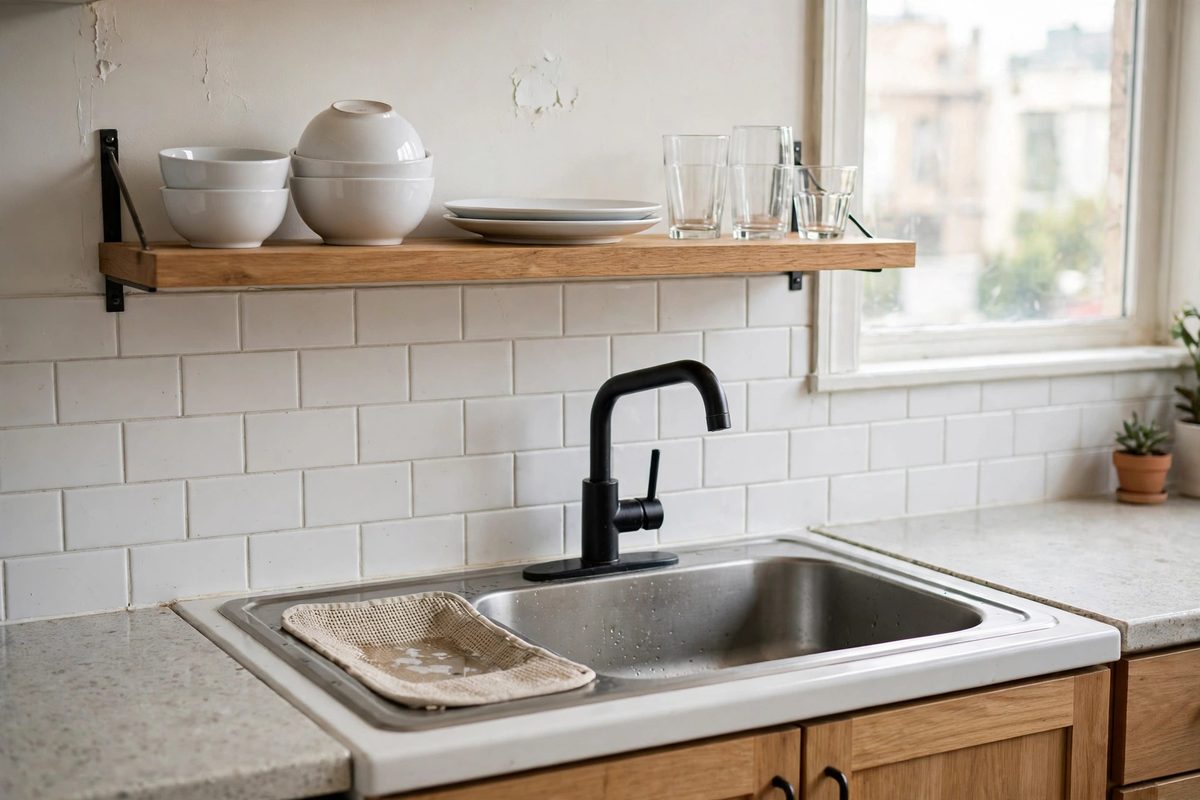
A single shelf over the sink is the lowest risk way to try open shelving. It uses dead wall space, holds the dishes you use daily, and does not commit the whole kitchen to the open look. One shelf, about 24 to 36 inches long, is enough for a small household.
Mount the shelf 18 to 20 inches above the countertop, so you can still use the sink comfortably and tall items fit underneath. A wood shelf with metal brackets costs 30 to 70 dollars, and it should be anchored into studs, since dishes are heavy.
How to make it work
Keep only daily dishes on this shelf: four to six bowls, four plates, and a few glasses. Store everything else in cabinets. Put the heaviest items, like a stack of dinner plates, near the brackets, not in the middle of the span, so the shelf does not sag over time.
2. Matching Dish Sets Only
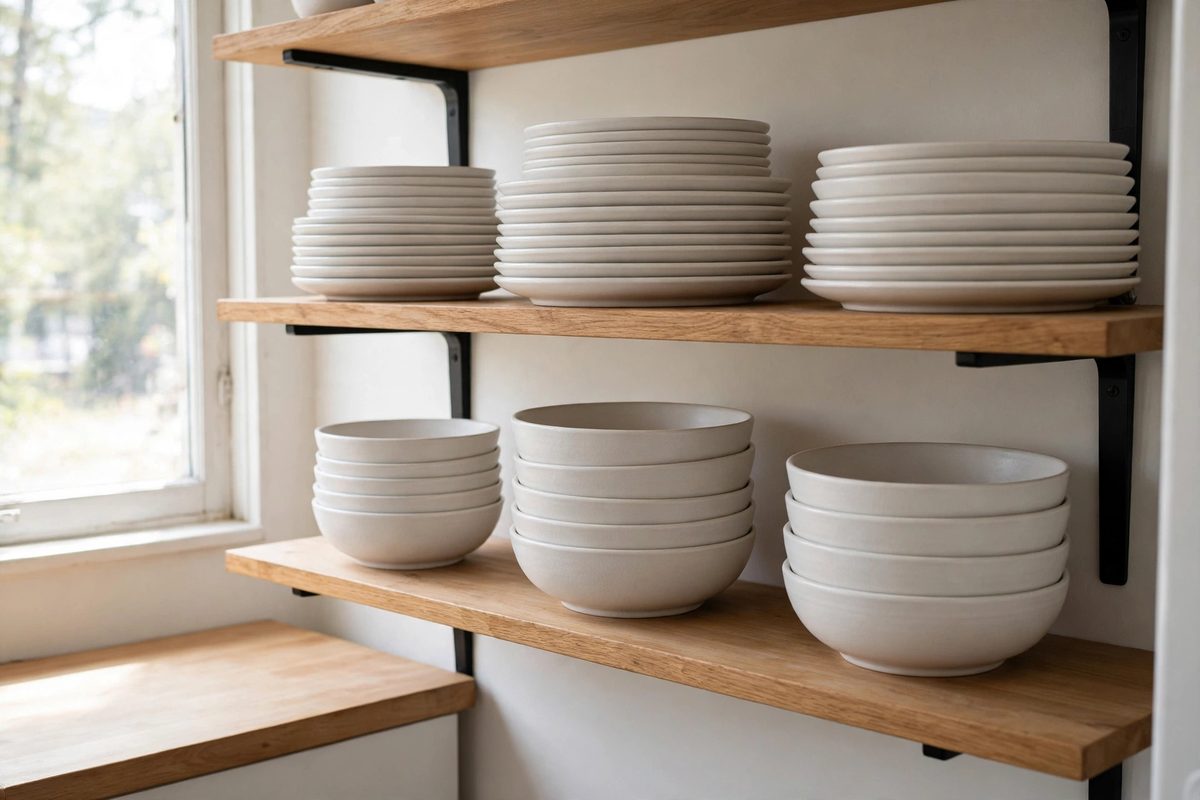
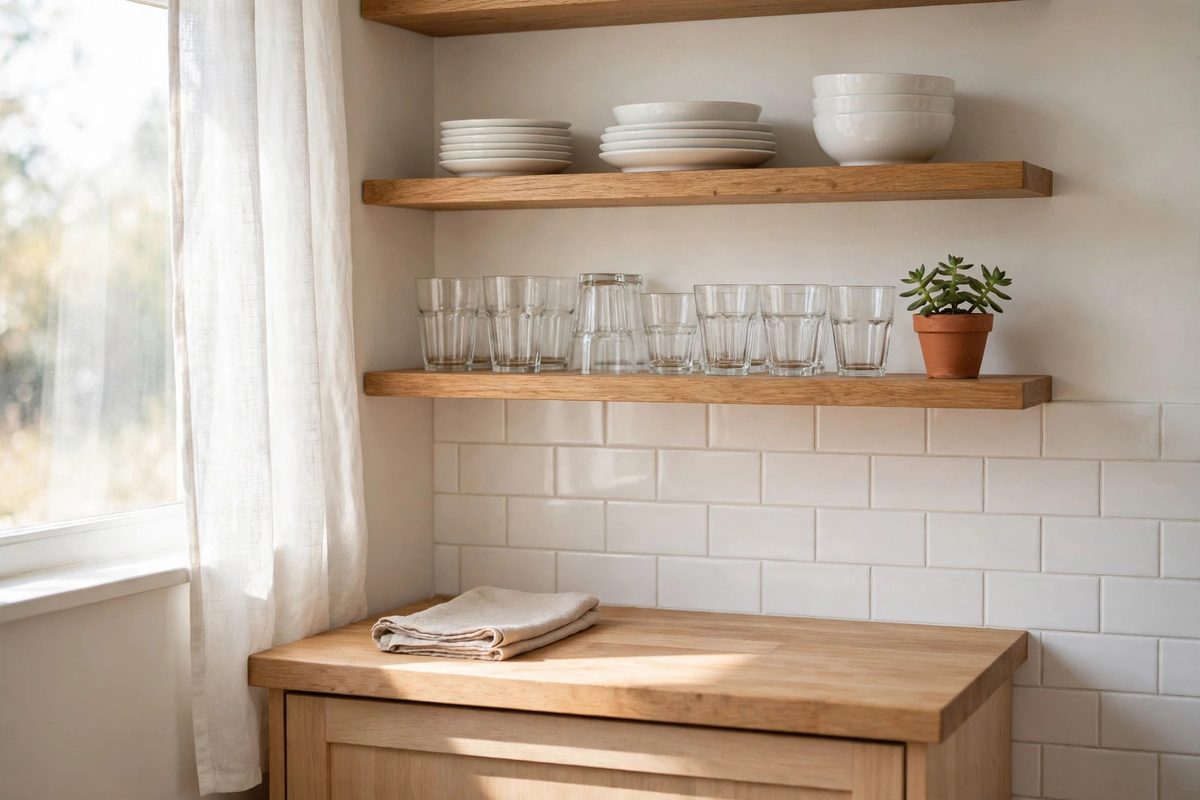
The fastest way to make open shelves look organized is to display only matching sets. White, cream, or one solid color dishes read as a calm block of color, while a mix of patterns reads as clutter even when the shelves are tidy.
You do not need to buy a new set. Pick the set you have the most of, use it for the shelves, and store the odd pieces in a cabinet for guests or backup. A basic white stoneware set for four costs 40 to 80 dollars if you do need to start fresh.
How to make it work
Stack bowls in groups of four and plates in groups of six, with the stacks aligned at the front edge of the shelf. Leave at least 3 inches of empty shelf at each end so the group looks intentional, not squeezed in. If a dish is chipped, it goes in the cabinet, not on display.
3. Wood Shelves With Simple Brackets
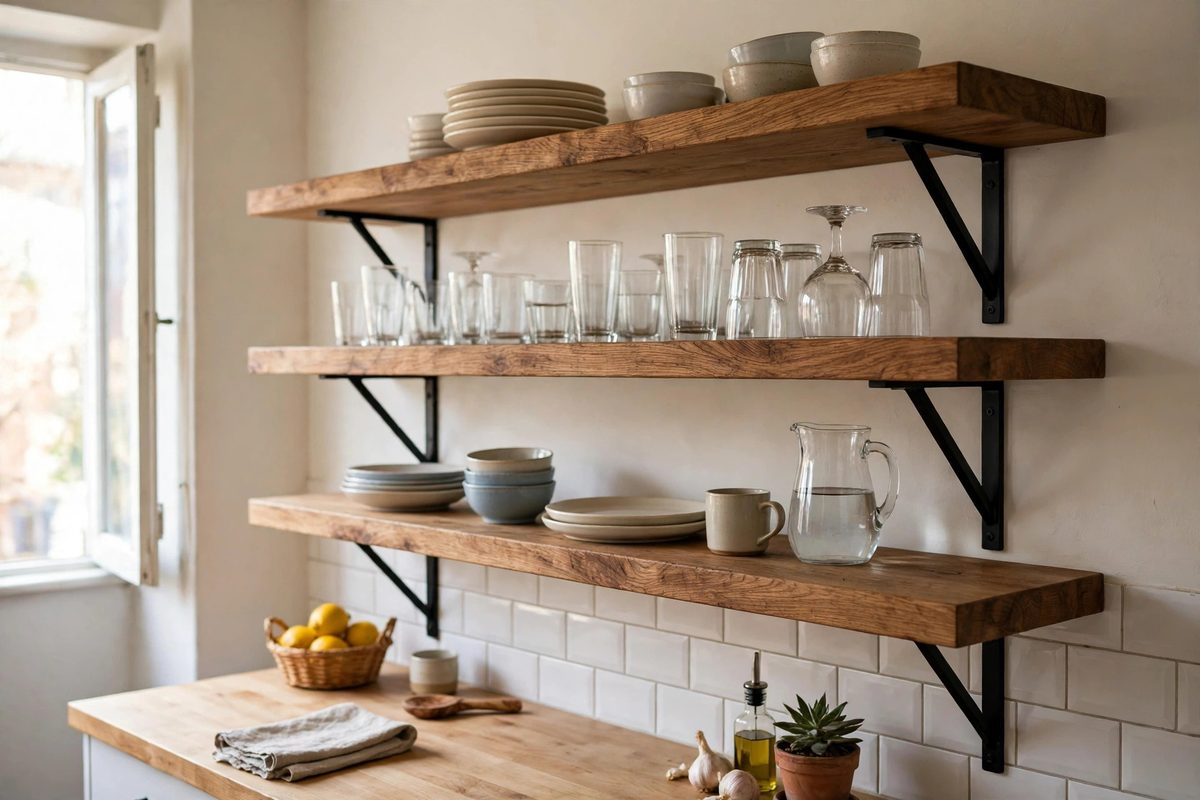
The shelf itself sets the tone. A thick wood shelf, 1.5 to 2 inches thick, with simple black or brass brackets looks warm and substantial, while a thin white shelf can look temporary in a small kitchen.
Wood shelves cost 40 to 100 dollars each depending on length and wood type. Butcher block offcuts and reclaimed wood are cheaper options, but seal them well, since kitchen shelves get splashed. Brackets should be rated for at least 20 pounds each when loaded with dishes.
How to make it work
Match the wood tone to something already in the kitchen, like a cutting board or a wood floor, so the shelf feels connected to the room. Keep brackets simple and consistent across all shelves; mixing bracket styles is one of the fastest ways to make shelves look messy. Space shelves 15 to 18 inches apart vertically so tall glasses and pitchers fit.
4. Glass Shelves for a Lighter Look
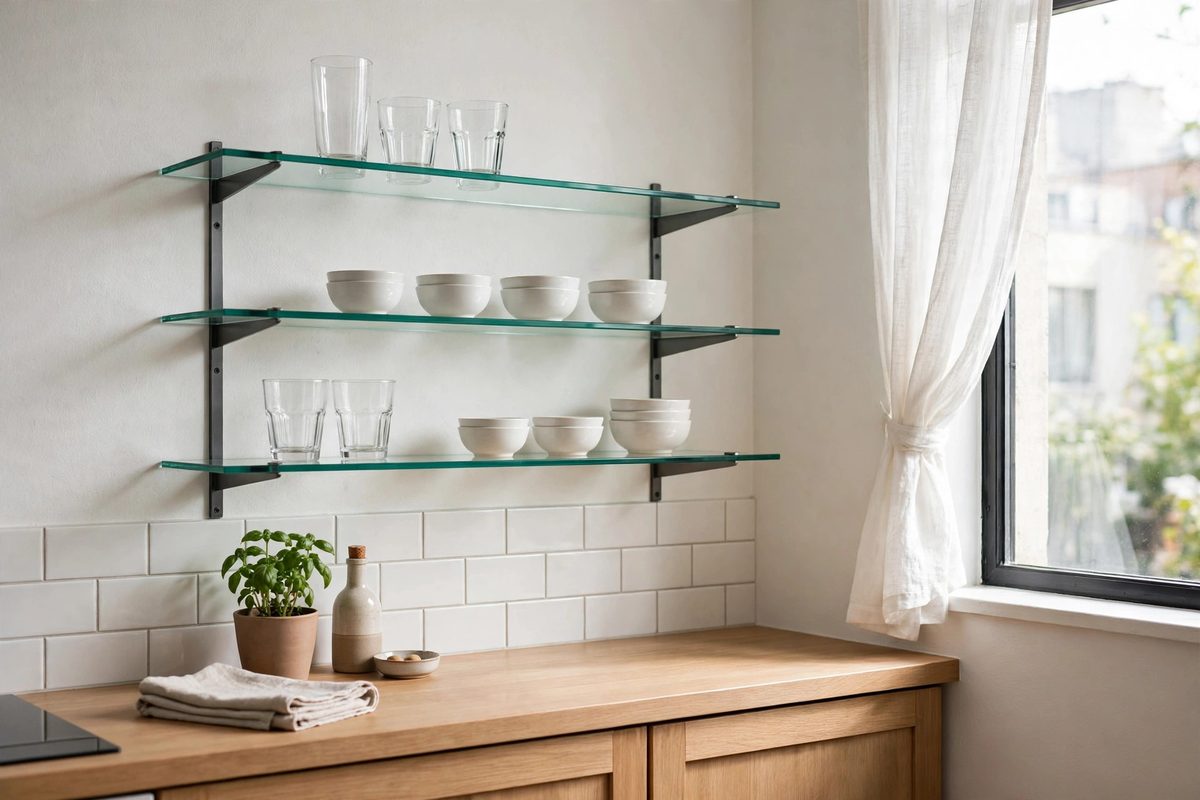
Glass shelves almost disappear, which is useful in a very small or dark kitchen where wood shelves would add visual weight. They suit glassware, white dishes, and light colored items best, since the shelf itself does not compete.
Tempered glass shelves cost 30 to 80 dollars each, and they must be at least 3/8 inch thick for kitchen use. Glass shows dust and water spots faster than wood, so this choice suits people who wipe shelves weekly.
How to make it work
Use glass shelves for lighter items only: glasses, small bowls, and a plant, not stacks of heavy stoneware. Keep the wall behind the shelves clean and light colored, since it shows through the glass. Add a small LED strip under each shelf, about 15 dollars, to light the items below and make the glass glow in the evening.
5. Baskets on the Top Shelf
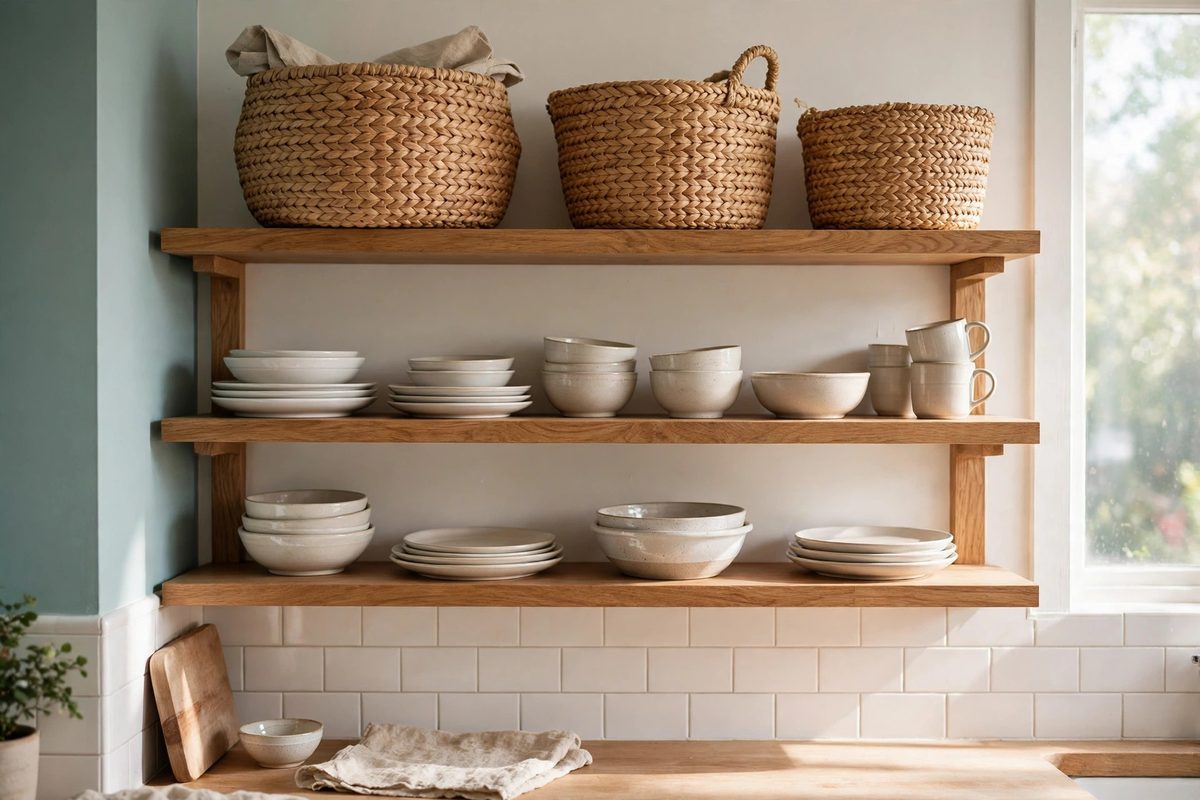
The top shelf is the hardest to reach and the easiest to make look messy, since it is at eye level from across the room but awkward to tidy. Baskets solve this: one or two baskets on the top shelf hide the odds and ends while looking neat from below.
Choose baskets that fit the shelf depth, usually 10 to 12 inches, and that are easy to pull down with one hand. Natural seagrass or cotton baskets cost 15 to 30 dollars each and add warmth against dishes and glassware.
How to make it work
Label baskets only if you need to: one for baking supplies, one for rarely used gadgets, for example. Keep baskets light, since you will lift them from above shoulder height. If a basket is too heavy to pull down safely, its contents belong in a lower cabinet instead.
6. A Plate Rail Ledge for Display
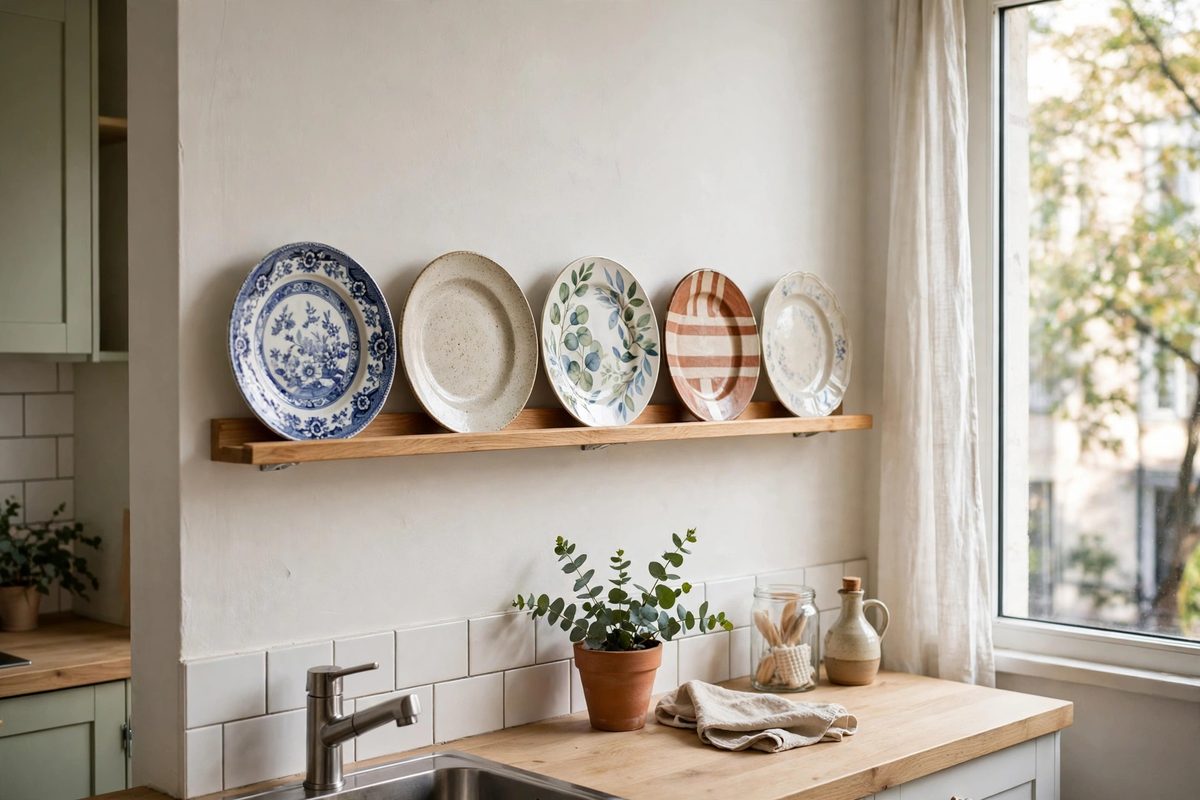
A plate rail is a shallow ledge, about 4 inches deep, with a small lip or groove that holds plates upright. It displays a few beautiful plates like art while using almost no depth, which is ideal for a narrow wall or a passage between kitchen and dining area.
Plate rails cost 20 to 50 dollars for a 36 inch length, or you can add a small picture rail moulding to an existing shelf to create the same effect. This is a display shelf, not a storage shelf, so limit it to four to six plates.
How to make it work
Mix one patterned plate with solid ones so the display does not look like a shop window. Secure plates with small plate stands if the rail groove is shallow, since a falling plate in a kitchen is a safety issue as well as a mess. Keep the rail above counter height but below eye level from the dining side, so plates are admired, not stared at.
7. Corner Shelves for Dead Corners
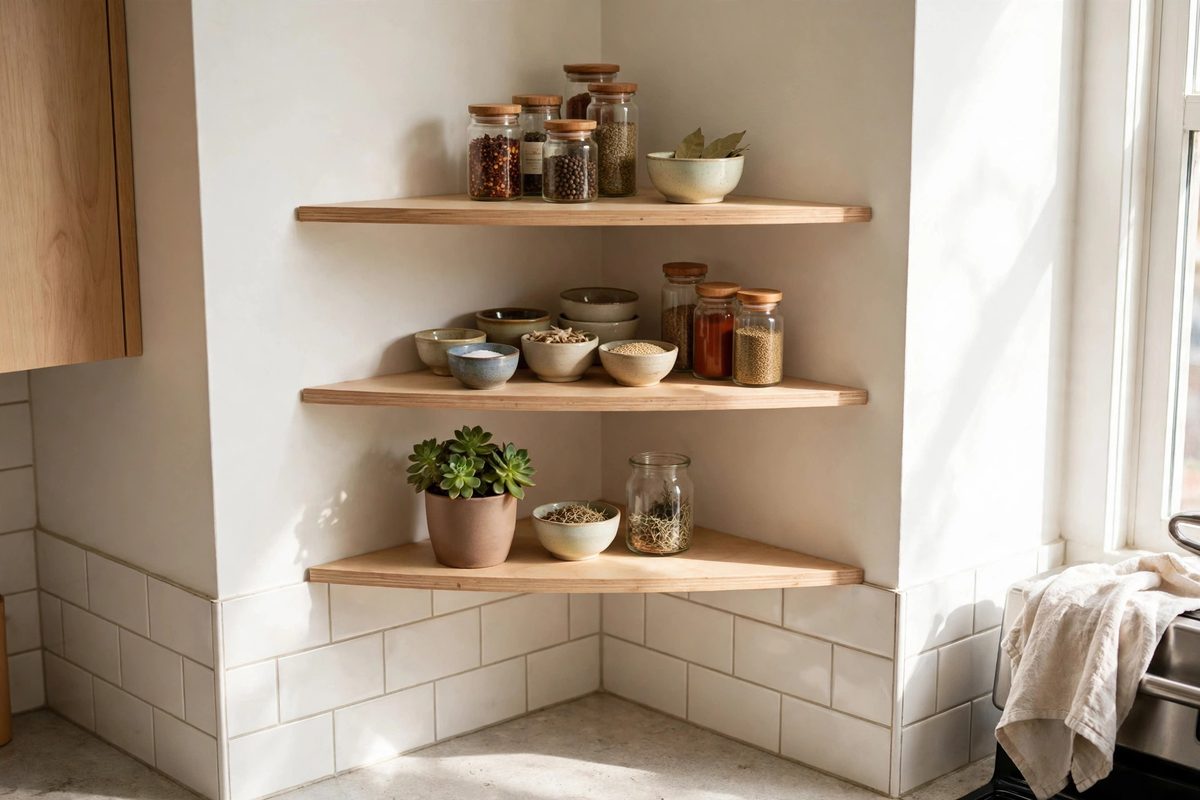
Kitchen corners are often wasted, especially where upper cabinets meet at an angle. Corner shelves, triangular or L shaped, turn that dead space into storage for spices, small bowls, or plants, without blocking either wall.
Corner shelf sets cost 30 to 80 dollars. Measure both walls from the corner, since corners are rarely perfectly square in older apartments, and choose shelves that can be trimmed or adjusted. Two or three corner shelves usually fit in the space where one cabinet would have gone.
How to make it work
Put the smallest items on corner shelves, since reaching into a corner for a heavy pot is awkward. Spices, tea tins, and small plants are ideal. Keep the front edge clear so you can reach past the first shelf to the back without moving everything.
8. A Shelf and Rail Combo
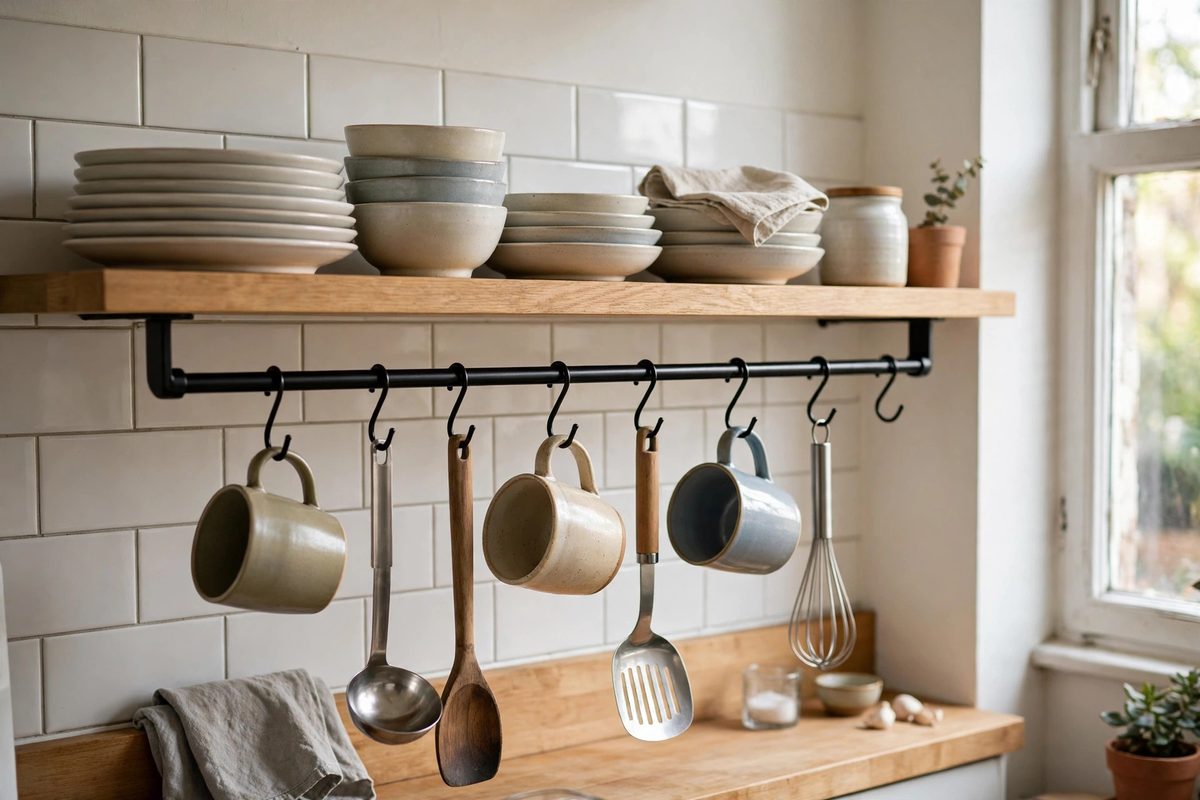
A shelf with a rail underneath does two jobs: the shelf holds dishes above, and the rail holds cups, utensils, or small pans below. This doubles the storage of a single shelf without taking more wall space, which matters in a kitchen with only one free wall.
A shelf and rail combo costs 50 to 100 dollars. The rail should sit about 8 to 10 inches below the shelf, so mugs hang freely without hitting the countertop items below. Use S hooks for mugs and utensils, so you can rearrange without tools.
How to make it work
Hang only daily mugs and utensils on the rail, four to six items, not every gadget you own. Keep the shelf above for plates and bowls, so the combo reads as one organized station. If the rail is near the stove, hang heat safe items only, and keep dish towels off it, since they can catch splashes.
9. Grouping by Color
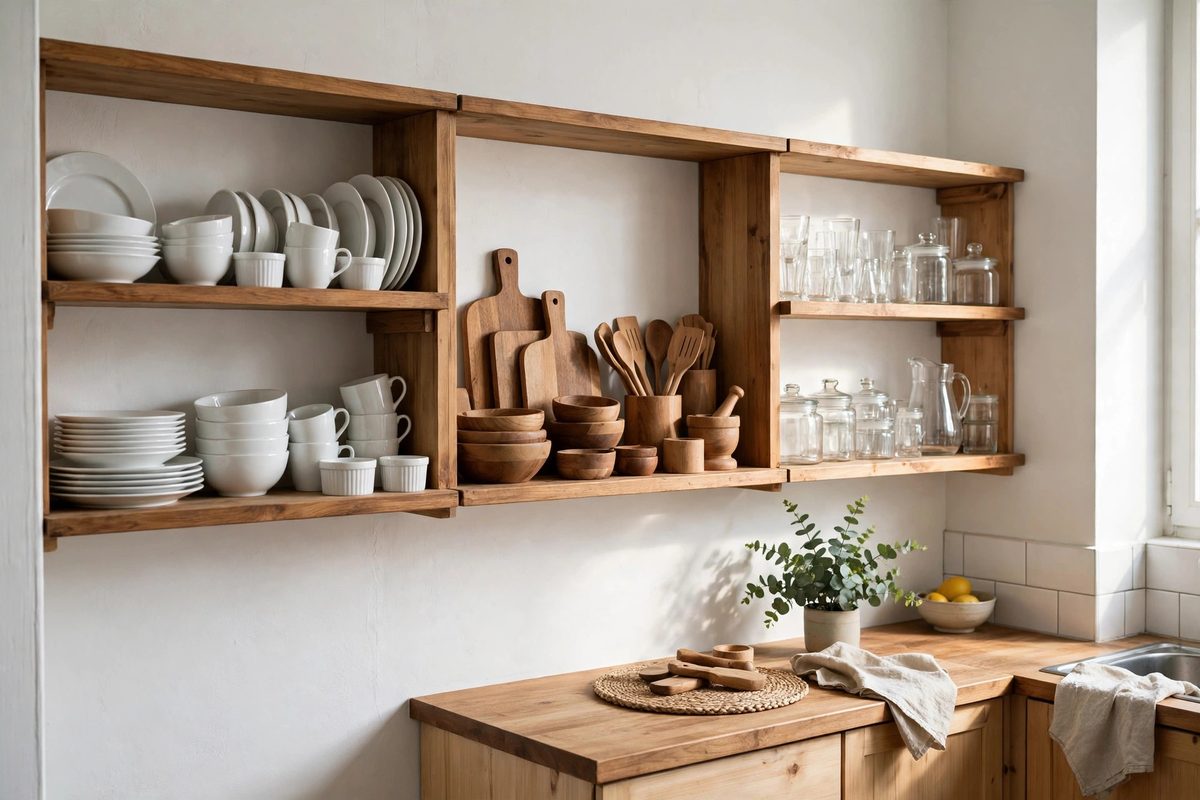
Color grouping is the styling rule that makes mixed collections look calm. Group white dishes together, wood items together, and glass together, rather than mixing all three on every shelf. Each shelf then reads as one color block, and the whole wall looks organized even with varied items.
This costs nothing, which makes it the best first step before buying new dishes or shelves. Pull everything off, sort by color and material, and put each group on its own shelf or shelf section.
How to make it work
Limit each shelf to two colors or materials at most. If a shelf has white dishes, add only wood or only glass beside them, not both. Leave a gap of at least 2 inches between groups so the eye can separate them. Step back and look from the doorway: if one shelf jumps out as busy, it usually has three or more colors on it.
10. A Daily Use Zone, Not a Display
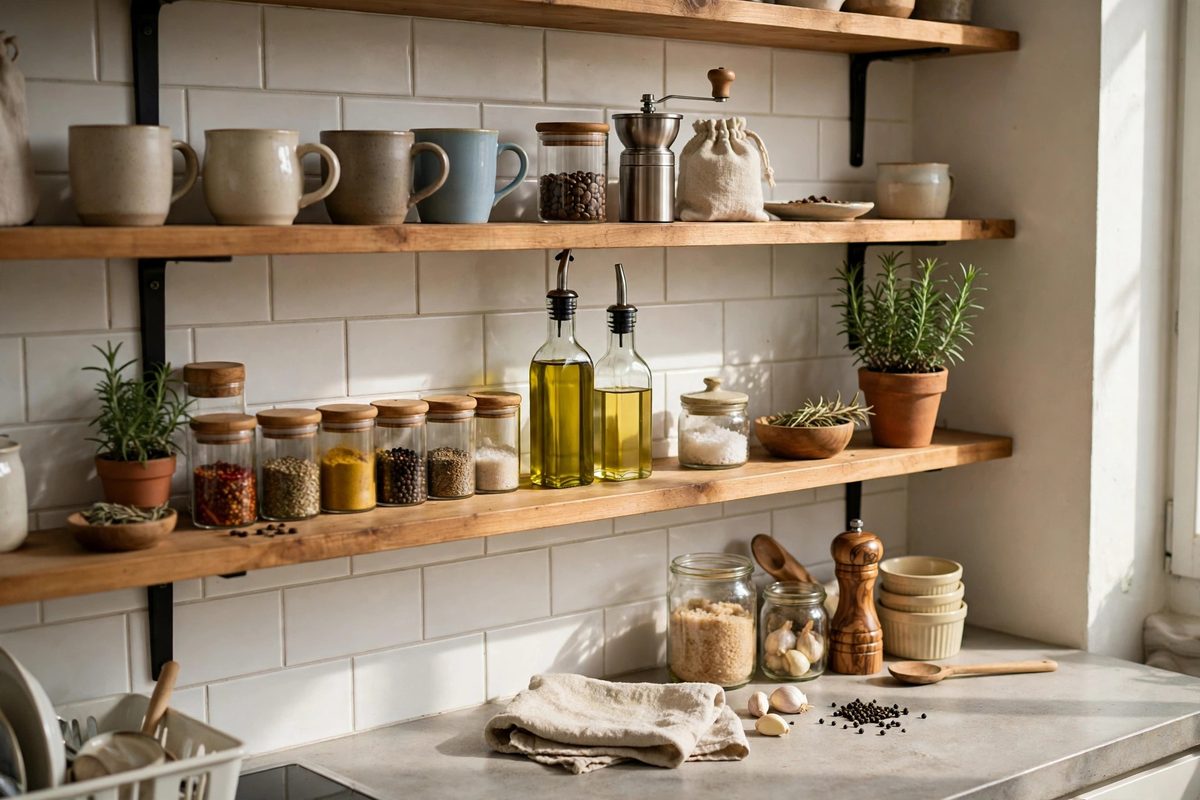
The most organized looking open shelves are the ones that are actually used every day. A daily use zone, coffee mugs and coffee supplies on one shelf, cooking oils and spices on another, means items return to the same spot after use, so shelves stay tidy without a weekly restyle.
Design the zone around your routine. If you make coffee first, the coffee shelf goes nearest the coffee maker. If you cook dinner most nights, the oil and spice shelf goes nearest the stove. This is more useful than arranging shelves by how photogenic they are.
How to make it work
Keep the daily zone to two shelves at most, so it does not spread across the whole kitchen. Put a small tray under oils and spices to catch drips and make wiping easy. Restyle only when your routine changes, not when a photo looks stale, since a shelf that matches real life stays organized longer than a shelf styled for a picture.
Open shelves look organized when they hold less, not more. Choose your daily items, give them matching homes, leave empty space on every shelf, and let the cabinets do the hiding work for everything else.