9 Small Kitchen Island Alternatives When You Don't Have Room for an Island
No room for an island? Discover 9 practical kitchen island alternatives—from slim rolling butcher blocks and drop-leaf carts to wall-mounted prep counters.
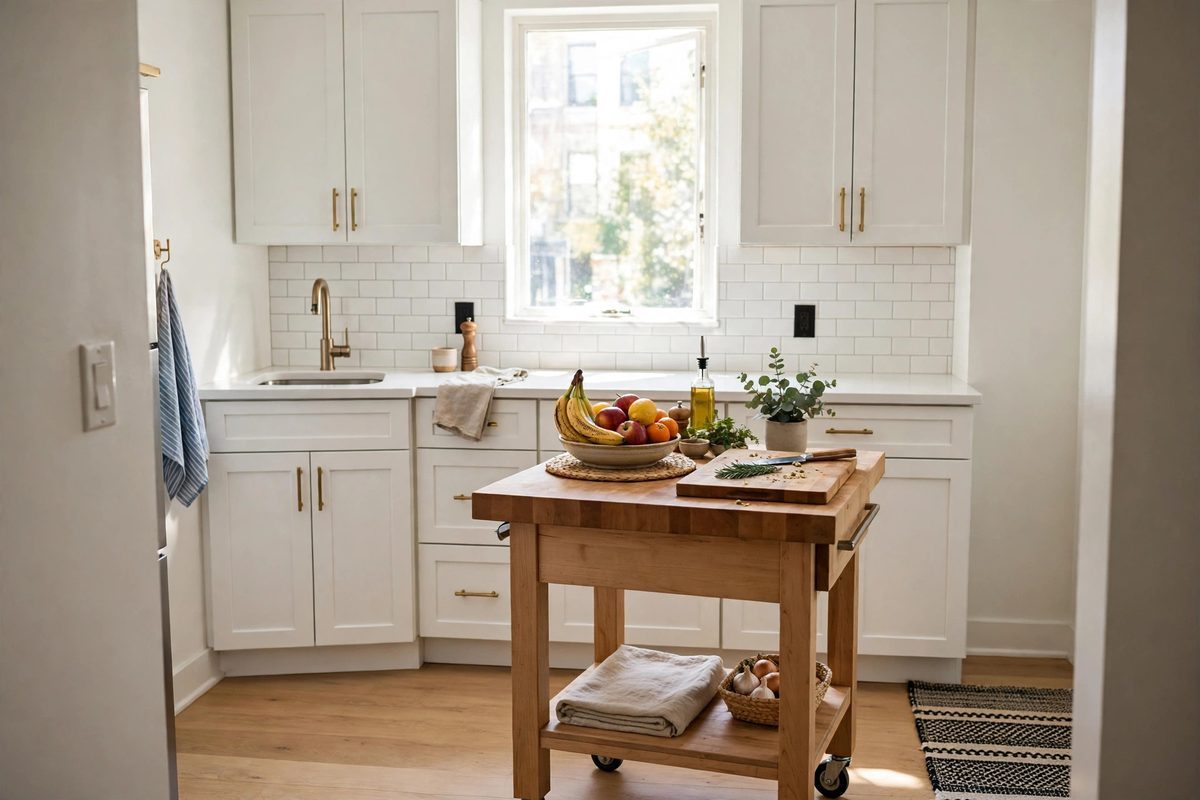
Small apartment kitchen with a rolling butcher block cart used as an island alternative beside white cabinets
In This Guide
A kitchen island looks wonderful in photos, but in a small kitchen it often creates more problems than it solves. A standard island needs about 90 to 110 cm of clearance on every side to be usable, and most compact kitchens simply do not have that much floor to spare. The result is a kitchen where you cannot open the oven properly or two people cannot pass each other.
The good news is that you can get most of what an island offers, extra prep space, extra storage, and a casual eating spot, from pieces that are smaller, movable, or foldable. The key is matching the piece to your real bottleneck. If you lack counter space, you need a work surface. If you lack storage, you need shelves and drawers. If you want a breakfast spot, you need an overhang and stools.
Before you buy, measure your walkways and note where the fridge, oven, and dishwasher doors swing. Any alternative that blocks one of those is a bad deal, no matter how pretty it looks. These 9 options all work in kitchens under 10 square meters, and several cost less than 150 dollars. For the room next door, see small living room wall decor ideas and small bathroom door ideas for more small-space fixes.
1. Rolling Kitchen Cart
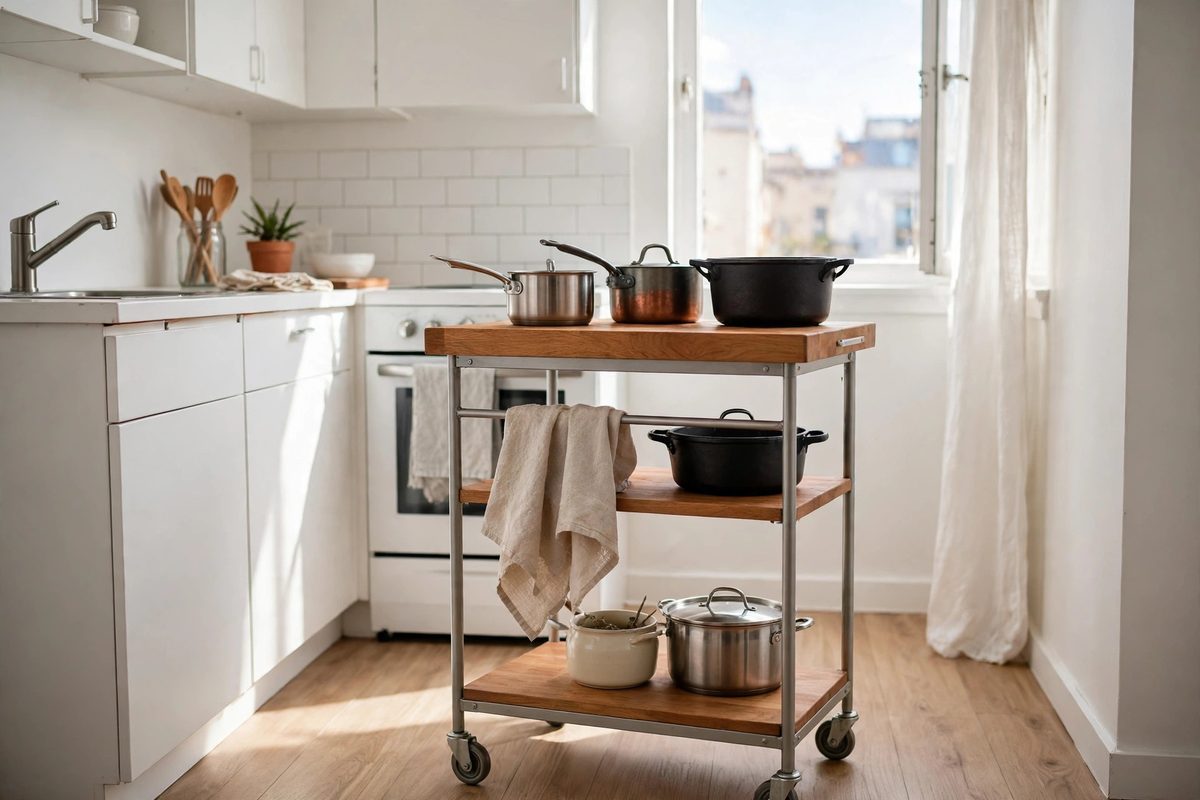
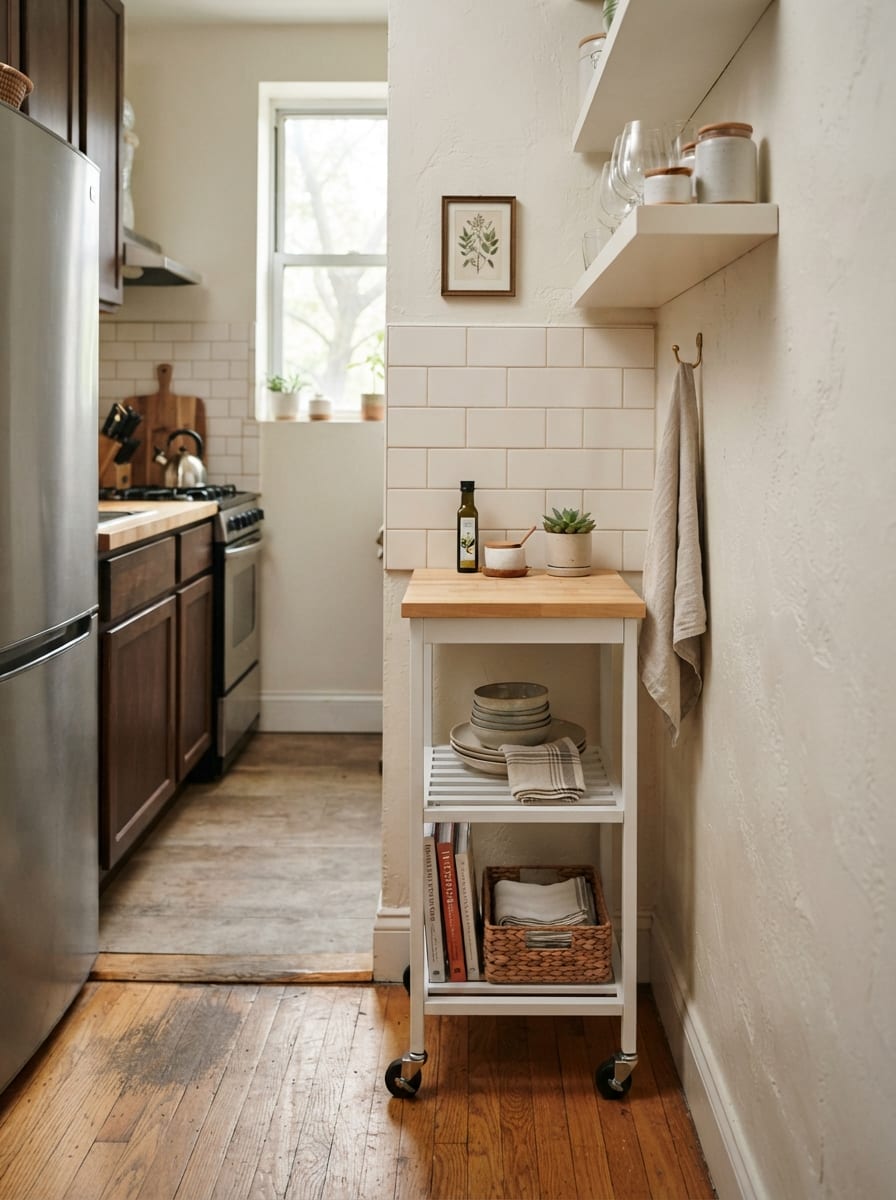
A rolling cart is the closest thing to a real island for a small kitchen, because you can move it where the work is and park it against a wall when you need floor space. Most carts are 60 to 90 cm wide and 45 to 60 cm deep, roughly half the footprint of a small island, yet they still hold a surprising amount.
Look for a cart with a solid top, either butcher block or stainless steel, plus at least one shelf and a towel bar. Locking casters are non-negotiable. Without them the cart drifts while you chop, which is annoying and unsafe. Expect to pay 80 to 250 dollars for a sturdy cart that will last.
How to make it work
Park the cart in its home spot, usually against a free wall or at the end of a counter run, and pull it out only when you cook. Keep everyday items on it, like oils, a knife block, or a fruit bowl, so it earns its floor space even when parked. If your kitchen floor is uneven, test the casters in the store or buy from a retailer with easy returns.
2. Fold-Down Wall Table
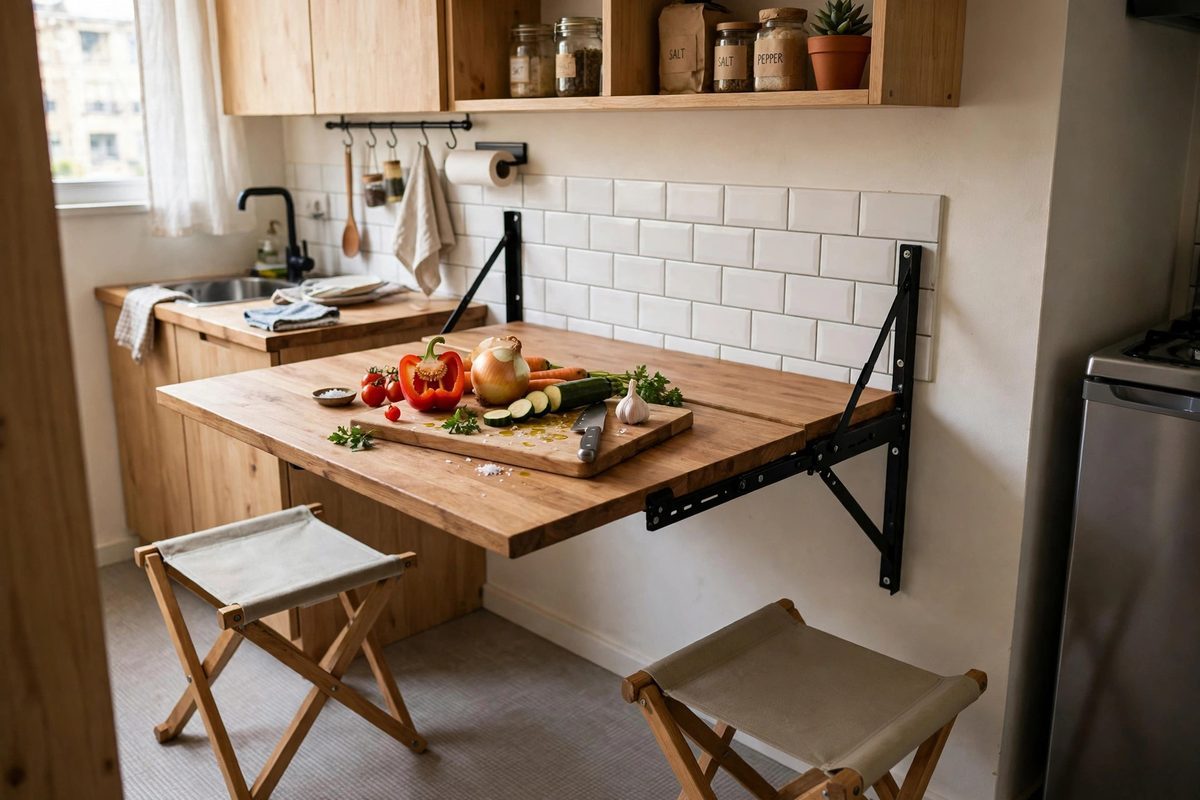
A fold-down wall table is a slab of wood or laminate hinged to the wall that folds flat when not in use and drops down to become a prep surface or breakfast table. When folded up, it sticks out barely 5 cm from the wall, so it costs almost no floor space at all.
The usable size is usually 60 to 90 cm wide and 40 to 60 cm deep, enough for one person to prep or two people to eat with small plates. Mount it at counter height, about 90 cm, so it lines up with your existing counters. Choose a model with a support bracket rated for at least 25 kg, since a flimsy bracket sags under a cutting board and a pot.
How to make it work
Mount into studs, not just drywall, and test the bracket with real weight before you trust it with dinner. Add a couple of foldable stools that hang on nearby hooks, so the eating setup appears and disappears together. Keep the wall above the table free of heavy art, since you will be folding the table up and down right below it.
3. Narrow Console as a Prep Station
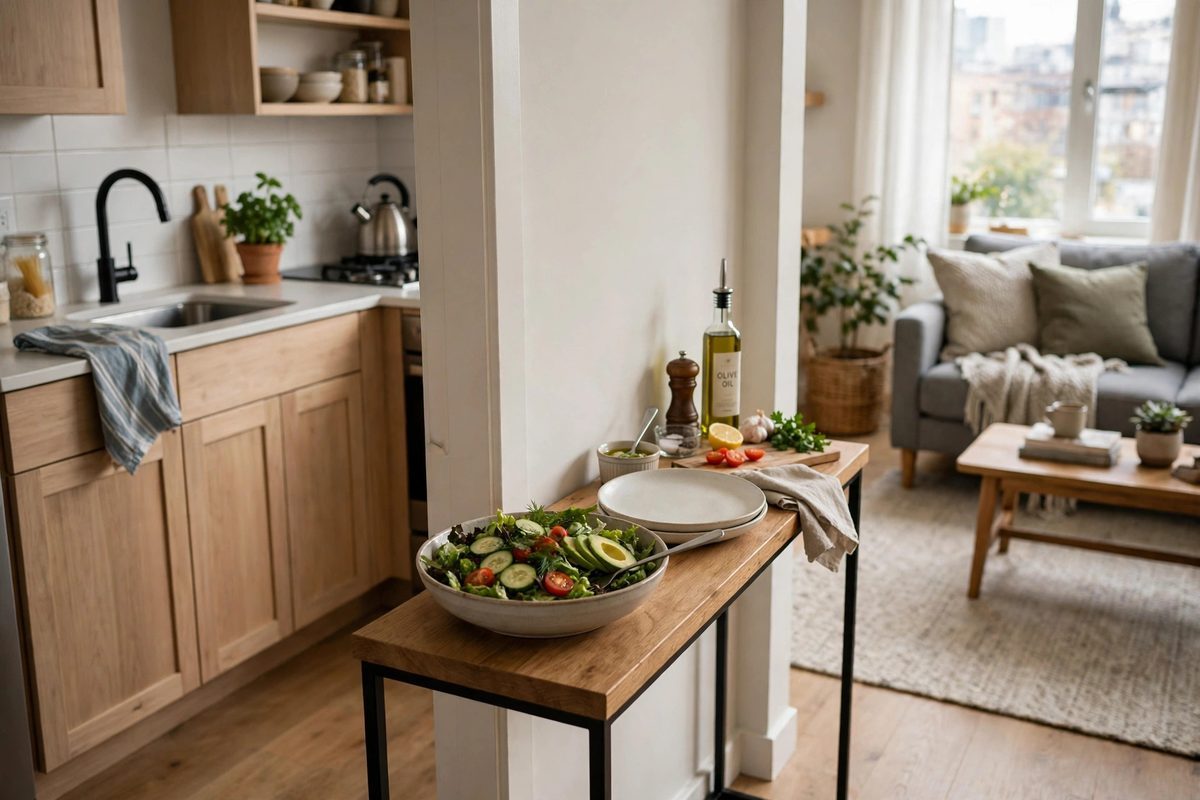
A narrow console table, the kind usually sold for hallways, makes a surprisingly good kitchen prep station when your kitchen opens into a dining or living area. At 25 to 35 cm deep, it hugs the wall or the back of a sofa, and its height, usually 80 to 90 cm, is close enough to counter height for light prep work.
This option works best as overflow space rather than your main prep zone. Use it for assembling salads, plating food, or holding a coffee station. A console with a lower shelf doubles as storage for cookbooks or a basket of root vegetables. Secondhand consoles are easy to find for 40 to 100 dollars, which makes this one of the cheapest island alternatives.
How to make it work
Place the console where it extends your existing counter line, not in the middle of a walkway. If the top is lower than your counters, treat it as a serving station rather than a chopping surface, since working at the wrong height strains your back. A washable runner on top protects the surface and makes the console read as part of the kitchen.
4. Butcher Block on Casters
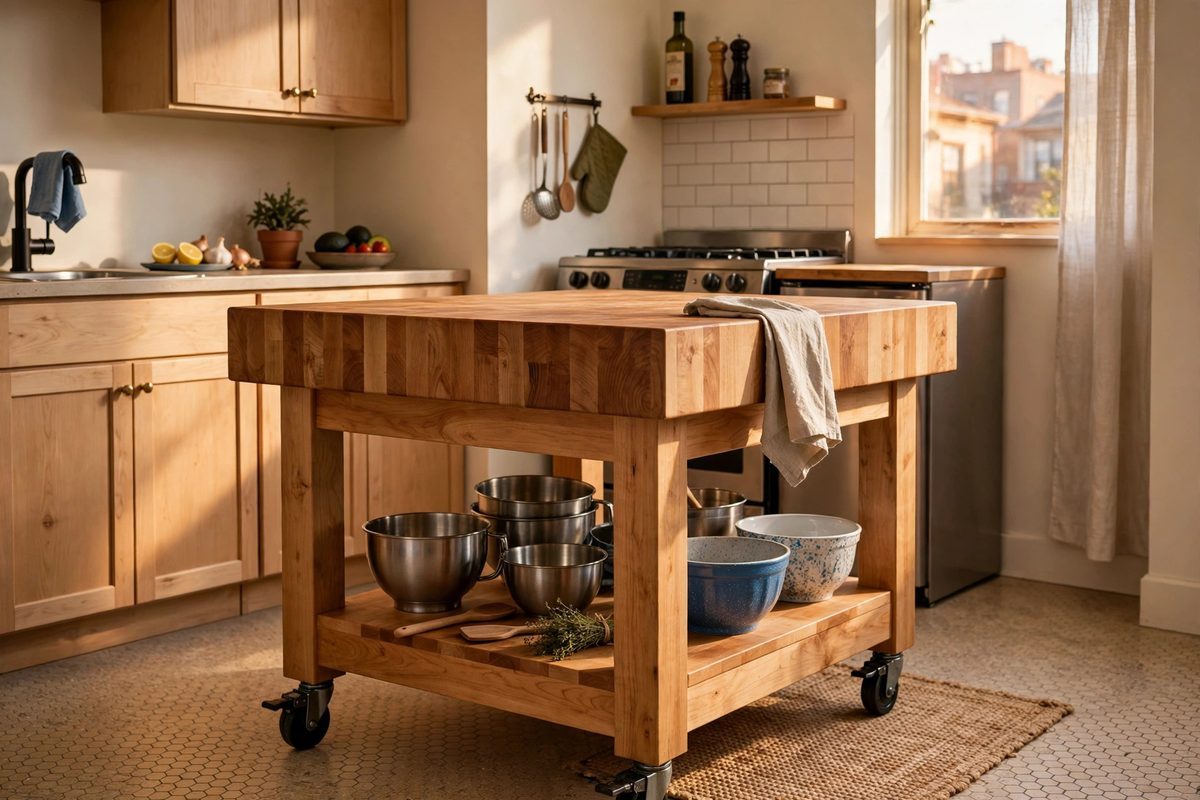
A butcher block on casters is a heavier, sturdier cousin of the rolling cart, and it is the best choice if you do serious chopping, kneading, or baking. The thick wood top, usually 4 to 5 cm, absorbs knife work without bouncing, and it doubles as a serving board for bread and cheese when guests come over.
Sizes start around 60 by 45 cm and go up to 120 by 60 cm, so you can pick the largest size your walkways allow. A block with an open lower shelf holds mixing bowls and a stand mixer, though a heavy mixer on a rolling base needs the casters locked before use. Budget 150 to 400 dollars for a solid hardwood block.
How to make it work
Oil the top monthly with food-safe mineral oil to keep it from drying and cracking, and sand out knife marks once or twice a year. Lock at least two casters whenever you work on it, and keep one side against a wall when it is not in use so it never drifts into the main path through the kitchen.
5. Overhang Breakfast Bar
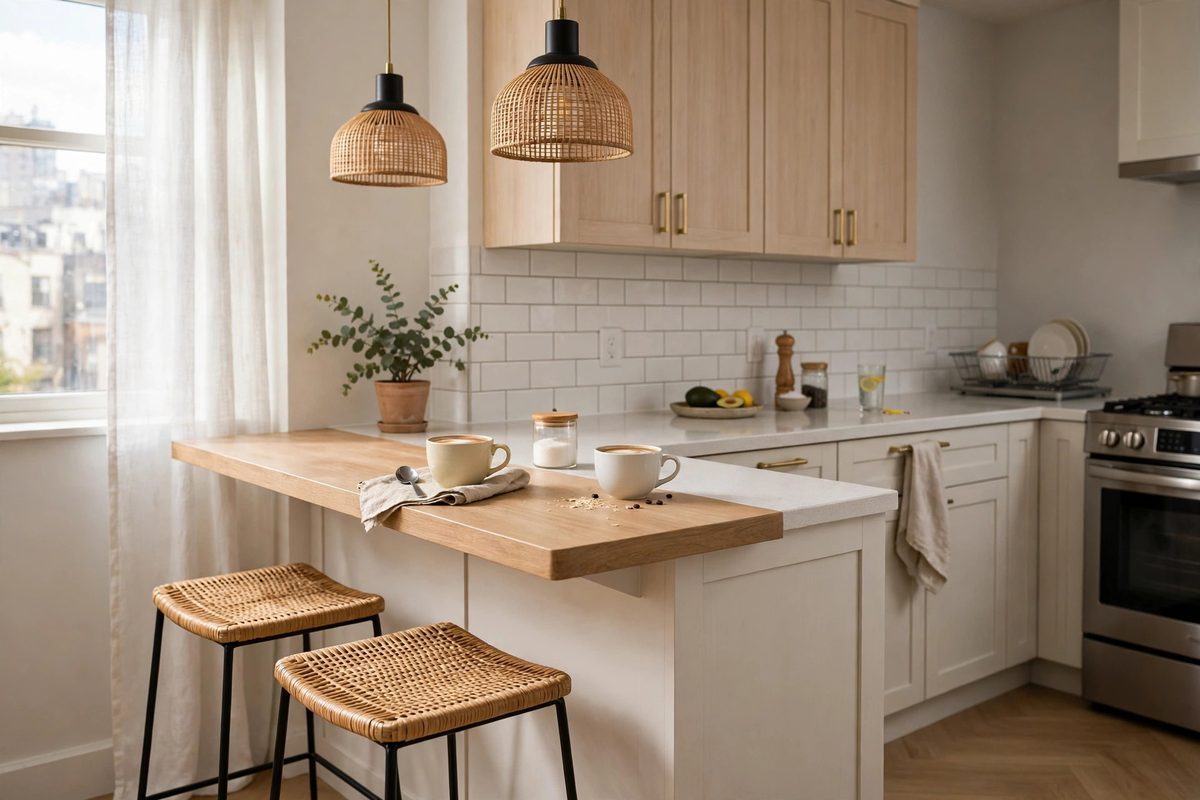
If your kitchen has a peninsula or a pass-through opening, adding an overhang turns the existing counter into a breakfast bar with no extra furniture at all. A countertop overhang of 25 to 30 cm gives enough knee room for stools, and it creates a natural boundary between the kitchen and the living area.
This is a bigger project than buying a cart, since it may mean extending a countertop or adding a support bracket, but it costs far less than a full island remodel. A simple wood or laminate extension can run 100 to 300 dollars installed, while a stone overhang costs more. Backless stools that tuck fully underneath keep the walkway clear when the bar is not in use.
How to make it work
Check that the overhang does not steal space from the kitchen side, where you still need room to work. Choose stools with a seat height about 25 cm below the counter, so around 65 cm for a 90 cm counter. If the bar faces the living room, keep the kitchen side of the counter tidy, since it is now on display.
6. Freestanding Shelving Unit With a Worktop
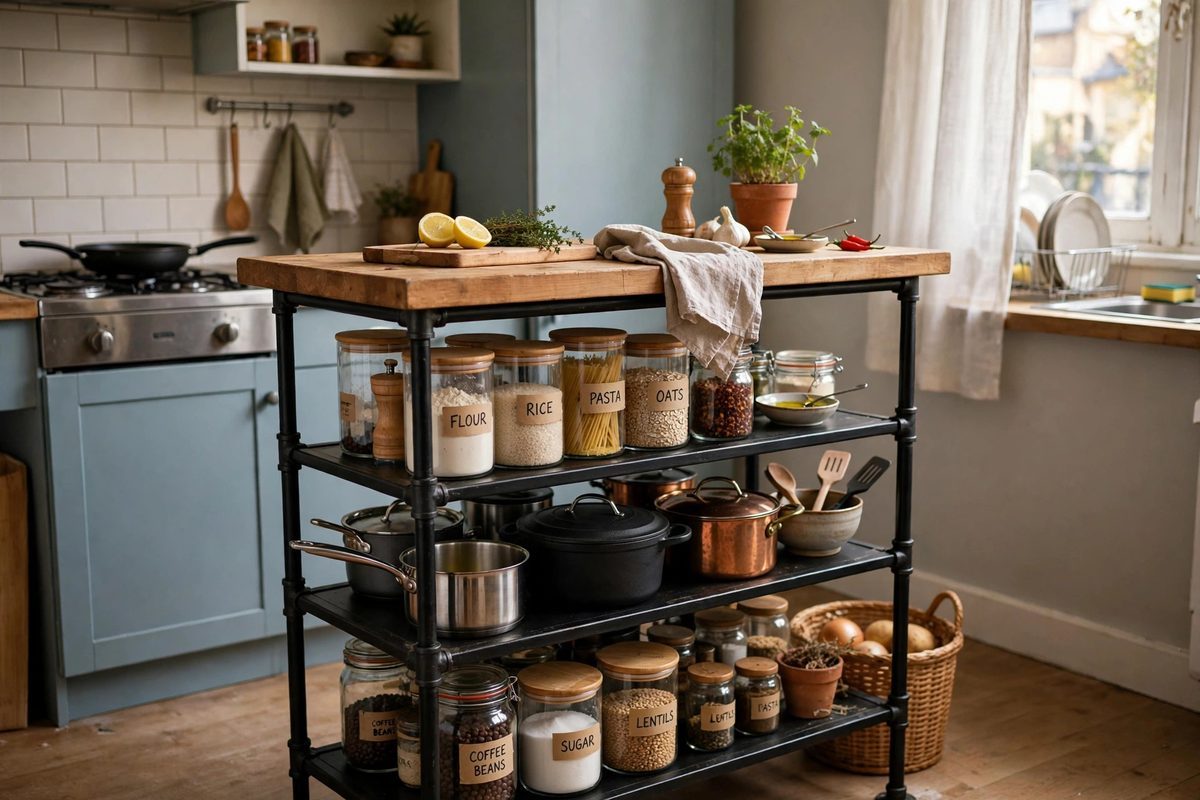
A freestanding shelving unit with a worktop, often a metal rack with a wooden board laid across the top shelf, gives you prep space plus four or five shelves of storage in one tall, narrow footprint. At 90 cm wide and 45 cm deep, it fits against a wall or at the end of a counter run.
The open shelves are the real win here. They hold pots, small appliances, and pantry jars where you can see them, which matters in a small kitchen where digging through deep cabinets wastes time. The tradeoff is dust and visual clutter, so this idea suits cooks who like open storage and keep it reasonably tidy.
How to make it work
Put the worktop at counter height, about 90 cm, and anchor the unit to the wall with an anti-tip strap, since tall open shelves are top-heavy. Store heavy items low and daily items at eye level. Use matching baskets or jars on the shelves so the open storage looks deliberate rather than chaotic.
7. Drop-Leaf Table
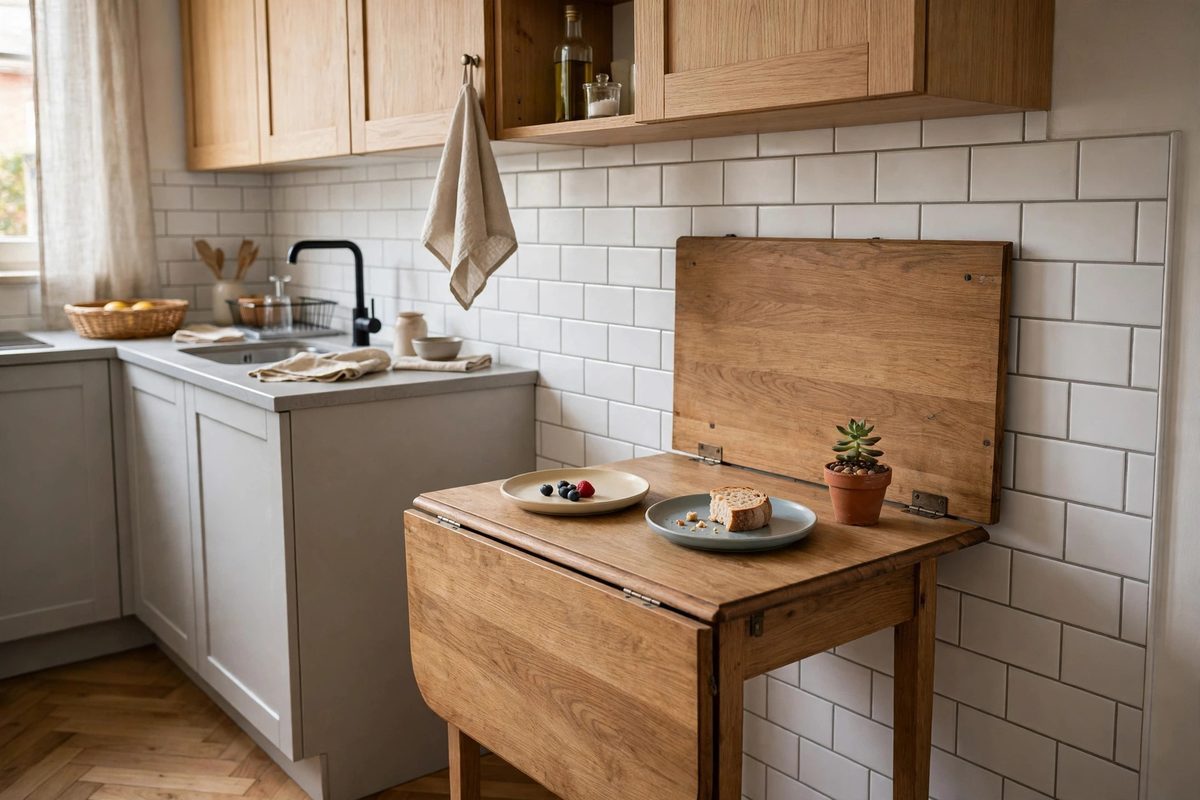
A drop-leaf table has hinged sides that fold down when you need floor space and flip up when you need a work surface or a dining table. With both leaves down, some models are barely 30 cm deep, so they can live against a wall. With both leaves up, they seat two to four people.
This is the most flexible option on this list, and it is the best pick if your kitchen also has to serve as your dining room. Look for a table at counter height, around 90 cm, if you plan to prep on it, or standard table height, around 75 cm, if it is mainly for eating. A gateleg design is sturdier than a simple rule-joint leaf.
How to make it work
Place the table where at least one leaf can stay up permanently without blocking a walkway, so you always have a little extra surface. Store folding chairs nearby, not at the table, so the folded footprint stays slim. Check the hinge mechanism in person if possible, since cheap hinges loosen within a year of daily use.
8. Slim Bar Cart Turned Prep Station
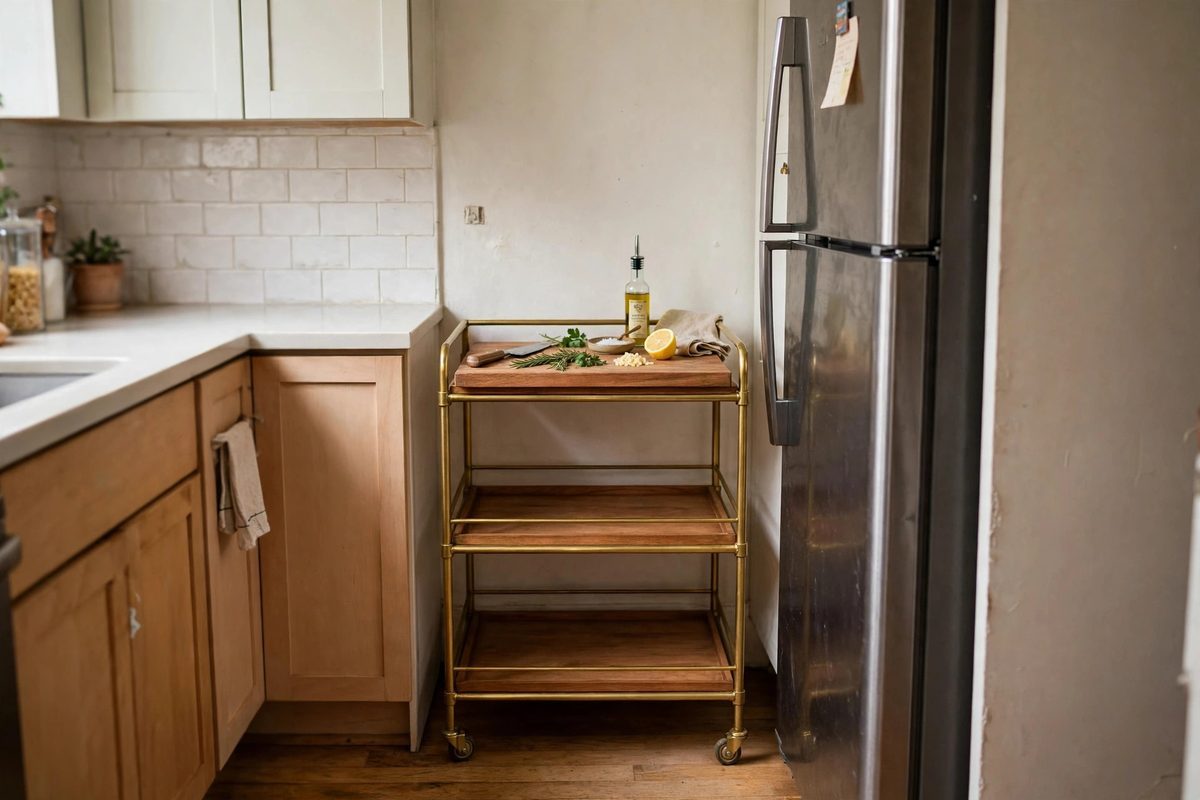
A slim bar cart, usually 40 to 50 cm wide, is narrower than a kitchen cart and fits into gaps that nothing else can use, like the strip between the fridge and the wall. With a cutting board laid across the top, it becomes a bonus prep surface, and its shelves hold oils, spices, or a coffee kit.
Bar carts look better than utility carts, which matters if yours lives in view of the living room. Brass or black metal frames with wood shelves suit most kitchens. The tradeoff is a smaller work surface and less weight capacity, usually 15 to 20 kg, so this is a sidekick, not a main prep station. For more rolling storage ideas, see small kitchen cart ideas.
How to make it work
Measure your gap before buying, and leave 2 to 3 cm of clearance on each side so the cart rolls freely. Put the heaviest items on the bottom shelf to keep it stable. If the top is glass, add a wooden board for prep work, since chopping on glass dulls knives and slides around.
9. Extendable Countertop Board
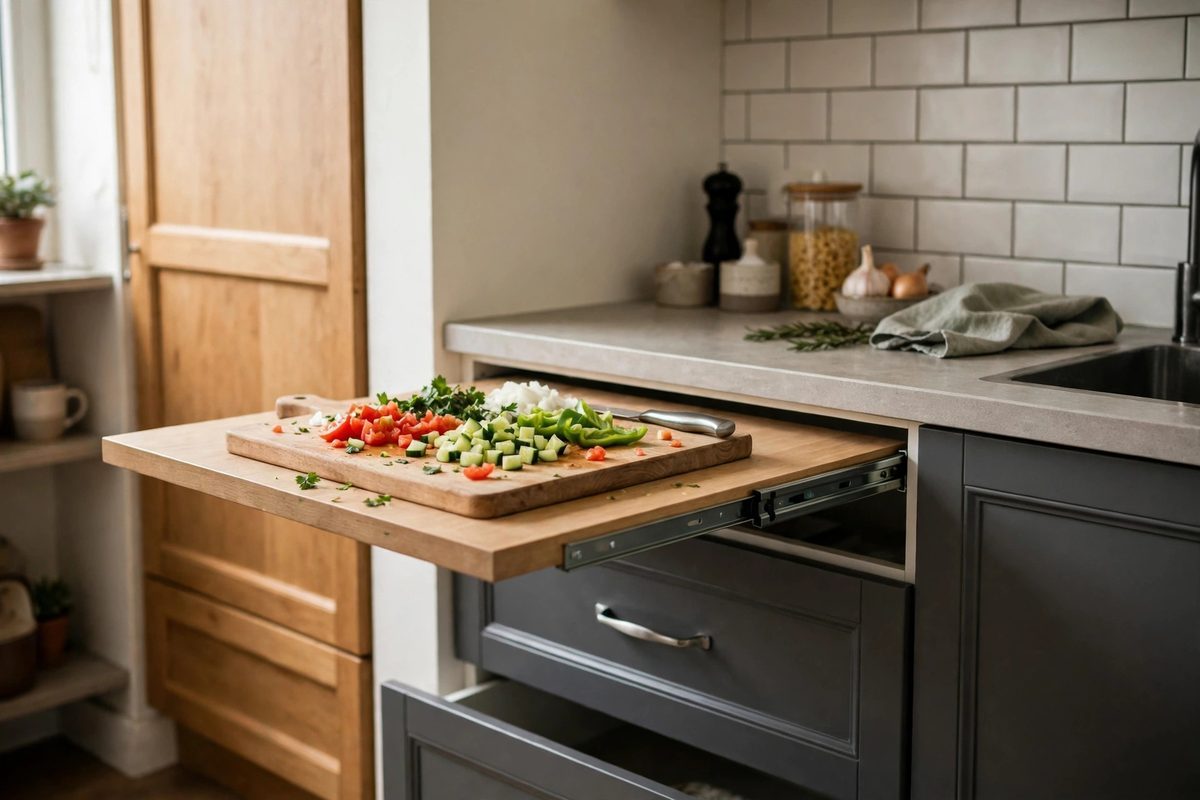
An extendable countertop board, also called a pull-out counter, is a slab that slides out from under your existing counter or over a drawer, adding 30 to 45 cm of extra surface exactly when you need it. When pushed back in, it is completely invisible, which makes it the best option for kitchens with truly zero spare floor space.
You can buy a ready-made pull-out board for 50 to 120 dollars, or have a carpenter build one into an existing cabinet for 150 to 300 dollars. The board should support at least 10 kg, enough for a cutting board and ingredients, though it is not meant for heavy appliances. This idea works best in kitchens where the counter run has a spare drawer or a false front to convert.
How to make it work
Install the board at or just below counter height so your knife work stays comfortable. Keep the slide mechanism clean and dry, since crumbs in the track are the main reason these boards start sticking. Use it as a dedicated station, for example a coffee station or a chopping board, so it becomes a habit rather than a forgotten gadget.
An island is a luxury, not a requirement. The right alternative gives you the extra surface and storage you actually use, without forcing your kitchen into a layout it cannot support. Measure your walkways, pick the option that matches your biggest daily frustration, and enjoy a kitchen that works with you instead of against you.