9 Vintage Kitchen Ideas for Small Apartments That Still Feel Fresh
9 vintage kitchen ideas for small apartments that feel fresh, not dated: retro color, open shelving, checkerboard floors, and mixing eras well.
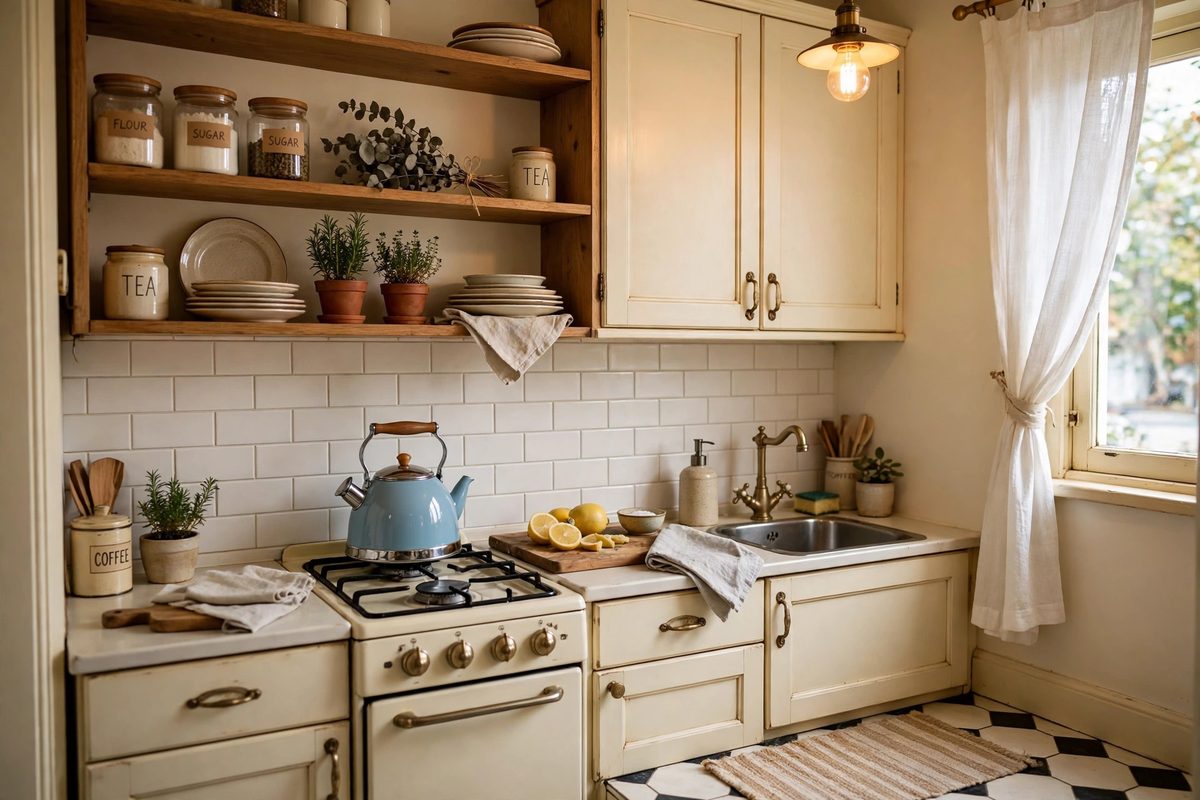
Small vintage style apartment kitchen with cream cabinets, retro kettle, open wood shelving, and warm lighting
In This Guide
Vintage kitchens have charm that new kitchens often lack: color, pattern, and objects with a story. The risk in a small apartment is that vintage slides into dated, especially when every surface is retro at once. The fresh version borrows vintage details selectively and pairs them with good lighting, clear counters, and modern function.
Renters have an advantage here. Most of the best vintage kitchen moves, open shelving styling, small appliances, art, textiles, are removable. You do not need to replace cabinets or floors to get the feeling.
These ideas keep the footprint honest: small kitchens need clear prep space and easy cleaning more than they need another decorative object. They connect well with the soft palette of sage green and cream kitchen ideas and the natural warmth of warm wood kitchen ideas. For keeping counters clear, see small kitchen storage ideas.
1. Retro Color on Lower Cabinets Only
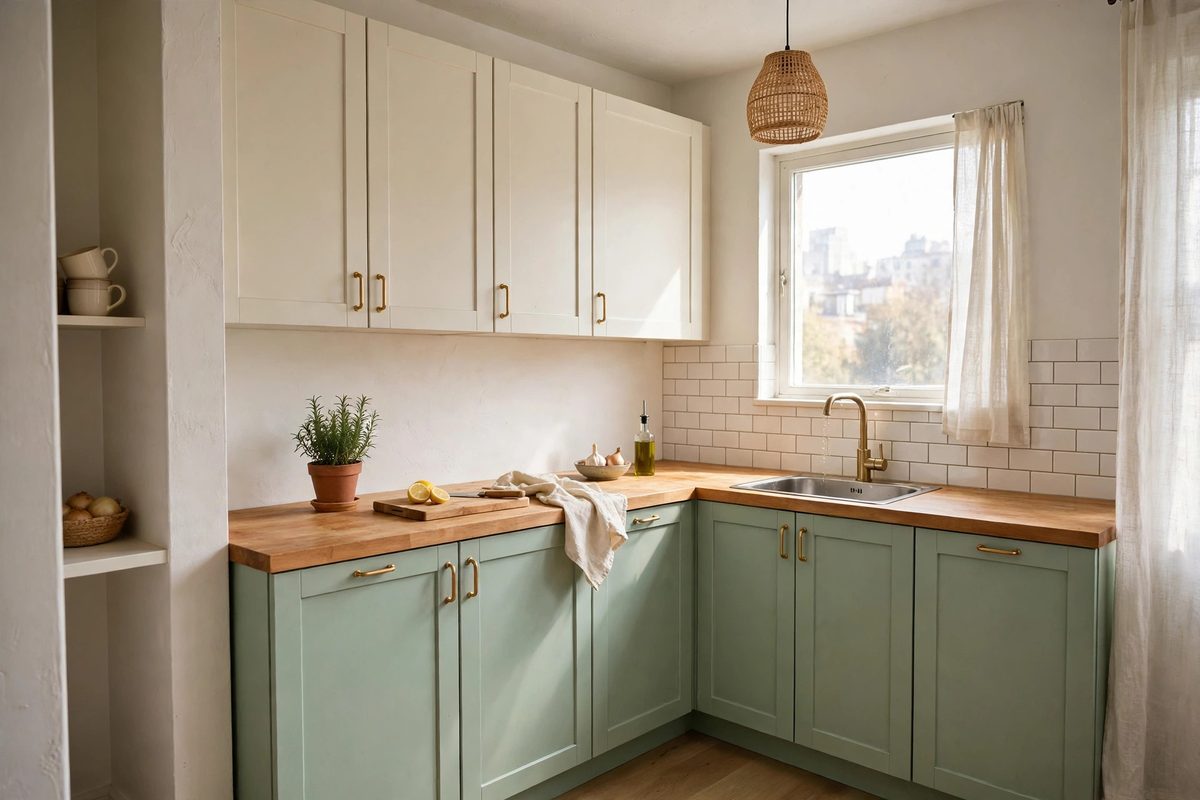
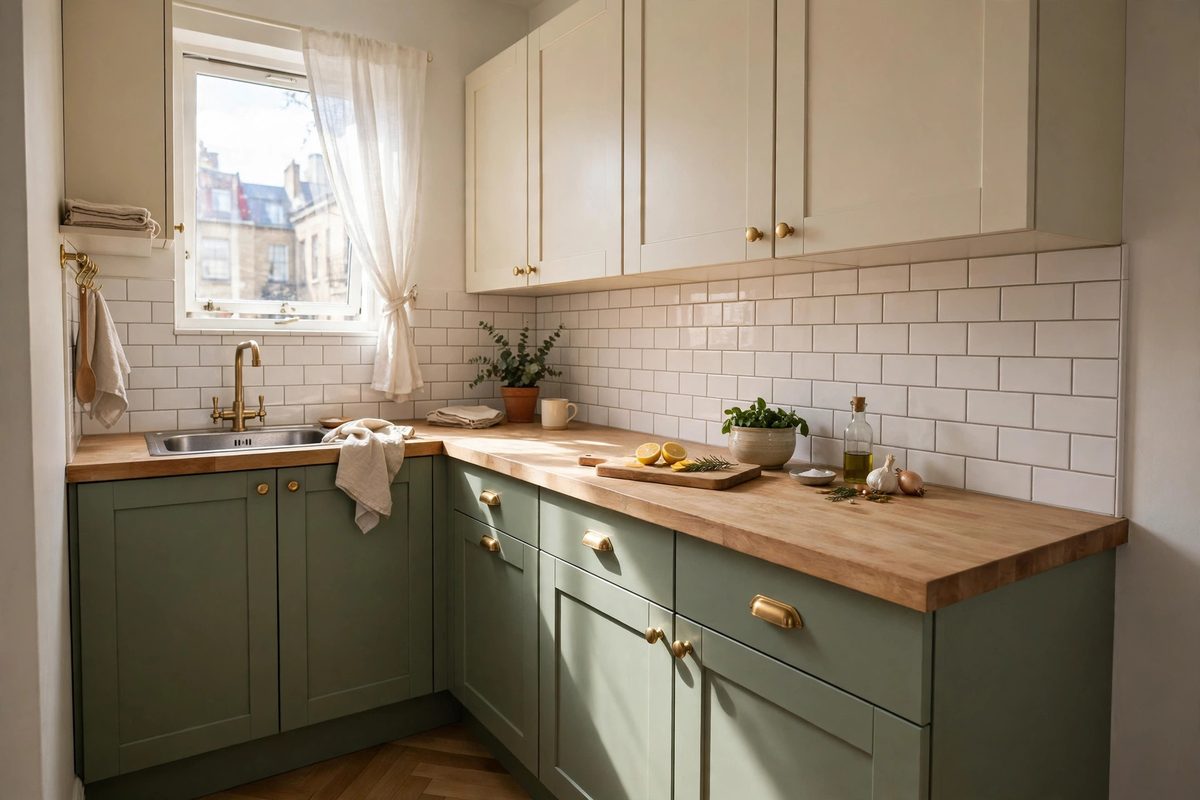
Painting only the lower cabinets in a retro color, mint, butter yellow, soft red, or pale blue, gives a vintage kitchen its personality without closing in the room. Upper cabinets stay cream or white, which keeps the eye level bright and the small kitchen feeling open.
For renters who cannot paint, removable cabinet wraps or contact paper in a retro shade achieve a similar effect on a few lower doors, usually for 30 to 60 dollars in materials. Test adhesion on one door first, and keep the original finish safe underneath.
How to make it work
Choose one retro color and repeat it once more, in a kettle, a tea towel, or a small appliance, so it reads as a scheme. Keep walls and counters light. If your kitchen is very dark, pick the palest version of your retro color; mint reads fresh, deep teal can feel heavy in a windowless kitchen.
2. Open Shelving for Vintage Finds
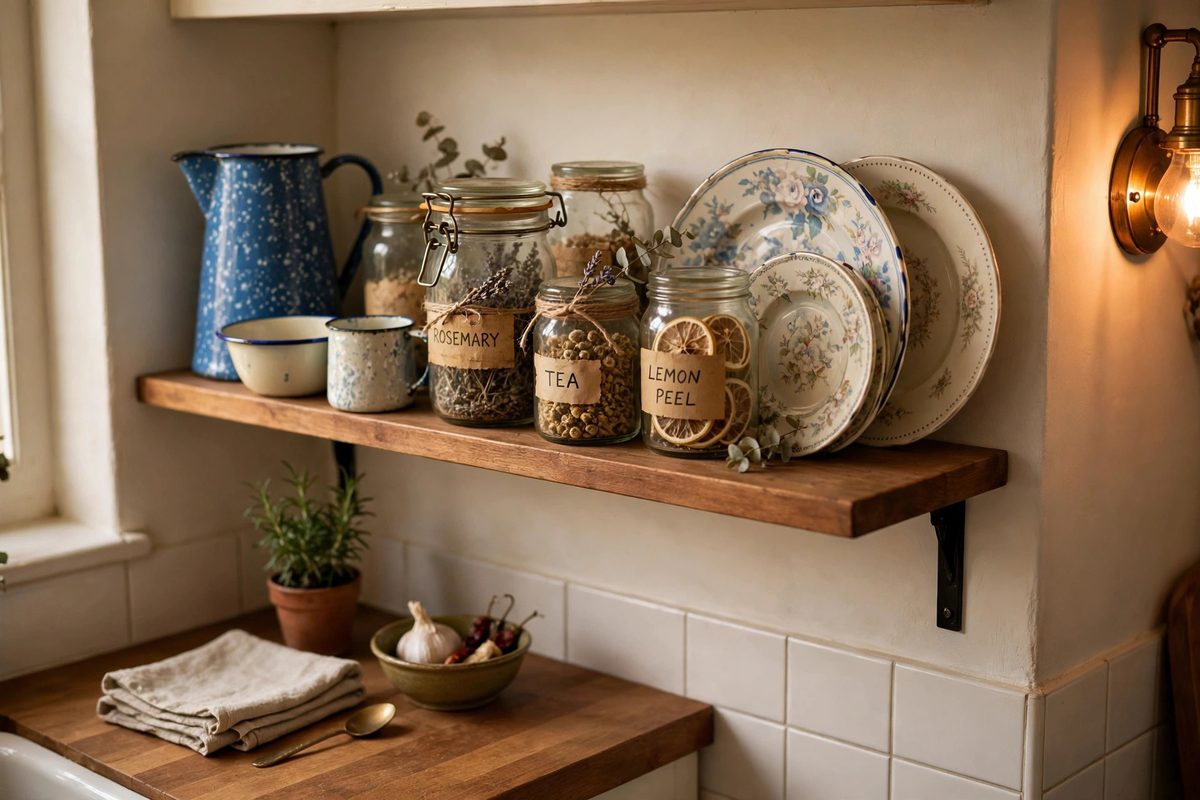
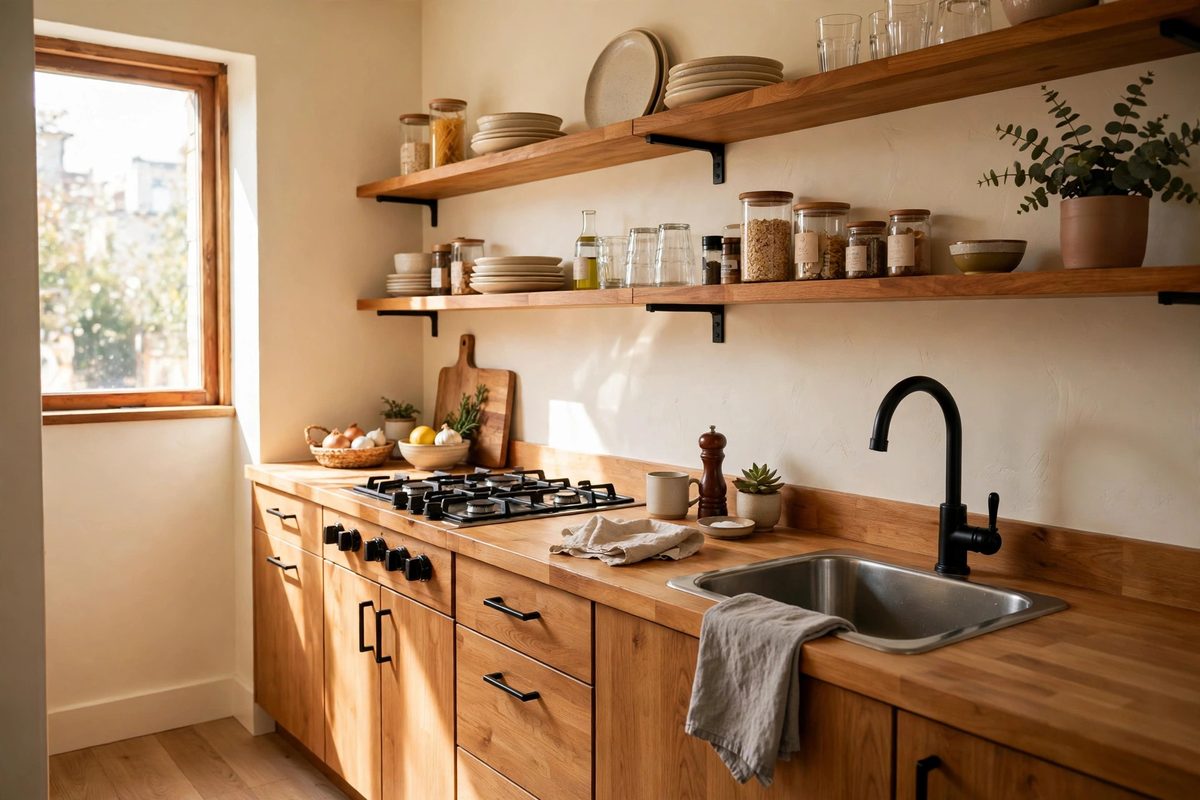
Open shelving is where vintage kitchens show off: old jars, enamelware, pretty plates, and inherited dishes. In a small kitchen, one or two open shelves, not a full wall, is the right amount. More than that, and dusting and visual clutter eat the charm.
Shelves work best for items you use weekly. Daily dishes, glasses, and mugs earn open shelf space. Rarely used serving pieces belong in a closed cabinet where they stay clean.
How to make it work
Install shelves 18 to 20 inches above the counter so you can work underneath without hitting your head. Use brackets rated for at least 25 pounds per shelf, since dishes are heavy. Group by color and size, keep the front row low, and leave one shelf section partly empty so the display can breathe.
3. A Vintage-Style Kettle and Small Appliances
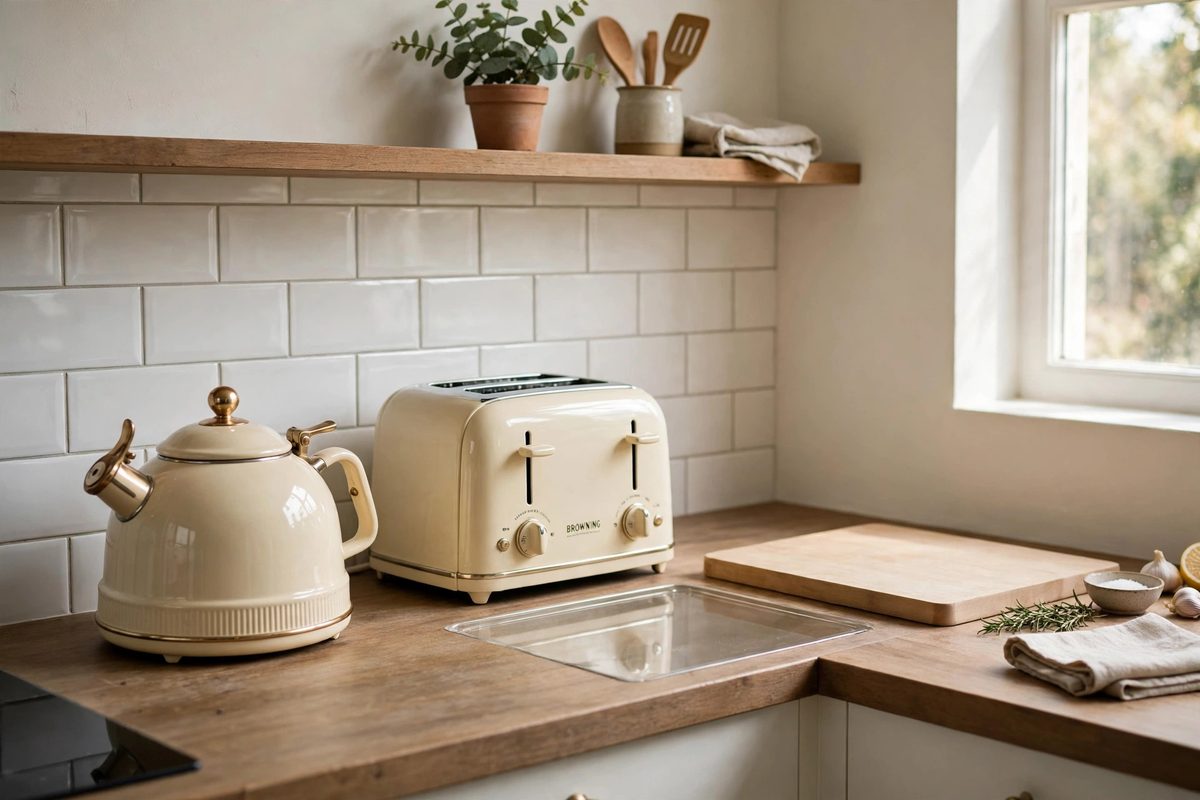
A vintage-style kettle, toaster, or stand mixer is the fastest vintage signal in a kitchen, and it costs far less than a renovation. Modern retro appliances from brands like Smeg or Dualit run 100 to 250 dollars each, but thrifted or mid-range retro-look models can cost half that.
Limit yourself to one or two retro appliances on the counter. A kettle and a toaster in matching cream or red read as a set. Five retro appliances crowded together read as a showroom.
How to make it work
Pick the appliance you use daily, usually the kettle or coffee maker, and make that the retro piece. Store other small appliances in a cabinet so the counter keeps at least 24 inches of clear prep space beside the stove and sink. Check thrifted electric items carefully for frayed cords and outdated plugs before use.
4. Checkerboard Floors in a Small Footprint
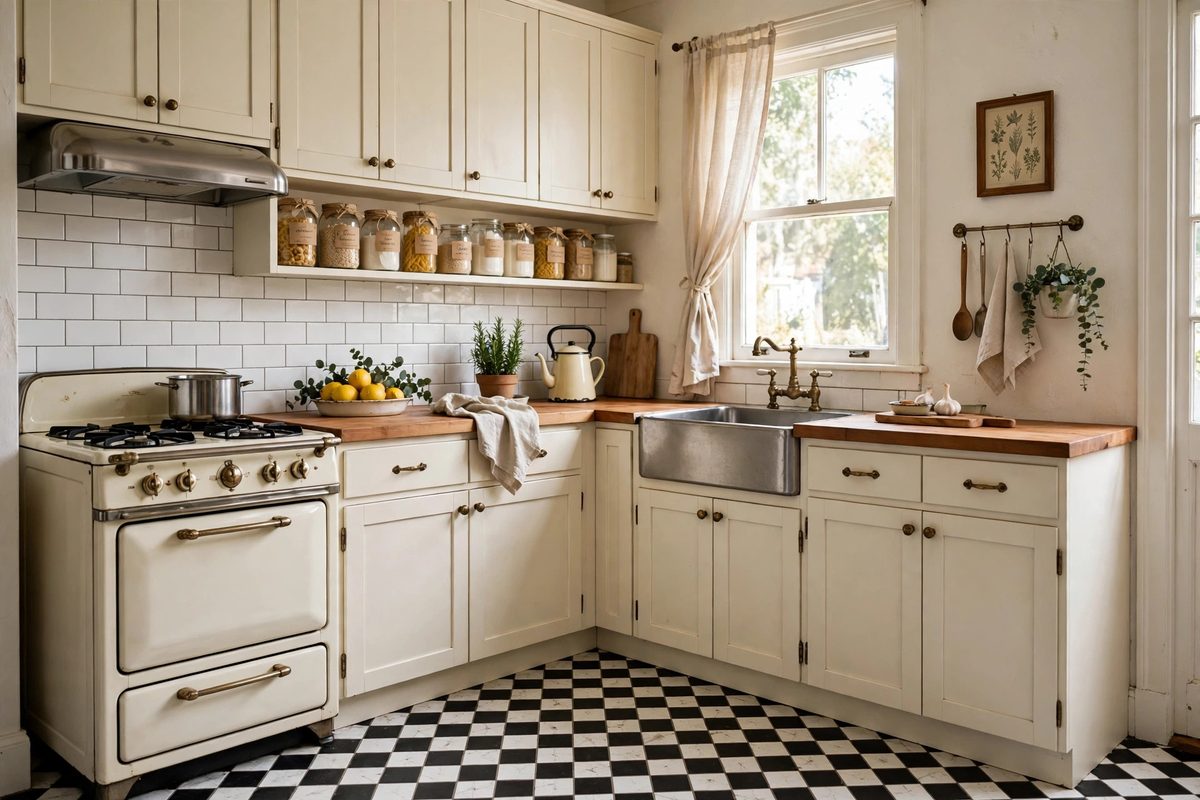
Nothing says vintage kitchen like a black and white checkerboard floor, and in a small kitchen the pattern actually helps: the grid makes the floor read as one intentional surface instead of a patchwork of old tiles. Renters can get the look with peel-and-stick vinyl tiles, typically 1 to 2 dollars per square foot, laid over a clean, smooth existing floor.
Small kitchens suit smaller checker squares, 6 inch tiles rather than 12 inch, because the pattern repeats more often and feels proportionate. Large squares in a tiny kitchen can look like a chessboard missing pieces.
How to make it work
Clean and dry the existing floor thoroughly, and start laying from the center of the room outward so cut tiles land at the edges. Use a sharp utility knife and a straightedge for cuts around cabinets. Seal edges with a vinyl floor sealant if the kitchen sees a lot of water, and keep a few spare tiles for replacements.
5. Glass-Front Cabinets for Pretty Storage
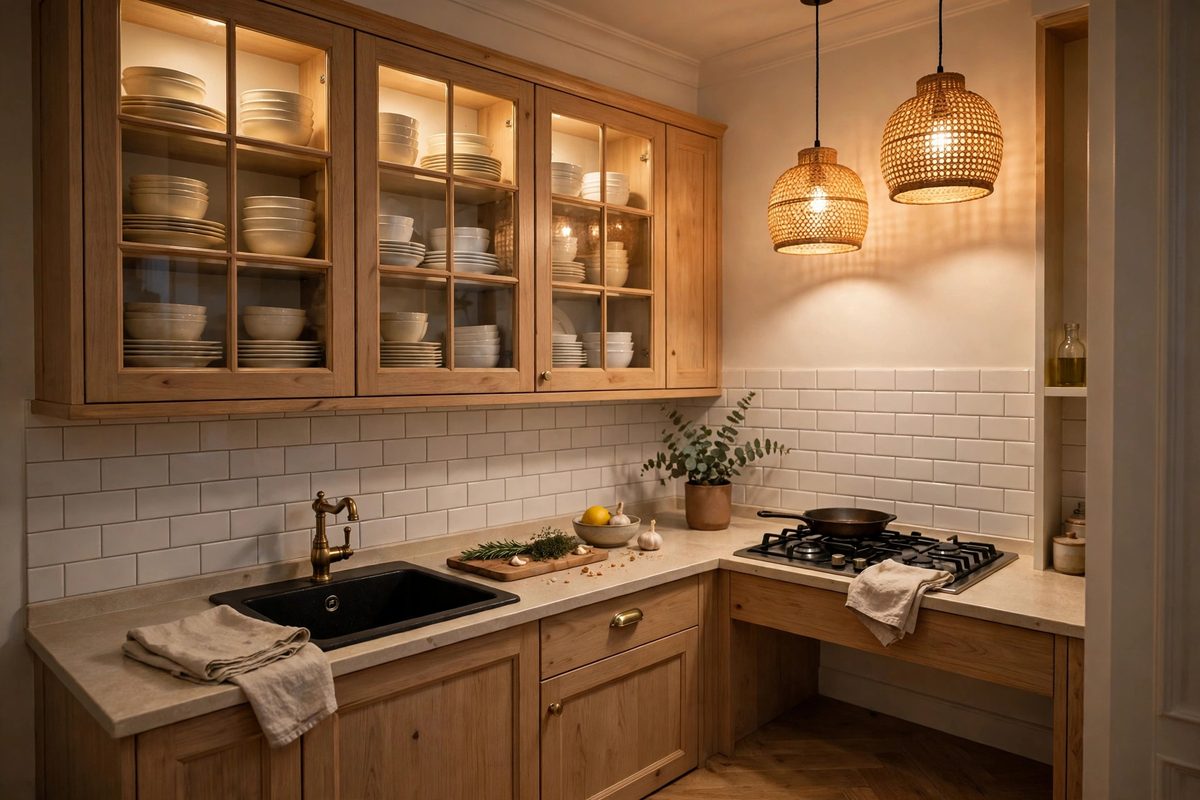
Glass-front cabinets let vintage dishes do the decorating while staying protected from grease and dust. If replacing cabinet doors is not an option, removing one or two upper doors entirely, with landlord permission, creates the same open look for free.
The catch is that glass fronts show everything. They work only if the contents are curated: matching or complementary dishes, neatly stacked, with no chipped mugs or random food packaging visible.
How to make it work
Choose one or two cabinets for glass fronts, ideally flanking the stove or sink, and keep the rest closed. Store everyday dishes inside in tidy stacks, and move mismatched items to closed storage. Clean the glass weekly; kitchen grease shows fast on glass.
6. Farmhouse Sink Style Without the Renovation
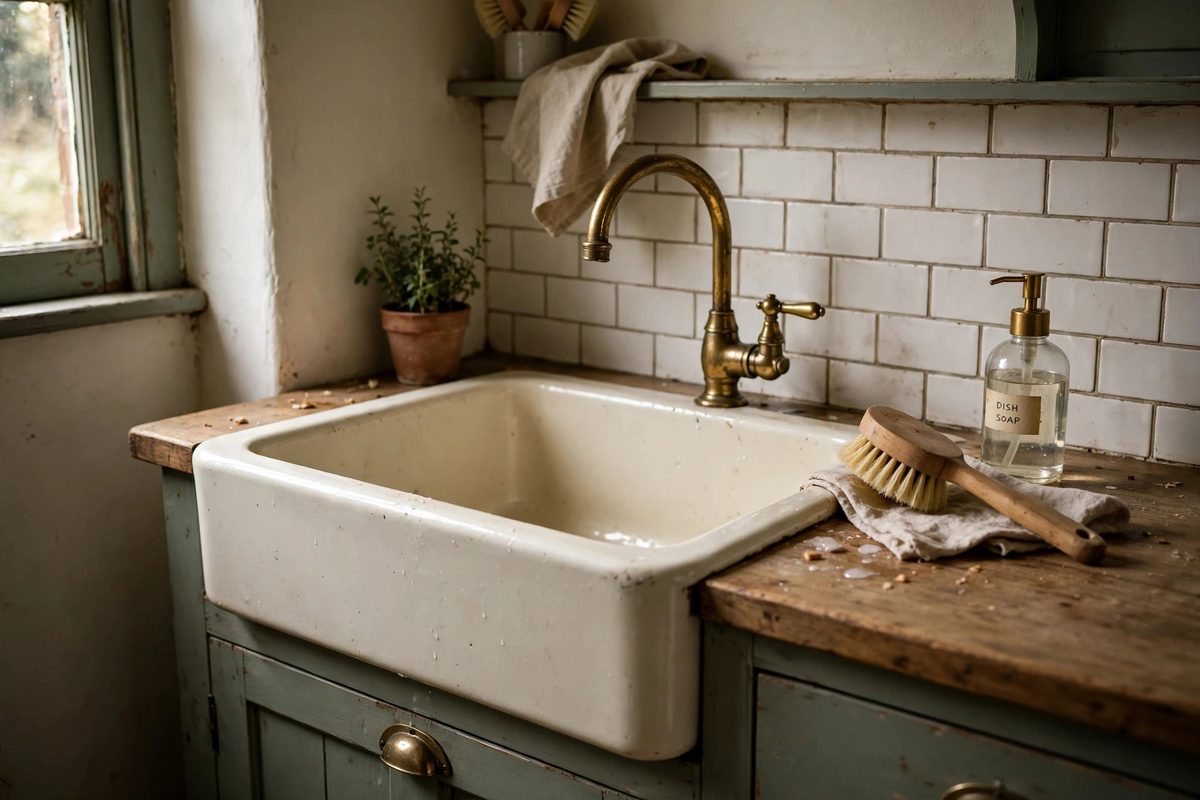
A real farmhouse apron sink usually needs cabinet modification, which most renters cannot do. You can still get the feeling with a deep, single-basin sink cover, a vintage-style faucet, or a freestanding wash basin styled beside the sink for produce and dishes.
A bridge-style or gooseneck faucet in brushed brass or chrome, often 80 to 200 dollars, changes the sink area more than any other single swap, and many landlords approve faucet changes if the original is stored and reinstalled at move-out.
How to make it work
Ask your landlord in writing before changing a faucet, and photograph the original setup first. Choose a faucet height that clears your tallest pot, usually at least 8 inches of clearance above the sink rim. Pair it with a simple soap dispenser and a wooden dish brush to complete the vintage utility look.
7. Vintage Art and Recipe Cards on Display
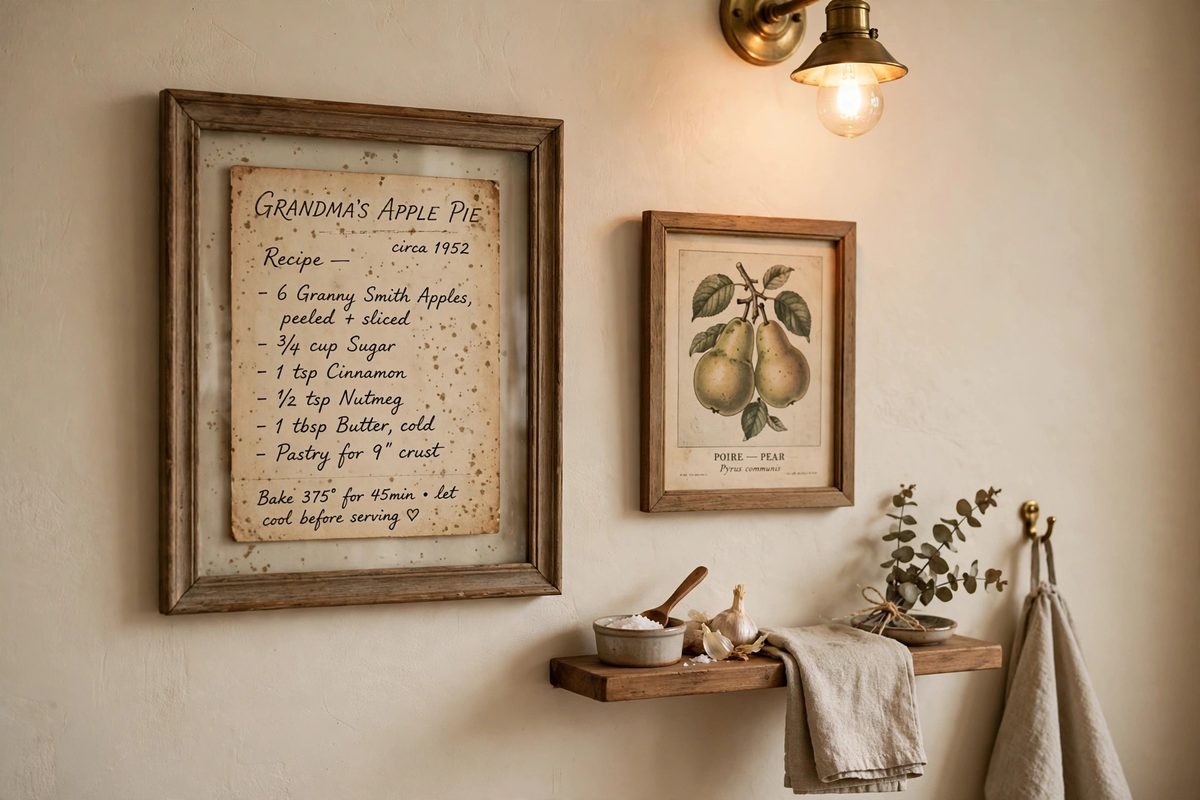
Vintage kitchens are personal kitchens, and nothing personalizes faster than art: old recipe cards in frames, vintage food advertisements, or a framed tea towel. A small gallery on one wall or a single framed print above a prep area adds warmth without taking counter space.
Use copies of fragile originals in the kitchen, since steam and grease damage paper. Print a favorite family recipe card at high resolution and frame the copy; keep the original in a drawer.
How to make it work
Hang art away from direct steam, not directly above the stove. Use removable hanging strips for light frames, and keep frames small, 8 by 10 or 11 by 14 inches, so the wall does not feel crowded. One or two pieces is enough in a small kitchen; a full gallery belongs in a dining area.
8. Warm Lighting Over the Work Zones
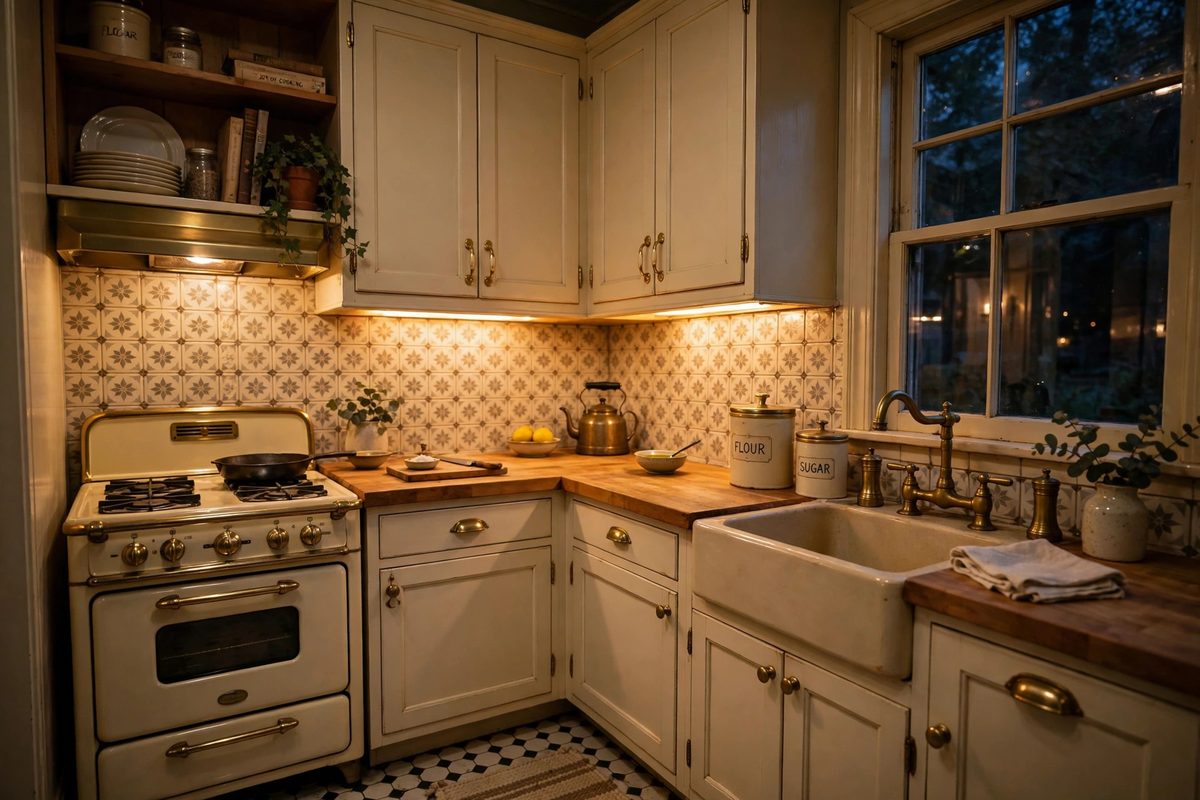
Harsh overhead light makes vintage details look flat and dated. Warm light, 2700K, over the sink, stove, and prep counter makes wood, enamel, and brass glow the way they did in older kitchens. Battery-operated puck lights or adhesive LED strips under upper cabinets cost 15 to 30 dollars and need no wiring.
Under-cabinet lighting also makes a small kitchen safer and more usable, since it lights the actual work surface instead of casting your shadow over it.
How to make it work
Stick LED strips to the underside of upper cabinets, toward the front edge, so light falls on the counter, not the backsplash. Use warm white, not cool white, and add a dimmer or a low brightness setting for evenings. Replace batteries or recharge on a monthly reminder so lights do not fade unevenly.
9. Mixing Eras So It Feels Collected
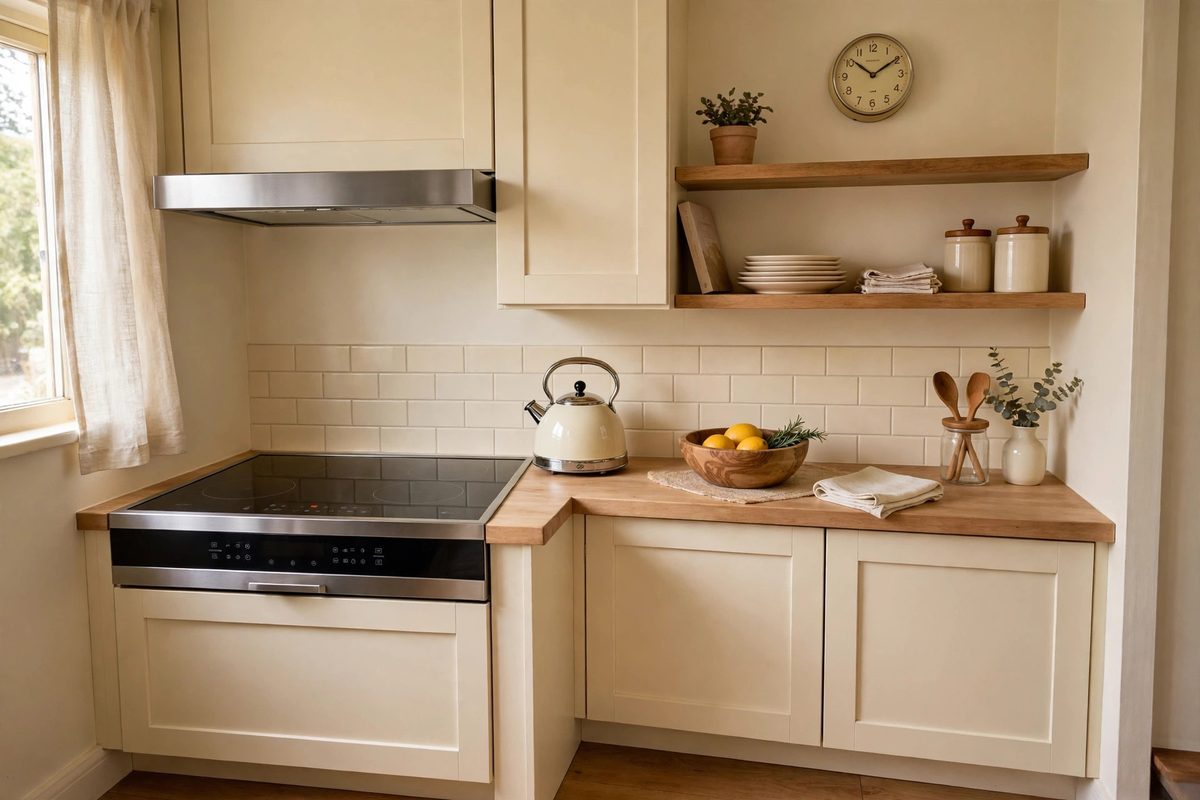
A kitchen that is 100 percent 1950s can feel like a museum set. A kitchen that mixes eras, a 1950s kettle, a 1970s wooden bowl, a modern induction hob, feels collected over time, which is the real vintage charm. The unifying thread should be color or material, not decade.
Keep modern function where it matters: good knives, a reliable stove, and easy-clean surfaces. Let vintage live in the objects you touch and see, not in outdated wiring or inefficient appliances.
How to make it work
Pick a palette of two colors plus wood and metal, and let every era’s pieces fit inside it. If a vintage find does not fit the palette, enjoy it in another room or pass it on. Edit ruthlessly: in a small kitchen, every object on the counter should be used weekly or loved daily, preferably both.
A fresh vintage kitchen is a selective one: retro color low, open shelves for daily dishes, one or two retro appliances, warm light, and eras mixed by color. Keep counters clear, and the vintage details will shine instead of crowd.