9 Tiny Kitchen Ideas That Make the Smallest Kitchens Work Hard
Discover 9 tiny kitchen ideas that make the smallest kitchens work hard, with wall rails, rolling carts, sink covers and vertical storage — all renter-friendly.
In This Guide
A tiny kitchen asks the impossible: cook real meals in 40 square feet with one drawer, half a counter, and a cabinet door that barely closes. Most small-kitchen advice quietly assumes you can renovate — knock down a wall, add cabinets, move plumbing. Renters cannot do any of that.
The fix is not more space. It is making every inch do double duty, mostly upward and on wheels. A wall that holds your tools is a drawer you did not have. A cart that rolls away is counter space that appears exactly when dinner starts.
Every idea below is renter-friendly: no drilling into tile, no permanent changes, nothing a landlord can object to. Most cost less than a week of takeout.
Here are nine tiny kitchen ideas that make the smallest kitchens work hard.
1. The Rail Wall
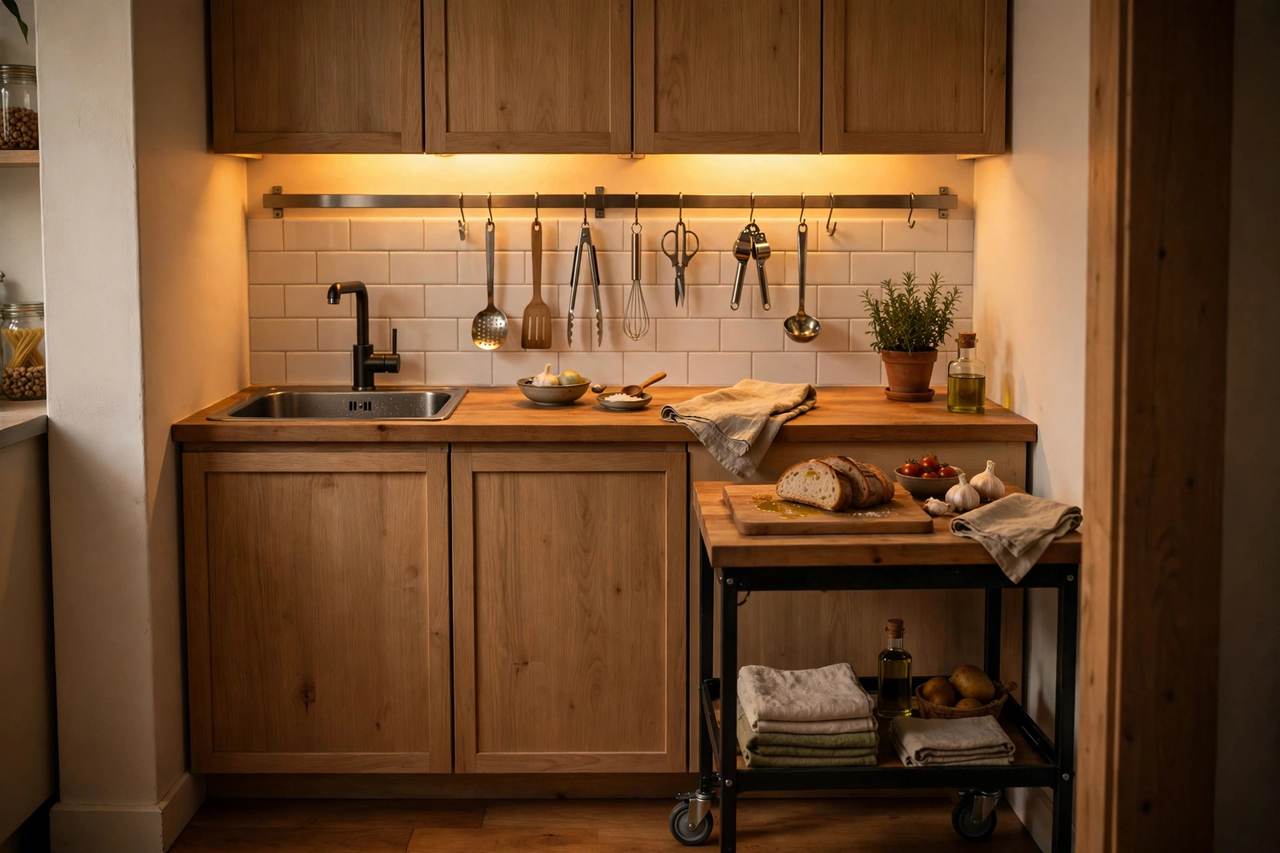
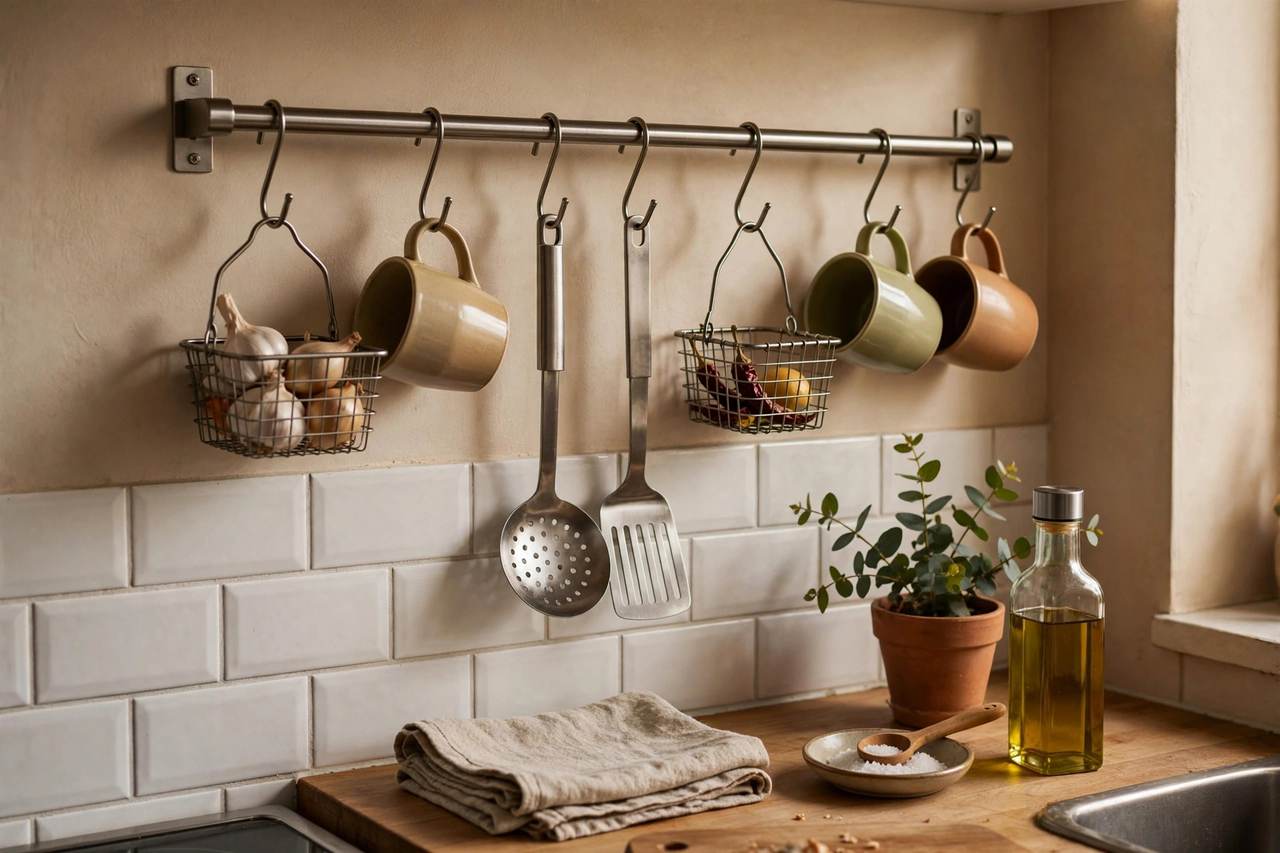
A stainless wall rail with S-hooks turns 24 inches of empty wall into the equivalent of an entire drawer. Hang your most-used utensils, a few mugs, scissors, and a small wire basket for garlic and shallots. Everything stays visible and grabbable, which matters when you are mid-recipe with one hand covered in flour.
Mount the rail 16 to 18 inches above the counter so tall items clear it. If your lease forbids drilling, heavy-duty adhesive hooks rated for 5+ pounds hold a surprising amount — utensils are light. Wipe the rail down monthly; kitchen grease finds everything eventually.
Why it works
Drawers are the scarcest resource in a tiny kitchen, and most of us waste a whole one on tools we could hang. Moving utensils to the wall frees that drawer for the things that genuinely need hiding: junk, batteries, and the vegetable peeler collection.
What to hang
- Spatulas, ladles, tongs, and whisks on S-hooks
- Two or three daily mugs
- A small basket for onions, garlic, or spice packets
- Keep it to one rail — two rails starts looking like a restaurant supply store
Best for
Galley kitchens, one-wall kitchens, and anyone whose single drawer is currently a tangled utensil graveyard.
2. The Rolling Cart Island
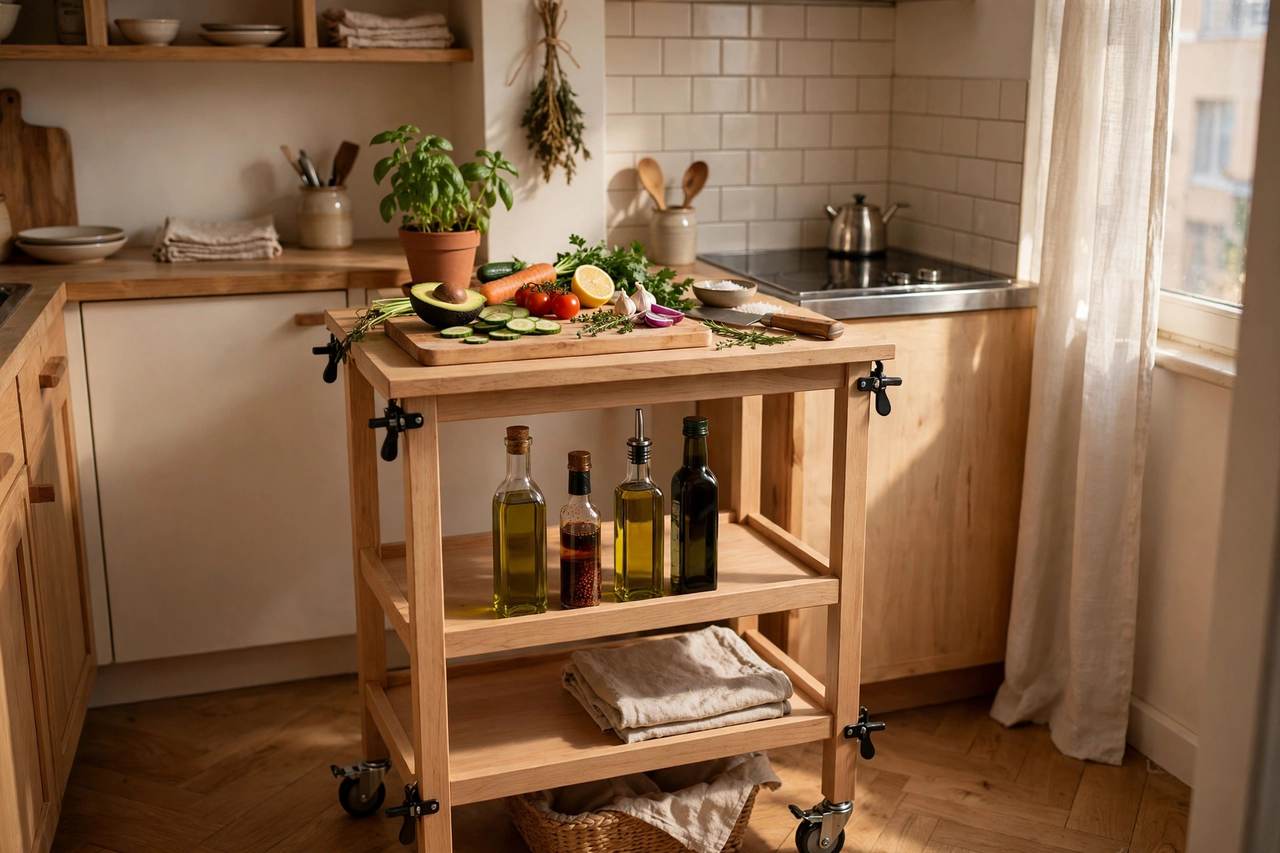
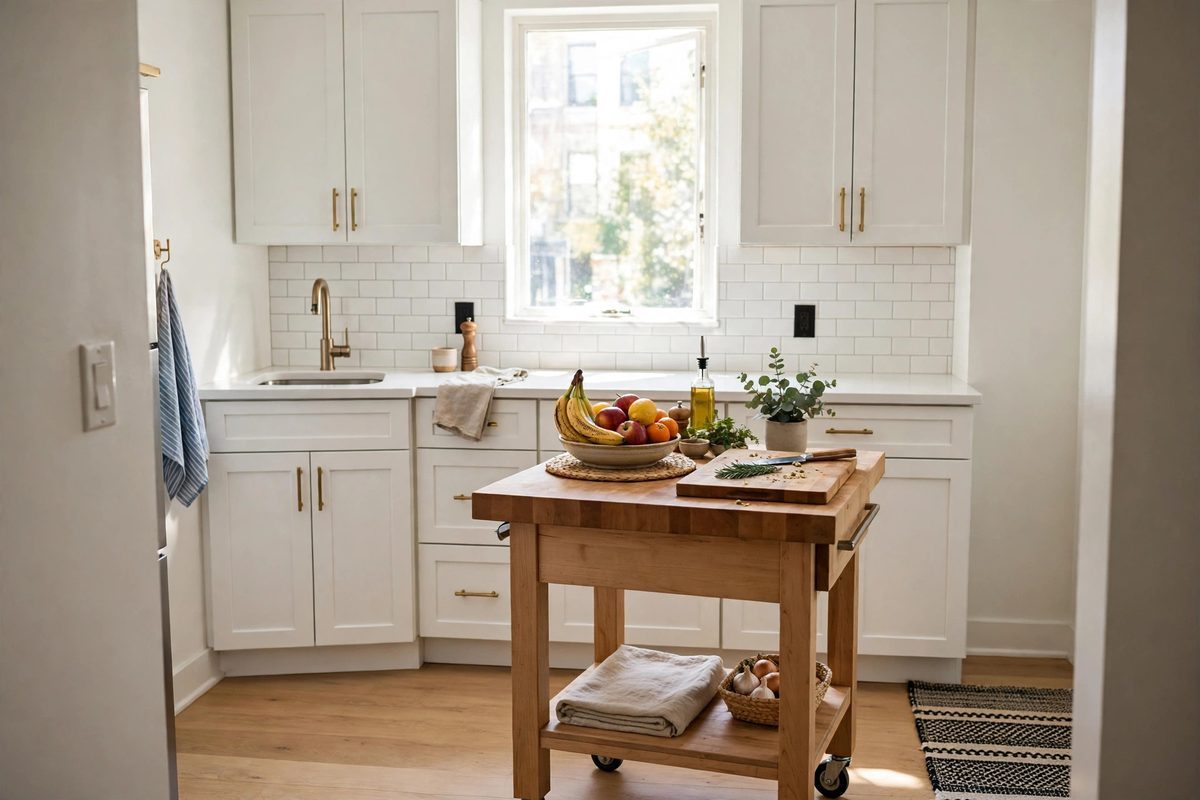
A slim rolling cart — 12 to 15 inches wide — is the closest thing to adding square footage without construction. Use the top as extra prep space, the middle shelf for oils and cutting boards, and the bottom for the stand mixer or pots you use weekly but not daily. When dinner is done, roll it against the wall or into a closet.
Look for a cart with locking casters so it stays put while you chop, and a solid top rather than slats — slats wobble under a cutting board. A butcher-block style top turns the cart into a genuinely pleasant place to work, not just a storage shelf on wheels.
Why it works
Counter space is only scarce at specific moments: prep, plating, and unloading groceries. A rolling cart gives you 3 extra square feet exactly during those moments and disappears the other 22 hours of the day. Fixed furniture cannot do that.
Best for
One-wall kitchens, studio kitchens, and cooks who need a landing zone between the stove and the fridge.
3. The Over-Sink Counter
Your sink is 15 by 15 inches of wasted space whenever you are not washing something — which is most of the day. A sink-cover cutting board turns it into a solid work surface, and a roll-up dish rack that sits over the sink means drying dishes never eat counter space either.
Measure your sink before buying: covers come in standard widths but lips vary. A board that sits flush is a joy; one that rocks is a hazard. The roll-up racks (stainless rods on silicone edges) cost under $20 and also work as a trivet for hot pots straight from the stove.
Why it works
This is the cheapest square footage in the entire kitchen — space you already rent, reclaimed for the 90 percent of the day the sink sits idle. Combined with idea 2, most tiny kitchens gain the equivalent of a full extra counter run.
Best for
Kitchens with one tiny counter strip, single-basin sinks, and anyone who preps dinner directly next to the stove.
4. Magnetic Backsplash
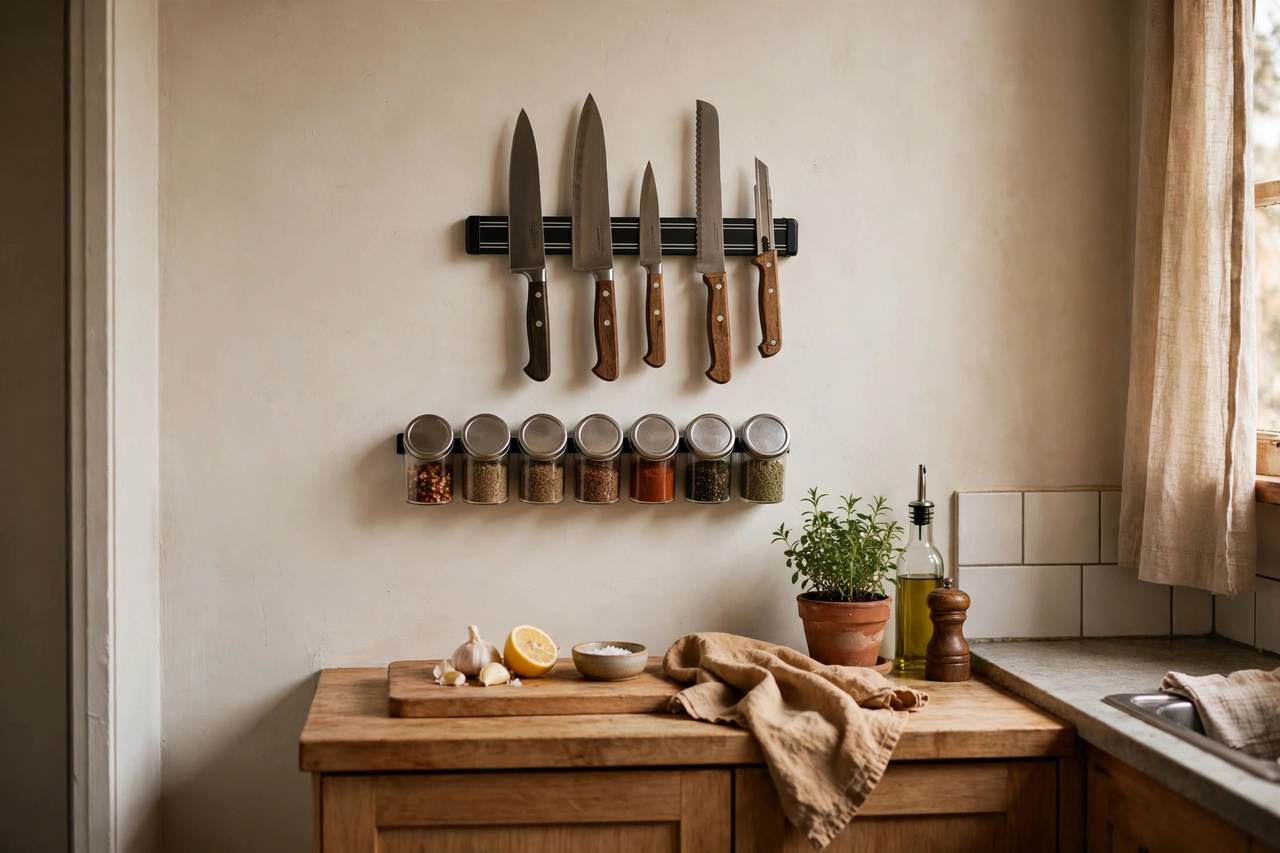
Knives in a block eat 8 inches of counter. Spice jars in a cabinet eat a whole shelf. A magnetic knife strip and a set of magnetic spice tins move both to the wall — or the side of the fridge — in an afternoon. No drilling required: the strips mount with adhesive rated for the weight, and spice tins stick to any steel surface.
Keep the knife strip at least 12 inches from the stove edge and out of reach of small children. For spices, decant into the tins and label the lids — you will actually use the smoked paprika when you can see it.
Why it works
It relocates two whole categories off counters and out of cabinets onto dead vertical space. The visual payoff is real too: a row of labeled spice tins looks intentional, like the kitchen was designed that way.
Best for
Cooks with more than five spices, knife owners, and kitchens where the counter currently hosts a knife block and a spice rack side by side.
5. Cabinet Door Real Estate
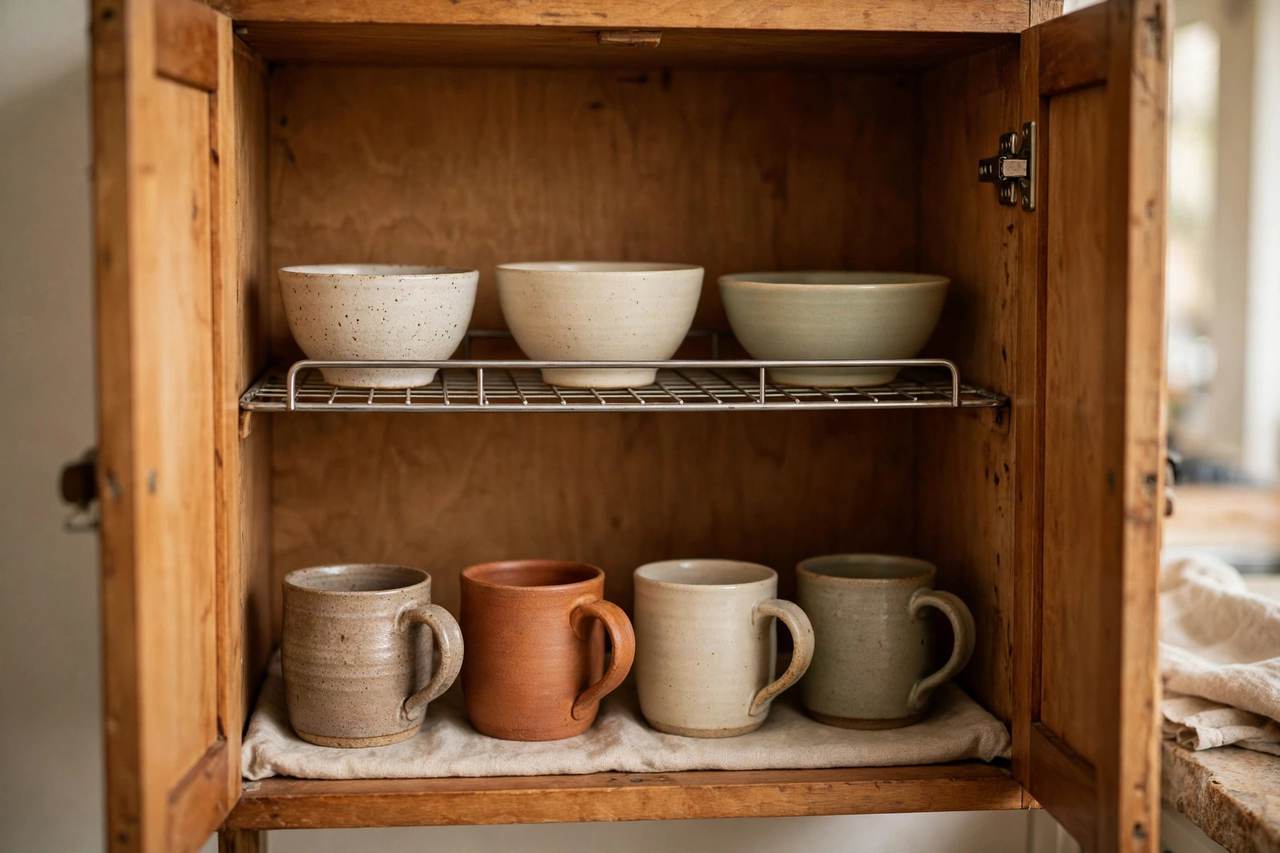
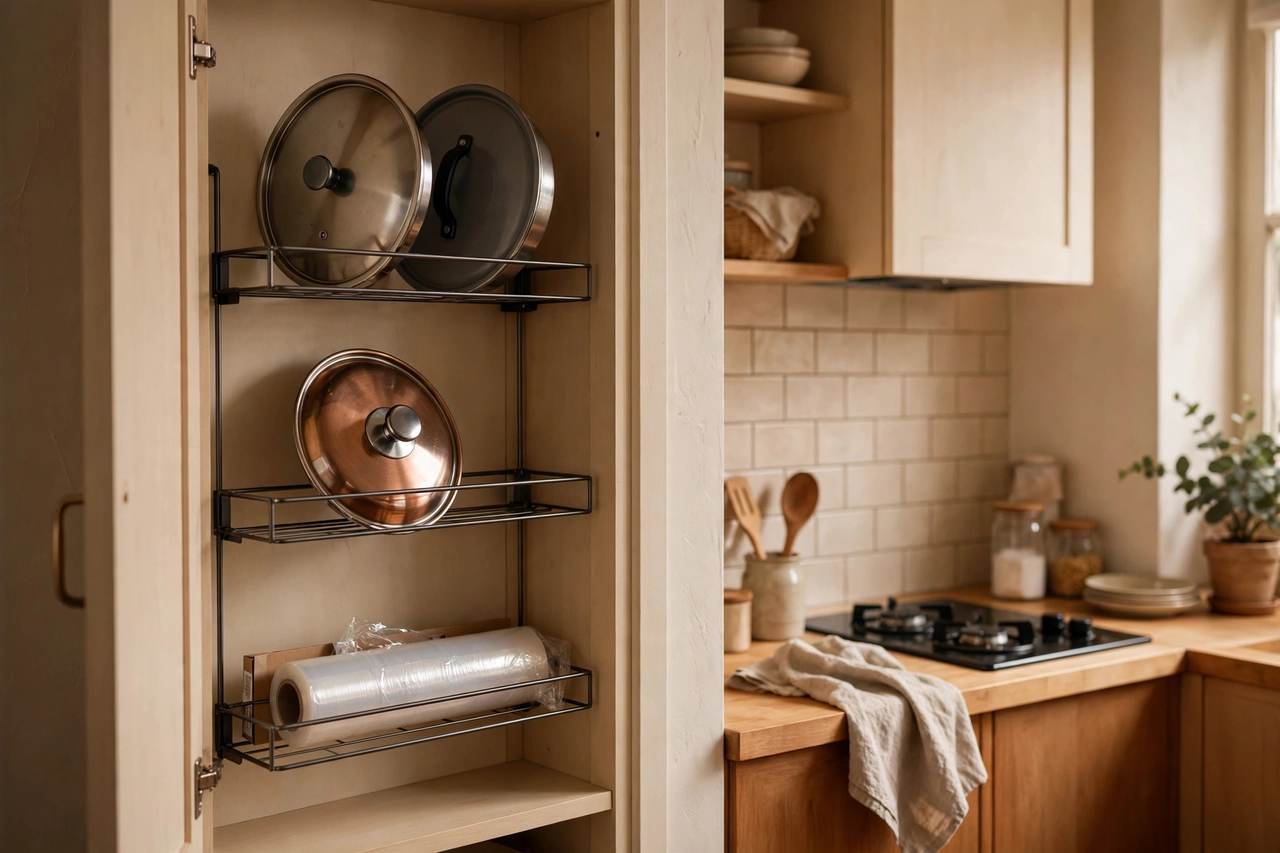
The inside of every cabinet door is 2 to 3 square feet of storage nobody uses. Slim over-door or adhesive-mounted racks hold pot lids, plastic wrap, cutting boards, and spice packets — all the flat, awkward things that jam drawers and waste shelf depth.
Measure your door thickness and clearance before buying: over-door racks need about half an inch of gap, and adhesive racks need a flat surface at least 3 inches wide. Lids are the highest-value win here — a lid rack on the door ends the crashing avalanche every time you reach for the saucepan.
Why it works
Cabinet interiors are deep, which means the front 4 inches behind the door are effectively dead space — things get lost back there. Door-mounted storage puts the most-grabbed items exactly where your hand already is.
Best for
Kitchens with deep lower cabinets, lid chaos, and renters who cannot add shelving anywhere else.
6. Shelf Risers Double the Shelves
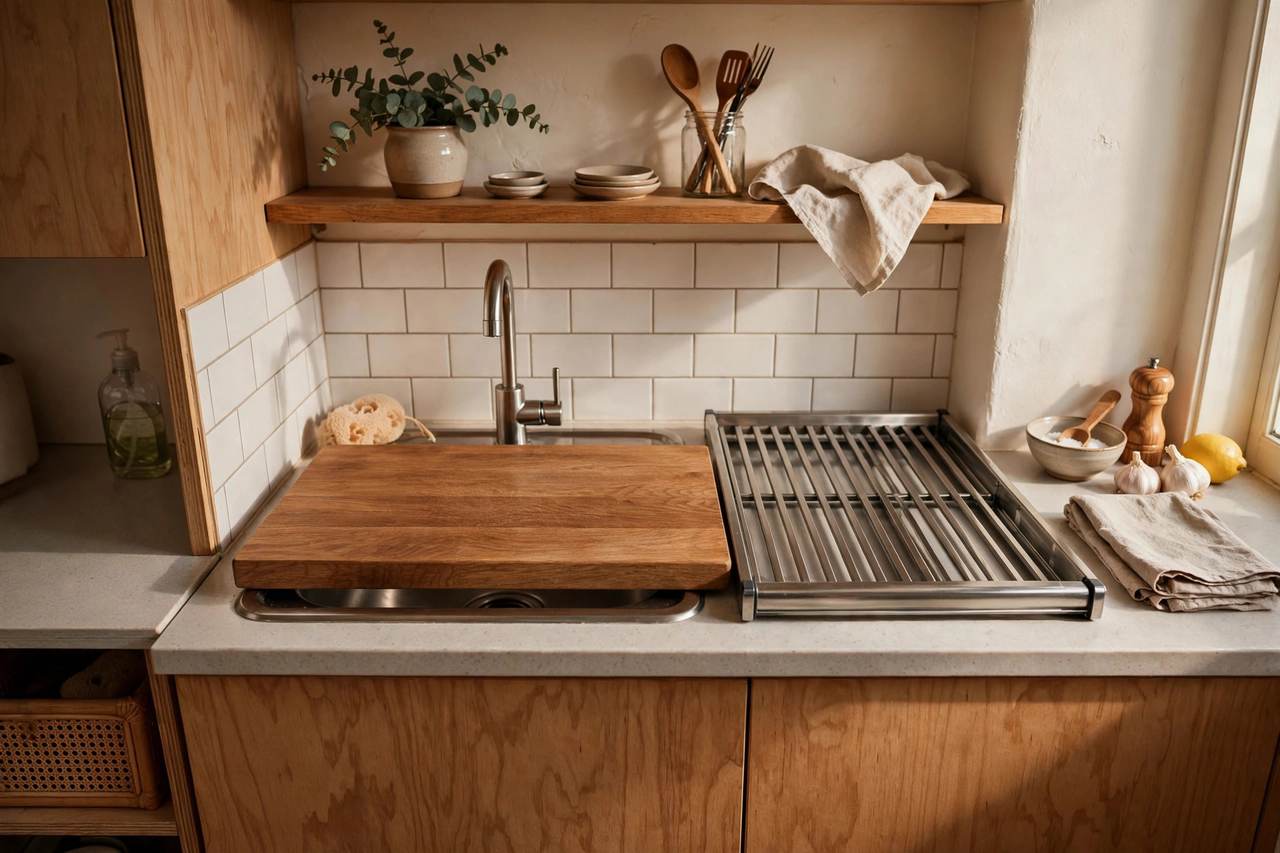
Open any cabinet and look at the air: most shelves hold one layer of mugs or cans with 6 inches of nothing above them. A $10 wire shelf riser splits that dead air into two usable levels — mugs below, bowls above — effectively doubling the shelf without touching a drill.
Stackable risers work best because you can configure them around what you actually own. In upper cabinets, use them for cups and glasses; in lowers, for pots with lids stored separately on the riser above. They also make everything visible, which means you stop buying duplicates of the turmeric you already had.
Why it works
Cabinets are sold by volume but used by footprint. Risers convert wasted vertical inches into real storage, and because nothing is permanent, they move with you to the next apartment.
Best for
Upper cabinets full of mugs, lower cabinets full of pots, and anyone who has ever bought a spice they already owned.
7. The Fold-Down Table
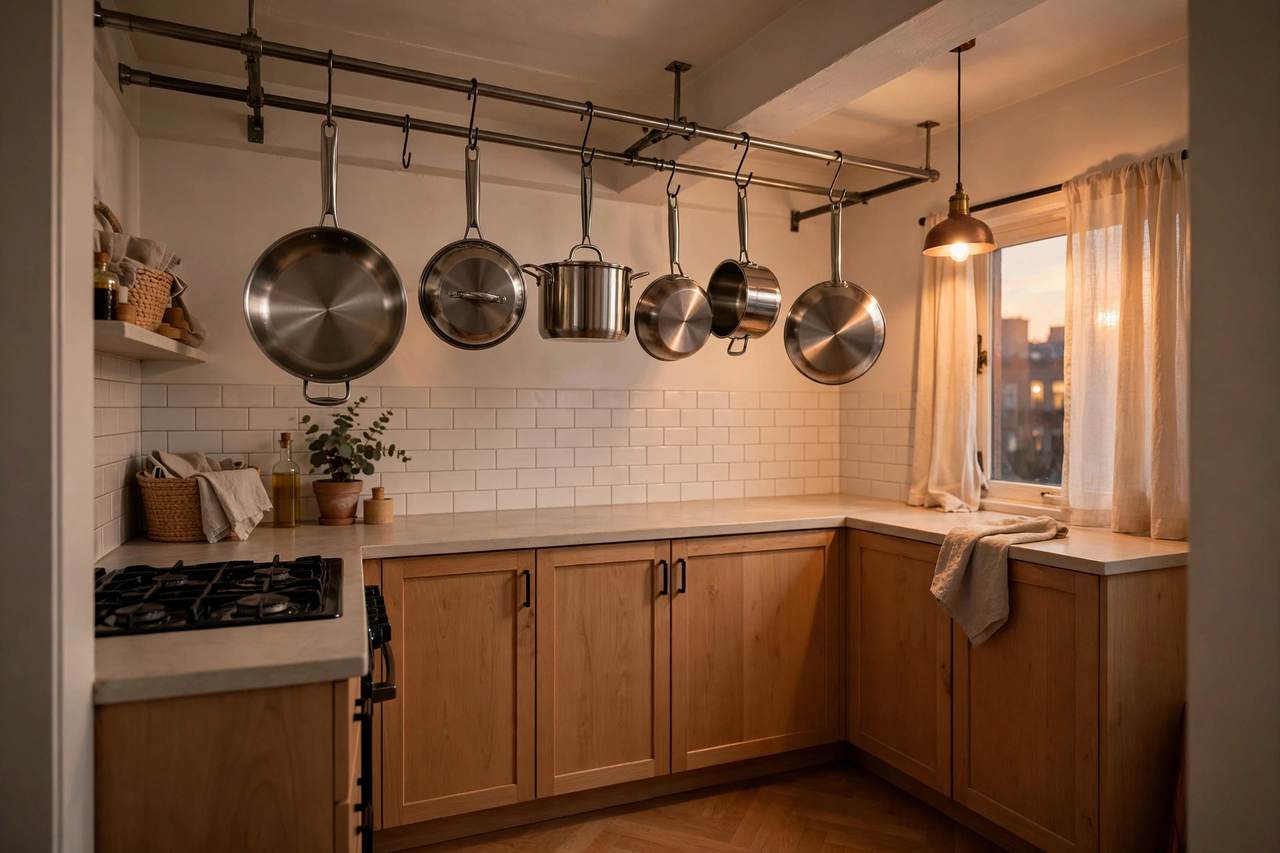
A wall-mounted drop-leaf table gives you a 30-inch dining and prep surface that folds to 2 inches deep when you are done. Eat breakfast, fold it up, and the kitchen is a kitchen again. Mount it at standard table height — 29 to 30 inches — on the emptiest wall, ideally near an outlet if you ever want to eat with a laptop.
Choose a model rated for at least 30 pounds so it doubles as serious prep space, not just a coffee spot. Pair it with two stackable stools that tuck completely underneath or hang on wall hooks when the table is folded.
Why it works
A permanent table in a tiny kitchen steals 6 square feet around the clock for 45 minutes of daily use. The fold-down version gives you the same 45 minutes and returns the floor the rest of the day. It is the highest square-footage return of anything on this list.
Best for
Eat-in kitchens with no dining area, studio apartments, and anyone currently eating standing up.
8. Hang the Pots
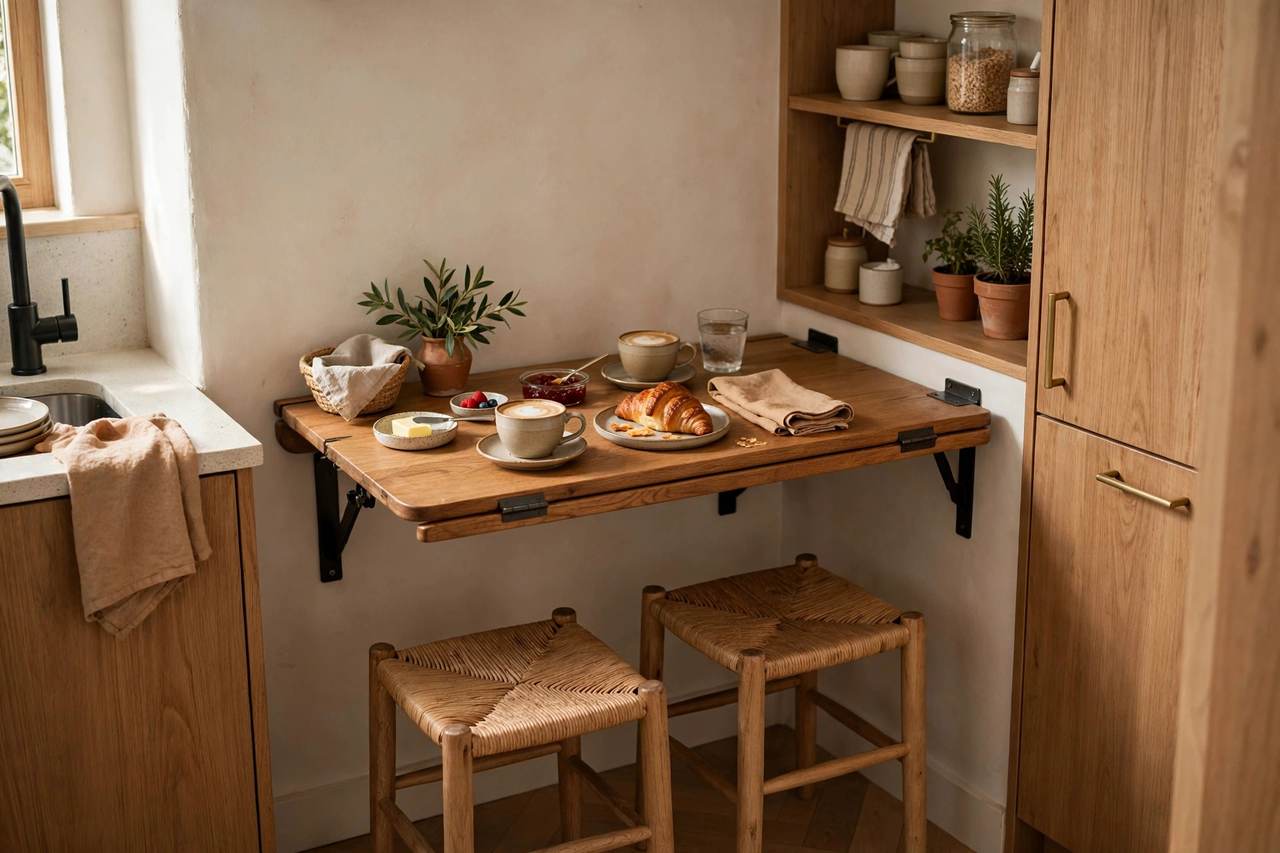
A set of nesting pots still eats an entire lower cabinet. Hang them from a ceiling-mounted rail or a wall-mounted bar with sturdy hooks, and that cabinet becomes free for food storage — the thing cabinets are actually for. Stainless hooks on a wood or metal bar look deliberate, not dorm-room.
Ceiling mounts need a stud or a toggle bolt; if your lease is strict, a wall-mounted bar on two adhesive heavy-duty hooks holds lighter cookware. Hang the daily pans lowest and within arm’s reach of the stove. Seasoned cast iron is heavy — keep that one in the cabinet and hang the lighter stainless and nonstick.
Why it works
Pots are bulky, round, and impossible to stack efficiently — the worst possible cabinet residents. On hooks they take zero cabinet space, dry faster, and you can see every option instead of unstacking four pans to reach the skillet.
Best for
Cooks with more than three pots, kitchens with one precious lower cabinet, and high ceilings that are otherwise decorative.
9. The One-In-One-Out Appliance Rule
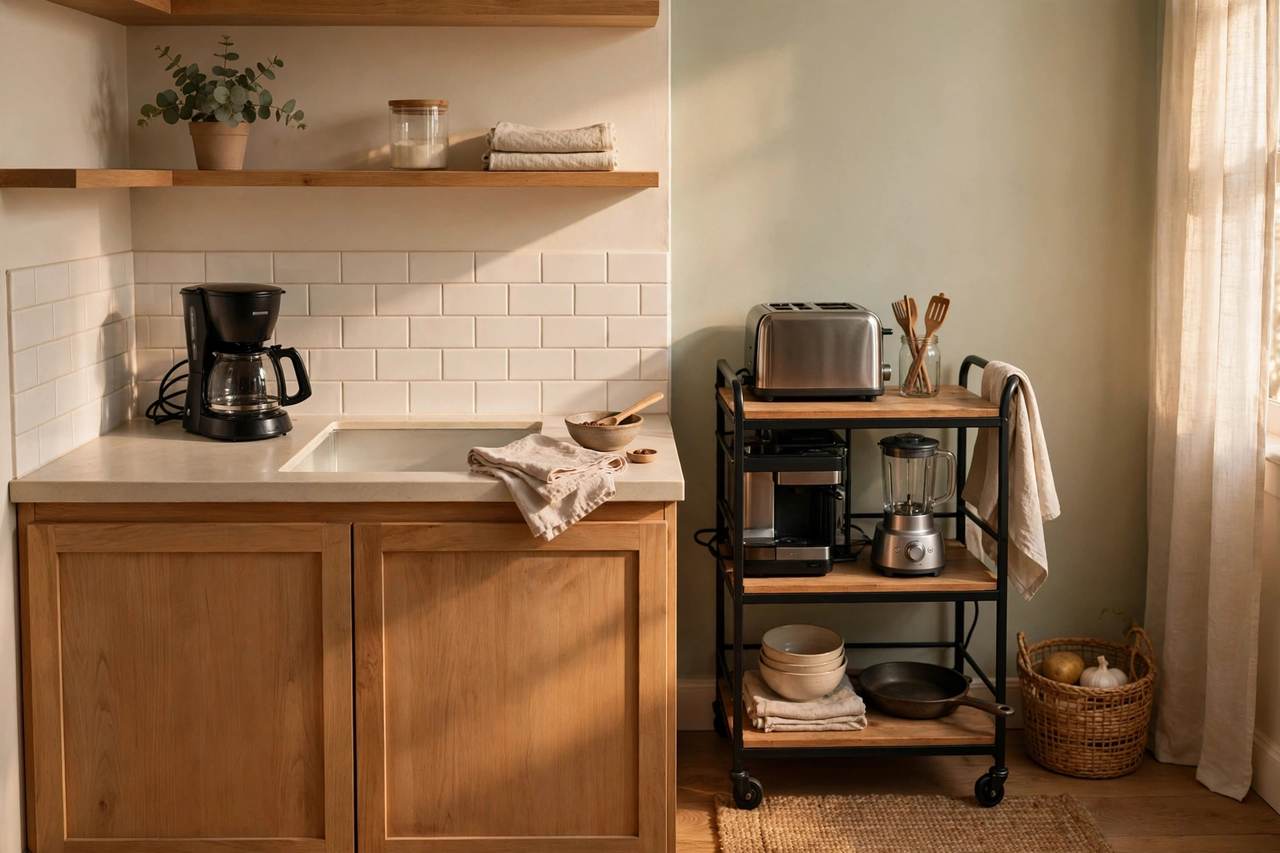
Here is the uncomfortable truth: the air fryer, the stand mixer, the espresso machine, and the toaster oven cannot all live on 4 feet of counter. Pick the one appliance you use daily — it stays. Everything else lives on a rolling cart in a closet or on top of the fridge, and comes out only on its day. One in, one out, no exceptions.
This is a habit, not a purchase, which is why it is last: it only sticks after the storage ideas above give every appliance a real home. The daily driver earns its counter space by justifying it every single morning. The bread maker you use monthly does not get a vote.
Why it works
Appliances are the number-one counter thief in tiny kitchens, and unlike utensils they cannot hang on a wall. Capping the counter population at one forces the storage solutions above to actually get used — and a clear counter makes the whole kitchen feel twice as big.
Best for
Gadget lovers, wedding-registry survivors, and anyone whose counter currently has no visible countertop.
The Tiny Kitchen Formula
You do not need all nine ideas. You need three moves:
- Go vertical — rails, magnets, door racks, and risers (ideas 1, 4, 5, 6) convert dead wall and air into storage
- Roll it — the cart (idea 2) gives you counter space on demand instead of around the clock
- Cap the population — the appliance rule (idea 9) protects every inch you just reclaimed
Walk into your kitchen and count: how many inches of wall are empty, and how many appliances are on the counter? Those two numbers tell you exactly where to start.
Where to Start
Start with the friction you feel daily, and start cheap:
- Under $25: ideas 6 and 1 — a pair of shelf risers and a wall rail with S-hooks. Two drawers’ worth of storage for the price of lunch.
- Under $100: add idea 2 — the rolling cart. This is the single purchase that changes how the kitchen functions.
- The big move: idea 7 — the fold-down table. It gives you back the room, not just the counter.
A tiny kitchen that works hard beats a big kitchen that does not. Yours just needs the right nine moves.
Frequently Asked Questions
How can I add counter space to a tiny kitchen?
Reclaim what you have: a sink-cover cutting board (idea 3) and a slim rolling cart (idea 2) together add the equivalent of a full counter run. Both are renter-friendly and cost under $100 combined.
Can renters mount storage on kitchen walls?
Yes — heavy-duty adhesive hooks and strips rated for 5+ pounds hold rails, knife strips, and light shelves without drilling. Avoid tile drilling entirely; adhesive on painted drywall removes cleanly with heat.
How do I organize a tiny kitchen with no pantry?
Think in zones, not rooms: daily cooking tools on the rail wall (idea 1), bulk goods in labeled bins on top of the fridge or a closet shelf, and spices on magnetic tins (idea 4). A rolling cart (idea 2) can serve as a mobile pantry shelf.
Where should appliances live in a tiny kitchen?
One daily-use appliance earns counter space; everything else lives on a rolling cart, on top of the fridge, or in a nearby closet (idea 9). If an appliance has not been used in a month, it belongs in storage, not on the counter.