10 Small Kitchen Food-Container Storage Ideas for Lids and Containers
Ten small kitchen food-container storage ideas for lids and containers, from lid files to drawer dividers, that end the avalanche for good.
In This Guide
Food containers are the most frustrating storage problem in a small kitchen. Lids never match the container you need, stacks topple when you pull one out, and the cabinet slowly fills with orphan lids and stained containers you no longer trust. The avalanche happens because containers and lids are stored together in a pile, where neither can be found without moving everything else.
The fix is to separate lids from containers, store each group in its own system, and reduce the collection to sizes you actually use. Most households need only three or four container sizes: small for sauces and snacks, medium for leftovers, large for meal prep, and one or two baking dishes. Everything beyond that is clutter that makes the useful containers harder to find.
Start by pulling every container and lid out, matching pairs, and recycling anything without a match, anything stained beyond cleaning, and anything with a warped lid that no longer seals. For related kitchen systems, see small living room ideas without a coffee table for the same declutter thinking in the living room and small kitchen pot and pan storage ideas for cookware, plus small kitchen cabinet organization ideas for the whole cabinet plan.
These 10 ideas give lids and containers separate, findable homes in a small kitchen.
1. Switch to One Uniform Stackable Set
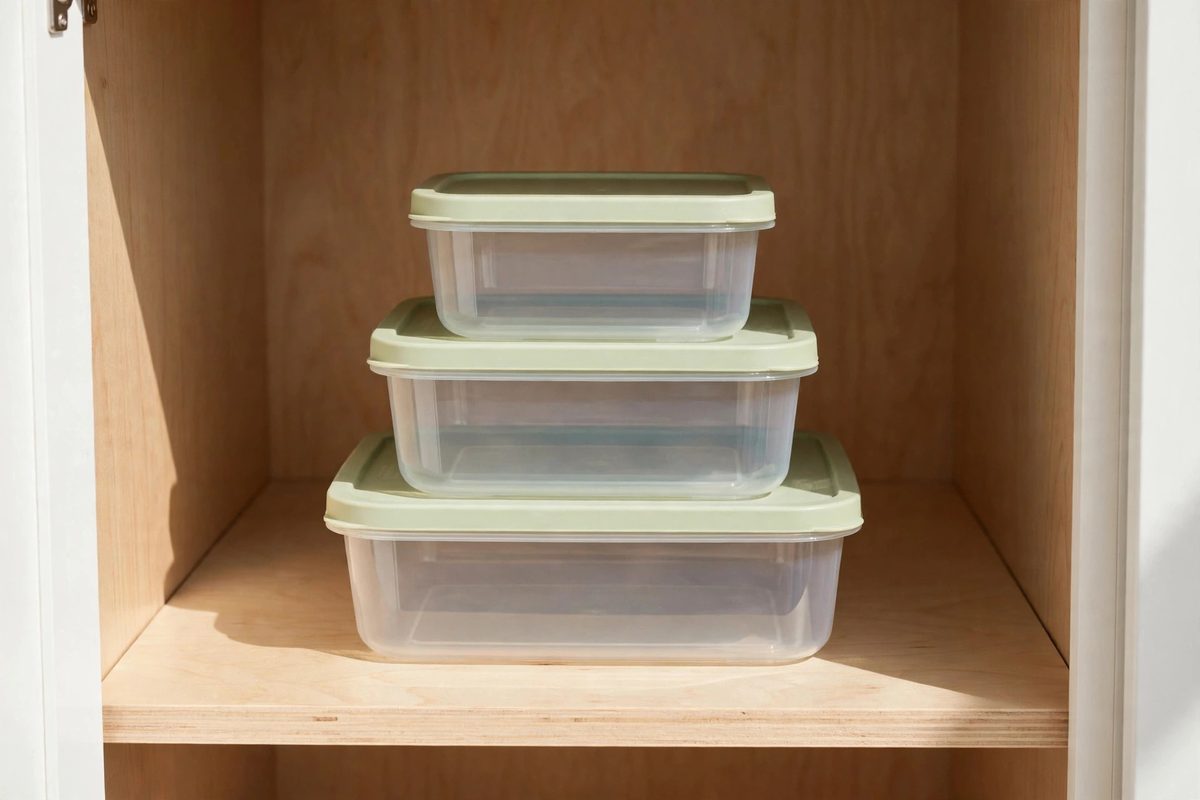
The single biggest improvement is to replace a mixed collection with one uniform set where containers nest and lids are interchangeable within each size. A set of 10 to 20 containers in three sizes costs 25 to 50 dollars, and it eliminates the matching problem entirely, since any lid of a size fits any container of that size.
Uniform sets also stack neatly, because the containers are designed to nest. Glass sets are heavier and more expensive, 40 to 70 dollars, but they do not stain and they go from fridge to oven. Plastic sets are lighter and cheaper, but they stain with tomato sauce and warp in the dishwasher over time.
How to make it work
Choose a set where lids snap on, not press on, since snap lids seal better and are easier to match by feel. Keep the set to one brand and one color family, so a stray container from an old set does not sneak back in. Store the set using any system below, and resist adding free containers from takeout, since they are what restart the pile.
2. A Vertical Lid File
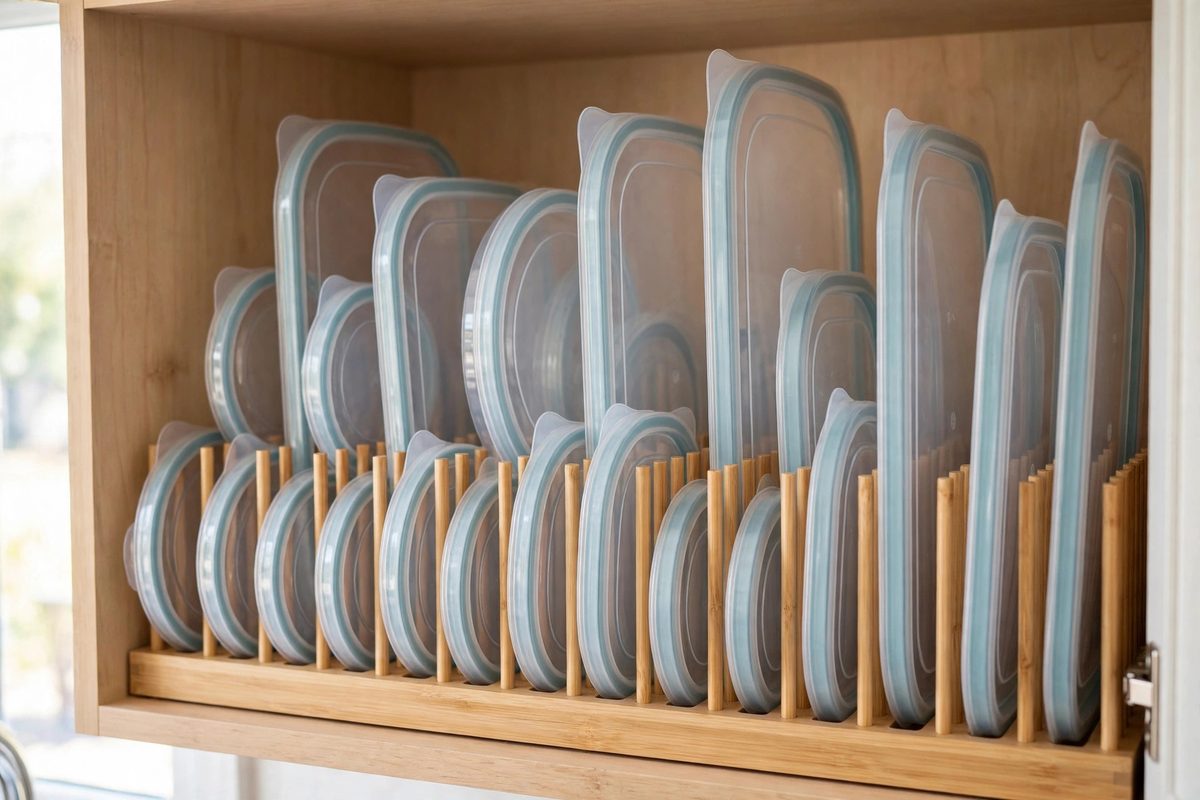
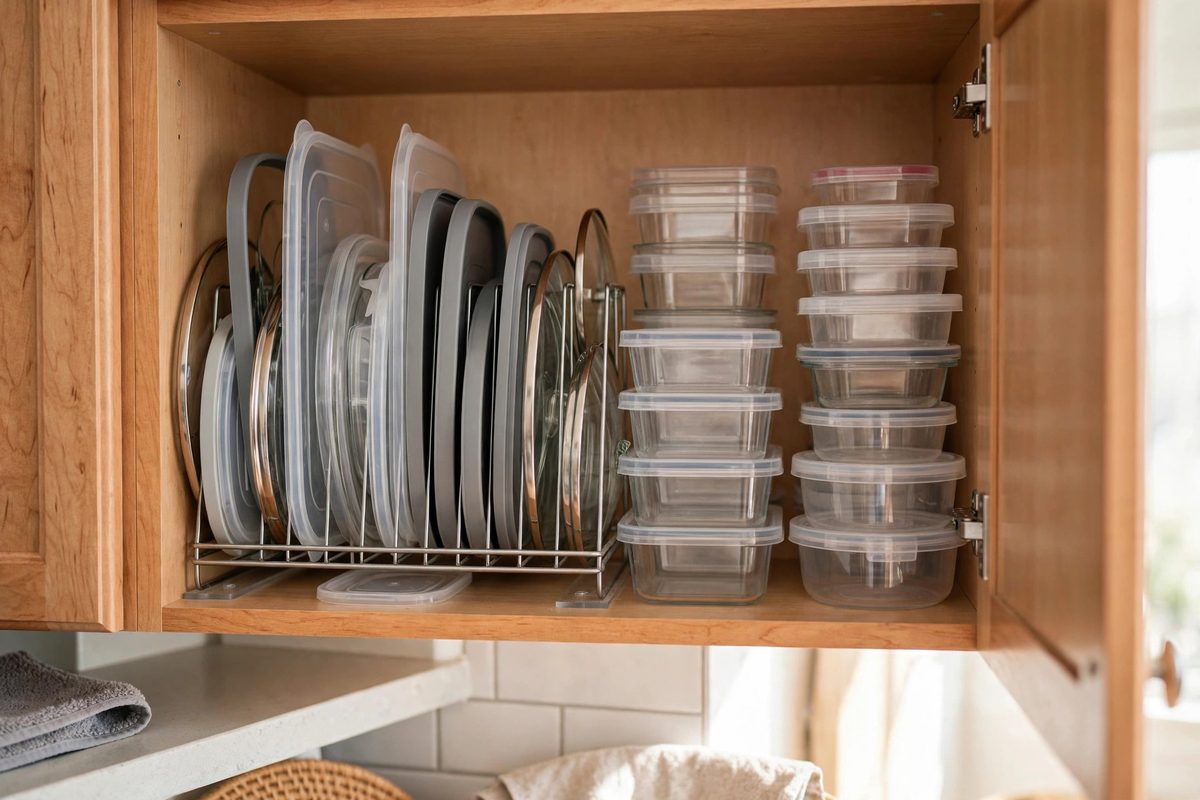
A vertical lid file, the same idea as a file for pot lids, gives each container lid its own slot. Lids stand upright, sorted by size, so you can see every lid at a glance and pull one out without moving the rest.
Lid files cost 10 to 20 dollars and fit in a cabinet, a drawer, or on a shelf. They work best for flat lids, which most snap lid containers have. Domed or very large lids may need a wider slot, so measure your largest lid before buying.
How to make it work
Sort lids largest at the back, smallest at the front, and keep the lid file in the same cabinet as the containers, or in the cabinet right beside it, so matching a pair is one step, not a trip across the kitchen. If a lid does not fit in the file, it probably does not belong in the collection.
3. Drawer Dividers for Containers
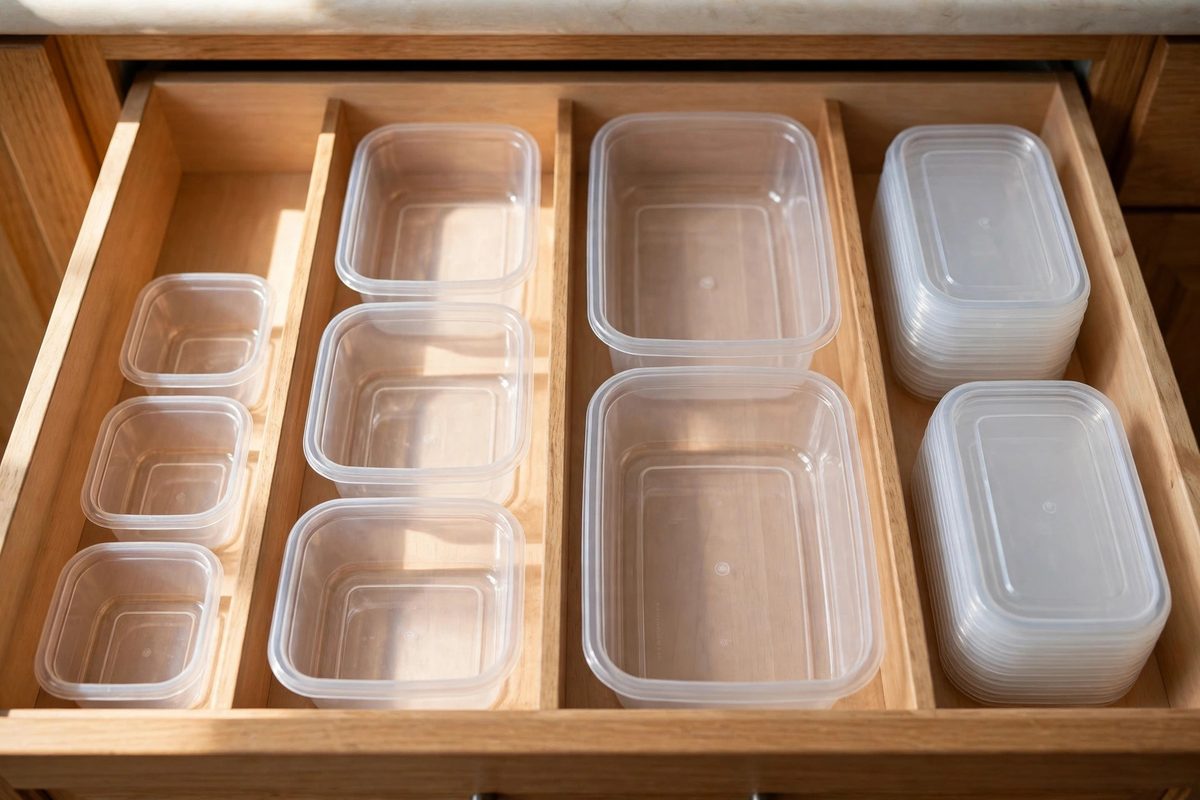
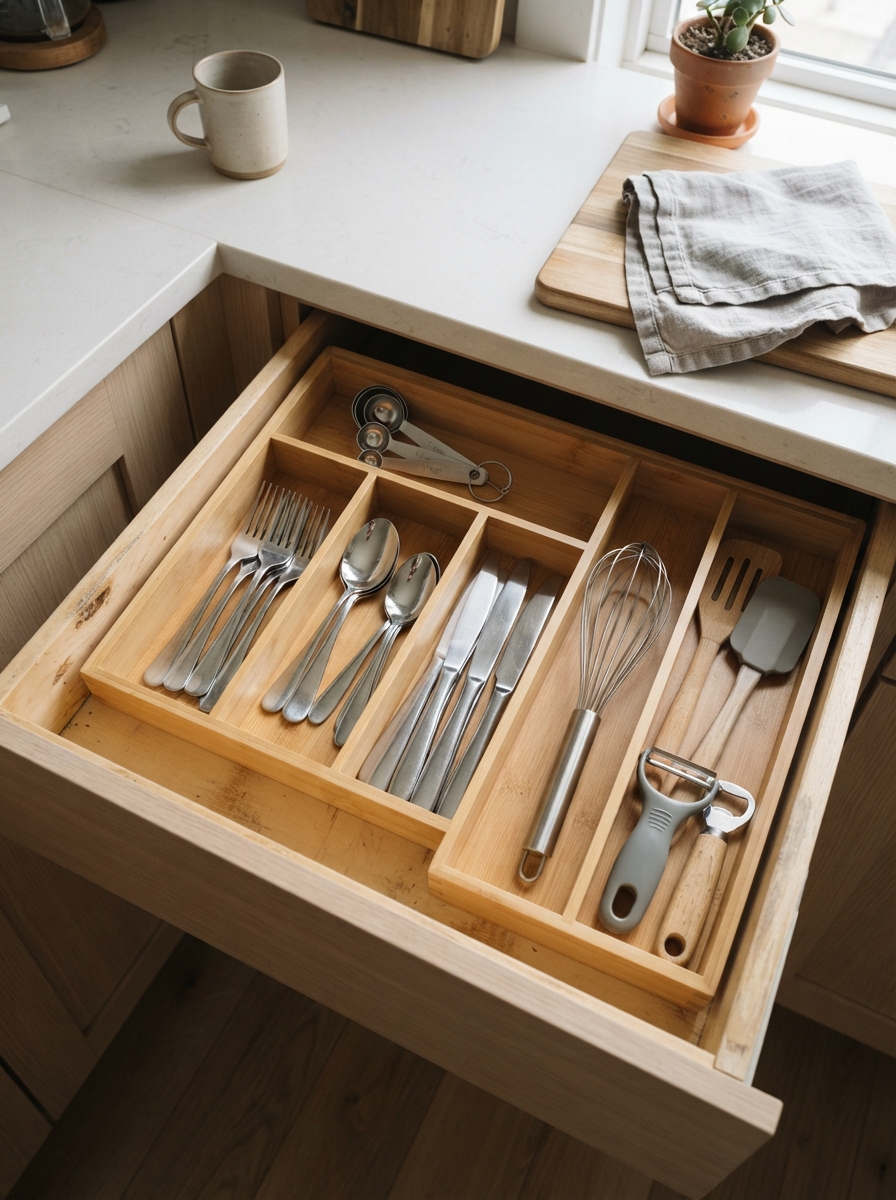
A deep drawer with dividers is an excellent home for containers, since you can see them from above and pull one out without unstacking. Adjustable dividers create zones for each size: small containers in one zone, medium in another, large in a third.
Drawer dividers cost 15 to 30 dollars. This works best in drawers at least 5 inches deep, where containers can stack two high without the drawer jamming. Measure the drawer interior and the tallest container with its lid on, since some containers are taller than they look.
How to make it work
Store containers with lids on in the drawer if space allows, since a lidded container is ready to use and does not need matching. If space is tight, store containers nested without lids in the drawer and lids in a vertical file beside them. Put a non slip liner under the containers so they do not slide when the drawer opens.
4. A Door Mounted Lid Rack
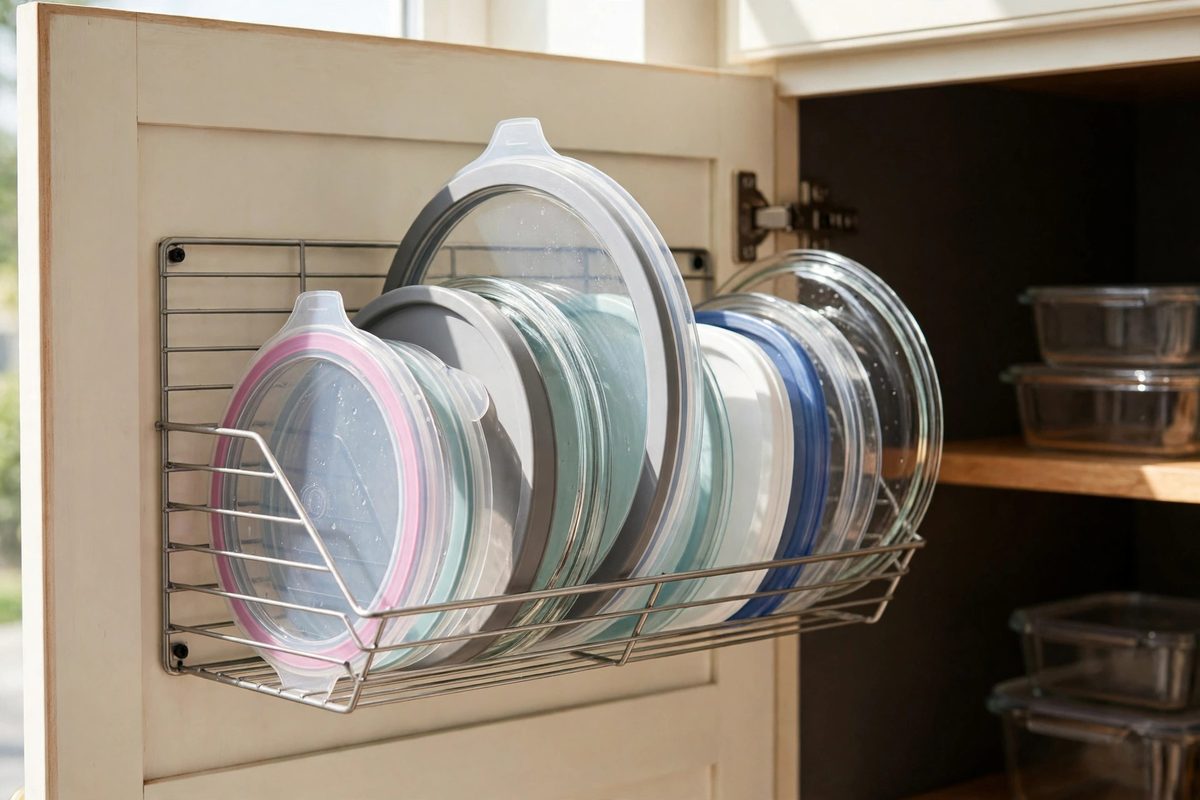
The inside of a cabinet door is perfect for lids, since lids are flat and light. A wire rack or a set of adhesive hooks on the door holds lids upright, freeing the cabinet interior for containers themselves.
Door racks cost 12 to 25 dollars. Over door hooks need no tools, while screw mounted racks are sturdier but leave small holes. Check the clearance between the door and the cabinet shelves, since a rack that is too deep will stop the door closing.
How to make it work
Mount the rack on the cabinet door closest to where you store containers, so lids and containers stay together. Sort lids by size on the rack, and keep only lids that match containers you still own. If the door starts to sag, move the heaviest lids back to a file inside the cabinet.
5. A Label System for Sizes
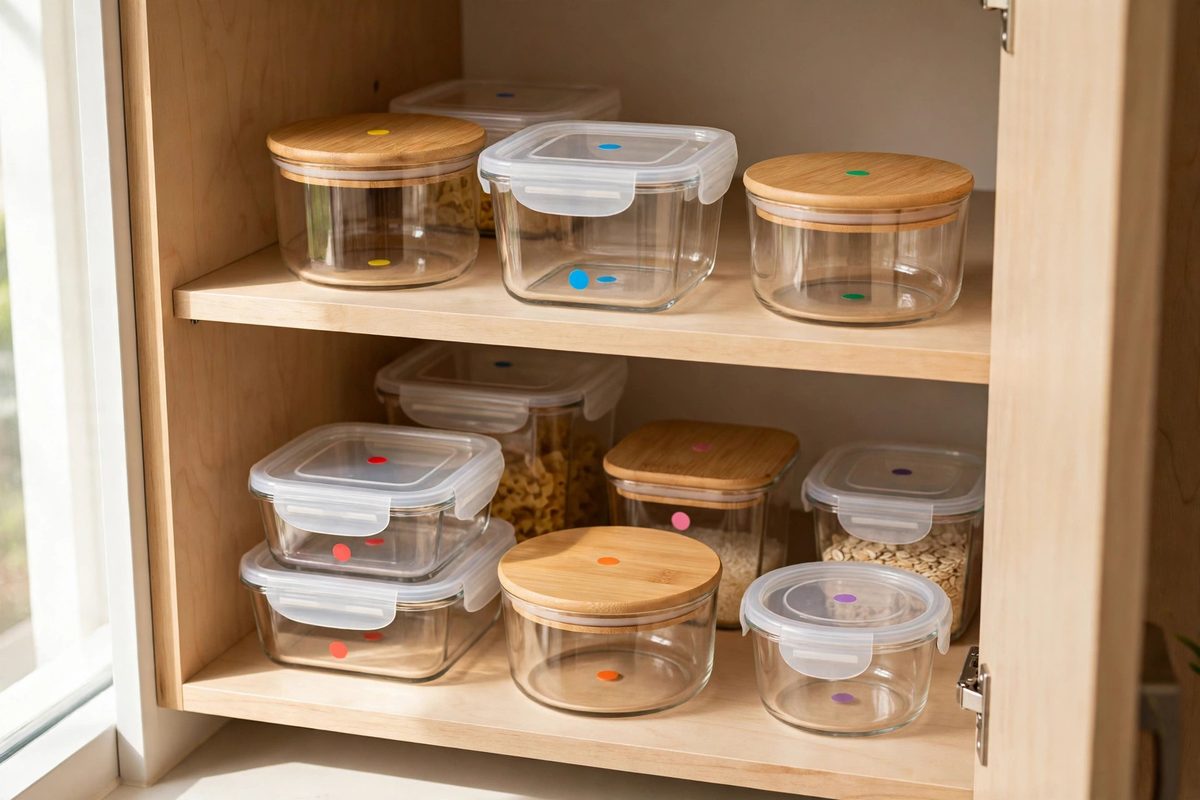
Labels sound fussy, but they solve the most common container frustration: finding the right lid size in a hurry. A small label on each container and its matching lid, with a size code like S, M, or L, or a color dot, makes matching instant.
Labels cost a few dollars for a pack, or you can use colored tape dots, which are cheaper and easier to remove. This works best for households where several people use the kitchen, since the system does not depend on one person remembering which lid goes where.
How to make it work
Label both the container base and the lid, in the same spot, so the pair is obvious even when they are stored separately. Use one color per size, and keep a small key inside the cabinet door for the first month, until everyone learns the code. Replace labels when they peel, since a half peeled label is worse than no label.
6. Nesting Bowls With Lids
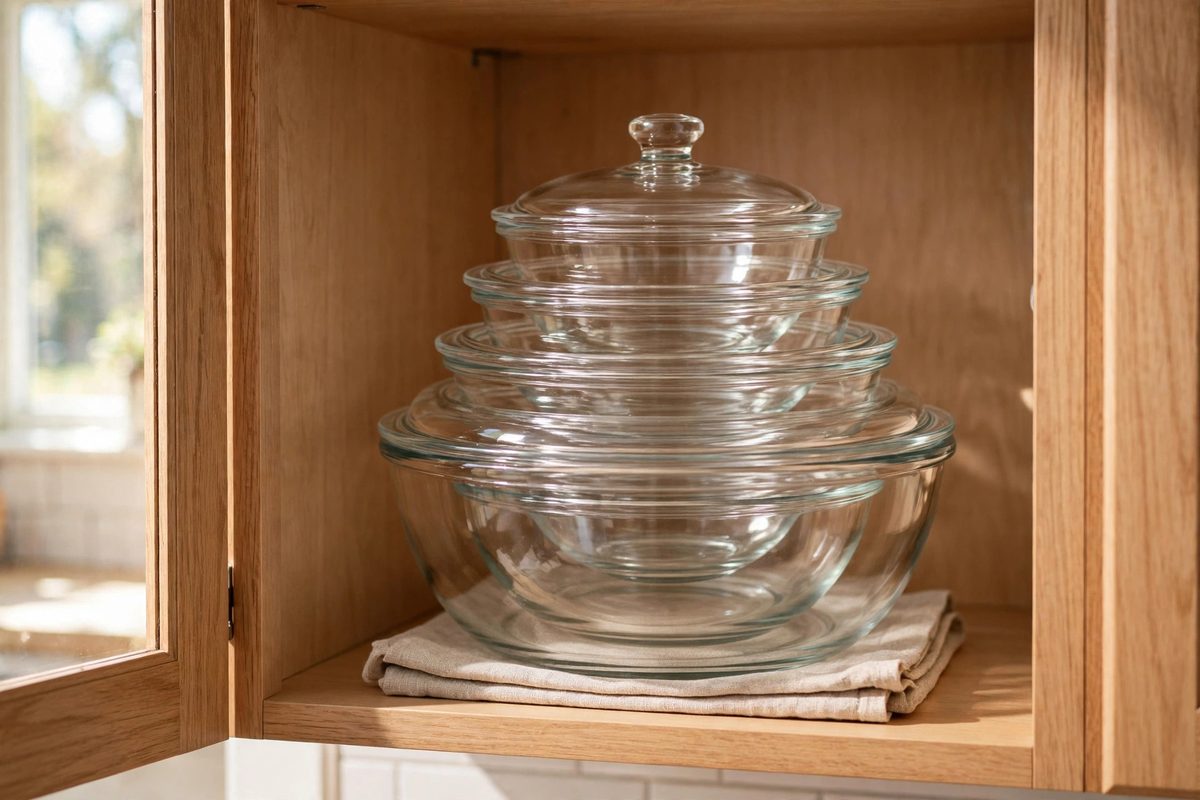
Nesting bowls, where each bowl fits inside the next larger one, use a fraction of the space of separate containers. A nesting set of four to five bowls with lids costs 30 to 60 dollars and replaces a whole shelf of mismatched containers.
Glass nesting bowls are heavier but more versatile, since they go from mixing to storage to serving. Plastic nesting sets are lighter and cheaper, but they scratch and stain faster. Either way, the nesting design is what saves space.
How to make it work
Store nesting bowls with their lids stacked separately in a file, since lids do not nest the same way bowls do. Keep the nesting set in the most accessible cabinet, since it will be the set you reach for most. If a bowl in the set cracks, replace the set, not just the bowl, since a mismatched replacement breaks the nesting.
7. A Deep Pull Out Bin
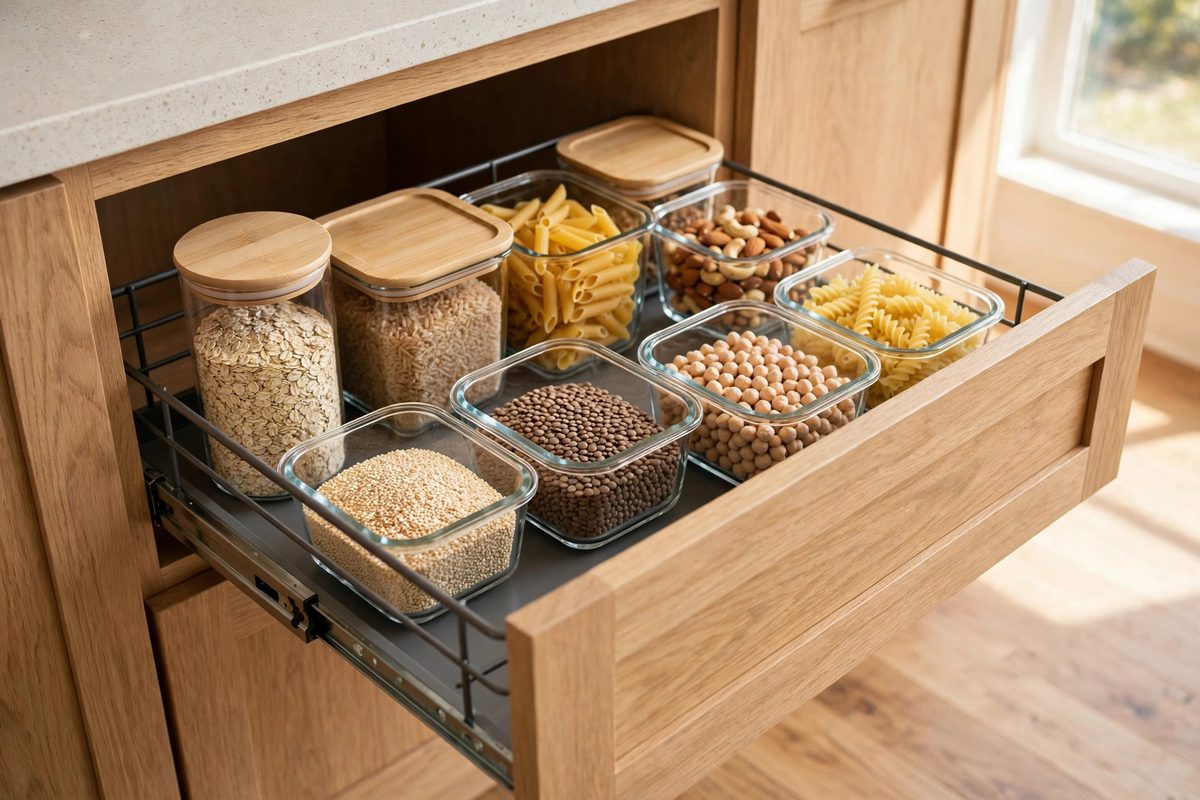
A pull out bin in a lower cabinet turns a deep, dark cabinet into accessible storage. Instead of reaching to the back of a cabinet and knocking over stacks, you pull the bin out and see everything from above.
Pull out bins cost 25 to 60 dollars, and many install with screws into the cabinet base. Choose a bin that is at least 10 inches deep and 12 inches wide, so standard containers fit without turning sideways. This is especially useful in corner cabinets, where the back is otherwise unreachable.
How to make it work
Sort containers by size inside the bin, using small dividers or a second smaller bin inside the main one for lids. Do not overfill the bin, since a bin that is too full will not slide smoothly. If you rent, a freestanding bin that sits in the cabinet without installation gives most of the same benefit.
8. A Fridge Zone for Active Containers
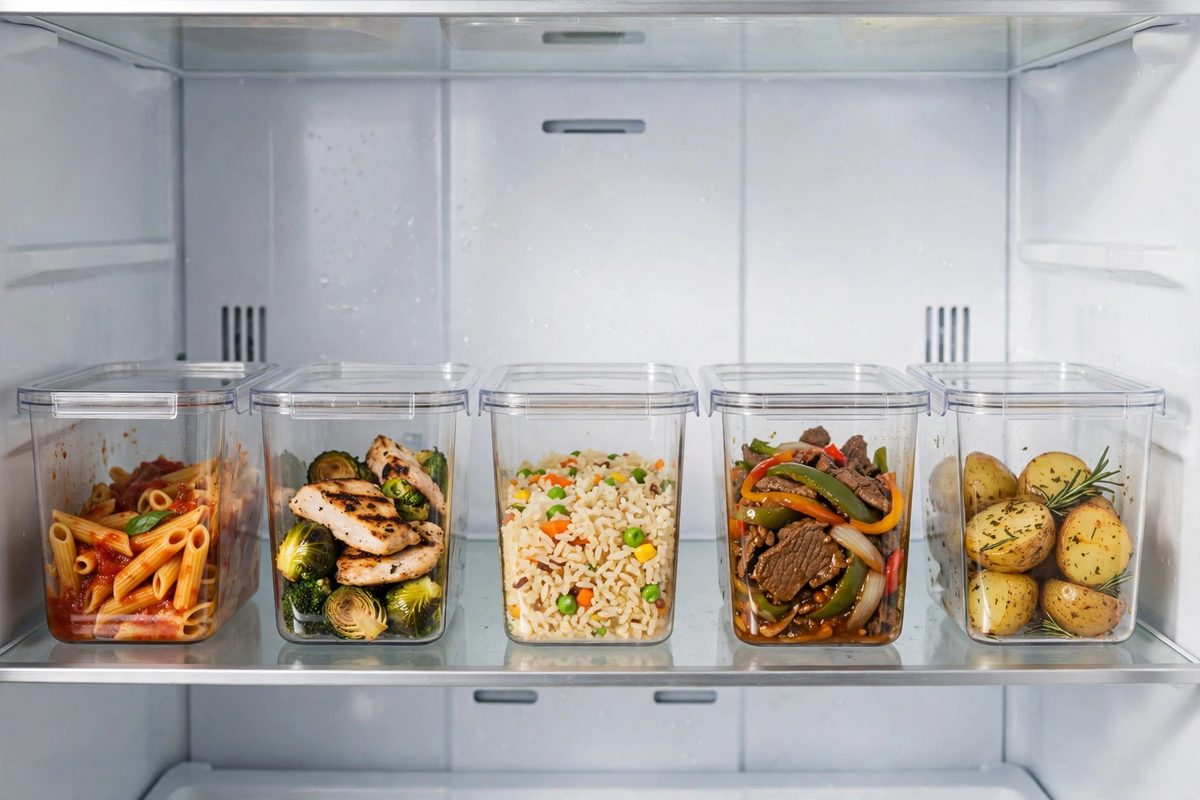
Not all containers live in a cabinet. The containers in active use, leftovers from this week, meal prep for tomorrow, live in the fridge, and they need a zone there too. Dedicate one fridge shelf or one fridge bin to active containers, so they do not spread across every shelf.
A fridge bin costs 10 to 20 dollars and keeps containers corralled. Use clear containers or label opaque ones, since you cannot eat what you cannot see, and forgotten leftovers are the main source of container clutter.
How to make it work
Put new leftovers at the back and older ones at the front, so the oldest gets eaten first. Clear the fridge zone once a week, on the same day you do a container audit, and discard anything past its safe date. Return empty containers to the cabinet the same day, so the fridge zone never becomes a second storage cabinet.
9. The One In, One Out Rule
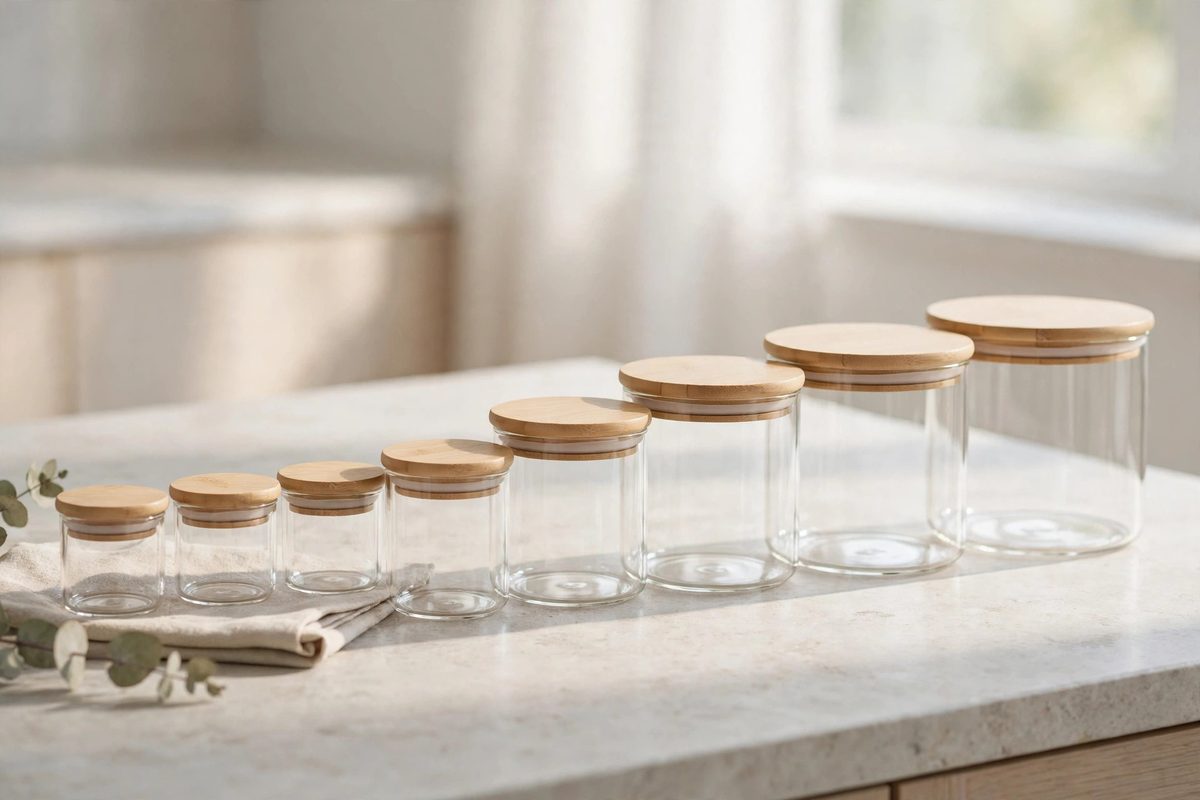
No organizer survives a collection that keeps growing. A one in, one out rule means that when a new container arrives, an old one leaves. This is especially important for free containers from takeout and deli counters, which are the main source of container creep.
Apply the rule strictly for a month and the collection will stabilize at a size your cabinets can actually hold. Most households find that 12 to 16 containers, in three sizes, cover every real need.
How to make it work
Keep a small bag or box in the kitchen for outgoing containers, and drop the old one in the moment a new one arrives, not later. Donate usable containers and recycle damaged ones. Count the collection once a season: if it is over 20 containers, it is time for another audit.
10. A Kids Snack Station
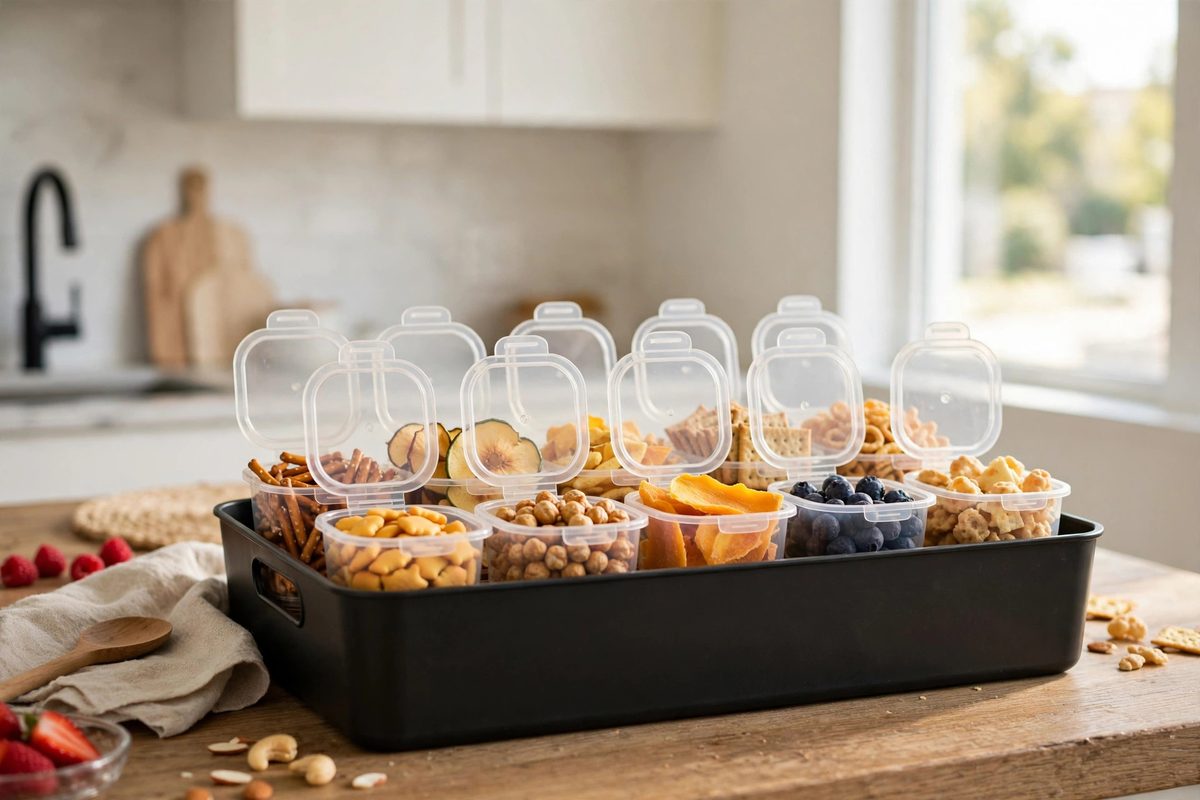
If kids use the kitchen, a dedicated snack station prevents the whole container system from being disturbed daily. A small bin or a low drawer holds pre portioned snacks in small containers, so kids can grab one without opening every cabinet and pulling out every lid.
A snack station bin costs 10 to 20 dollars. Use small, easy to open containers, 8 to 12 ounces, and refill the station once or twice a week, rather than letting kids choose from the full container collection each time.
How to make it work
Place the snack station at a height kids can reach safely, and keep it to snacks only, not full meals. Label the bin clearly, so other household members do not borrow snack containers for leftovers. Restock on a fixed day, like Sunday, so the station is ready for the school week.
Food container storage stops being frustrating when lids and containers each have their own system and the collection stays at a size the kitchen can hold. Separate them, label the sizes, and let the one in, one out rule keep the avalanche from coming back.