9 Small Kitchen Appliance Storage Ideas That Get Appliances Off the Counter
9 small kitchen appliance storage ideas that clear the counter, from appliance garages to rolling carts, with sizes, costs, and outlet tips.
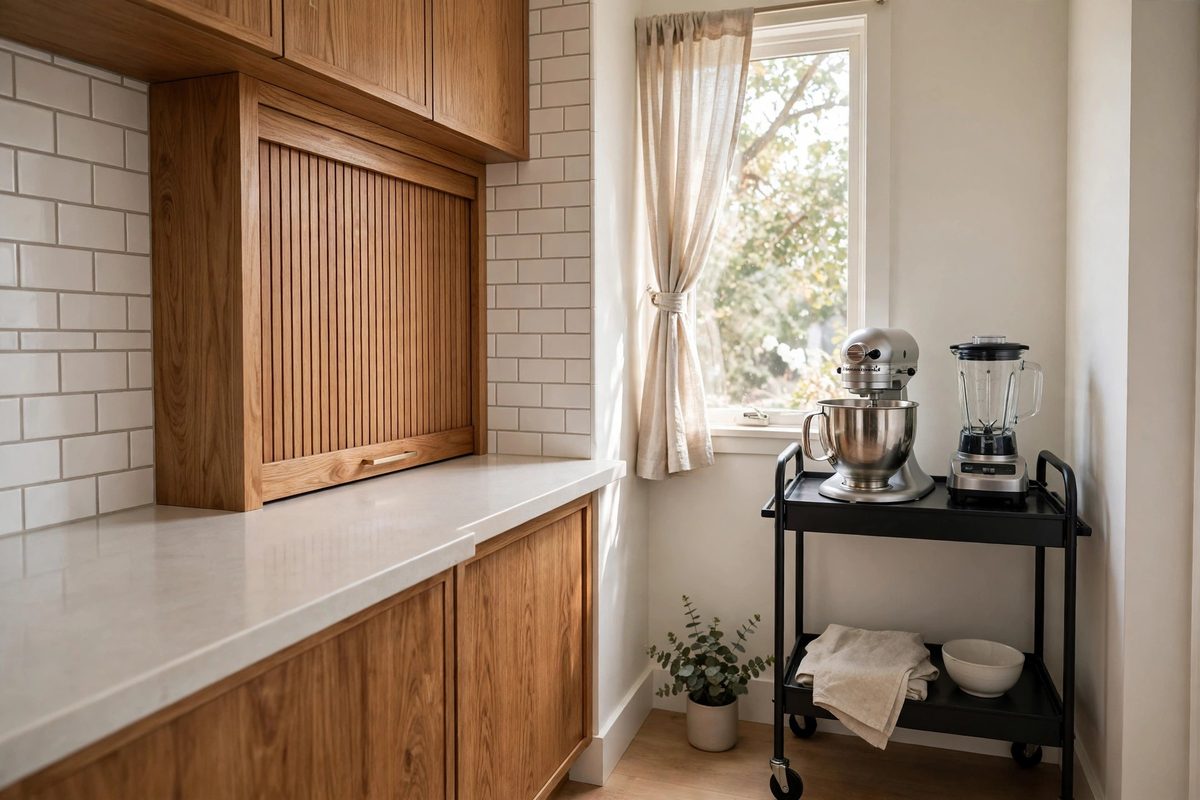
Tidy small kitchen with clear counters, an appliance garage cabinet, and a rolling cart holding a mixer and blender
In This Guide
A small kitchen counter disappears fast. A coffee maker, a toaster, a blender, and a stand mixer can eat 6 feet of counter before you have room to chop a single onion. The goal is not to own fewer appliances, although that helps. It is to give each appliance a home that is close enough to use and far enough away to leave you actual workspace.
Start by sorting your appliances into three groups: daily, weekly, and rarely. Daily appliances, usually coffee maker and toaster, deserve a spot you can reach without moving anything. Weekly appliances, like a blender or food processor, can live in a cabinet or on a cart. Rarely used appliances, like a waffle maker or ice cream maker, belong on a high shelf or in another room. Most counter clutter comes from treating all three groups the same.
The ideas below cover all three groups, and they pair with the hallway ideas in narrow hallway wall decor ideas and the holiday styling in red Christmas tree ideas for small apartments.
1. The Appliance Garage
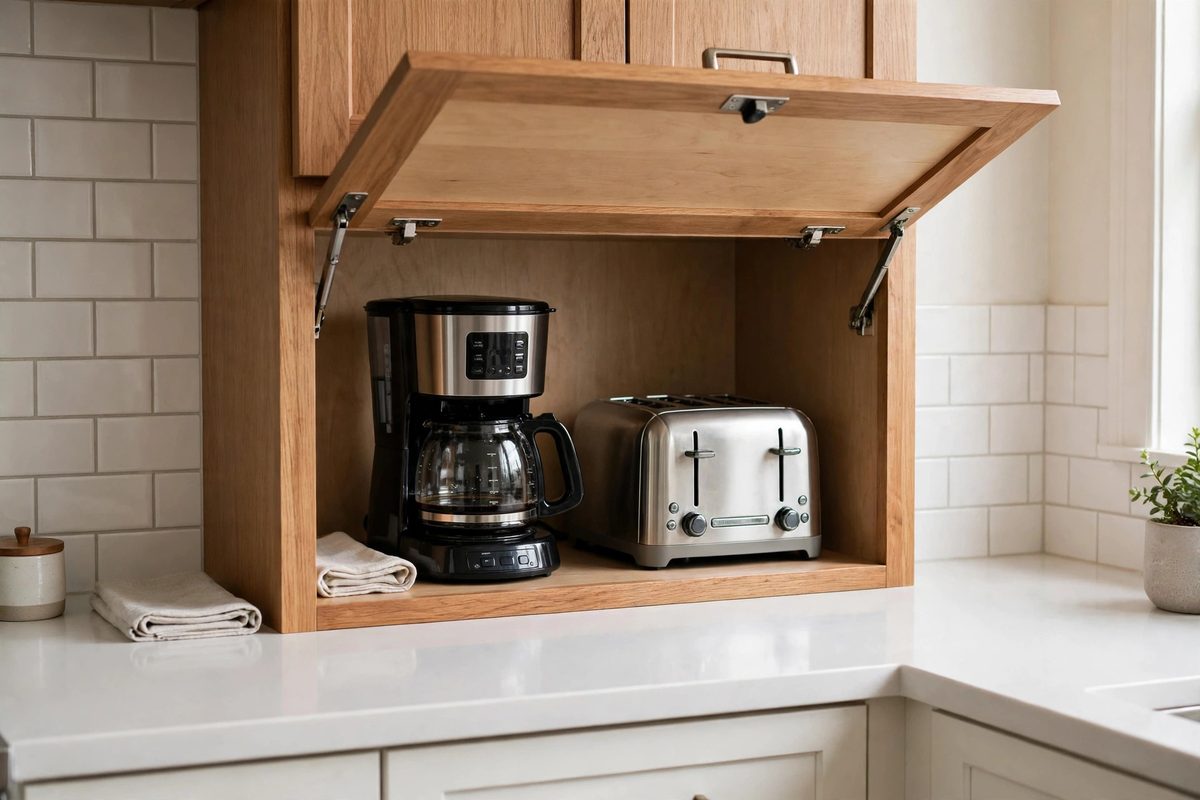
An appliance garage is a countertop cabinet with a roll up or lift up door that hides daily appliances in plain sight. You open the door, use the coffee maker, and close it again, so the counter looks clear even though nothing moved. A standard garage is 24 to 36 inches wide and 18 inches tall, which fits a coffee maker and a toaster side by side.
Retrofit garages cost 80 to 200 dollars and sit on the counter, while built in versions are a cabinetry project. The retrofit version is the renter friendly choice, and it needs no installation beyond plugging in the appliances inside.
How to make it work
Put an outlet inside or directly behind the garage, or use a short power strip rated for kitchen use, and never run cords across a wet counter. Leave at least 2 inches of clearance above a coffee maker for steam, and choose a garage with ventilation slots if your machine runs hot. Measure your tallest appliance before buying, since a garage that is an inch too short is useless.
2. The Rolling Kitchen Cart
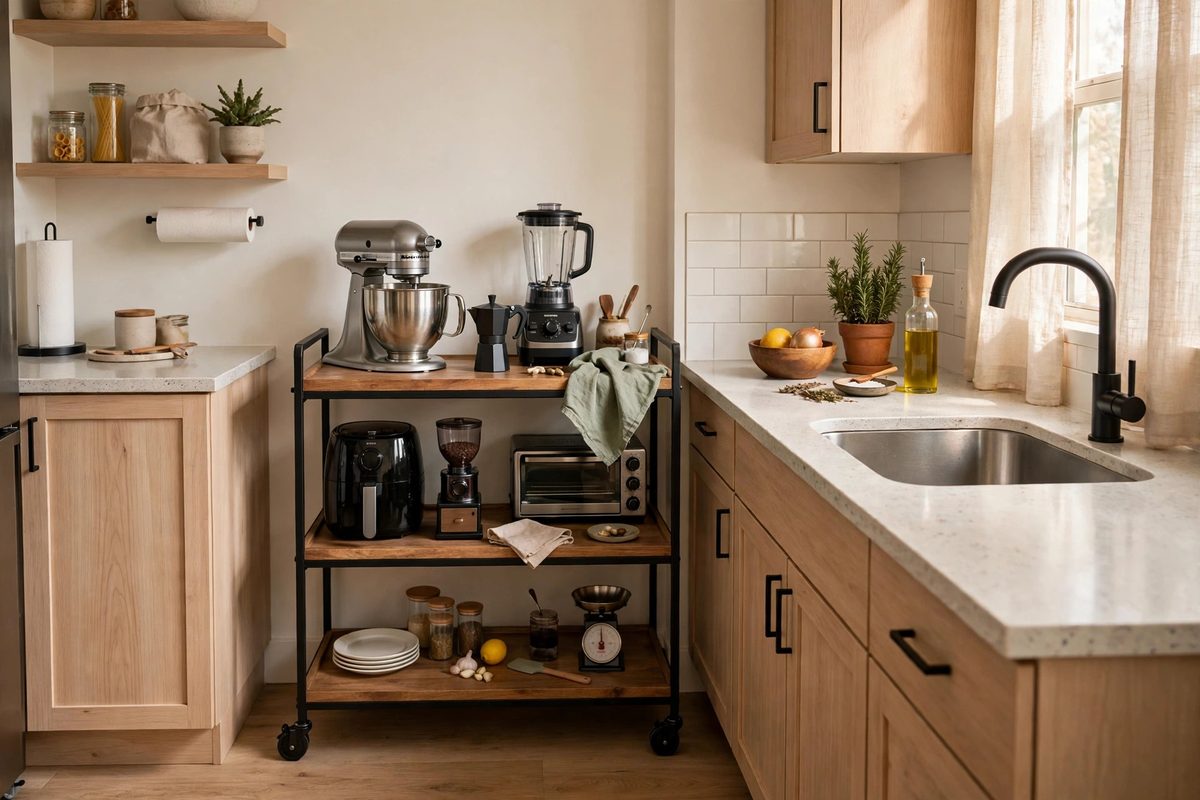
A rolling cart, 24 by 18 inches with two or three shelves, holds a stand mixer on the bottom shelf, a blender in the middle, and lighter items on top. When you need an appliance, you roll the cart to the counter. When you do not, you roll it into a corner, beside the fridge, or into a pantry closet.
Carts cost 40 to 120 dollars, and the best ones for appliances have a weight capacity of at least 50 pounds per shelf and locking casters. A cart without locks will drift across a kitchen floor every time you lean on it.
How to make it work
Put the heaviest appliance on the lowest shelf to keep the cart stable, and lock the casters before you use anything on it. If the cart lives beside the fridge, measure the gap first, since a cart that is a half inch too wide will live in the hallway instead. Add a small power strip to the cart if you want to use appliances on it without unplugging them.
3. The Deep Drawer With an Outlet
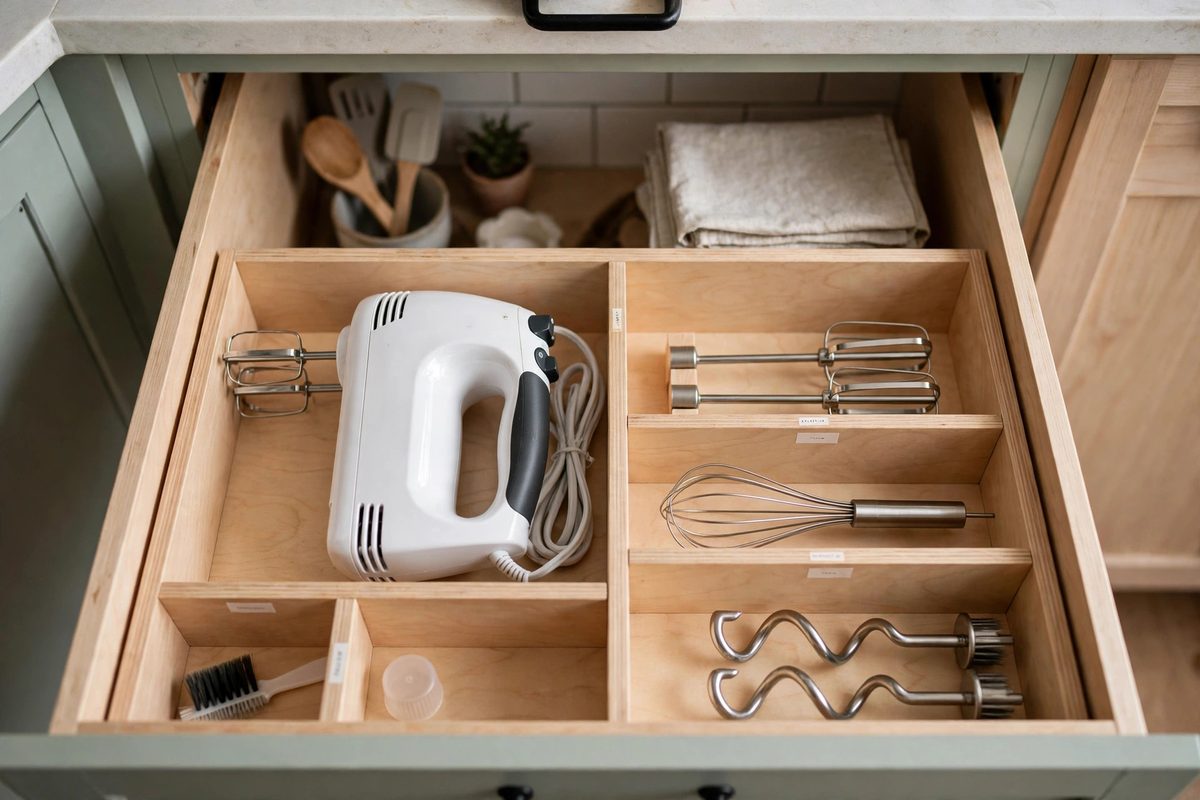
A deep drawer, 10 to 12 inches tall, can hold a hand mixer, a small food processor, and their attachments in one place, and a drawer outlet lets you use a small appliance without lifting it out. Drawer outlets are a small electrical job, typically 150 to 300 dollars installed, and they are one of the highest impact upgrades in a small kitchen.
This idea works best for flat or compact appliances. A tall blender will not fit in most drawers, so reserve this spot for the hand mixer, immersion blender, and waffle maker, and store taller items elsewhere.
How to make it work
Use drawer dividers or a custom insert so attachments do not slide around and jam the drawer. Keep the cord short and route it through the outlet’s cord channel, never pinched under the drawer. If you rent, skip the wired outlet and use the drawer for storage only, charging nothing inside it.
4. The Over Fridge Cabinet, Used Properly
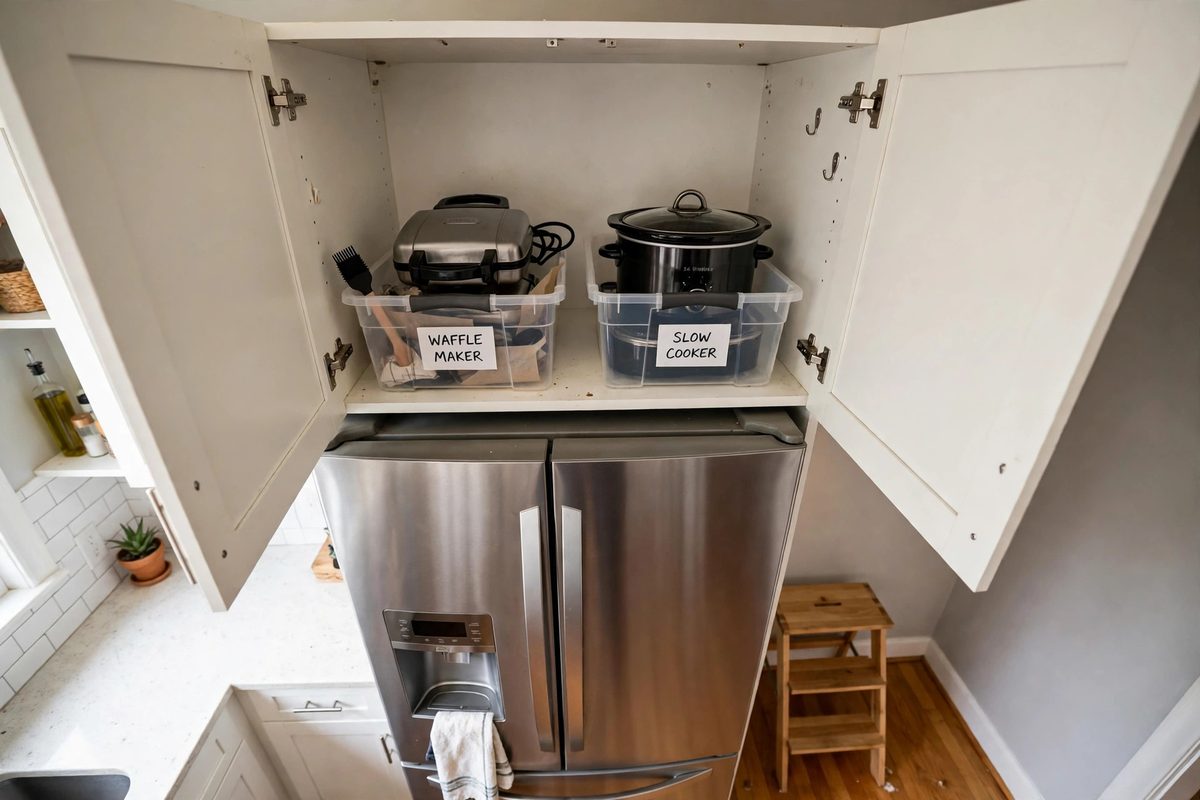
The cabinet above the fridge is the most wasted space in a small kitchen, and it is perfect for rarely used appliances. A waffle maker, a slow cooker, or a bread machine can live there in a labeled bin, out of the daily path but still in the kitchen.
The mistake is stacking appliances loosely, so retrieving one means pulling out three. Use one bin per appliance, or one large bin with a handle, so you can pull the whole bin down at once. A small step stool kept nearby makes this spot actually usable instead of a place things go to be forgotten.
How to make it work
Measure the cabinet height and depth before buying bins, since over fridge cabinets are often only 12 inches deep. Label each bin on the front edge, and put a note on your phone or inside a cabinet door listing what lives up there. If you cannot reach the cabinet safely without a stool, this spot is for seasonal appliances only, not weekly ones.
5. The Pantry Shelf Appliance Zone
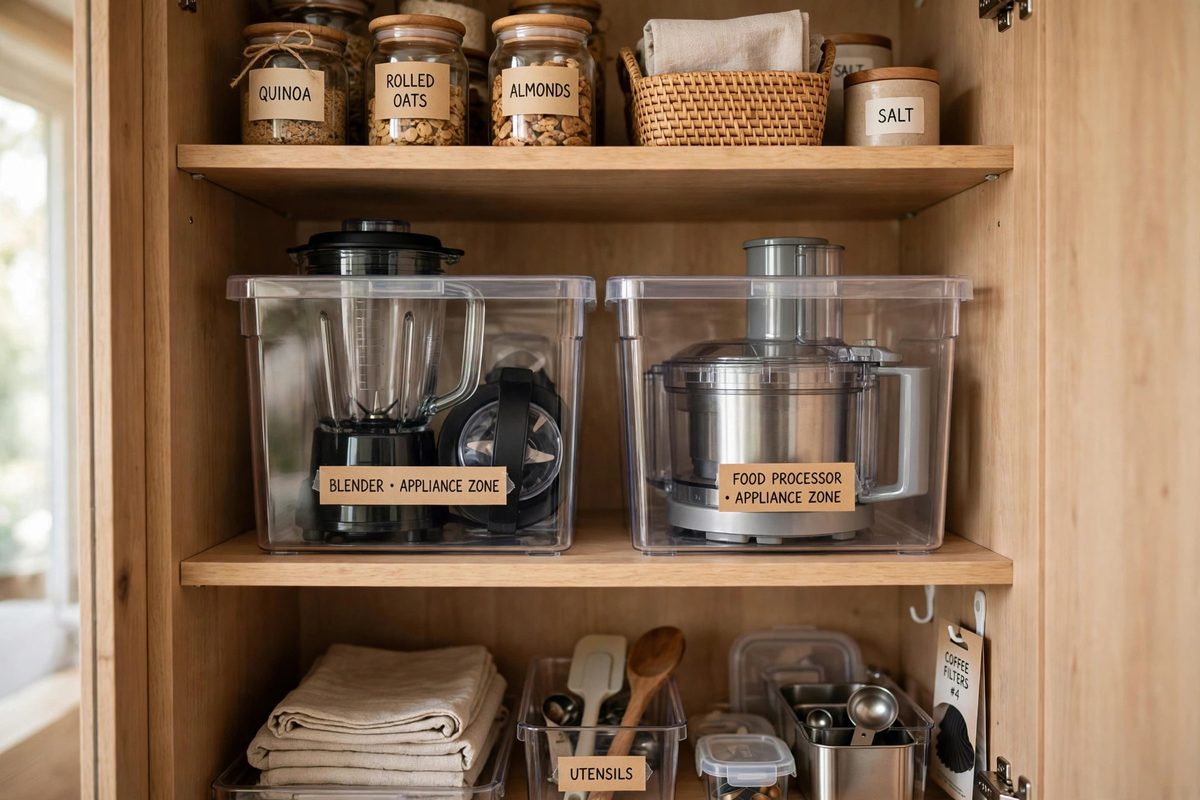
If you have even a small pantry, even a single tall cabinet, dedicate one shelf to appliances and treat it like a zone, not a dumping ground. Put weekly appliances at eye level, daily ones only if the pantry is right beside the counter, and rarely used ones on the top or bottom shelf.
A shelf 15 to 18 inches tall fits most blenders and food processors. If your pantry shelves are fixed and too short, a shelf riser or a small stacking shelf can create a second level for attachments and lids. For more pantry thinking, see small kitchen storage ideas.
How to make it work
Store each appliance with its attachments in the same spot, ideally in a clear bin or on a small tray, so you do not hunt for a blade in a different cabinet. Put a non slip liner on the shelf so heavy appliances do not slide when you pull one out. Keep the heaviest appliance at waist height, not overhead, to protect your back.
6. The Wall Mounted Shelf for Light Appliances
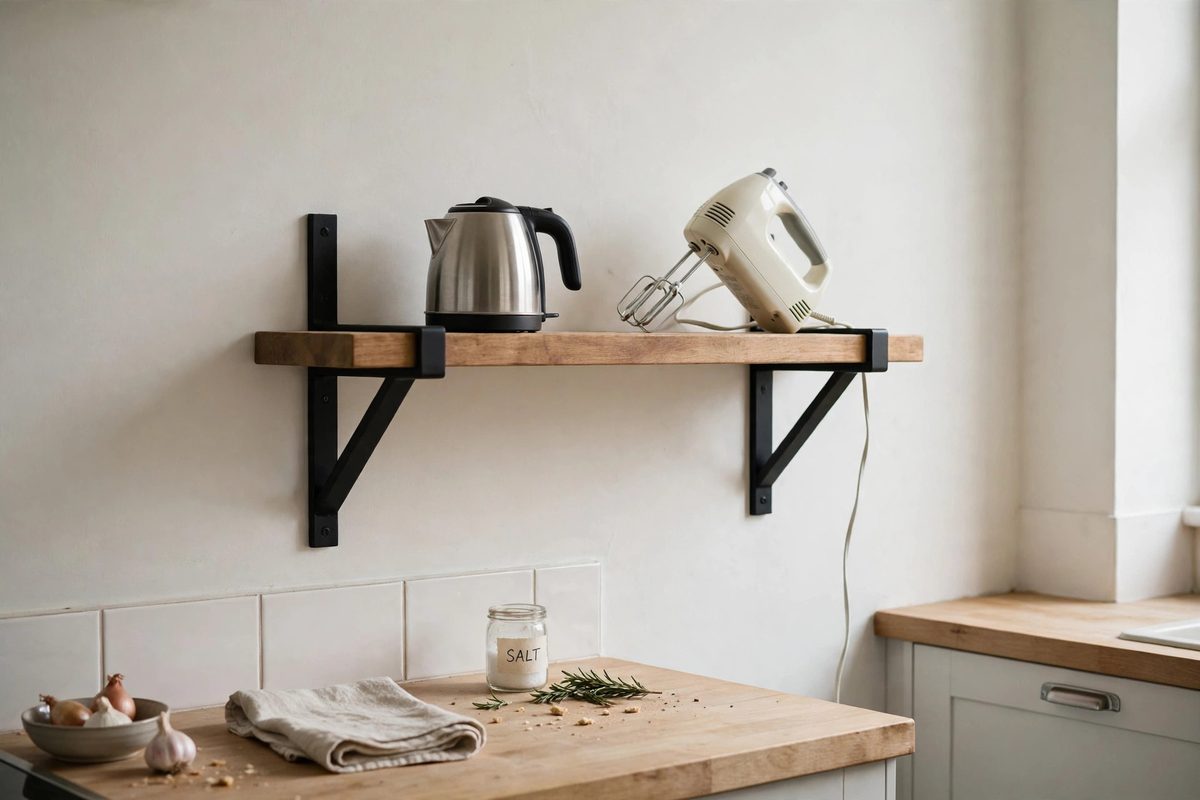
A sturdy wall shelf, 24 to 36 inches long, can hold a toaster oven alternative, a small kettle, or a hand mixer station above a counter or beside the fridge. This frees counter space without hiding the appliance in a cabinet you have to open.
Wall shelves only work for light appliances, under 15 pounds each, and they must be anchored into studs or with heavy duty wall anchors rated for the load. A shelf that pulls out of drywall under a toaster oven is a safety problem, not a storage solution.
How to make it work
Mount the shelf at a height where you can lift the appliance down safely, usually 54 to 60 inches from the floor for most adults. Keep the shelf clear of the stove and sink splash zone. If you rent, use a tension pole shelf or a freestanding shelf unit instead of drilling, and check your lease before mounting anything.
7. The Under Cabinet Appliance Lift
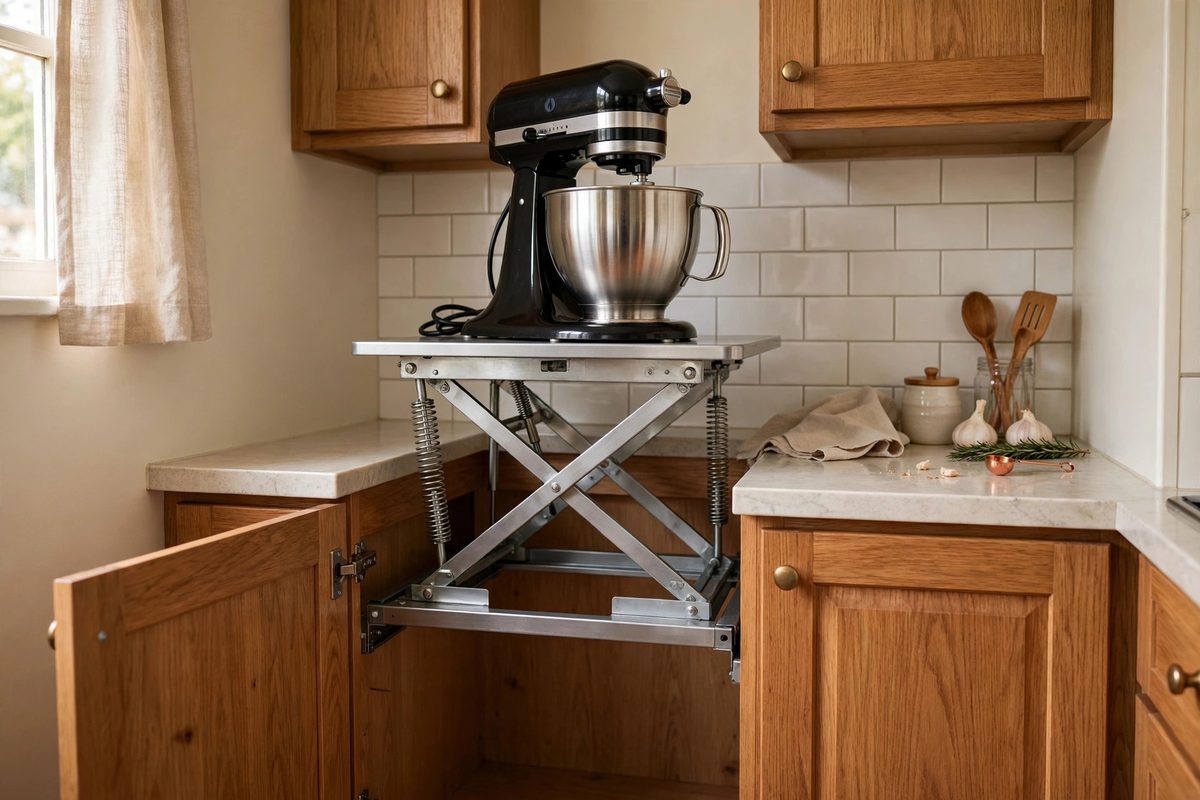
An appliance lift is a spring loaded shelf inside a base cabinet that raises a heavy stand mixer to counter height with a pull, then drops it back down out of sight. It solves the stand mixer problem completely: the mixer is usable in seconds, but it never lives on the counter.
Lifts cost 60 to 150 dollars plus installation, and they need a base cabinet at least 15 inches wide and 21 inches deep. They are a homeowner project, not a renter one, since installation involves screwing into the cabinet.
How to make it work
Check your mixer height against the cabinet opening, since some tall mixers with a raised head need extra clearance. Keep the lift shelf clear of other items, or the mechanism will jam. If your cabinet has a fixed shelf, you may need to remove it, so plan for where those items will go first.
8. The Breakfast Station Tray
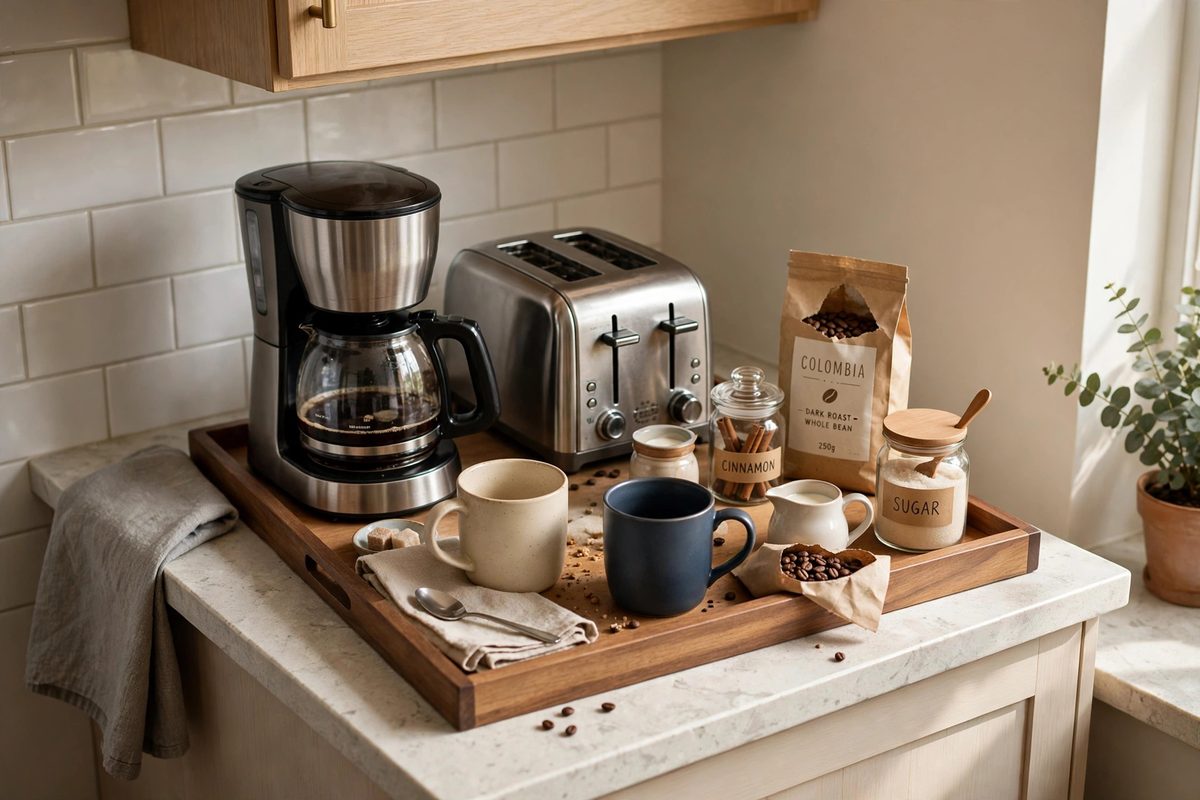
A breakfast station is a single tray or small cabinet zone that holds the coffee maker, toaster, mugs, and coffee supplies together. It does not remove appliances from the counter, but it contains them to one 24 inch zone instead of letting them spread across the whole counter.
This is the best option if you use the same two appliances every morning and do not want to move them daily. A tray with a lip keeps crumbs and drips contained, and a small basket beside it holds filters, pods, or tea bags.
How to make it work
Choose a tray that fits your two appliances with an inch to spare on each side, and put a heat resistant mat under the coffee maker. Run both cords to a single outlet with a short power strip, and keep the strip off the counter surface where spills pool. Wipe the tray weekly, since coffee drips build up fast.
9. The One In, One Out Rule
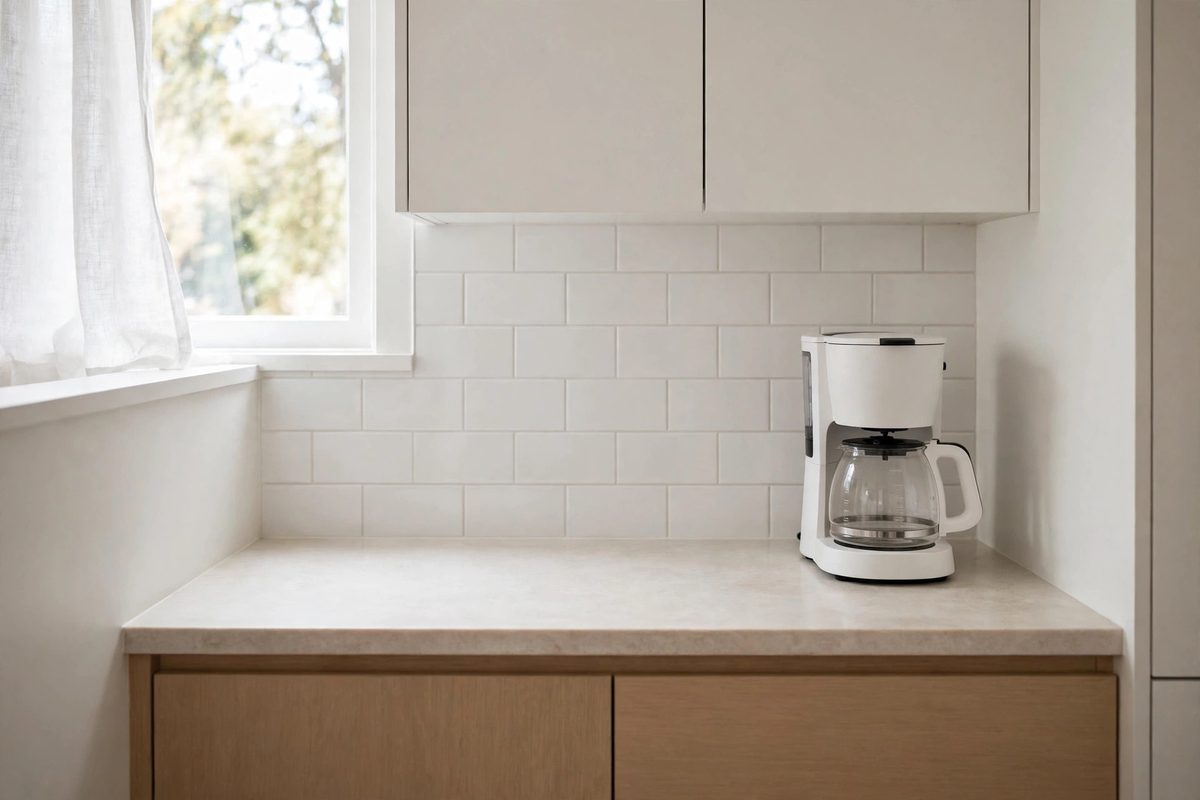
The cheapest storage idea is a rule, not a product: for every new appliance that enters the kitchen, one leaves, whether it is donated, stored elsewhere, or sold. Small kitchens cannot absorb unlimited appliances, and a rule stops the slow creep that fills counters over years.
Apply the rule honestly. If you buy an air fryer, the toaster oven it replaces goes. If you buy a fancy blender, the old one goes. Keep a donation box in a closet for the outgoing appliance so it actually leaves instead of migrating to another counter.
How to make it work
Do a yearly appliance audit: pull everything out, note what you used in the last 90 days, and store or donate the rest. Keep a list on the fridge of what you own and where it lives, so you do not buy a duplicate. If an appliance has not been used in a year, it is not a kitchen appliance, it is storage, and it belongs in another room or a new home.
Clear counters are not about minimalism for its own sake. They are about having room to cook, which is the whole point of a kitchen. Pick the two or three ideas that fit your appliances and your lease, and give every machine a home that is not the counter.