9 Warm Wood Kitchen Ideas for Small Apartments
9 warm wood kitchen ideas for small apartments: butcher block counters, open wood shelving, mixed wood tones, and care tips that keep wood beautiful.
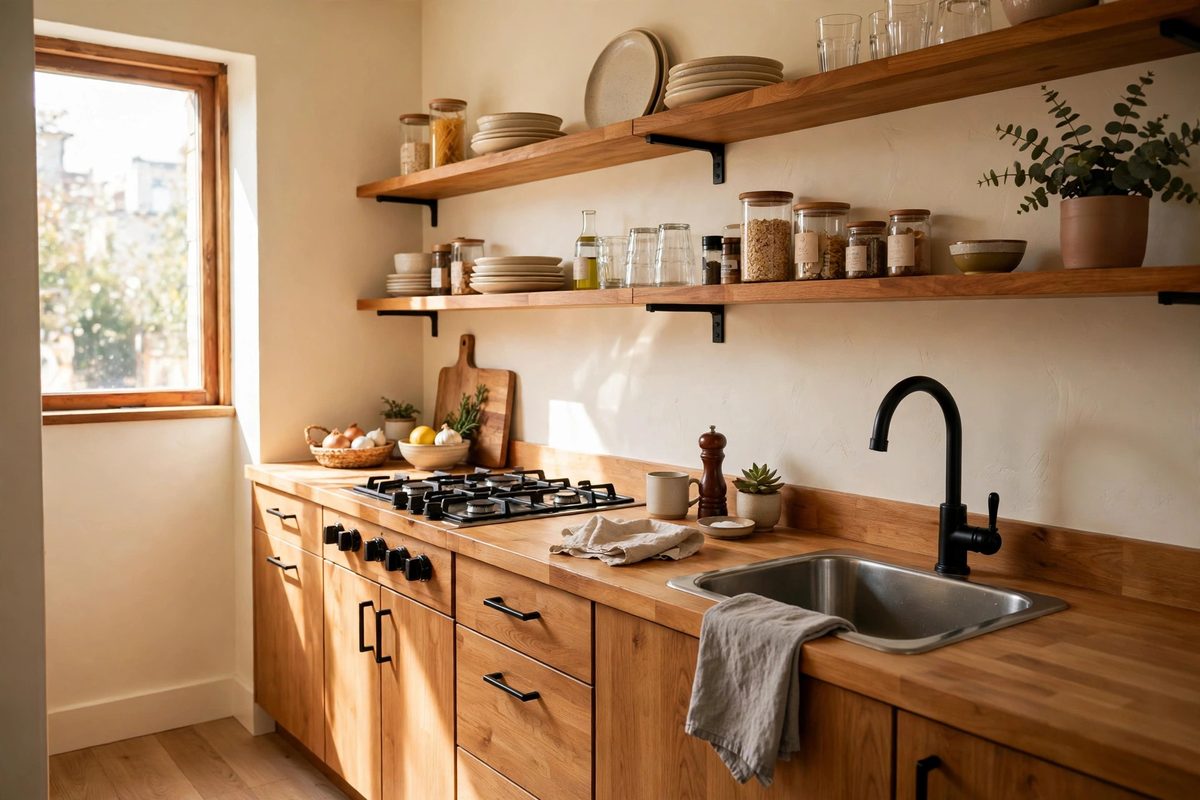
Small apartment kitchen with warm wood counters, open wood shelving, cream walls, and black hardware
In This Guide
Warm wood makes a small kitchen feel inviting in a way that white and stainless alone rarely do. Oak, walnut, and butcher block add color, texture, and a sense of craft, and they pair with almost any wall color. The challenge is balance: too much dark wood in a small kitchen can feel heavy, and too many different wood tones can look accidental.
The solution is to treat wood as a palette, not a single material. Pick a dominant warm tone, add one supporting tone, and keep walls and counters light enough that the wood reads as warmth, not weight.
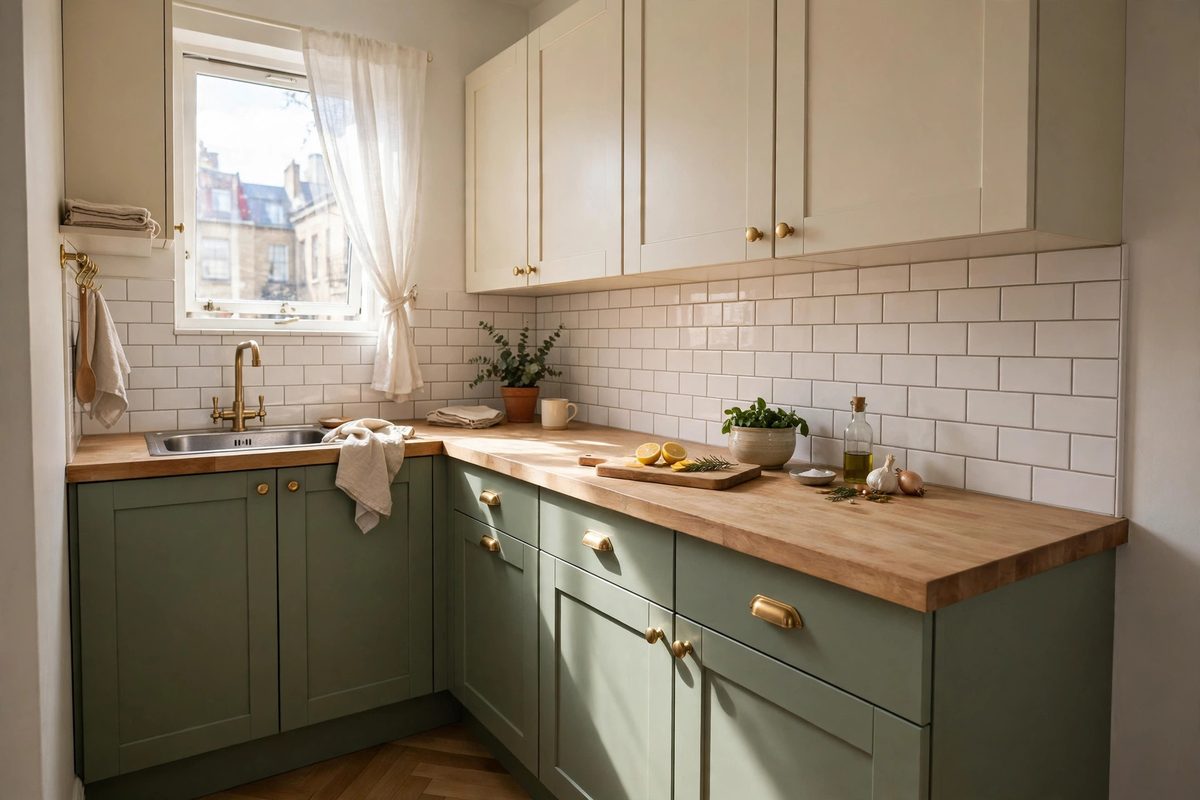
These ideas work for renters too, since many warm wood looks come from freestanding pieces, shelving, and accessories rather than permanent cabinets. They pair with the soft color story in sage green and cream kitchen ideas and the removable floor and surface upgrades in renter-friendly temporary flooring ideas. For cart and island alternatives, see small kitchen cart ideas.
1. Butcher Block Counters That Warm Everything
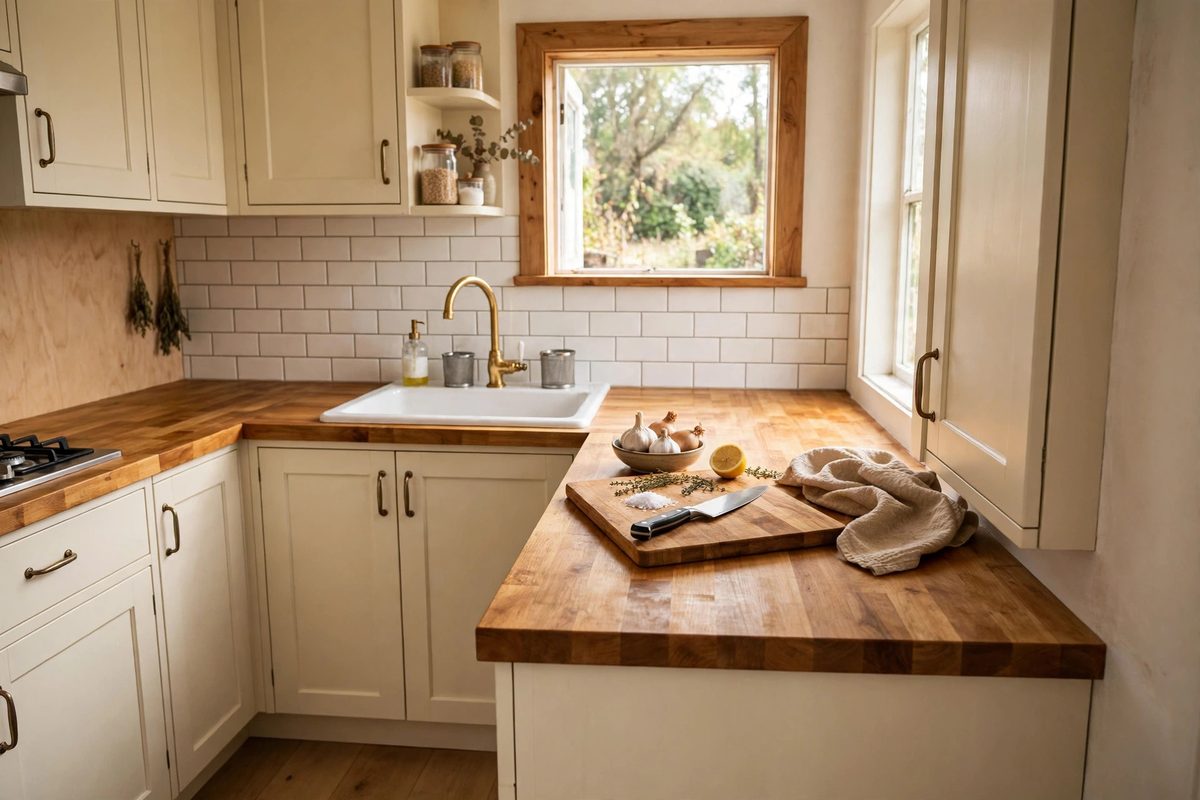
Butcher block counters are the fastest way to warm a cold kitchen. They add instant color and a work surface you can chop on, and they cost 30 to 60 dollars per square foot, far less than stone. In a small kitchen, a single run of butcher block, even just beside the stove, changes the whole room’s temperature.
Butcher block needs care near water. Seal it before use and re-oil every two to three months, more often around the sink. That maintenance is simple, about 20 minutes, and it keeps the wood looking rich instead of dry and gray.
How to make it work
Choose a medium warm tone, like natural oak or maple, rather than very dark walnut in a small, low-light kitchen. Seal with food-safe oil or hardwax oil, and use trivets under hot pans, since heat marks are harder to remove than knife marks. Sand and re-oil once a year for a like-new surface.
2. Open Wood Shelving Instead of Uppers
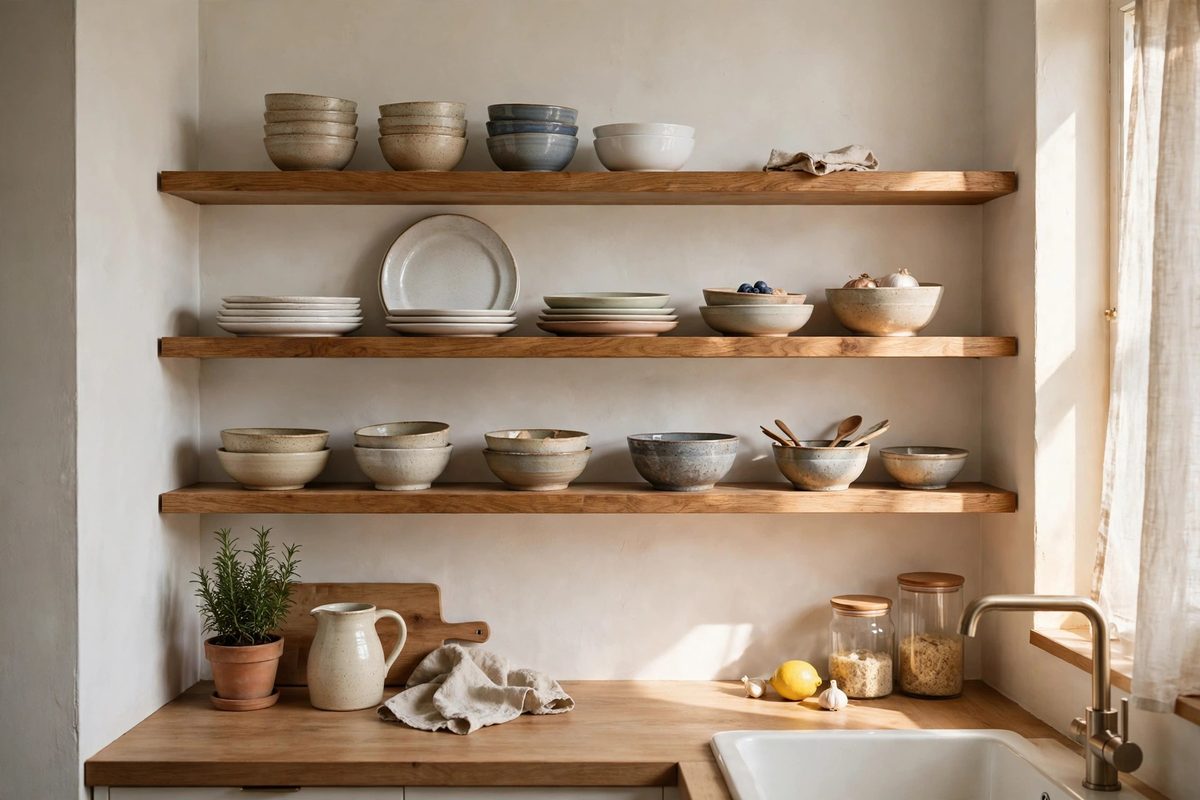
Replacing one run of upper cabinets with open wood shelves lightens a small kitchen visually while adding warm wood at eye level. The shelves hold daily dishes and look intentional, while the wall behind them keeps the room feeling open.
This swap suits renters only with landlord permission, since it involves removing cabinets. A renter-friendly alternative is adding a freestanding wood shelf unit against a wall, which gives the same look without touching cabinets.
How to make it work
Use solid wood shelves at least 1 inch thick so they do not sag under dishes, with brackets rated for 25 pounds or more per shelf. Mount shelves 18 to 20 inches above the counter. Keep the display to dishes you use weekly, and leave breathing room on each shelf so the wood itself stays visible.
3. Warm Wood Floors, Light Walls
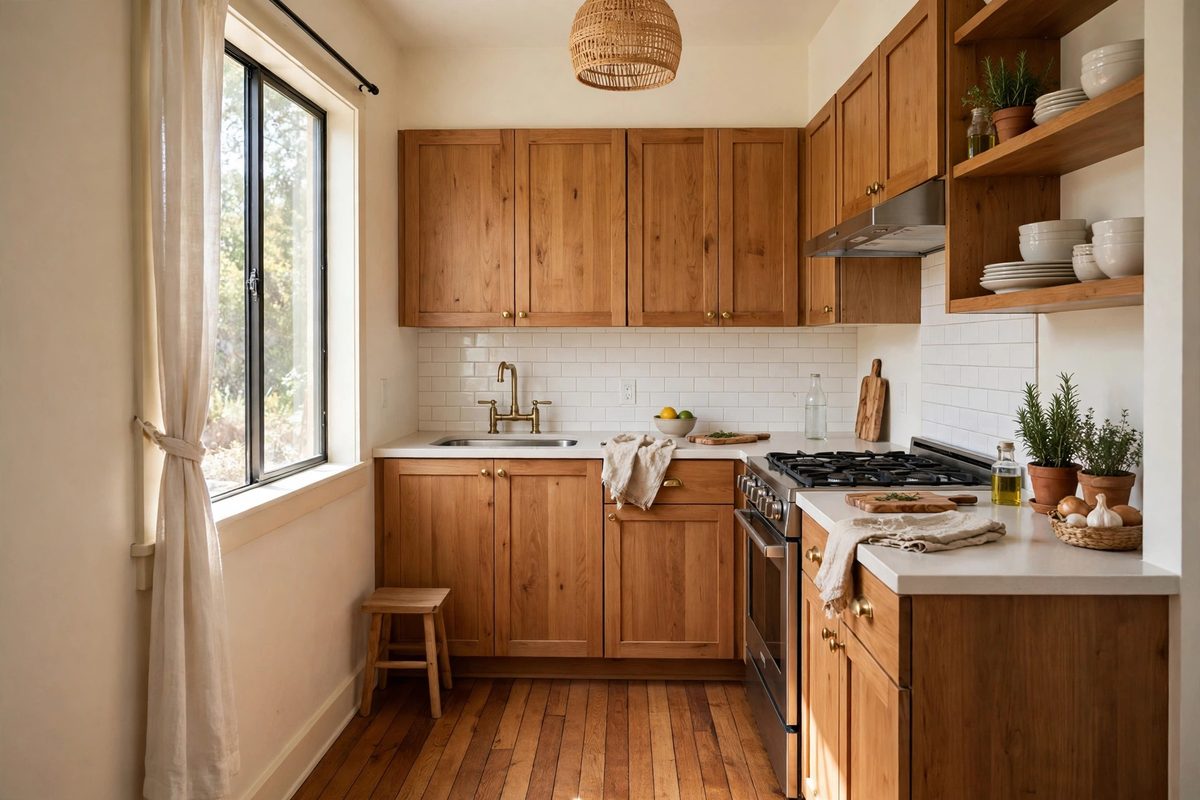
Warm wood floors anchor a kitchen, but they need light walls to avoid closing in a small room. Cream, soft white, or pale sage walls reflect light and let the floor be the warm element, rather than competing with dark walls.
Renters with cold tile or vinyl floors can layer warmth with wood-look peel-and-stick planks or large wood-toned rugs in the main walkway, without changing the actual floor.
How to make it work
If your floor is already warm wood, keep wall color light and avoid dark upper cabinets. If you are adding wood-look flooring, run planks lengthwise toward the main light source, usually the window, so the room feels longer. Clean wood floors with a damp, not wet, mop to protect the finish.
4. Wooden Cutting Boards as Decor
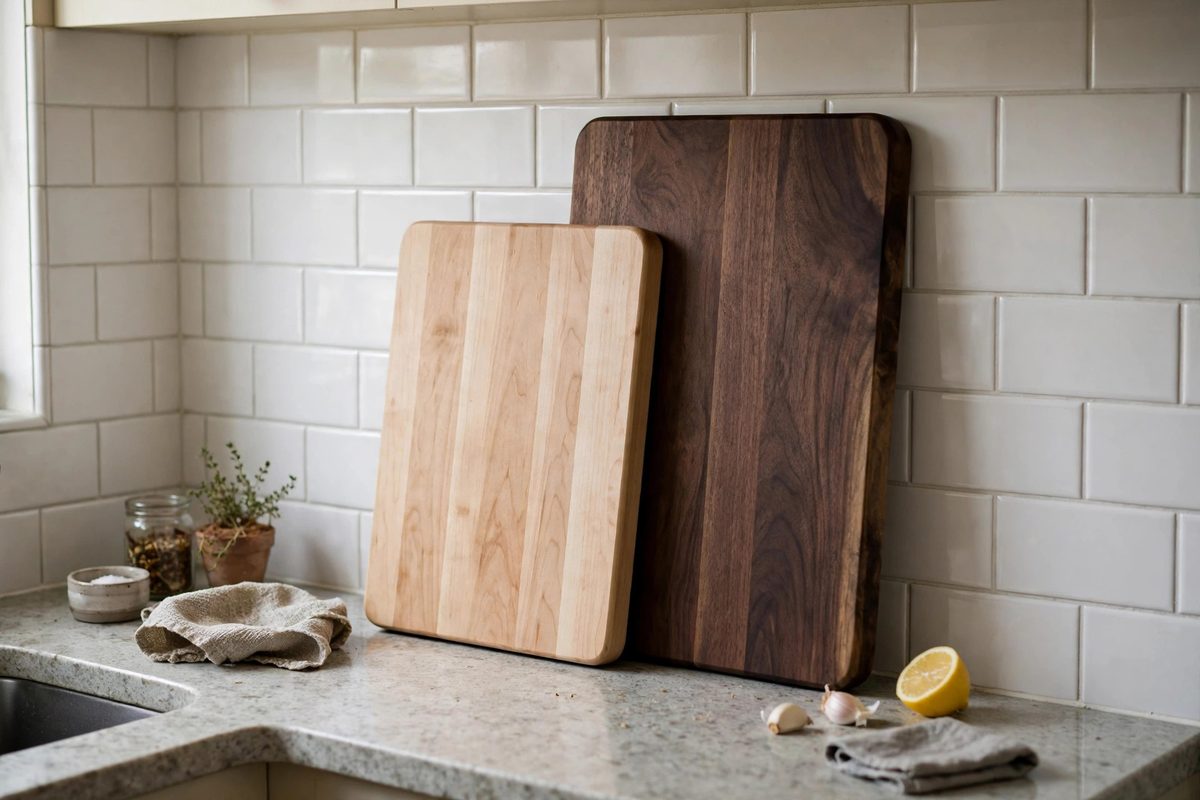
Wooden cutting boards are working decor: useful, beautiful, and easy to display. Lean two or three boards of different sizes against the backsplash, and you have instant warm wood styling that costs nothing beyond boards you already own.
Vary the tones slightly, one light maple, one medium oak, one darker walnut, so the group looks collected rather than matched. Keep boards you use for raw meat separate and stored away from display boards.
How to make it work
Lean boards against the wall behind the prep area, tallest at the back, and secure them with a small rail or a non-slip mat so they do not slide. Oil display boards occasionally so they do not dry out and crack. Wash boards promptly after use and dry them upright, never flat in a damp stack.
5. A Wood Island or Cart for Prep Space
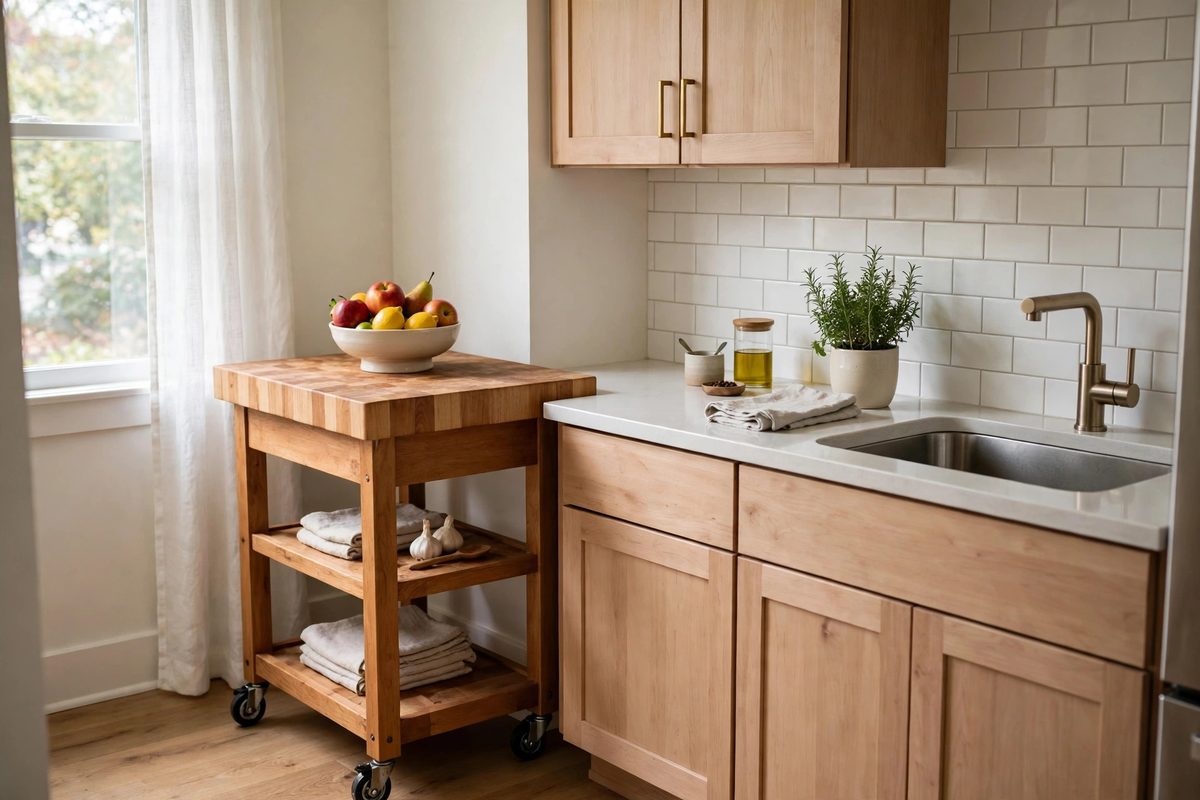
Small kitchens almost always need more prep space, and a wood island or cart adds both surface and warmth. A rolling cart, 24 to 36 inches wide, tucks against a wall when not in use and rolls out for cooking. A small butcher block island, about 30 by 24 inches, suits kitchens with at least 36 inches of walkway on each side.
Look for carts with a lower shelf for pots or a towel bar, which adds function without extra furniture. Locking casters keep the cart stable while you chop.
How to make it work
Measure walkways before buying; you need at least 36 inches of clear passage, 42 is better, around a cart or island. Choose a cart height close to counter height, 34 to 36 inches, so it works as real prep space. Keep the cart top mostly clear, with only a knife block or fruit bowl living on it permanently.
6. Mixing Wood Tones Without Clashing
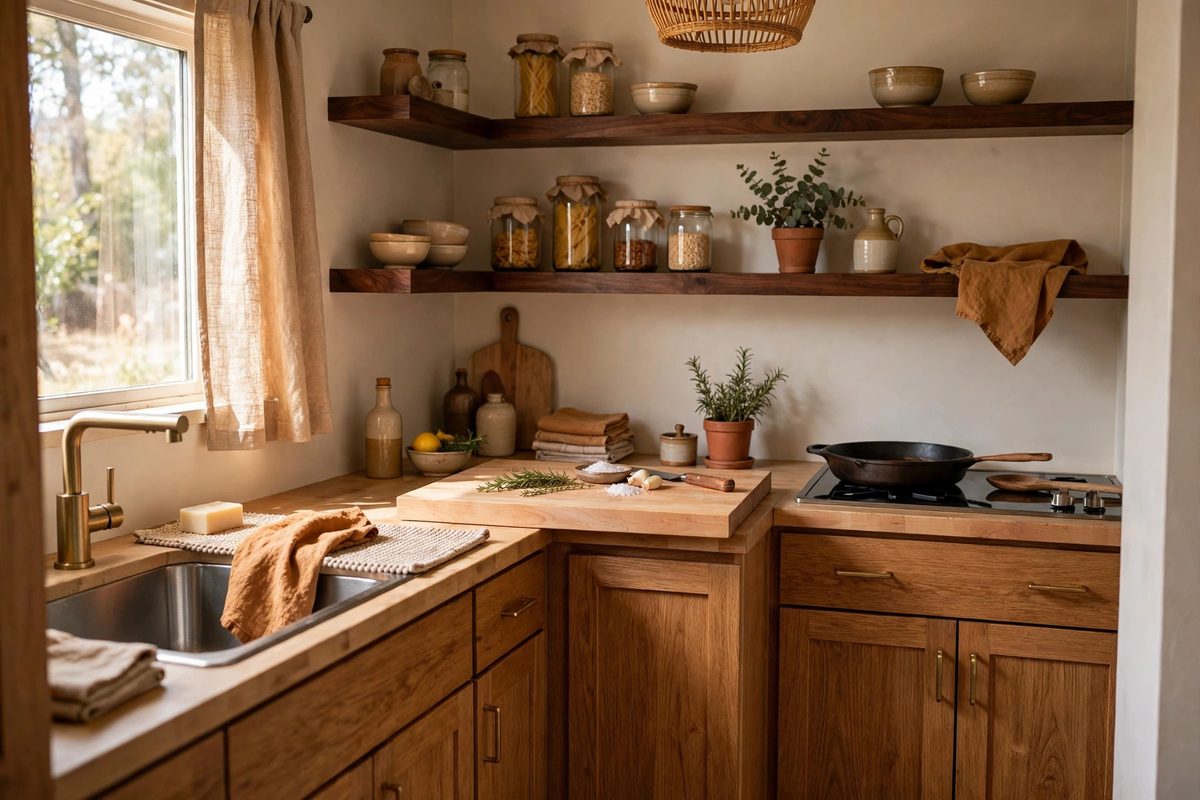
Most kitchens already mix wood tones, floors, cabinets, and furniture rarely match exactly. The trick is making the mix look deliberate: keep all tones warm, or all tones cool, and repeat each tone at least twice so no single piece looks like a mistake.
A warm oak floor, walnut shelves, and a maple cutting board can coexist if they all lean warm. A cool gray-washed floor next to orange oak cabinets will clash, no matter how nicely each is styled.
How to make it work
Gather small samples, a floor plank offcut, a cabinet door photo, a shelf sample, and compare them in daylight. If they all share a warm undertone, they will work together. Repeat the secondary tone in at least two places: walnut shelves plus a walnut-handled knife block, for example. If one tone refuses to blend, move that piece to another room.
7. Warm Wood and Black Hardware
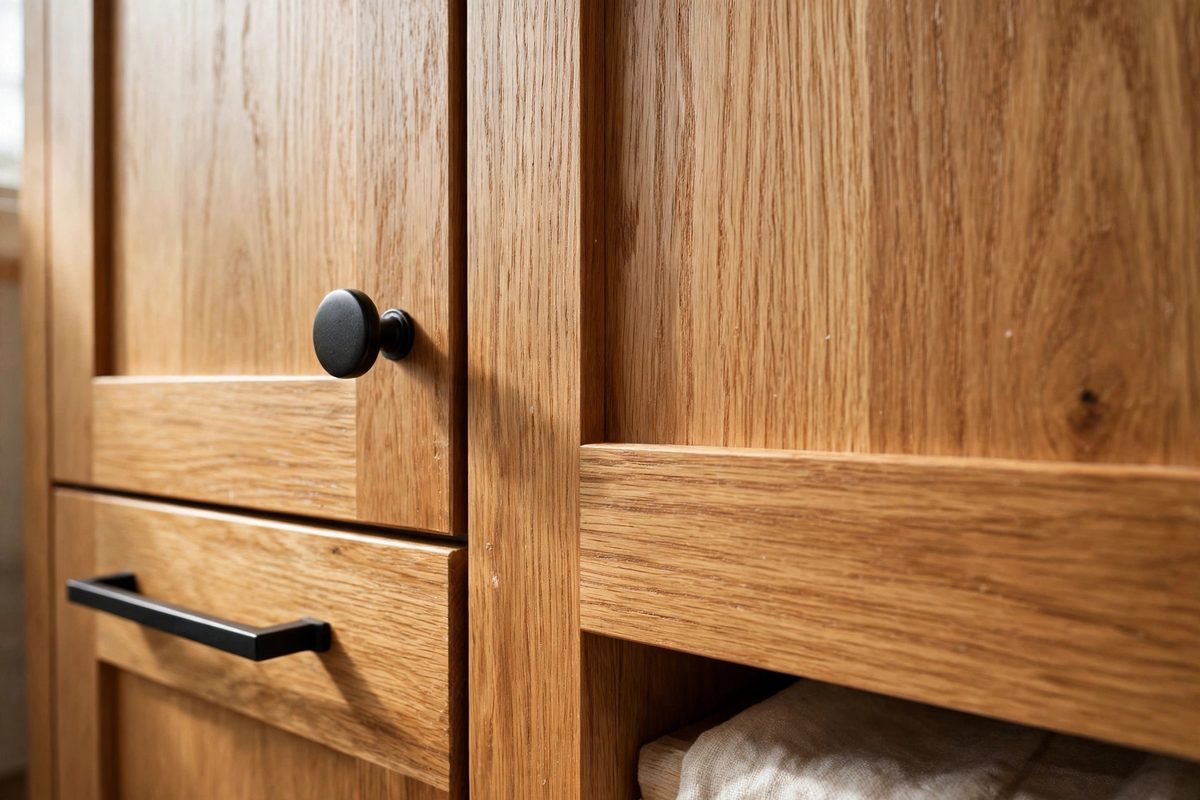
Black hardware against warm wood is a crisp, modern contrast that keeps a wood kitchen from feeling rustic or dated. Matte black knobs, pulls, and a faucet outline the wood and give the eye clean lines to follow.
This pairing suits small kitchens because black hardware is small in scale but high in contrast. It defines cabinets without adding visual bulk, unlike chunky wood handles.
How to make it work
Swap hardware in one finish, matte black, across the whole kitchen for consistency. Check pull lengths against drawer widths: pulls about one-third the drawer width look proportionate. Keep the original hardware in a labeled bag for move-out, and photograph the original setup before changing anything.
8. Under-Cabinet Lighting on Wood
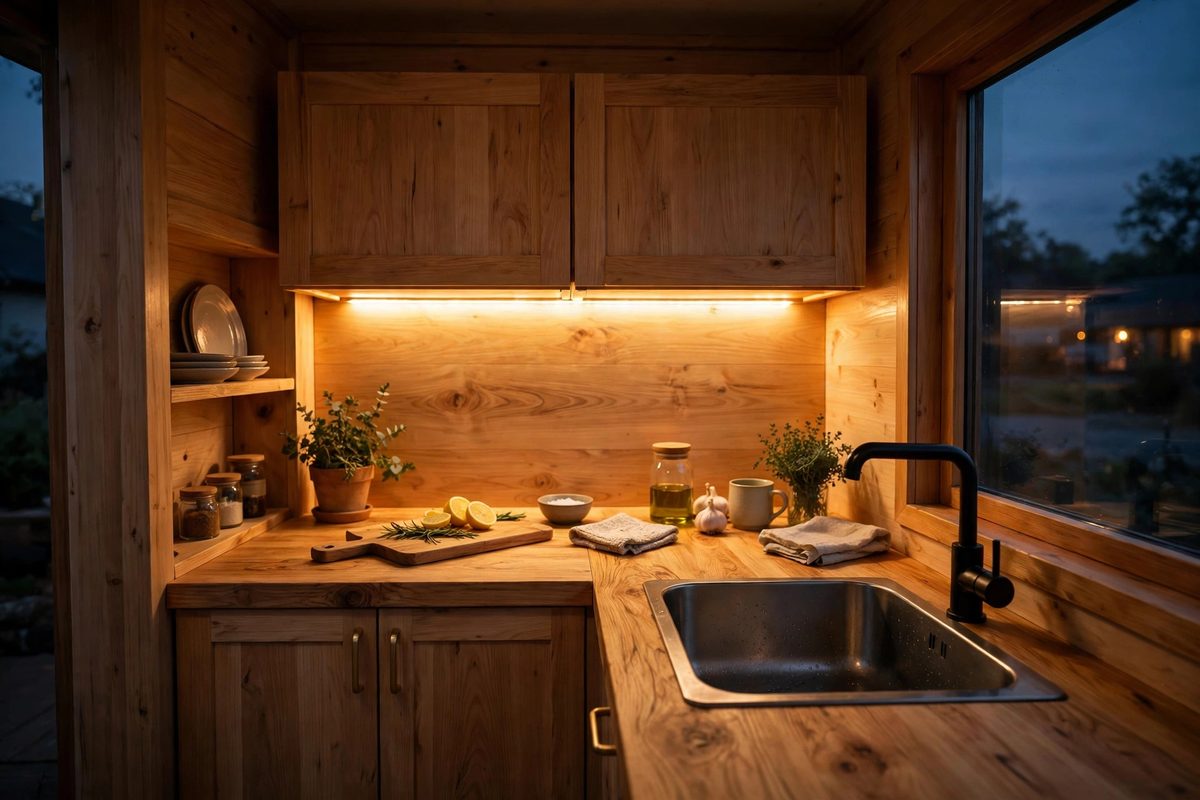
Wood looks its best under warm light, and under-cabinet lighting shows off grain, color, and texture that overhead light flattens. Adhesive LED strips in warm white 2700K, costing 15 to 30 dollars, transform wood counters and shelves in an evening, with no wiring.
Place strips toward the front underside of upper cabinets so light washes across the counter and backsplash, not just the wall. Dimmable strips let you switch from bright prep light to soft evening glow.
How to make it work
Clean the cabinet underside before sticking strips, and use extra mounting clips for longer runs so strips do not sag. Keep the power supply accessible, not buried behind the fridge. If your wood is very dark, use slightly brighter strips than you would in a white kitchen, since dark wood absorbs more light.
9. Sealing and Caring for Kitchen Wood
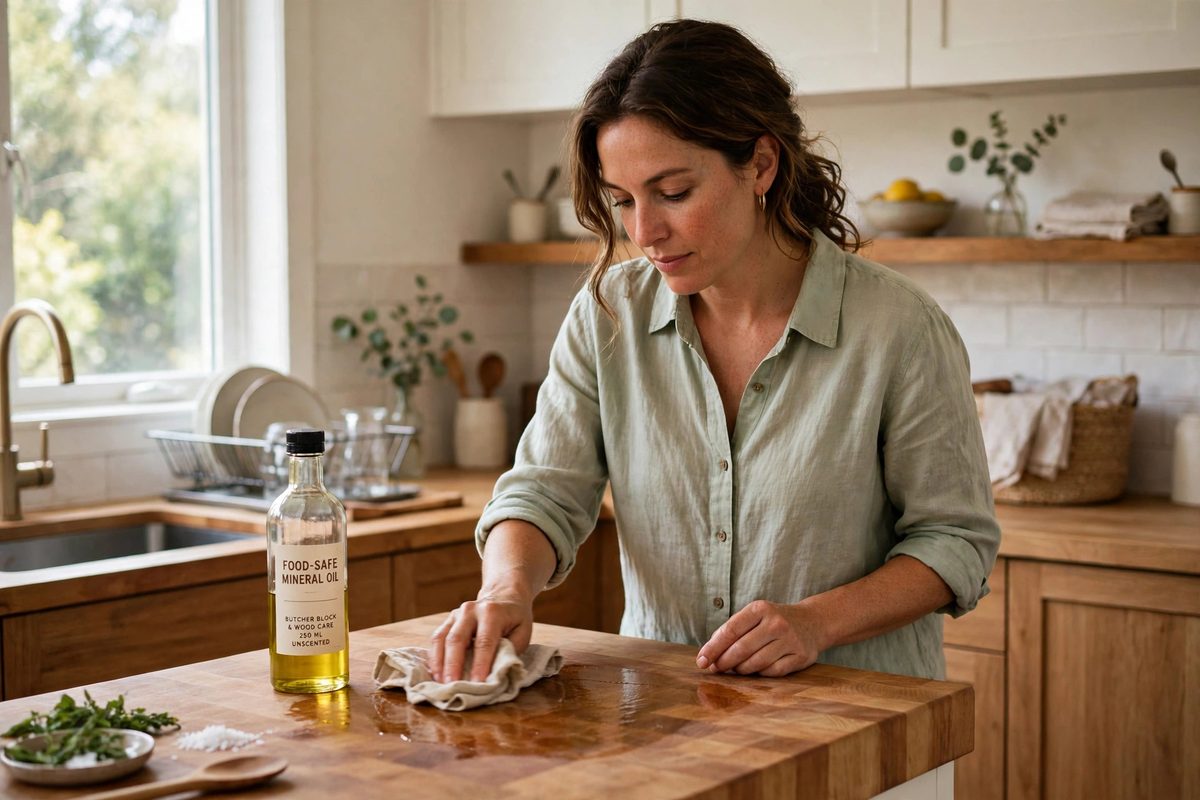
Warm wood stays warm only with care. Unsealed wood near a sink absorbs water, stains, and eventually warps. Sealed wood, wiped promptly and re-oiled on schedule, can look beautiful for decades, which is part of why wood kitchens age so well.
Set a simple routine: wipe spills immediately, clean with a damp cloth and mild soap weekly, and re-oil butcher block every two to three months. Sand out stains early, before they set deep into the grain.
How to make it work
Test your seal by sprinkling water on the surface; if it beads, the seal holds, and if it soaks in dark, it is time to re-oil. Sand stained spots with 220-grit sandpaper, working with the grain, then re-oil and let dry overnight. Keep wood away from constant standing water, and use a dish rack with a drain tray rather than letting dishes dry directly on wood.
A warm wood kitchen is about balance: one dominant warm tone, light walls, black hardware for definition, warm light to show the grain, and a simple care routine. Keep those in place, and wood will make even the smallest kitchen feel like the warmest room in the apartment.