9 Small Kitchen Counter Space Ideas That Create More Prep Room Without Remodeling
Discover 9 small kitchen counter space ideas that create more prep room without remodeling by establishing functional zones, temporary surfaces, and smart storage.
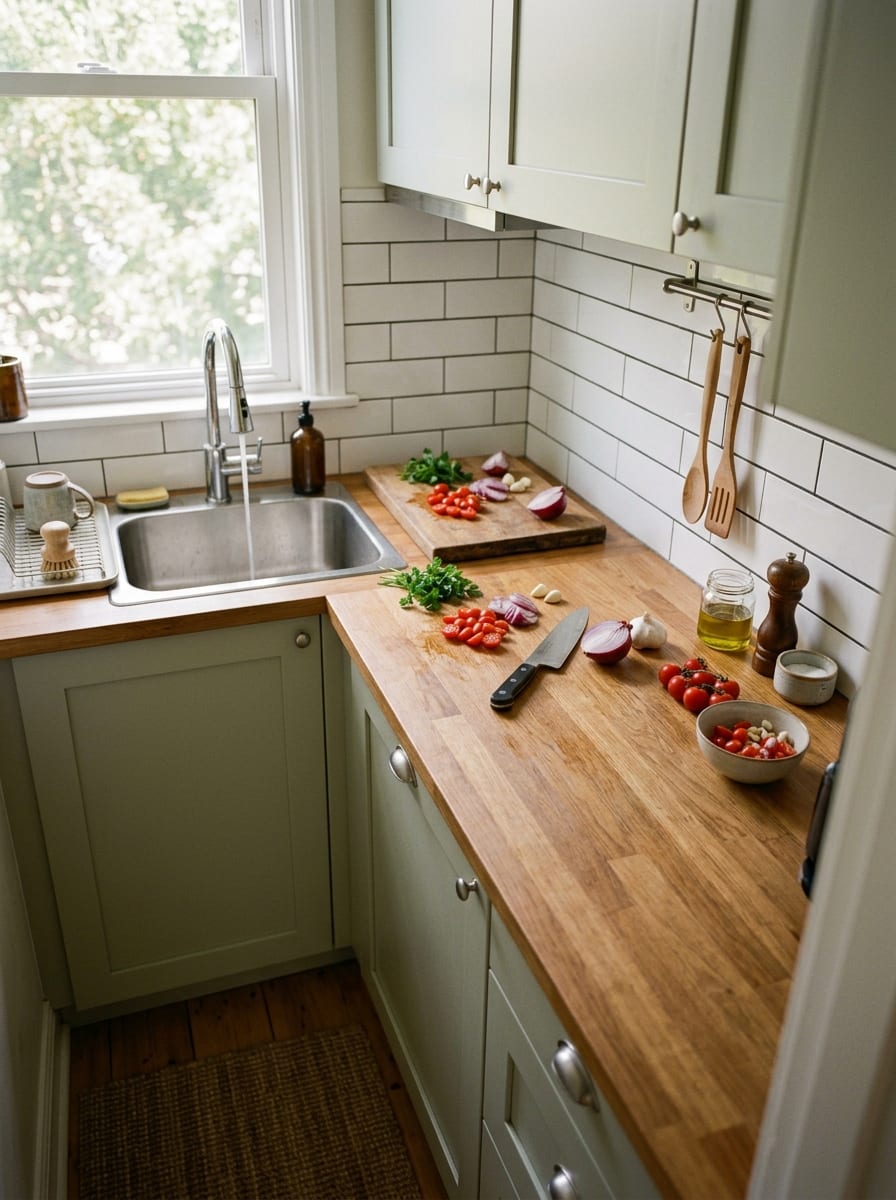
Small kitchen with clear uninterrupted prep counter beside sink and wooden cutting board ready for cooking
In This Guide
A small kitchen can have plenty of cabinets and still feel like there is nowhere to actually prepare food.
The problem is often not a lack of storage. It is that the available countertop is being asked to do too many jobs at once.
The coffee maker lives there. So does the toaster. Then the cutting board comes out, followed by ingredients, dishes, mail, a drying rack, and whatever appliance was used earlier but never found its way home.
Suddenly the kitchen has technically usable counter space, but very little clear prep space.
The solution does not always require a remodel.
Sometimes the biggest improvement comes from deciding which part of the counter is for preparation, which part is for appliances, and which part needs to stay clear.
These nine small kitchen counter space ideas focus on creating more usable work surface by changing how the existing space works.
1. Give Small Appliances Their Own Parking Zone
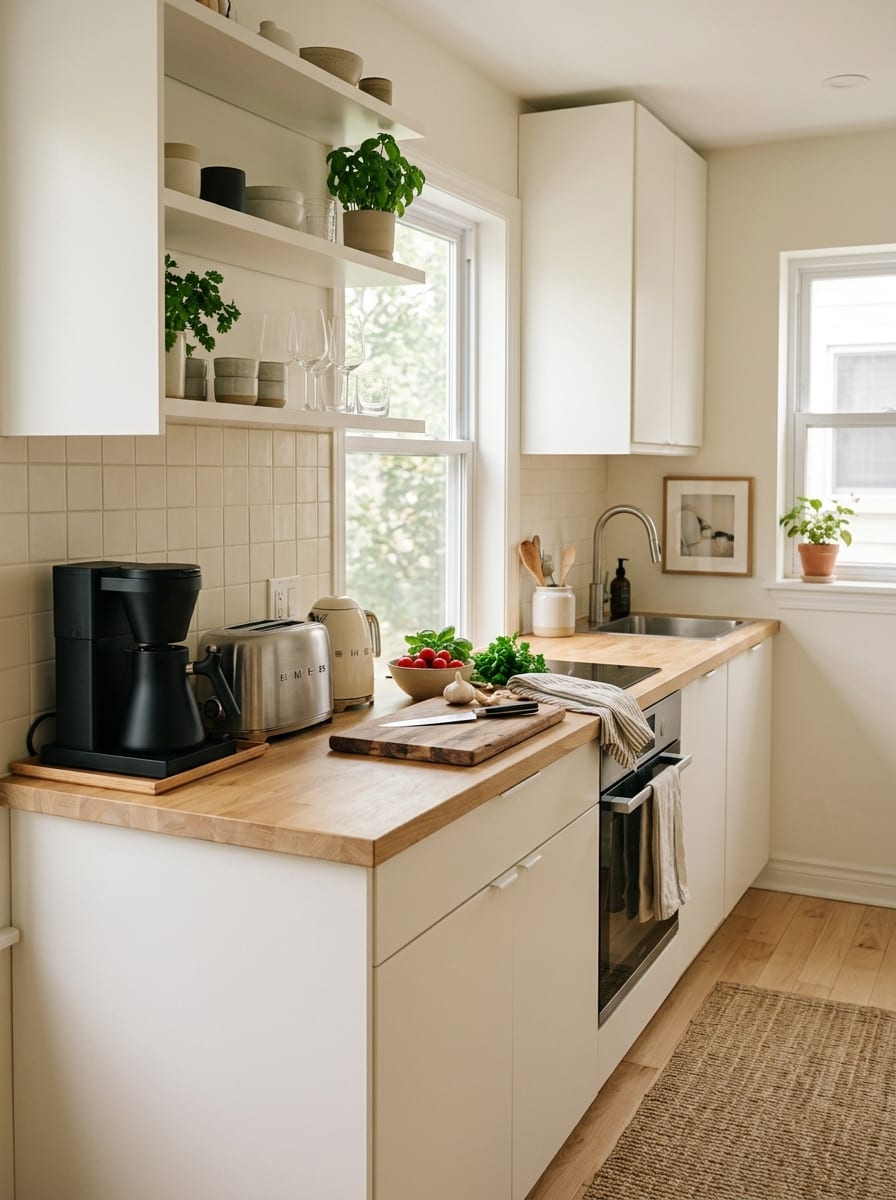
A small kitchen can lose an enormous amount of usable counter space to appliances that technically only need to be used for a few minutes at a time.
The coffee maker sits there because it gets used every morning.
The toaster stays out because putting it away feels annoying.
The blender gets left beside the backsplash because there is nowhere convenient to store it.
The result is a countertop that slowly becomes an appliance showroom.
Instead of scattering appliances across the kitchen, create one defined parking zone.
Choose the least valuable section of countertop for permanent or semi-permanent appliance storage.
This might be the far end of a counter, a corner, or an area closest to an outlet.
The important thing is that the appliances occupy one controlled area rather than breaking up the entire work surface.
Make the zone earn its footprint
Keep only appliances that are genuinely used frequently.
If something gets used once every few weeks, it probably does not need to occupy prime prep space every day.
This simple separation can make the remaining counter feel much larger without adding a single cabinet.
Design name: The Appliance Parking Zone
2. Protect a Small Prep Strip Beside the Sink
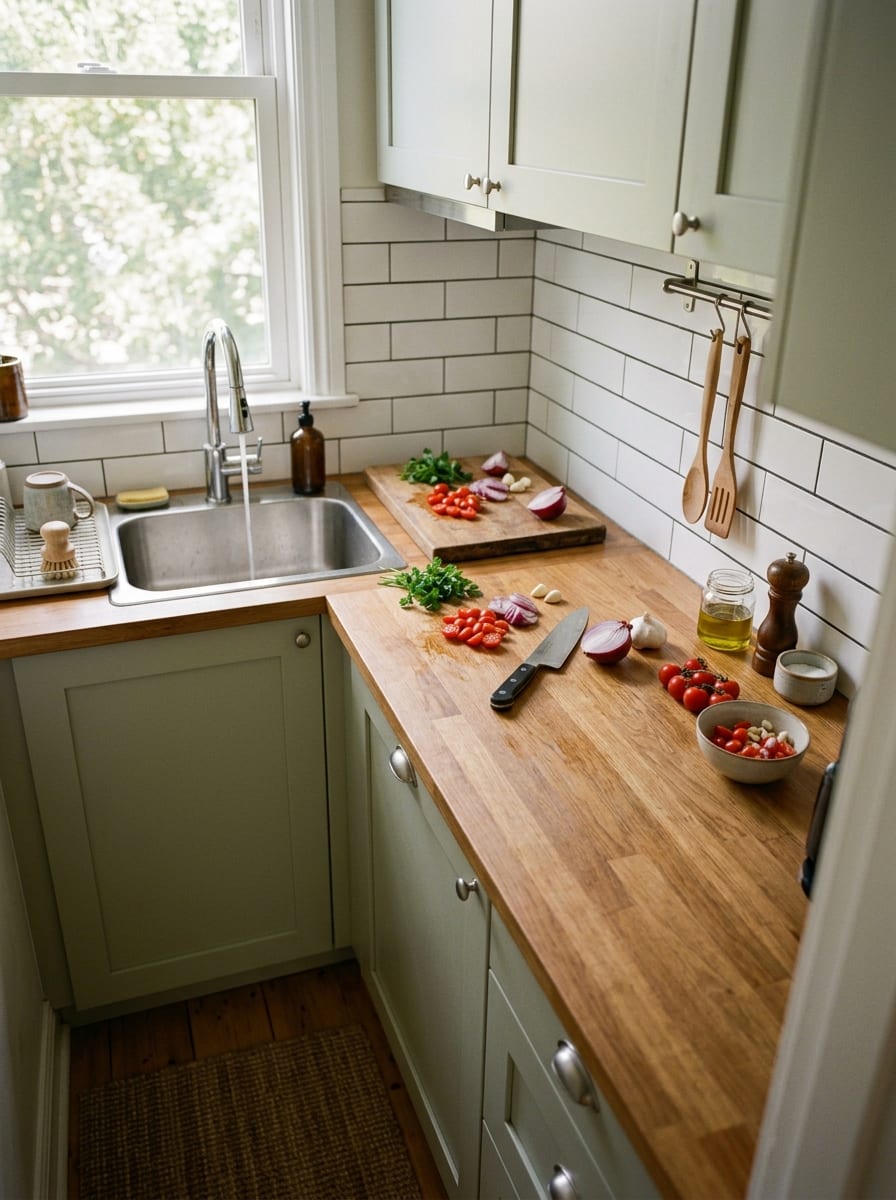
The countertop beside the sink is often one of the most useful work areas in a kitchen.
It is close to water, easy to clean, and naturally connected to food preparation.
But it can also become the place where everything gets dropped.
Instead, deliberately protect a narrow strip of counter beside the sink as your primary prep zone.
Keep this area relatively clear.
A cutting board can live nearby, but avoid filling the space with decorative containers, appliances, paperwork, or permanent storage.
Why a small clear strip matters
You do not necessarily need an enormous countertop.
You need enough uninterrupted surface to perform one task comfortably.
Chopping vegetables on a modest clear section is far easier than trying to work across a larger counter covered with appliances and containers.
If the sink is directly beside the prep area, cleanup can also happen without carrying ingredients across the room.
Design name: The Sink-Side Prep Strip
3. Use an Over-Counter Cutting Board to Extend the Work Surface
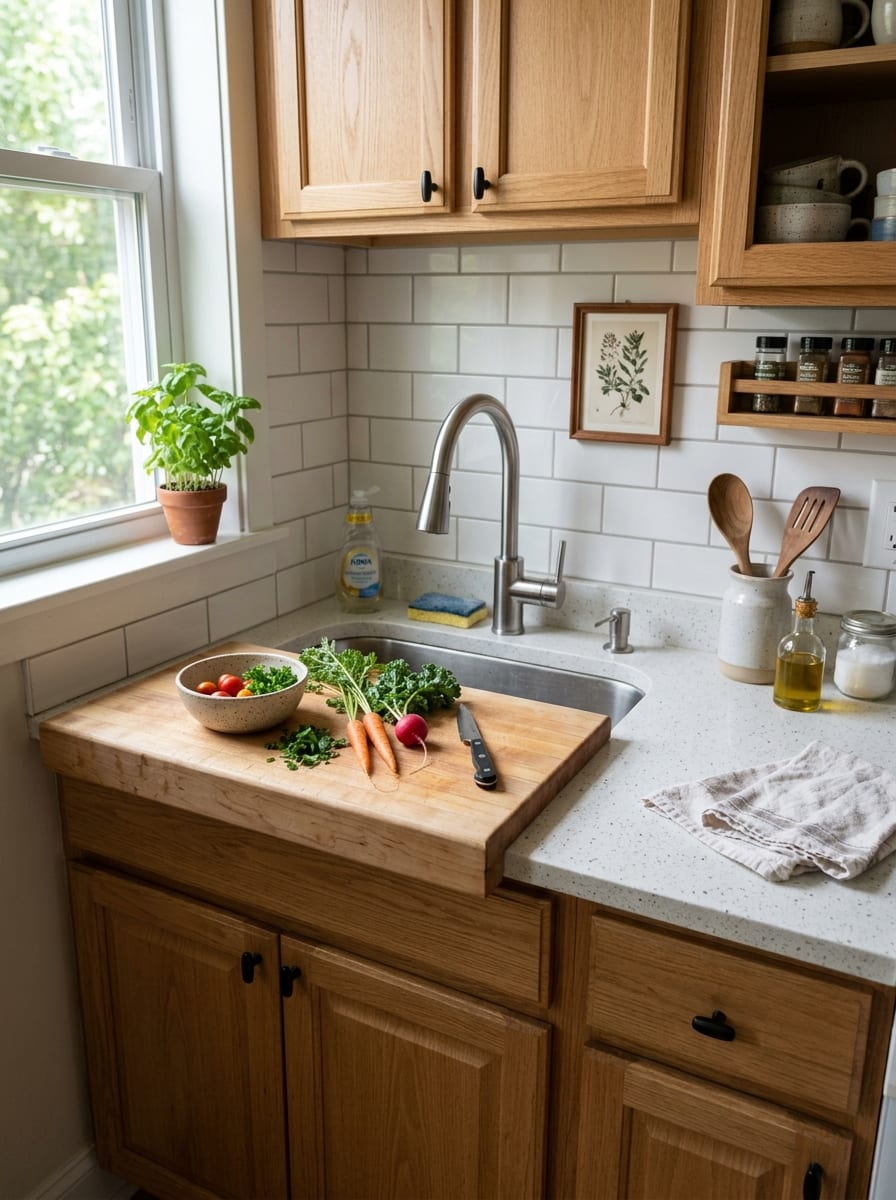
When countertop depth is limited, a properly sized cutting board can temporarily create a larger preparation surface.
Look for a board designed to sit securely across the sink or another appropriate opening.
This can transform a section that normally serves one purpose into a temporary work surface when needed.
For example, the sink can become part of the prep setup while the main counter remains available for ingredients.
Keep safety ahead of convenience
The board needs to be stable and appropriate for the sink or surface underneath it.
It should not shift while cutting, block necessary controls, or create an unstable surface near heat or water.
The goal is not to permanently cover the sink.
It is to create temporary counter space when the kitchen needs it most.
When cooking is finished, remove the board and return the sink to normal use.
Design name: The Over-Counter Cutting Board
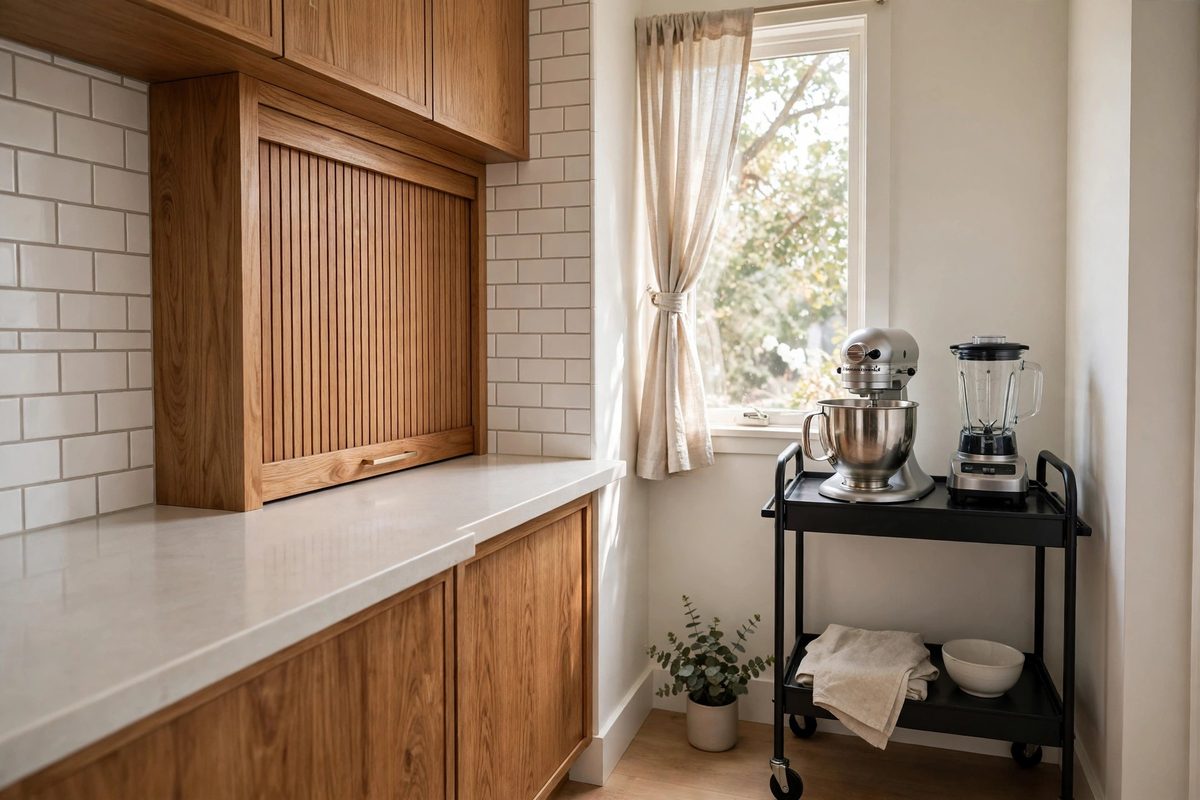
4. Add a Narrow Rolling Prep Cart Instead of a Permanent Island
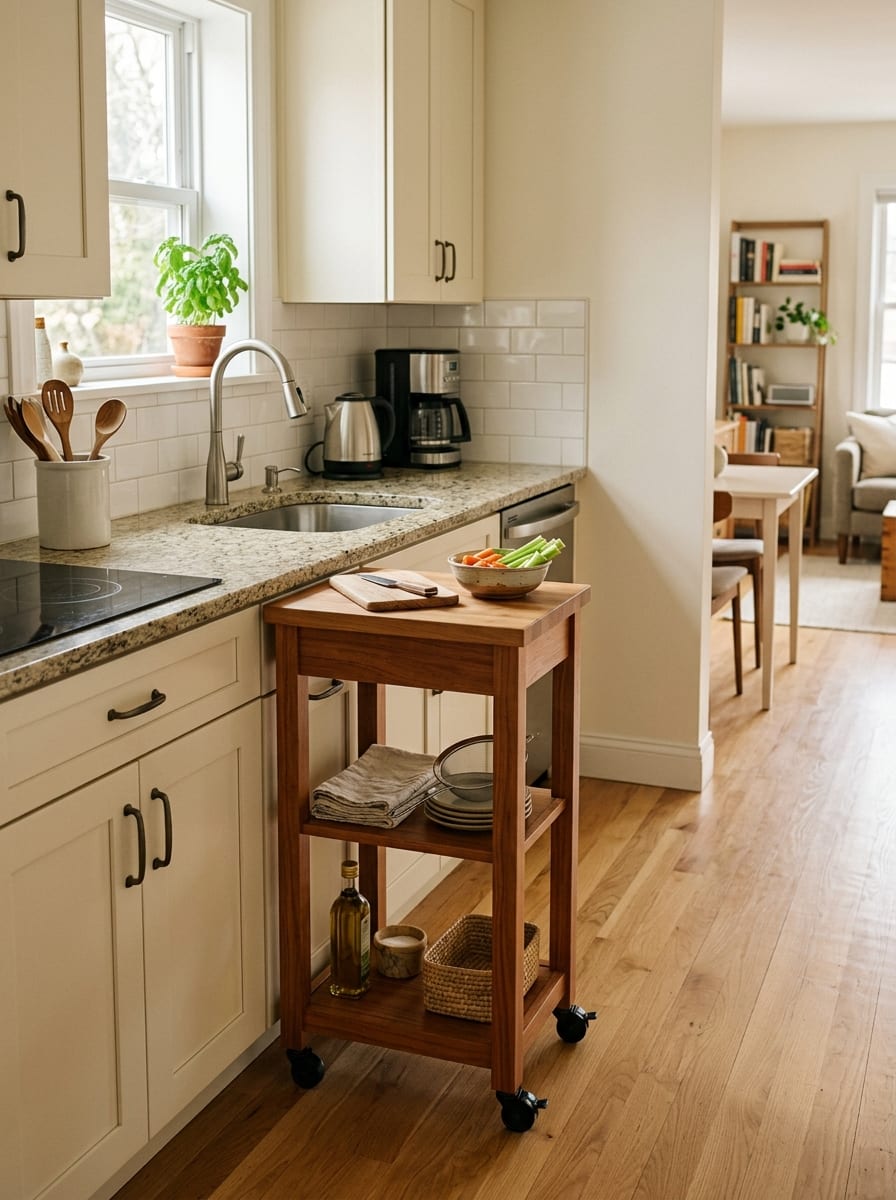
A small kitchen does not automatically need an island.
A permanent island can consume valuable walking space, interfere with cabinet doors, and turn a small room into an obstacle course.
A narrow rolling cart can provide some of the same benefits while remaining flexible.
Use it as a temporary prep surface when cooking.
Then move it aside when you need more floor clearance.
Give the cart one clear job
It could hold:
- a cutting board
- frequently used ingredients
- mixing bowls
- cooking utensils
- a few appliances
But avoid turning the cart into another general storage pile.
Its biggest advantage is the additional surface.
Choose a footprint that can actually move through the kitchen without blocking the main route or cabinet openings.
Design name: The Narrow Rolling Prep Cart
5. Turn the Cooktop Into a Temporary Work Surface
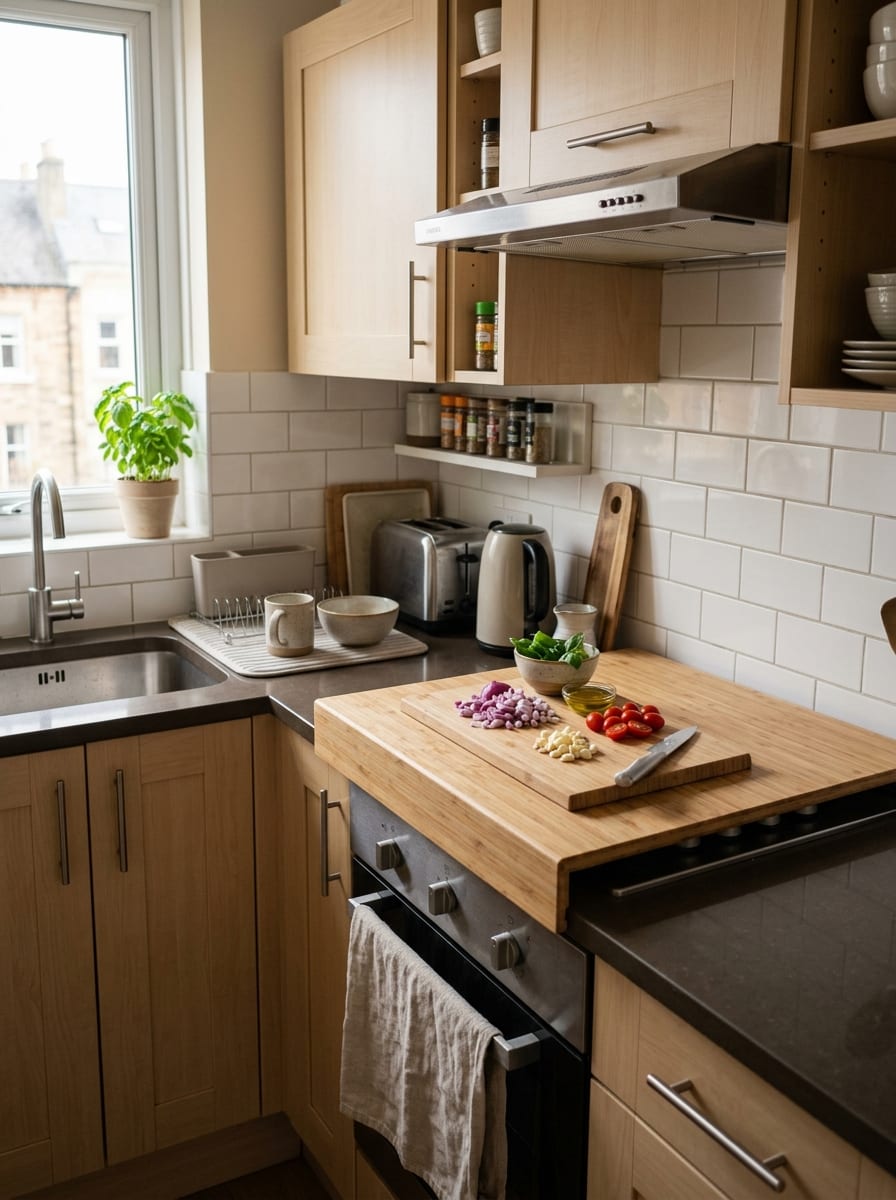
A cooktop can represent a surprisingly large piece of horizontal space when it is not being used.
A purpose-built, heat-safe cover designed for the specific appliance can sometimes turn that area into temporary counter space.
This can be particularly useful during food preparation when several ingredients need to be laid out at once.
Treat it as temporary space
Never place items on a cooktop that is hot or otherwise unsafe for the material.
The cover must be appropriate for the appliance and used according to its intended purpose.
The advantage is not that the kitchen suddenly has another permanent counter.
It is that the same footprint can perform two different jobs at different times.
Design name: The Stove Cover Work Surface
6. Install a Fold-Down Prep Station Where the Wall Is Underused
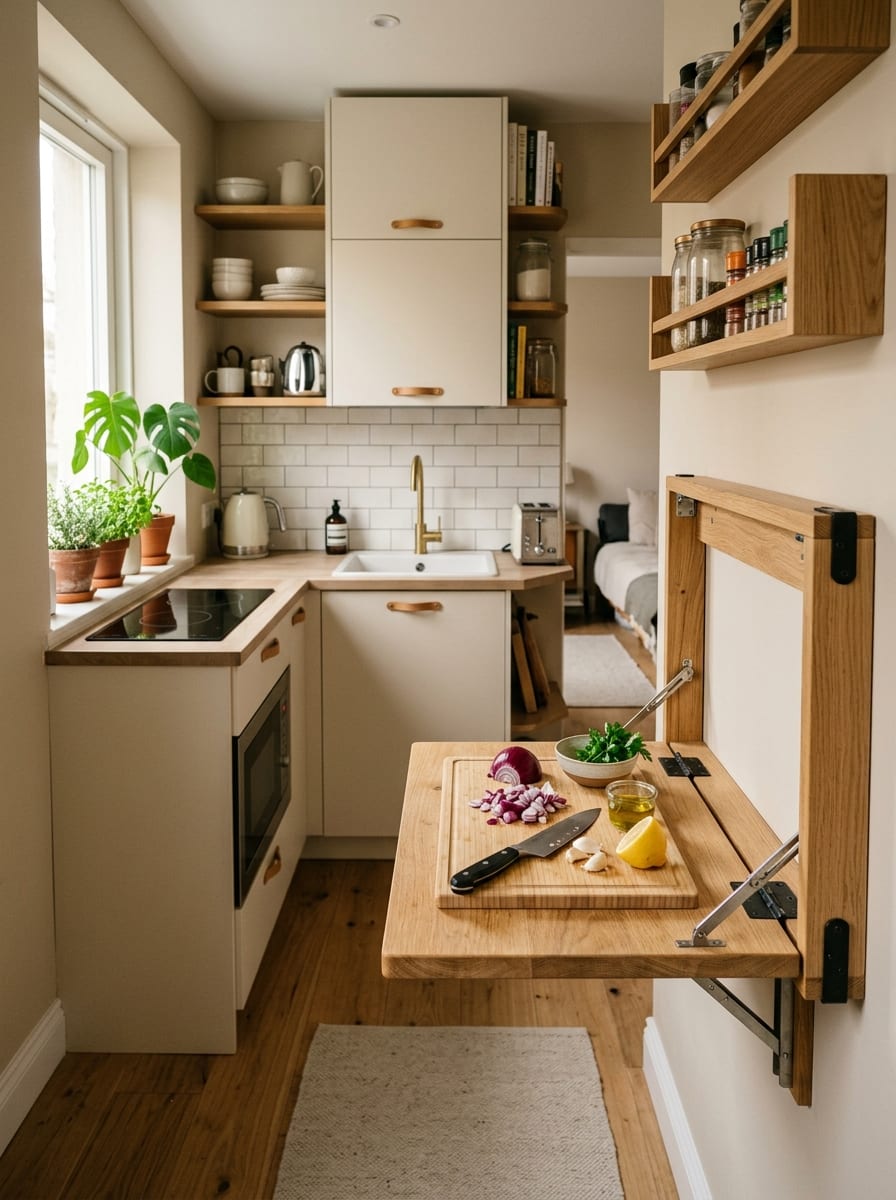
A small piece of wall can sometimes become a temporary preparation area with a properly installed fold-down surface.
When folded away, it takes up very little room.
When open, it provides a useful work surface for food preparation, serving, or other kitchen tasks.
This can be particularly useful in extremely narrow kitchens where adding a cart or island would interfere with circulation.
Placement matters more than size
Install the surface where it can actually be used comfortably.
Check nearby doors, drawers, appliances, and walking paths.
You also need to consider the wall structure, the mounting method, and the weight the system is designed to support.
For renters, do not assume a fold-down surface is automatically renter-friendly. Installation requirements vary considerably.
Design name: The Fold-Down Prep Station
7. Turn an Unused Counter Corner Into a Dedicated Prep Shelf
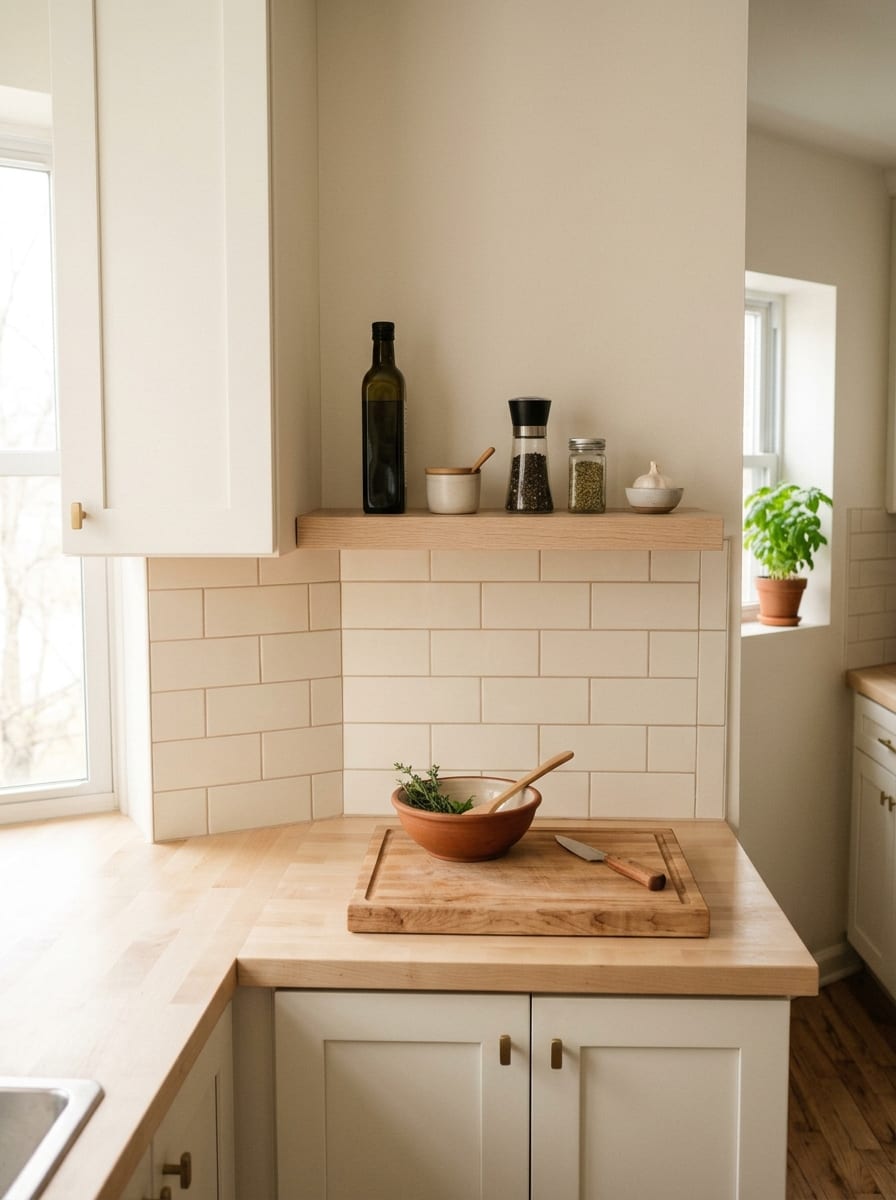
Corners are easy to waste.
A kitchen counter corner often ends up holding a fruit bowl, appliance, charging cables, or miscellaneous objects simply because there is no obvious system for it.
Instead of filling the corner, consider whether it can support a compact prep-related station.
A shallow shelf or raised surface can move selected items upward and leave more of the actual countertop available.
For example, everyday spices could move onto a narrow wall shelf while the counter underneath becomes a preparation area.
Keep the shelf selective
This is not an excuse to cover the backsplash with storage.
Choose the things you actually reach for while cooking.
A few frequently used ingredients are useful.
A collection of decorative jars, containers, and rarely used gadgets can simply move the clutter from the counter to the wall.
Design name: The Corner Prep Shelf
8. Create a Clear Counter Landing Zone
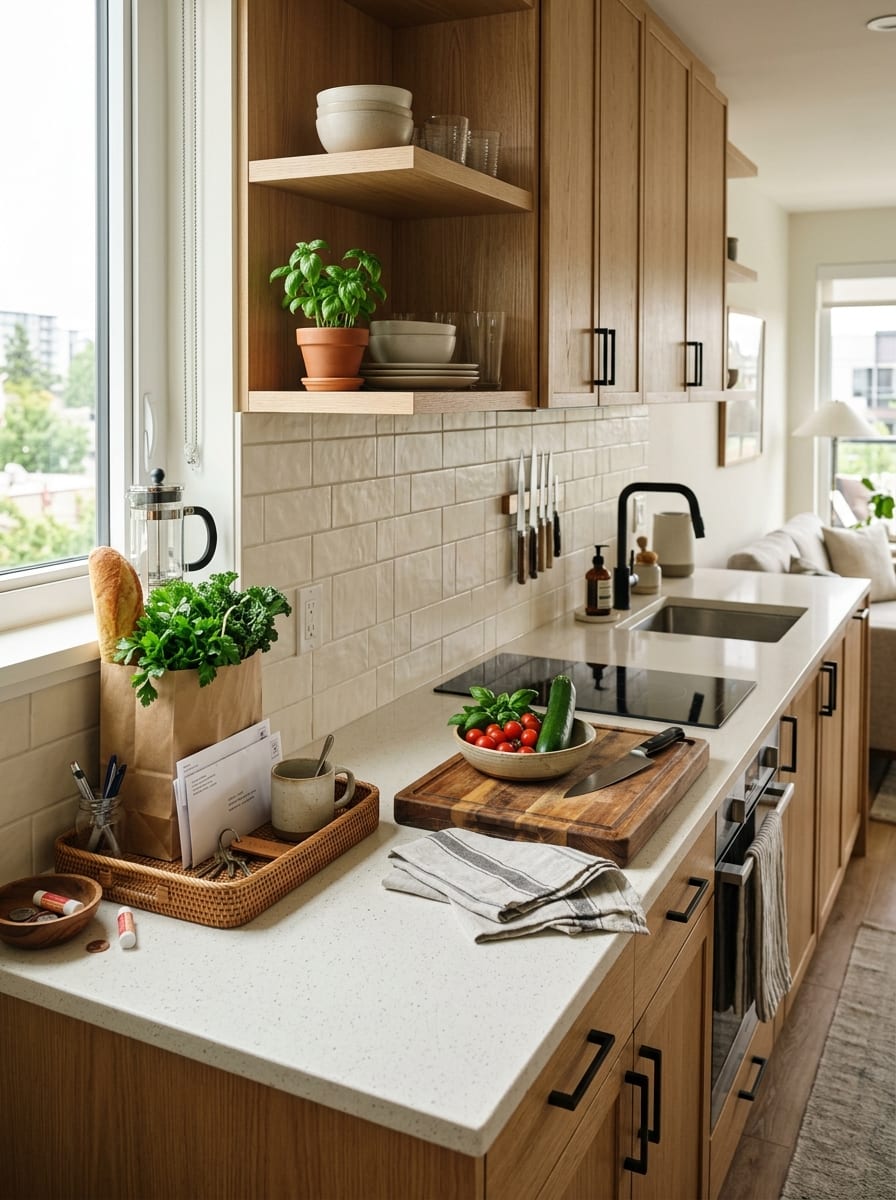
Not every part of the counter needs to be a work surface.
One reason small kitchens feel chaotic is that there is no designated place for things arriving or leaving the kitchen.
Groceries get dropped beside the sink.
Clean dishes land beside the coffee maker.
Mail appears next to the toaster.
Then the actual preparation area disappears.
Create one small landing zone for temporary items.
It could be one end of the counter, a tray, or a deliberately defined section near the kitchen entrance.
The rule is simple: temporary things go there, not everywhere.
Why this creates more prep room
You are not physically adding countertop.
You are preventing the existing countertop from being divided into ten unofficial storage zones.
Once the landing area is controlled, the rest of the counter can remain available for cooking.
Design name: The Clear Counter Landing Zone
9. Use a Two-Zone Counter Reset
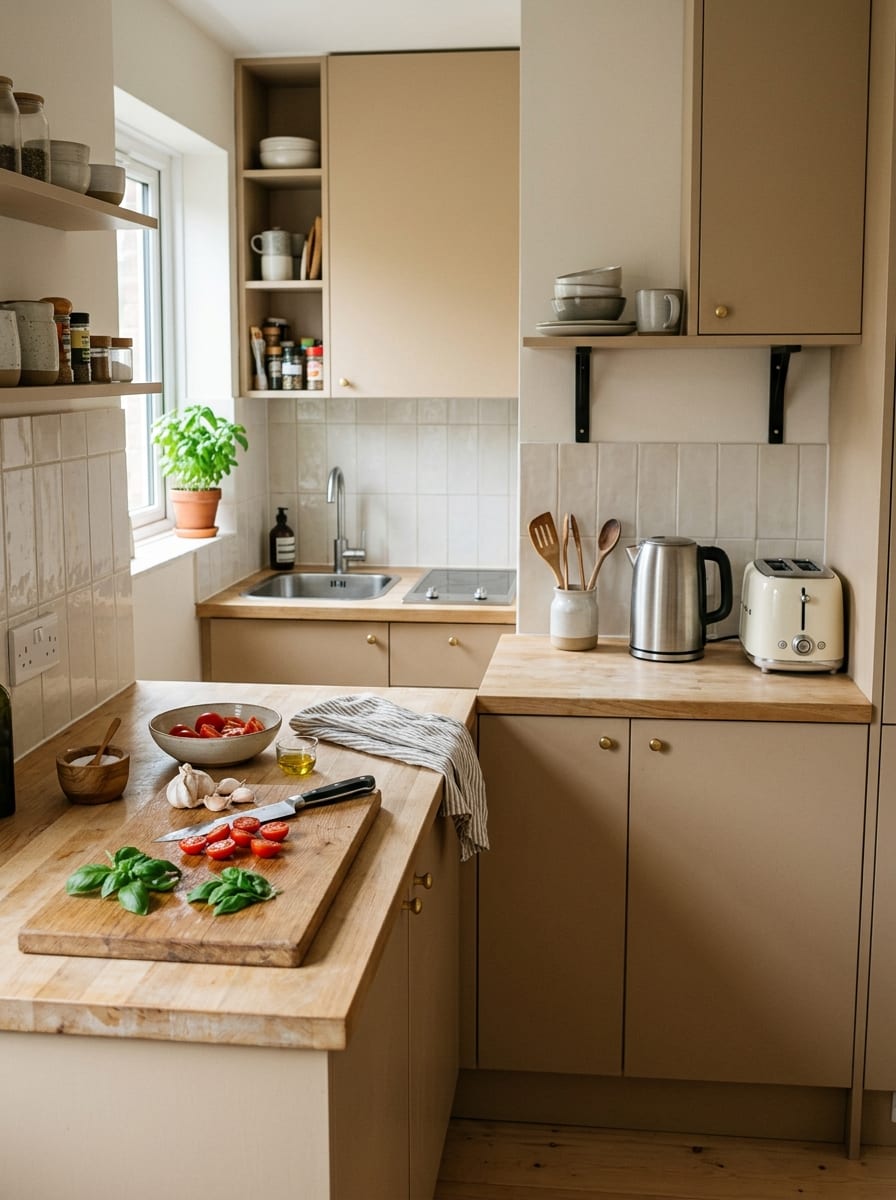
If the entire kitchen counter feels crowded, divide it into two functional zones:
- The work zone: where chopping, mixing, assembling, or plating happens.
- The supporting zone: holds the appliances, ingredients, dishes, or tools that need to be nearby.
This prevents every object from competing for the same piece of counter.
A simple example
Imagine a narrow kitchen counter running from the refrigerator toward the sink.
The section closest to the sink becomes the prep zone.
The opposite end becomes the appliance and landing zone.
Now the counter has a hierarchy.
You know which area should stay clear.
You also know where things should go when they are not actively being used.
This sounds simple, but that clarity can make a small kitchen feel dramatically easier to work in.
Design name: The Two-Zone Counter Reset
How to Create More Counter Space Without Remodeling
Before buying anything, look at what is already occupying your countertop.
Separate everything into three groups:
- Always needed: These are things you genuinely use every day and may reasonably want within reach.
- Frequently needed: These should be accessible, but they do not necessarily need permanent countertop space.
- Rarely needed: These are the items consuming prime counter space simply because there is no better home for them.
The third group is usually where the easiest improvement lives.
A small kitchen does not need to hide everything.
It needs to stop using its best preparation surface as long-term storage.
Where Should the Main Prep Zone Go?
There is no universal location that works for every kitchen.
Instead, look for the countertop section that gives you the best combination of:
- usable width
- comfortable depth
- proximity to the sink
- access to frequently used ingredients
- reasonable distance from the cooking area
- minimal interruption from doors and drawers
- enough room to stand comfortably
The main idea is to protect one dependable work surface rather than spreading small patches of usable counter throughout the kitchen.
A kitchen with one reliable prep zone can feel more functional than a kitchen with more total counter space but no clear work area.
What to Move Off the Counter First
If your counter is crowded, start with the objects that consume a lot of space without helping the cooking workflow:
- rarely used appliances
- oversized knife blocks
- decorative trays
- paperwork
- duplicate utensils
- large containers
- unopened groceries
- miscellaneous charging devices
You do not need to remove everything.
The goal is to make room for the activities that actually happen in the kitchen.
Small Appliances Are Usually the Biggest Counter-Space Problem
A toaster may only occupy a small footprint.
A coffee maker may also seem manageable.
Then add a blender, air fryer, stand mixer, kettle, rice cooker, and microwave.
Individually, each one seems reasonable. Together, they can consume most of the usable countertop.
The solution is not necessarily to put every appliance away.
Instead, decide which appliances deserve permanent parking and which ones should be stored until needed.
If two appliances perform similar jobs, consider whether both really need daily access.
The best appliance organization system is the one that leaves enough clear counter for you to actually use the kitchen.
How to Add Temporary Counter Space Safely
Temporary surfaces can be extremely useful in a small kitchen, but they need to be treated as functional equipment rather than decorative hacks.
Before using an added surface, check:
- whether it is stable
- whether it can support the intended weight
- whether it is appropriate near heat
- whether it interferes with appliances
- whether cabinet doors can still open
- whether it blocks the main walking path
- whether it can be cleaned easily
- whether the installation method is suitable for the wall or counter
Do not assume that an attractive solution is automatically safe or suitable for your particular kitchen.
The Counter Space Mistake to Avoid
The biggest mistake is trying to use every available inch.
That sounds efficient, but it often has the opposite effect.
A counter covered from edge to edge with appliances, containers, cutting boards, baskets, and decorative objects technically contains more things, but it provides less useful workspace.
Leave some surface intentionally empty.
That empty area is not wasted space.
It is the part of the kitchen that lets you cook.
A Simple Small-Kitchen Counter Formula
If you want a starting point, try:
1 protected prep zone + 1 appliance zone + 1 temporary landing zone.
- The prep zone stays as clear as possible.
- The appliance zone contains the machines you genuinely use frequently.
- The landing zone catches groceries, dishes, and other temporary items before they spread across the kitchen.
Everything else needs another home.
This system is simple enough to maintain because it does not require every object to be perfectly hidden. It just gives the counter a clear hierarchy.
What to Do Before Buying a New Kitchen Organizer
Stand in the kitchen and clear the counter completely.
Then put back only what you used during the previous few days.
Now look at the remaining space.
If the counter suddenly feels much larger, the problem was probably not a shortage of countertop. It was how the surface was being assigned.
Measure the remaining clear area and identify the one place where preparation naturally feels easiest.
Only after that should you consider adding a cart, shelf, cutting board, fold-down surface, or other solution.
A new organizer should solve a specific problem. It should not simply give clutter somewhere else to live.
Final Thought
More counter space does not always mean more countertop.
In a small kitchen, the bigger win is often more uninterrupted countertop.
Give appliances a defined parking zone. Protect a small prep strip. Create a place for temporary items. Use temporary surfaces when appropriate. And resist the temptation to fill every available inch.
When the counter has clear jobs, even a compact kitchen can feel much easier to cook in.
The goal isn’t to make the kitchen bigger. It is to make the counter you already have work harder for you.