10 Small Apartment Laundry Drying Ideas That Don’t Take Over Your Living Space
Discover 10 small apartment laundry drying ideas, from fold-flat racks to balcony airers, plus practical tips for airflow, moisture, and storage.
In This Guide
Laundry is manageable in a small apartment until wet clothes start occupying the shower, blocking the bedroom walkway, or taking over the only sunny corner of the living room. A full-size drying rack can solve one problem while creating another: it gives you somewhere to hang clothes, but leaves you with less room to move.
The best small apartment laundry drying ideas work with the space you already have. Some use vertical height, others fold away between loads, and a few turn overlooked areas into temporary drying zones. The right solution depends on what you wash, how often you do laundry, whether you rent, and how much room you can spare while clothes dry.
These 10 ideas explore different ways to air-dry everyday laundry without making your apartment feel like a permanent laundry room. Along the way, you’ll also learn how to keep dampness under control, protect delicate fabrics, and choose a setup that fits your routine rather than adding another daily chore.
1. The Fold-Flat Wall Rack
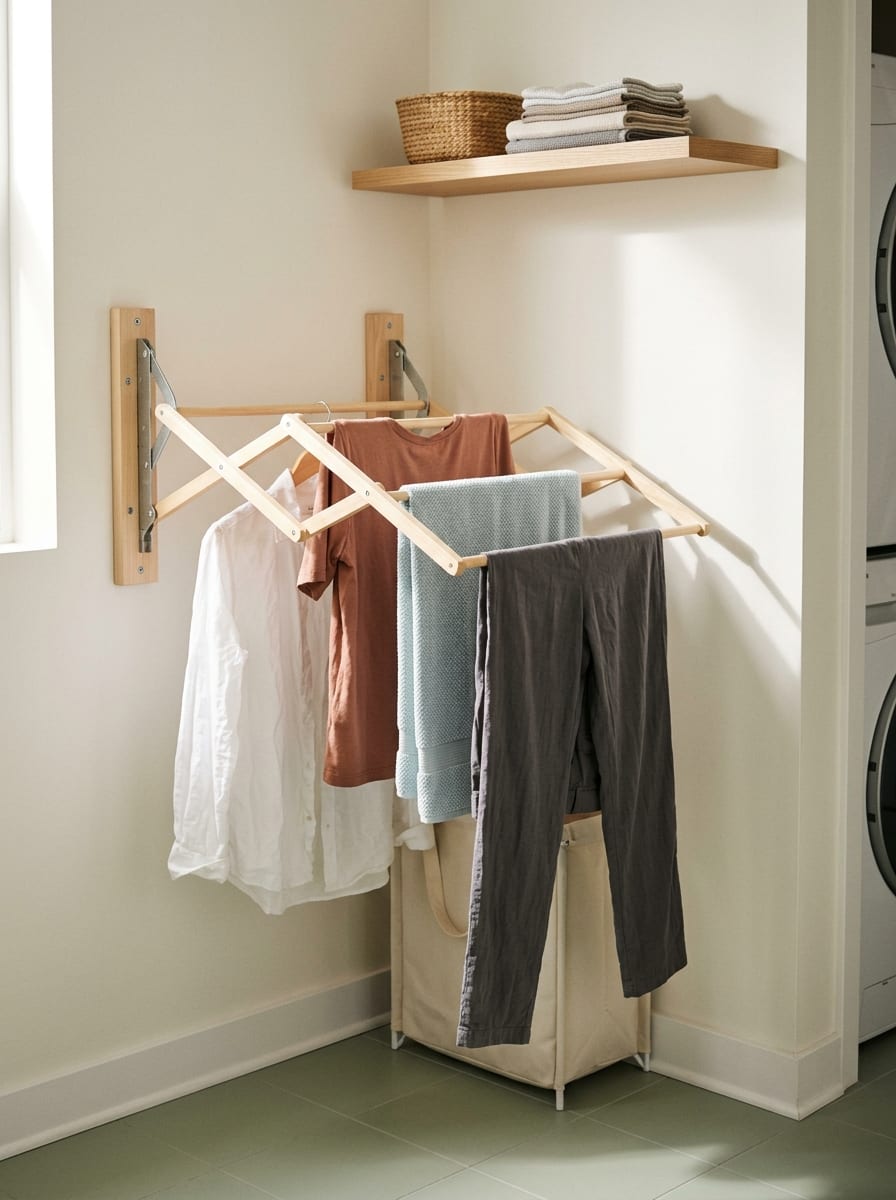
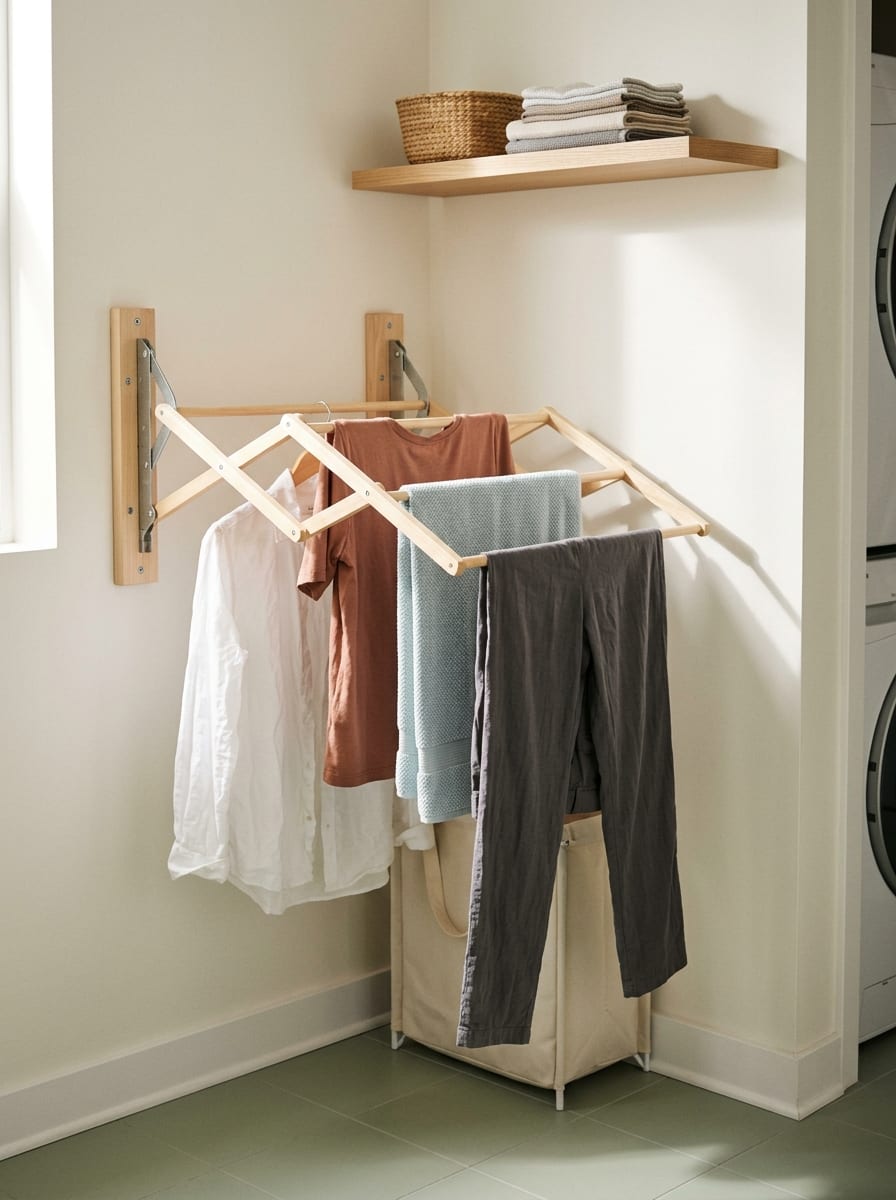
A fold-flat wall rack is ideal when you need a useful drying surface but cannot leave a freestanding rack open all week. It mounts to a suitable wall and folds out when laundry needs to dry, then closes against the wall when the space is needed for something else.
How to make it work
- Install it in a laundry nook, bathroom, utility corner, or another location with suitable airflow.
- Choose a rack with enough hanging space for your usual load rather than buying the largest model available.
- Check the wall type, fixings, and manufacturer’s load rating before installation.
- Keep the rack clear of doors, walkways, and fixtures that need to open fully.
For renters, a freestanding folding rack may be a better alternative if drilling is not permitted. Always confirm installation permission before making permanent changes.
Small-space styling tip: Choose a simple white, black, or natural-wood finish that blends with the surrounding wall. A discreet rack looks less visually intrusive when folded away.
2. The Narrow Vertical Airer
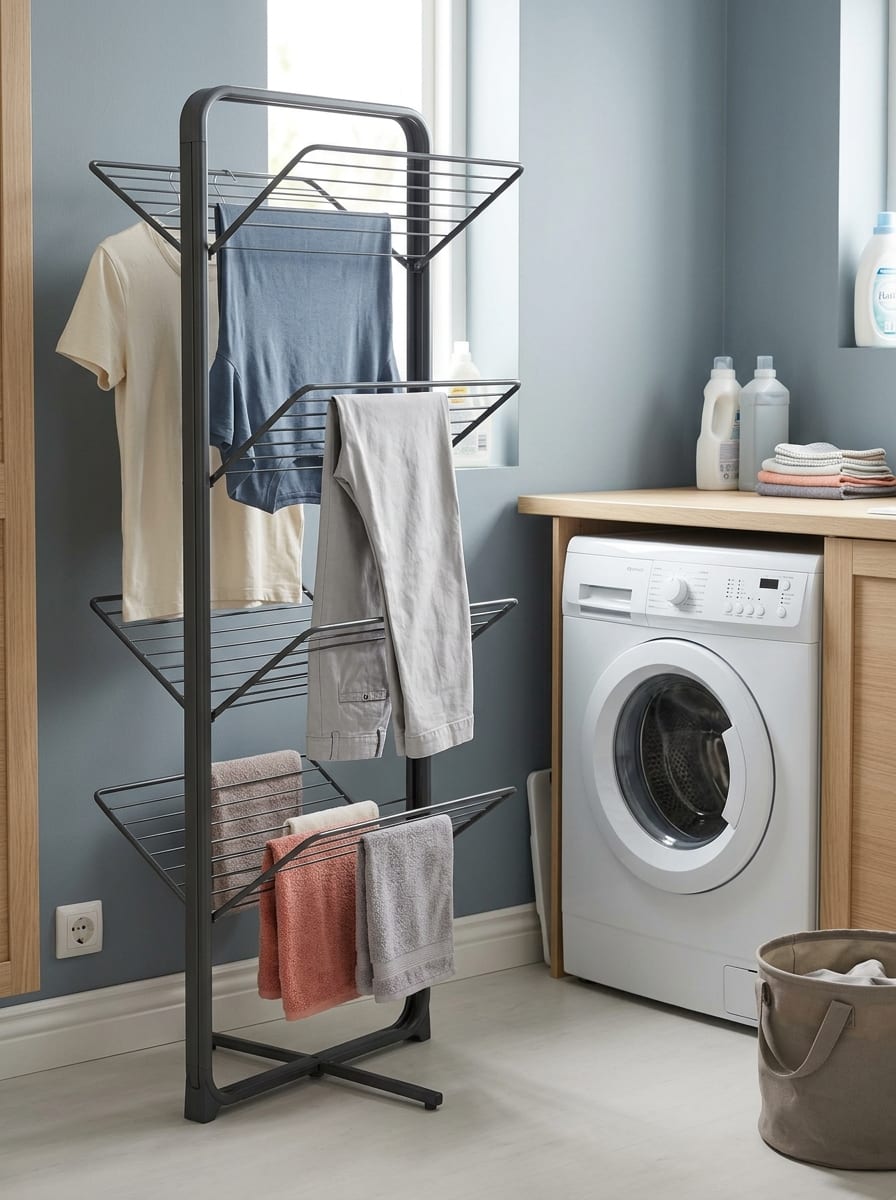
When floor space is limited but you have a little unused height, a narrow vertical drying tower can be more practical than a wide winged rack. Multiple drying levels create hanging space within a compact footprint, making this style useful in laundry corners, bathrooms, or beside a washer.
How to make it work
- Look for a stable frame with shelves or rails that suit the types of clothes you wash.
- Place heavier items where the rack manufacturer recommends, keeping the load balanced.
- Leave enough space around the tower for air to circulate between garments.
- Check that the open rack will not obstruct a door, shower access, or the main walking route.
A vertical airer is especially useful for everyday items such as T-shirts, lightweight trousers, and smaller garments. Bulky towels and heavy bedding may need more space and drying time.
Small-space styling tip: Choose a narrow, neutral-colored frame and fold in any unused wings or levels when the design allows it. Avoid cramming clothes together simply to fit an entire wash into one small rack.
3. The Over-Bath Drying Bridge
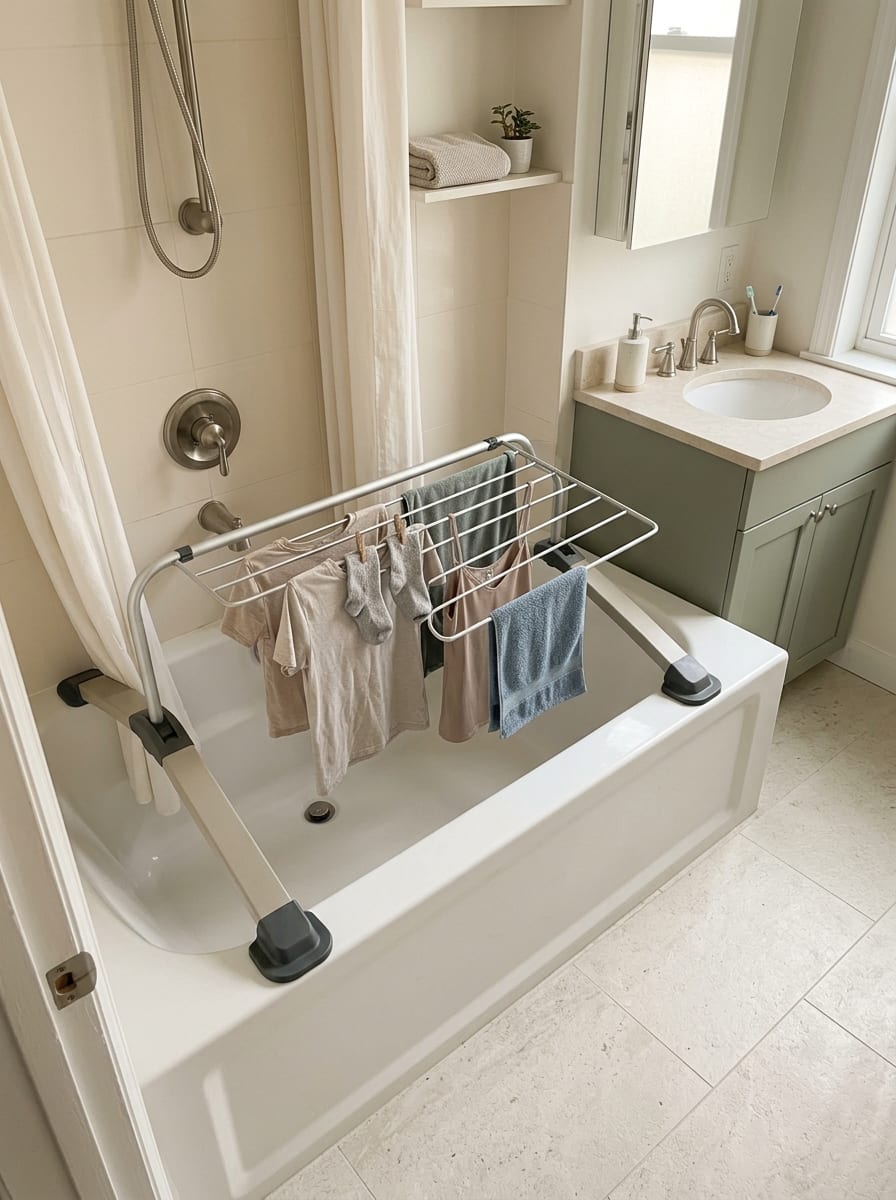
If your apartment has a bathtub that is not used throughout the day, the area above it can become a temporary drying zone. A purpose-made over-bath rack or bridge spans the tub, keeping wet garments off the floor and allowing drips to fall into the bath.
How to make it work
- Select a rack designed for the width and shape of your bathtub.
- Check its load capacity and ensure it rests securely before hanging clothes.
- Spread garments apart instead of creating a dense wall of damp fabric.
- Move the rack when the bath is needed and allow the surrounding area to dry afterward.
This setup can work well for hand-washed items, lightweight clothing, and garments that benefit from gentle air-drying. It is less suitable if the rack prevents comfortable bathroom access or if the room stays humid for long periods.
Small-space styling tip: Keep the bath edge clear of toiletries and laundry baskets while the rack is in use. The simpler the surrounding area, the easier it is to switch the bathroom back to its normal purpose.
4. The Retractable Line for Light Loads
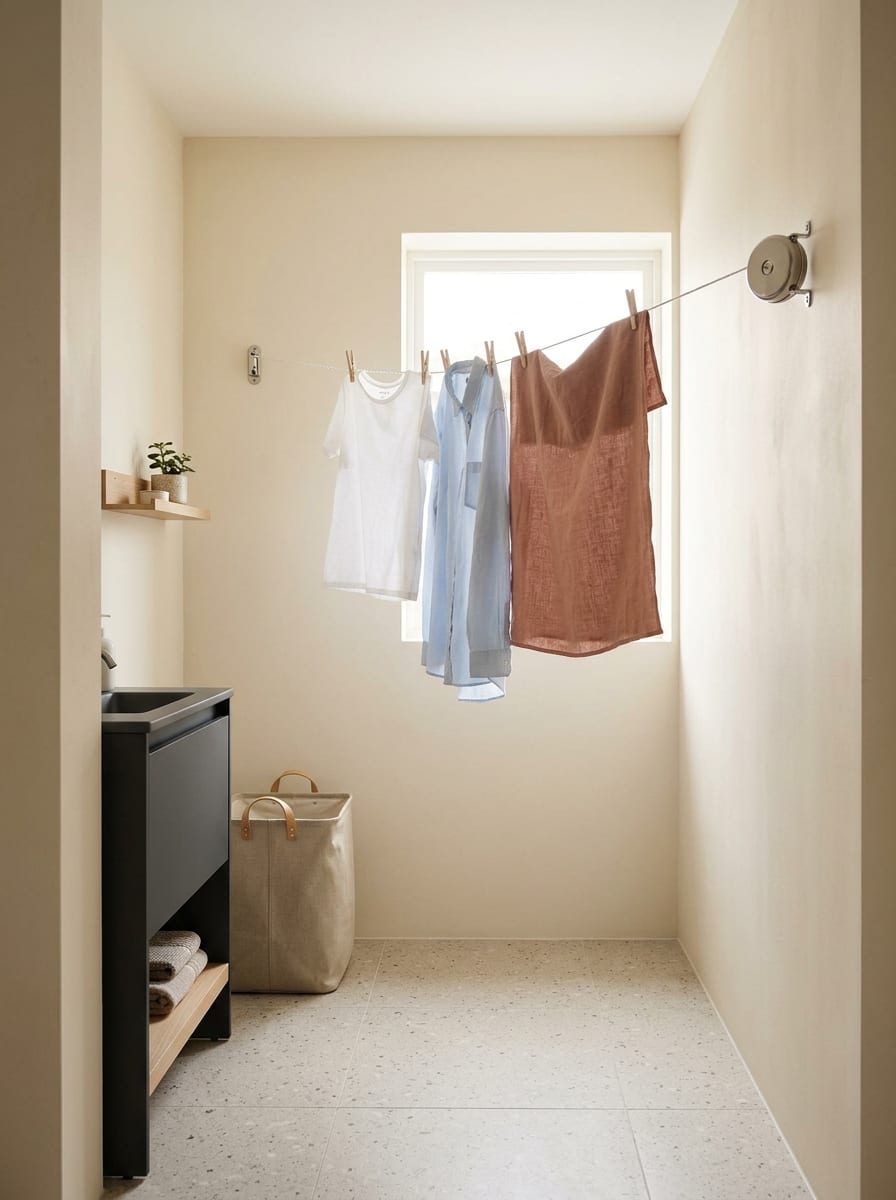
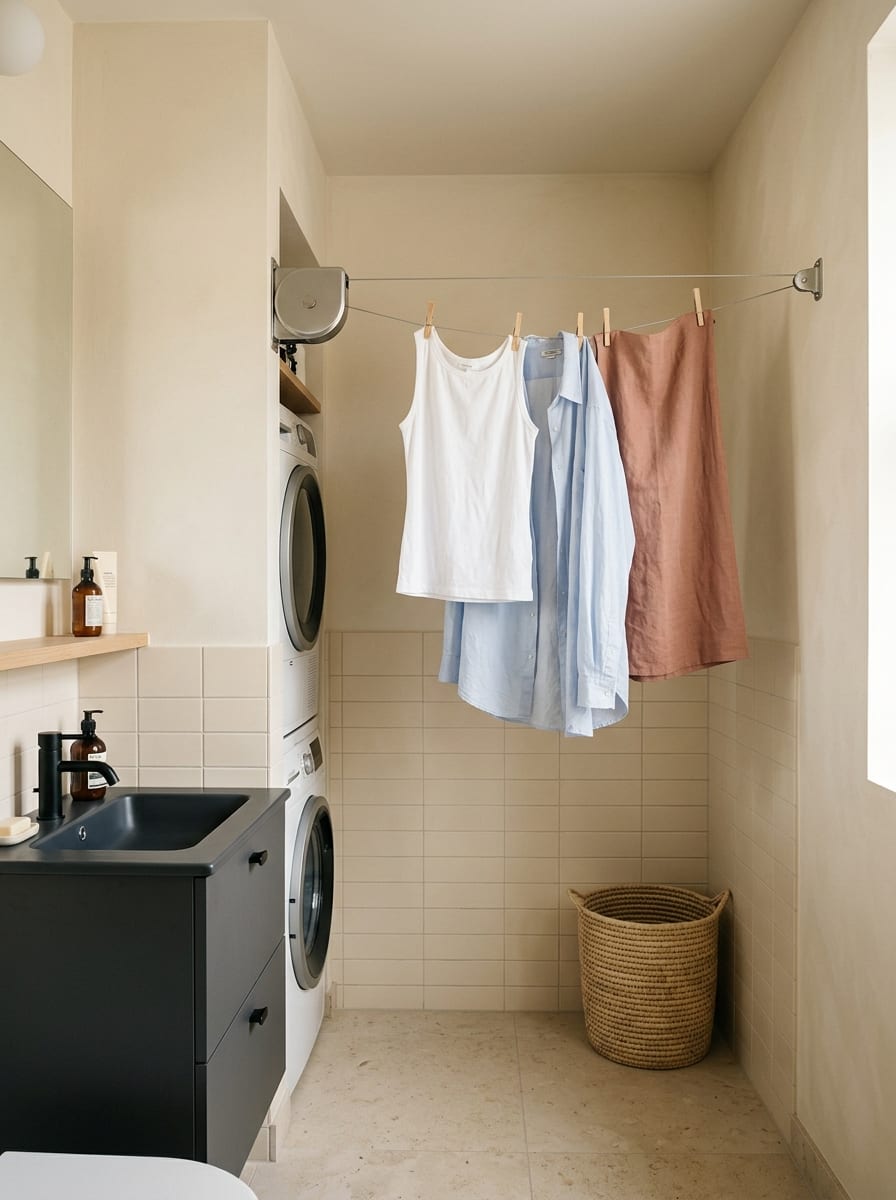
A retractable clothesline can provide temporary hanging space without leaving a permanent rack in the room. The line extends when needed and retracts into its housing afterward, making it useful for a bathroom, laundry nook, or another suitable area with secure mounting points.
How to make it work
- Install the line only between suitable, securely fixed points.
- Follow the manufacturer’s load limits and intended use.
- Reserve it for light garments unless the product is specifically rated for heavier items.
- Leave enough space between clothes for airflow, and retract the line when the area needs to be used normally.
Do not assume a tension rod, curtain rail, towel bar, or decorative hook can support wet laundry. Wet garments can be considerably heavier than dry ones, and unsuitable fittings may fail.
Small-space styling tip: Position the line where it can disappear from view when not in use. A discreet setup works best when it does not cross a doorway or divide the room visually.
5. The Door-Top Drying Rack
An over-door drying rack uses the top edge of a suitable door to create hanging space without occupying much floor area. Depending on the design, it may have horizontal bars, hooks, or rails for lightweight garments.
How to make it work
- Check that the rack fits the door thickness and that the door can still close safely if necessary.
- Make sure the door, hinges, and rack are suitable for the intended load.
- Use it for smaller or lighter items rather than treating it as a substitute for a heavy-duty drying frame.
- Avoid placing it on a door that must remain unobstructed for safe exit or access.
This solution can be useful in a laundry closet or bathroom when the door and surrounding layout allow it. It is less practical if it prevents the door from closing, catches on nearby furniture, or places damp clothing in a poorly ventilated corner.
Small-space styling tip: Keep a small laundry bag or basket nearby rather than leaving clothes piled beneath the door. The rack should solve the space problem, not create another one.
6. The Clip-Hanger Rail
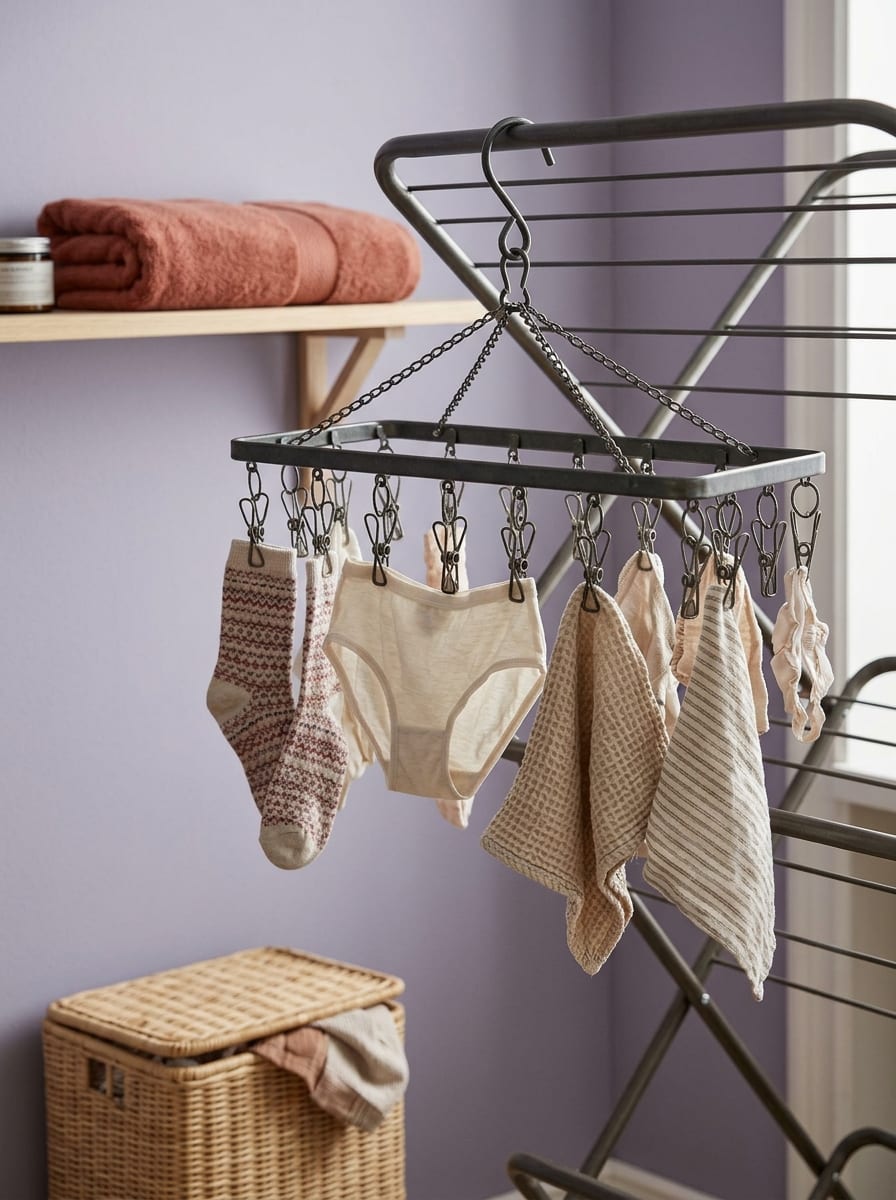
Small garments can consume a surprising amount of drying-rack space. A clip-hanger rail lets you group socks, underwear, small cloths, and other suitable items on one compact hanging unit instead of spreading them across multiple bars.
How to make it work
- Use a purpose-made clip hanger or a sturdy rail that can safely support the combined wet load.
- Distribute garments around the hanger so air can reach both sides.
- Hang it from a rack or rail designed to support the load, not from an improvised curtain fixture.
- Keep heavier items separate so the hanger remains balanced.
This is a simple way to free up the main rack for larger garments. It can also make laundry easier to sort because small items stay together rather than disappearing between towels and shirts.
Small-space styling tip: Keep one dedicated clip hanger with your laundry supplies. Having it ready means you can use vertical hanging space without needing another large piece of equipment.
7. The Flat-Dry Mesh Tower
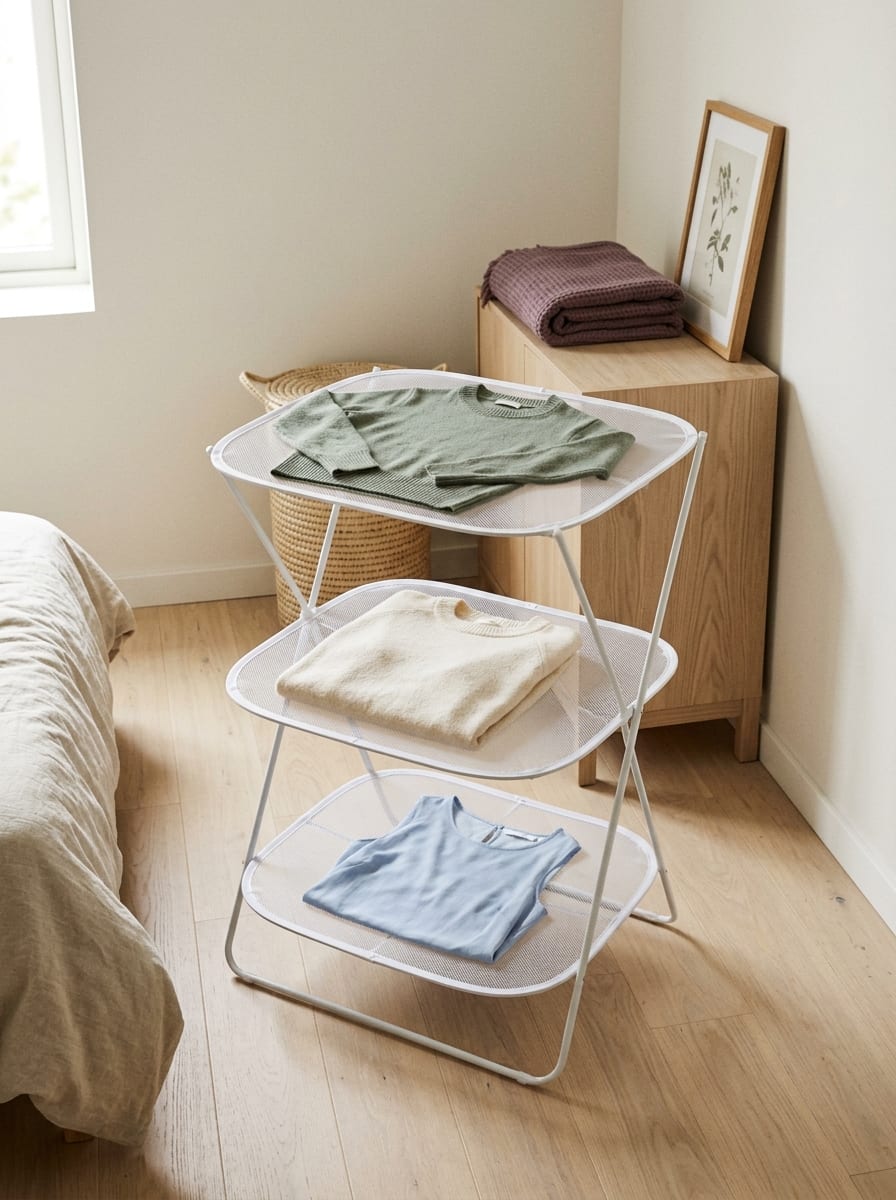
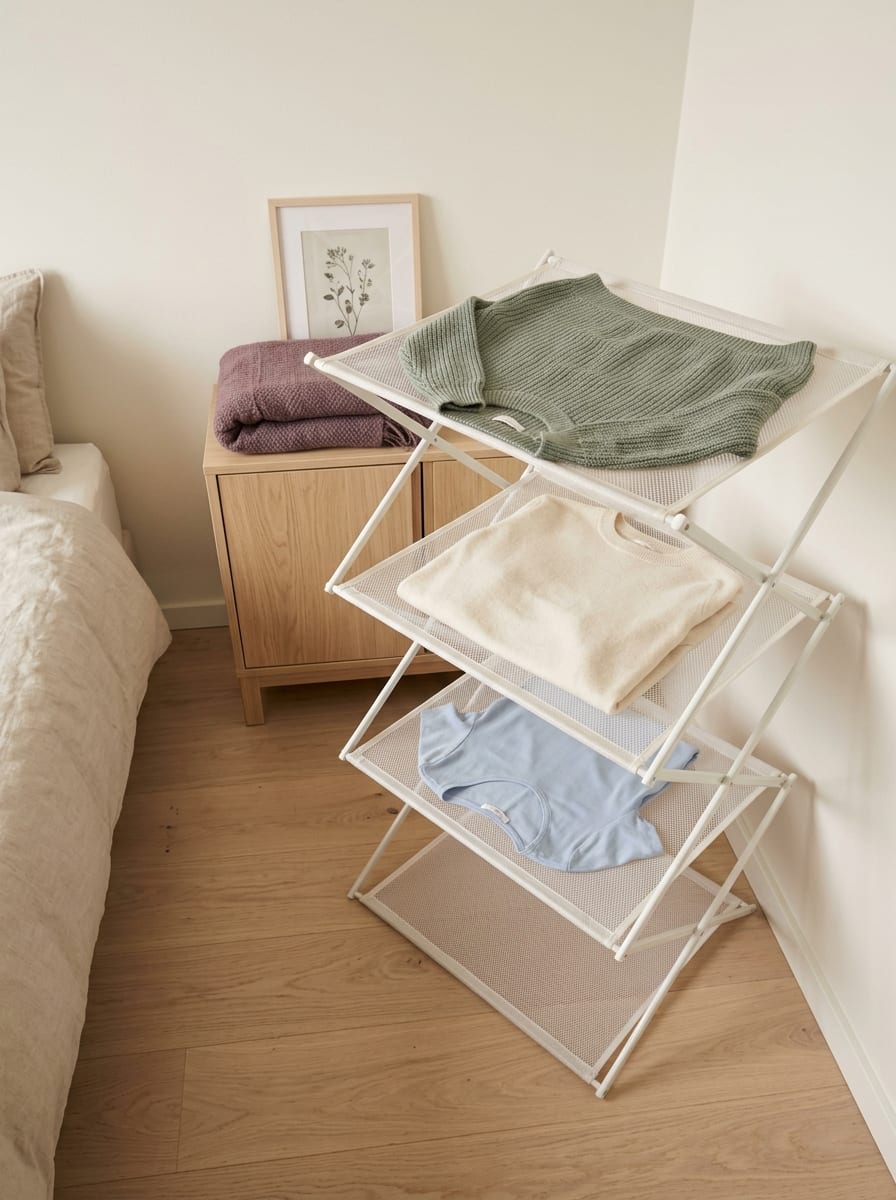
Some knitwear, delicate tops, and other garments need to dry flat rather than hang from a conventional rail. A stackable mesh drying tower or tiered flat-drying shelf provides several horizontal surfaces while keeping the garments off furniture and away from the floor.
How to make it work
- Follow the care label and lay items flat only when the garment requires or benefits from that method.
- Support each garment evenly and avoid stretching it across a shelf that is too small.
- Leave gaps between tiers so air can move through the structure.
- Position the tower away from splash zones, cooking steam, and other sources of moisture.
Mesh shelves are particularly helpful when you regularly wash delicate or shape-sensitive items. They can also be folded or stored when the load is finished, depending on the design.
Small-space styling tip: Choose a lightweight, foldable tower and store it with laundry supplies when it is not needed. Avoid piling several thick garments onto one tier, where they may take longer to dry.
8. The Ceiling Pulley Airer
A ceiling-mounted pulley airer uses overhead space that might otherwise go unused. The drying frame lowers for loading and can be raised when the clothes are hanging, which may help keep the floor clearer in a suitable laundry area or high-ceilinged bathroom.
How to make it work
- Confirm that the ceiling structure and fixings can safely support the complete loaded rack.
- Use a purpose-built system and follow its installation instructions.
- Check the full raised and lowered positions for clearance from lights, fans, doors, and other fixtures.
- Keep the hanging garments away from cooking surfaces and heat sources.
This can be an effective long-term solution for owners or renters who have permission to install it. It is not automatically renter-friendly: plasterboard, decorative ceiling features, or unsuitable anchors may not provide the support required.
Small-space styling tip: Keep the rest of the area visually simple. A ceiling airer already adds a functional element overhead, so minimal surrounding storage can help the room feel less crowded.
9. The Fold-Away Balcony Airer
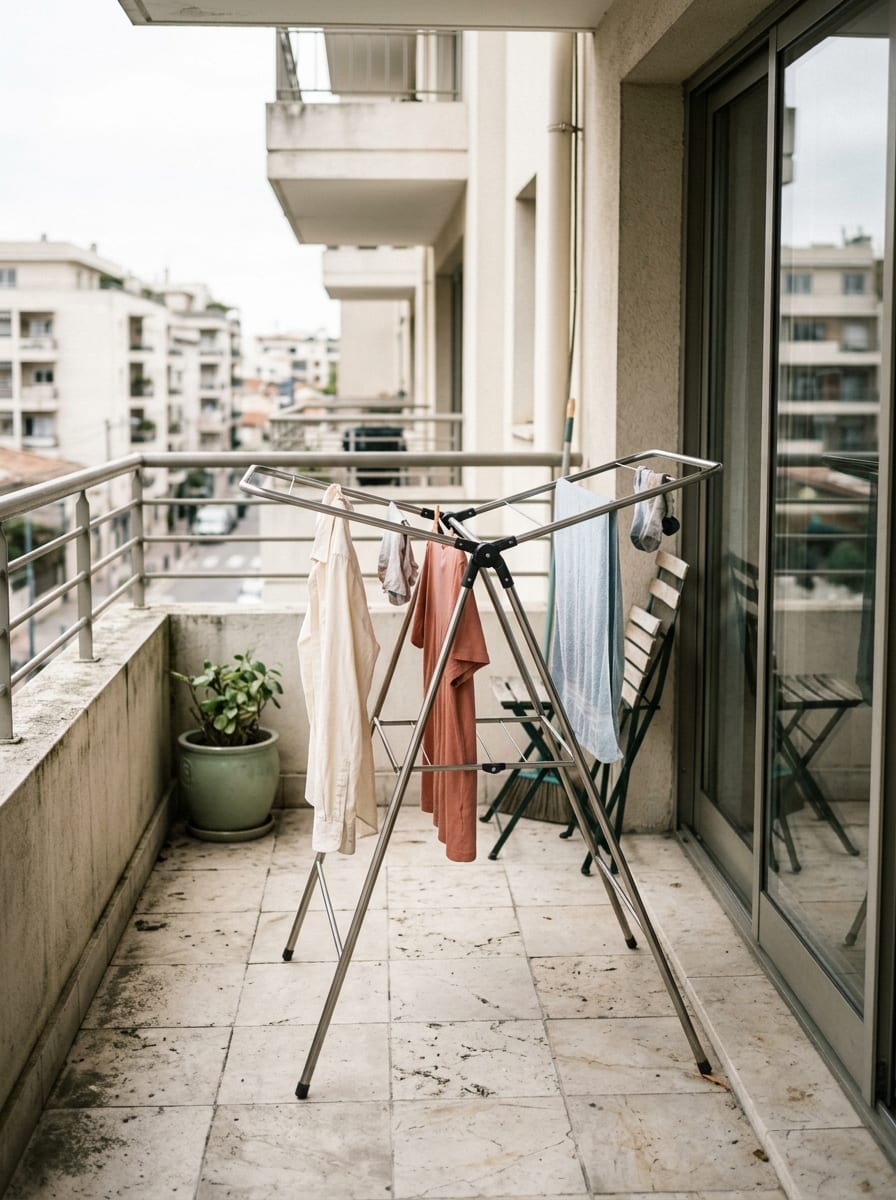
If your apartment has a suitable balcony or outdoor area, a compact folding airer can move some of the drying load outside. This can free up indoor space and may improve drying conditions when the weather is favorable.
How to make it work
- Check your lease, building rules, and local restrictions before hanging laundry outdoors.
- Use a stable rack intended for outdoor conditions and secure it according to its instructions.
- Consider wind, rain, direct sun, pollution, and the possibility of water dripping onto neighboring spaces.
- Bring laundry indoors when conditions become unsuitable rather than leaving garments exposed.
An outdoor setup is not practical for every apartment. Some balconies are too exposed, too small, or subject to restrictions. A foldable indoor rack remains a useful backup for wet weather.
Small-space styling tip: Choose a rack that folds down compactly and can be stored without blocking the balcony door. Keep the balcony usable for its other purposes instead of allowing the drying equipment to become a permanent obstacle.
10. The Ventilated Drying Corner
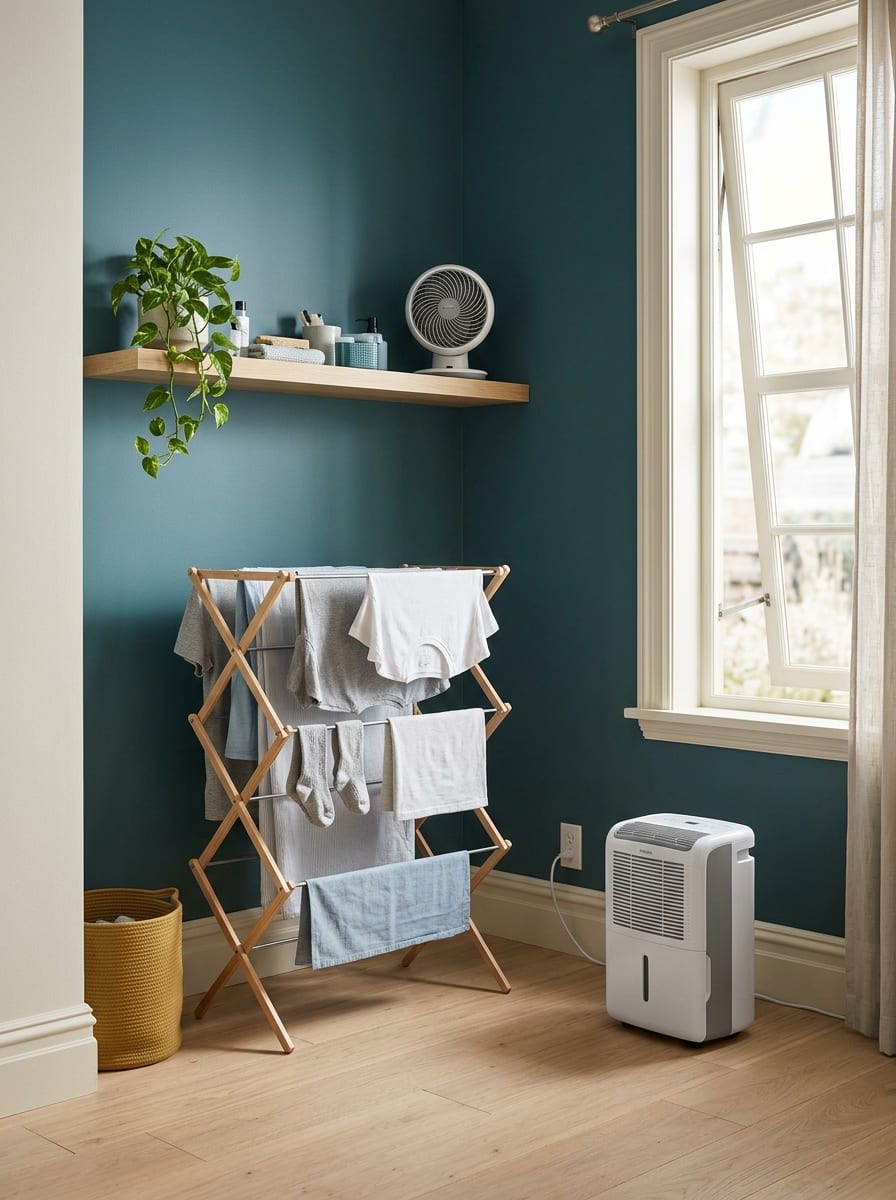
Sometimes the main problem is not a lack of racks but the time clothes take to dry. A compact drying corner combines a suitable rack with better airflow and moisture management, helping prevent damp laundry from lingering in a closed room.
How to make it work
- Choose a spot with enough clearance around the rack for air to circulate.
- Run an appropriate bathroom or laundry extractor fan, or ventilate the room when weather and security allow.
- Consider a properly sized dehumidifier if indoor humidity is persistently high.
- If you use a fan, position it safely to encourage air movement without creating a trip hazard.
- If you use an electric or heated airer, follow the manufacturer’s instructions, electrical safety guidance, and required clearances. Do not cover it unless the product explicitly permits a compatible cover.
Avoid drying a full load in a tiny, closed room with no effective ventilation. If windows become heavily condensed or the room develops a persistent musty smell, reassess the drying location and moisture-control setup.
Small-space styling tip: Make this a temporary laundry station rather than a permanent pile of equipment. Keep the rack, clips, and laundry basket together, then fold or store the rack when the load is dry.
How to Choose the Right Laundry Drying Setup
The best setup depends on your laundry habits and the space you can reliably use.
- For frequent small loads: A narrow vertical airer or fold-flat wall rack can provide repeatable drying space without taking over the room.
- For occasional hand-washing: An over-bath rack or clip-hanger rail may be enough.
- For delicate garments: A flat-dry mesh tower can protect items that should not hang vertically.
- For renters: Portable and folding options generally avoid permanent alterations, but check any product’s fit, stability, and storage needs.
- For households with persistent humidity: Prioritize ventilation and moisture management alongside the rack itself.
- For apartments with permitted outdoor space: A folding balcony airer can reduce the indoor load when the weather cooperates.
Before buying anything, measure the intended location in both its open and stored configurations. Check door swings, walking clearances, access to appliances, and where the rack will go when it is not being used. A compact product is only space-saving if it fits the room and has a realistic place to live between laundry days.
Mistakes That Make Indoor Laundry Drying Harder
- Crowding the rack: Packing clothes tightly can restrict airflow and extend drying time. Use a second drying session when necessary rather than squeezing every garment together.
- Ignoring indoor humidity: Wet laundry releases moisture into the room. Ventilation and appropriate moisture control matter, particularly in small bathrooms and poorly ventilated apartments.
- Using unsuitable supports: Curtain rods, towel bars, shelves, and tension fixtures are not automatically designed to carry wet clothing. Check load ratings and use purpose-built equipment.
- Blocking everyday movement: A rack that obstructs the bathroom, a doorway, or access to an appliance will quickly become frustrating. Test the full setup before committing to a location.
- Buying before measuring: Check the rack’s footprint when open, its height, and how it folds or stores. Product photos rarely show how much usable floor space remains in a genuinely compact room.
- Treating every fabric the same: Read garment care labels and use flat drying, hanging, or other methods appropriate to the item. Heavy or delicate pieces may need a different setup from everyday T-shirts.
Conclusion
The best small apartment laundry drying ideas do not depend on finding one perfect rack. They make better use of the space you have, whether that means folding a rack against a wall, using a narrow vertical frame, drying small items together, or moving a suitable load onto a balcony.
Start with your most frequent laundry problem. If the rack blocks the walkway, look upward or choose a fold-away design. If delicate garments need more care, add a flat-drying surface. If clothes stay damp for too long, improve airflow and moisture control instead of simply buying a larger rack.
A practical drying setup should be easy to use, easy to put away, and appropriate for your apartment’s layout. With the right combination of equipment and ventilation, laundry can remain a routine task instead of taking over your living space.